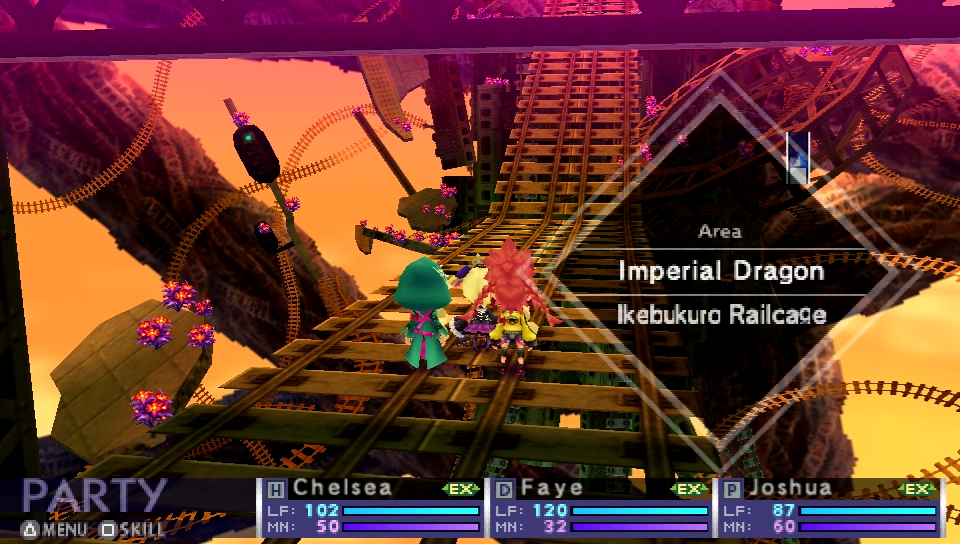
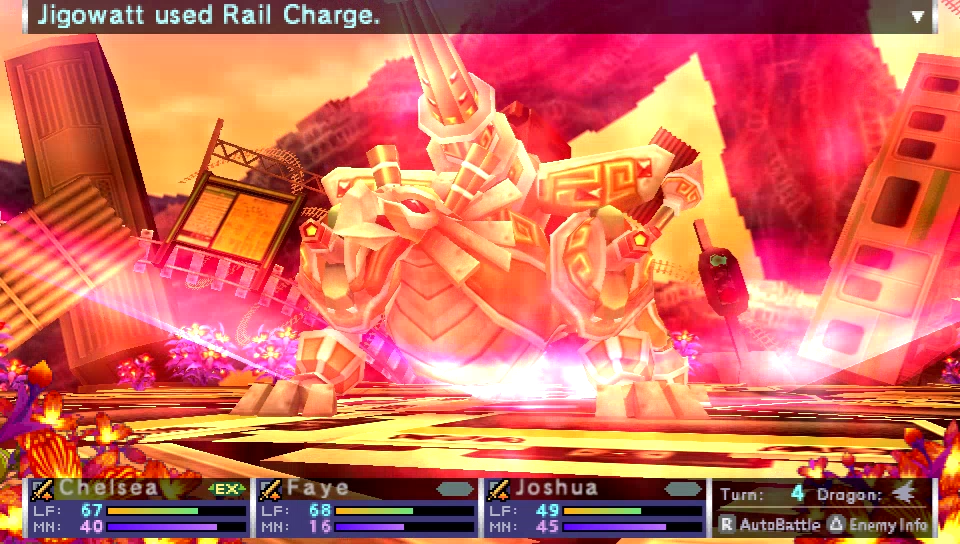
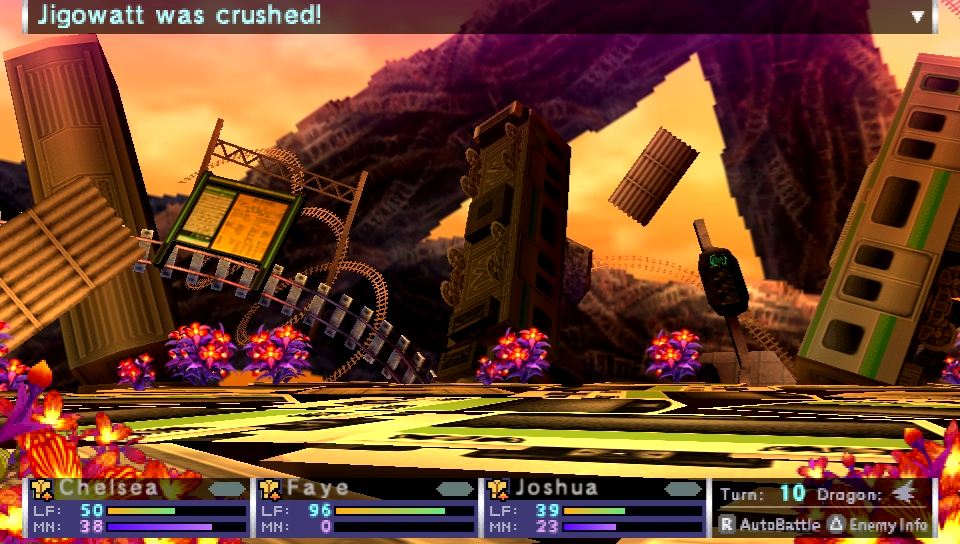
Alright, time to finish up the Railcage and take on Jigowatt.
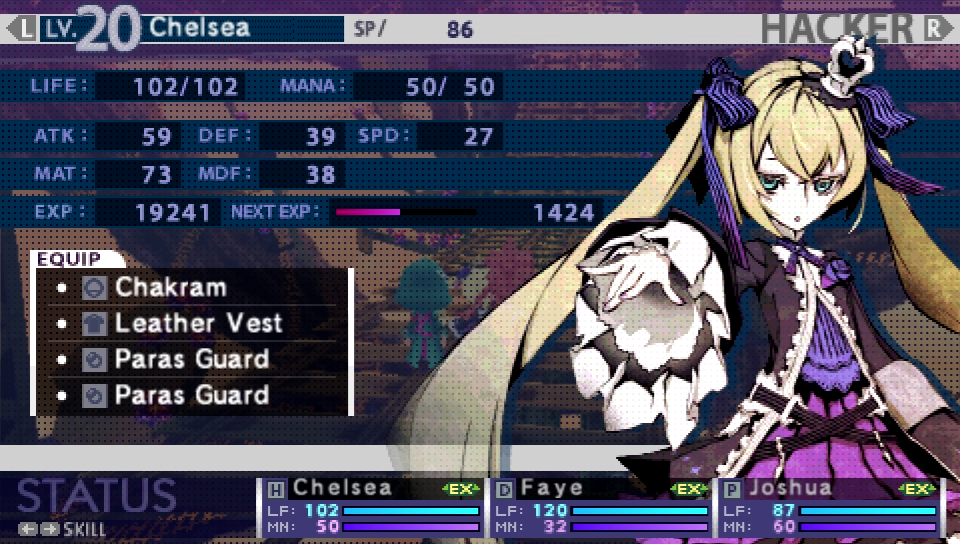
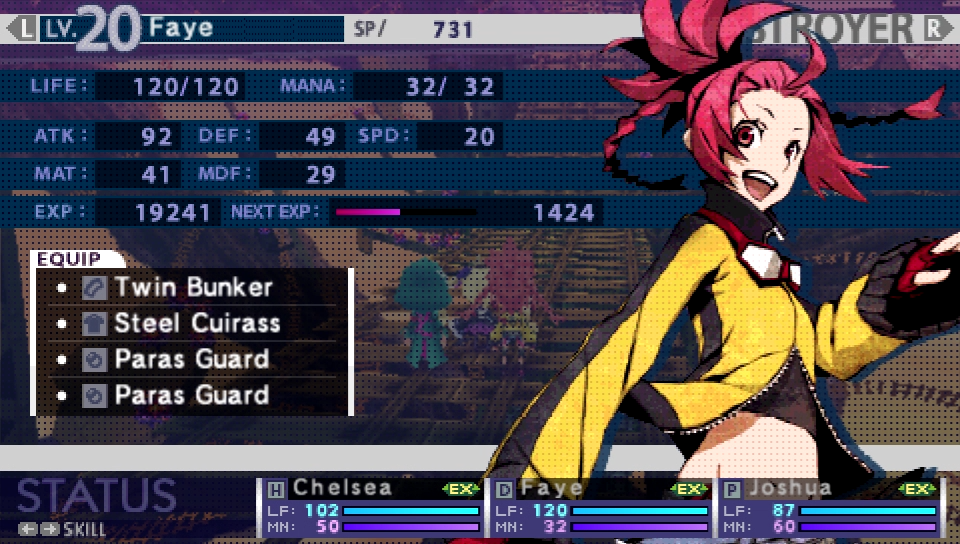
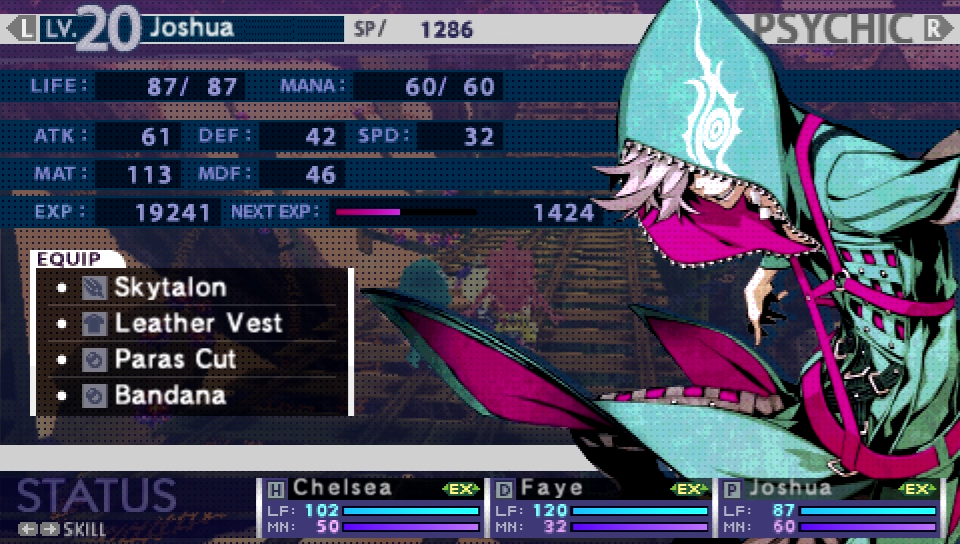
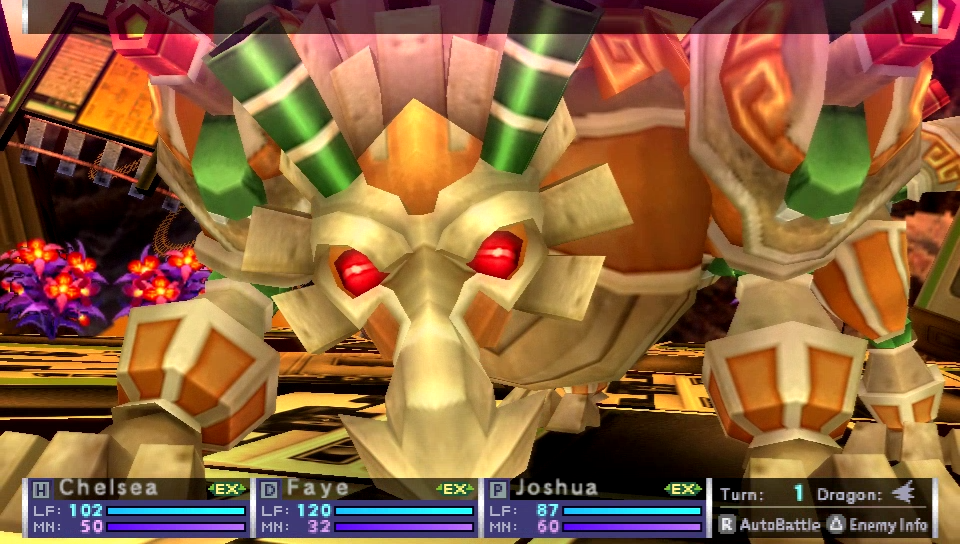
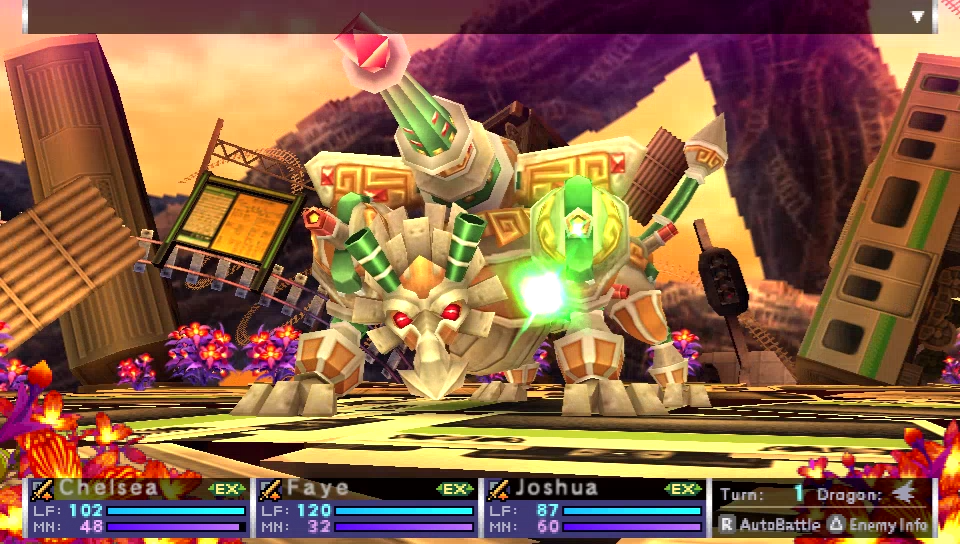
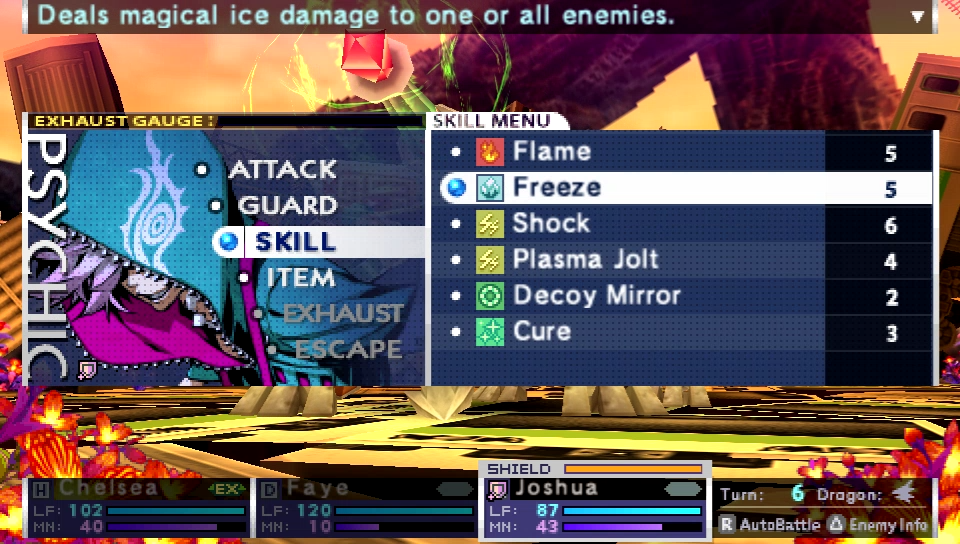
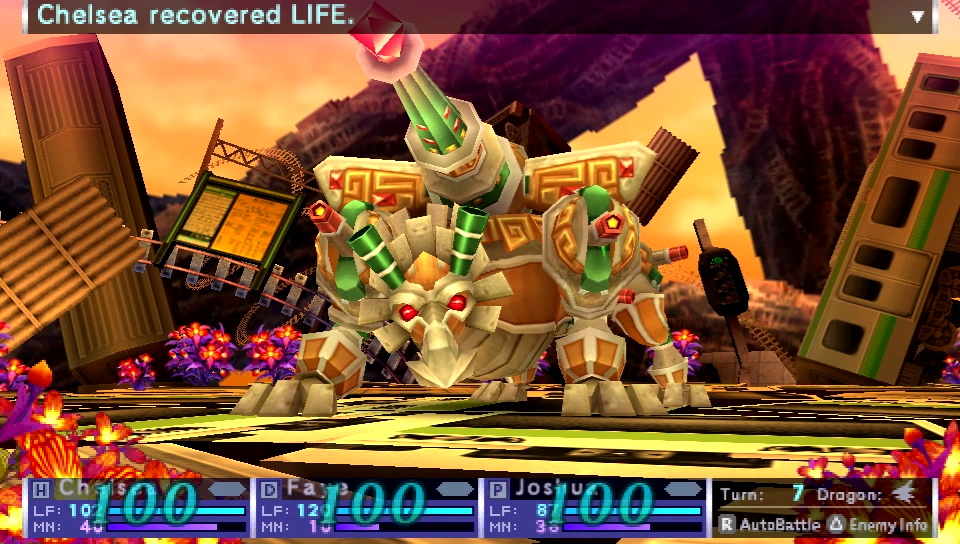
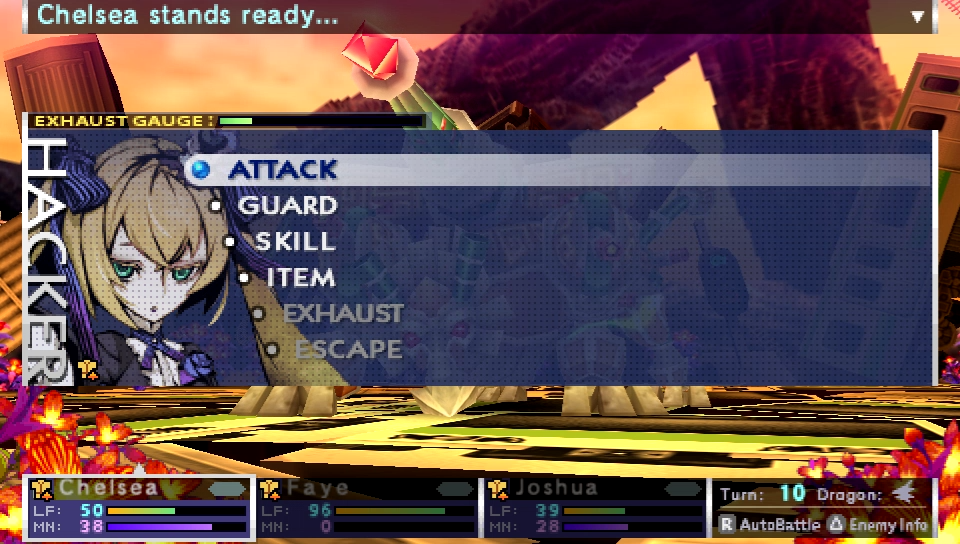
A quick look at the party. As we were warned about earlier, Jigowatt has the ability to paralyze our party, so we're gonna want something to deal with that.
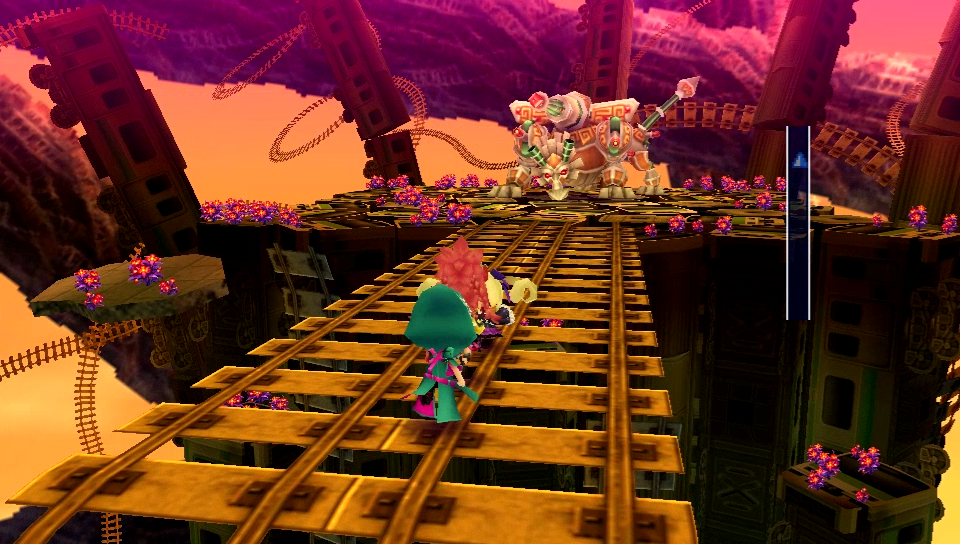
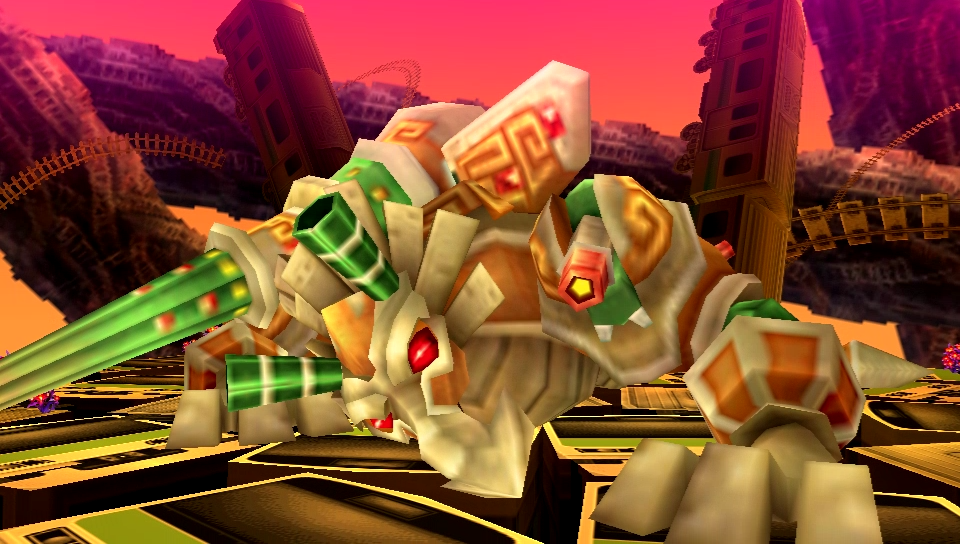
 There it is.
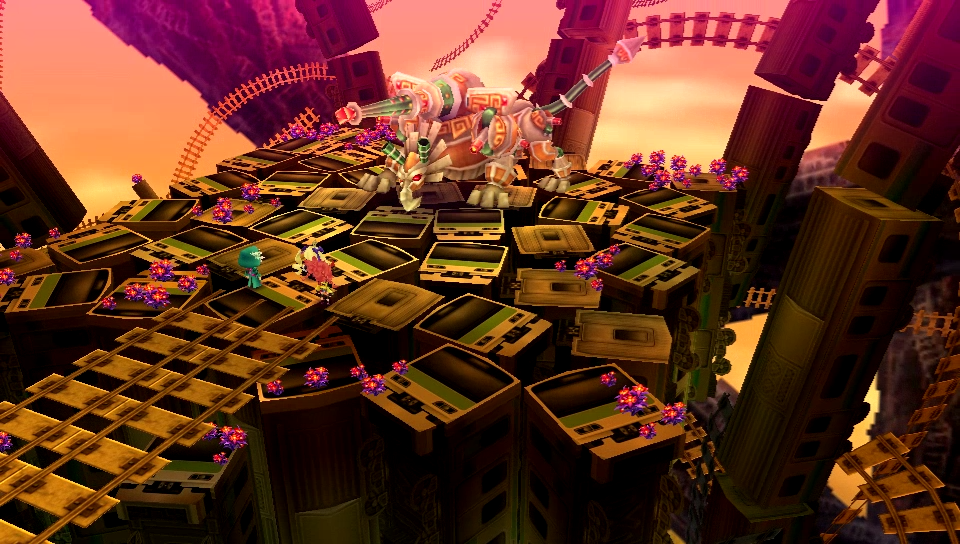
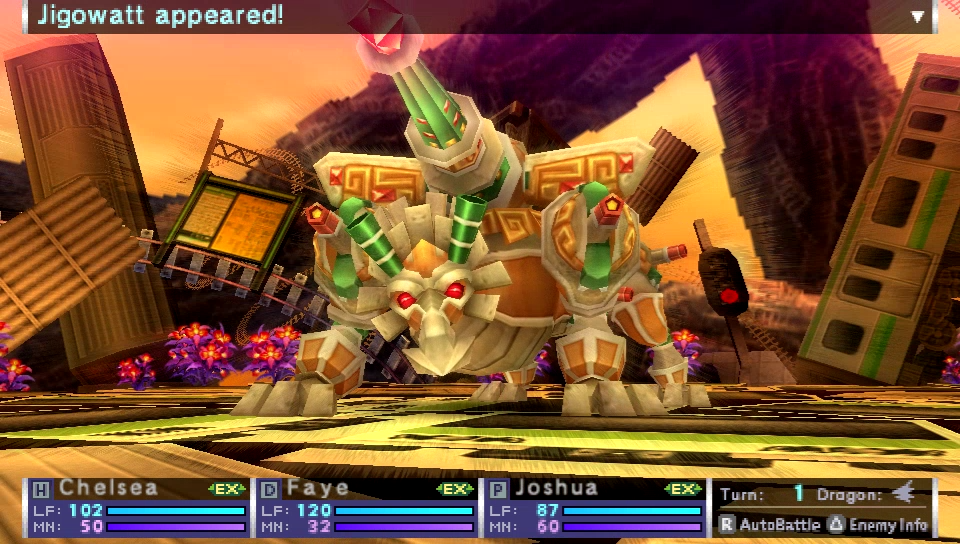
 So that's the big bad laser dragon.
 Hee hee! Let's go beat it down!
Let's do this.
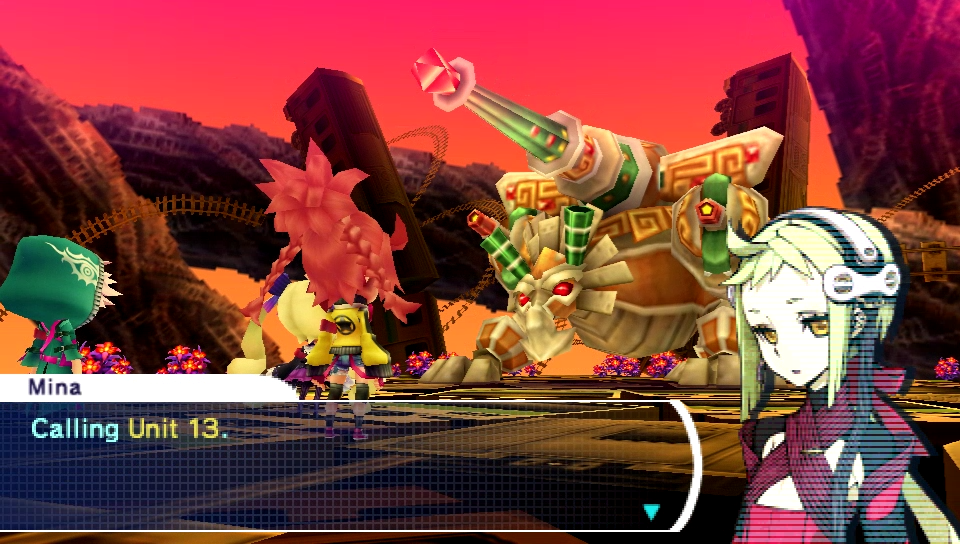
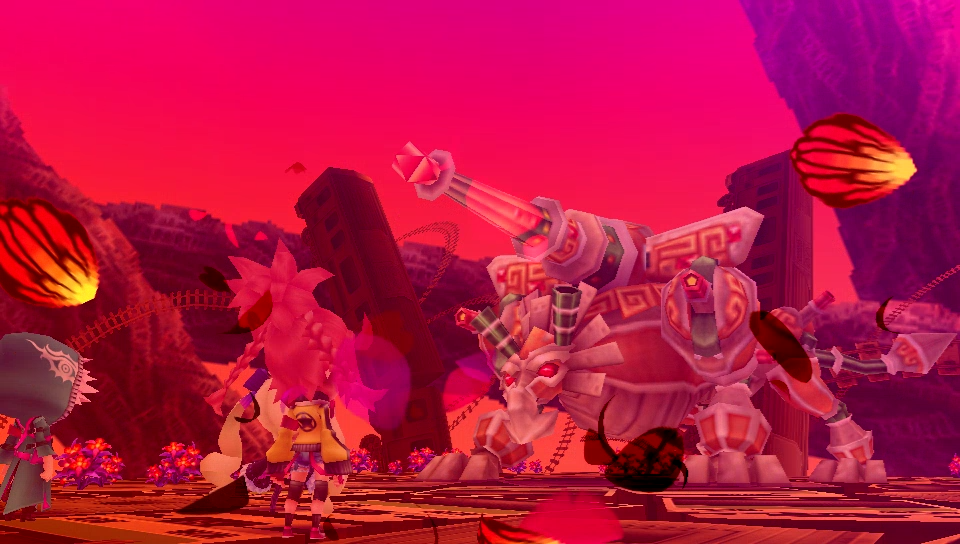
 "Don't slack off out there! Failure is not an option!" Hee hee. Everyone's watching you, Unit 13!
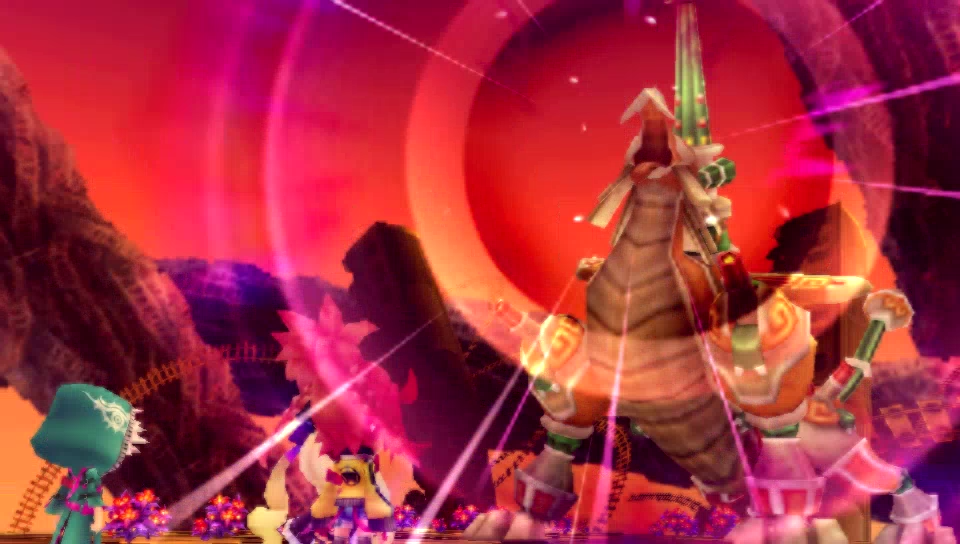
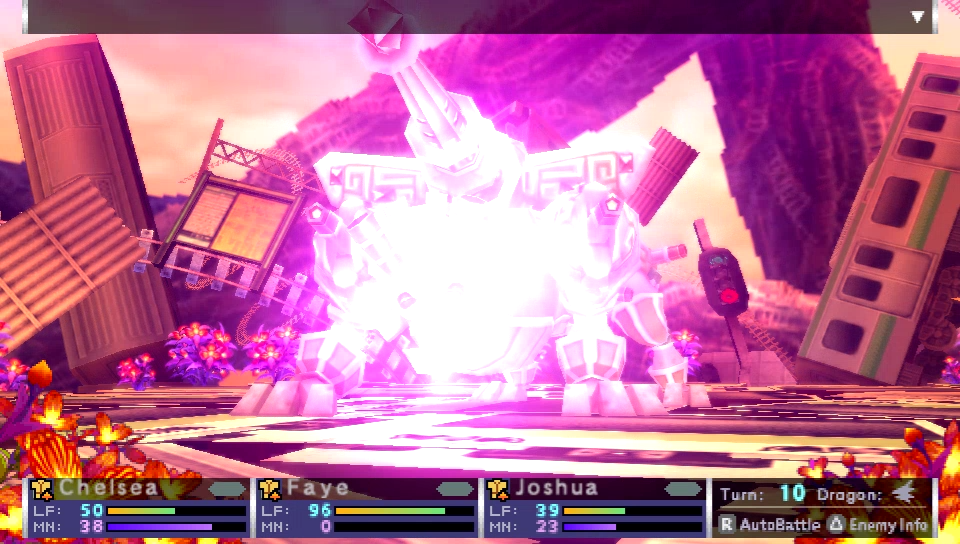
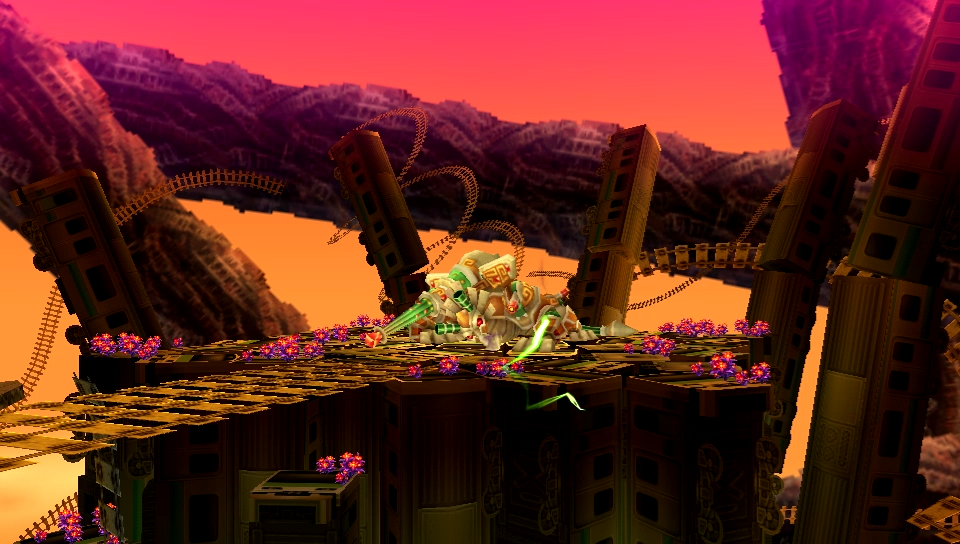
Jigowatt roars, and the party prepares for battle.
 Video: Jigowatt
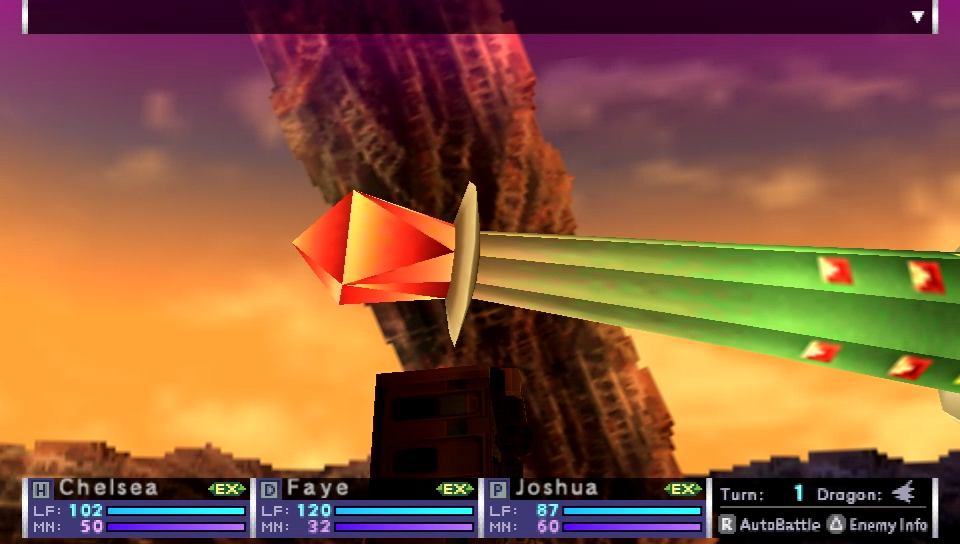
Jigowatt
Level: 19
LIFE: 3650
ATK: 75
MAT: 75
DEF: 43
MDF: 34
SPD: 30
Enemy Type: Imperial Dragon
SP: 300
EXP: 800
DZ: 3
AZ: 500
Item Drops: N/A
Damage Multipliers:
Fire: 50% Ice: 150% Lightning: 0% Aerial: 100%
Ailment Susceptibility:
Hack: 35% Curse: 80% Bleed: 50%
Poison: 50% Burn: 100% Freeze: 50%
Paralysis: 0% Sleep: 50% Blind: 50%
Stun: 0% D-Depth: 100% Debuff: 100%
Skills:
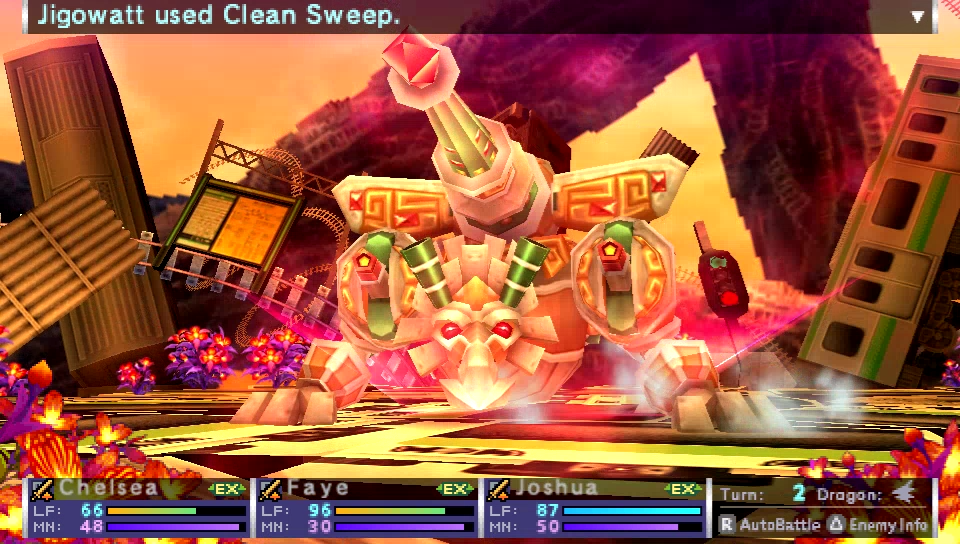
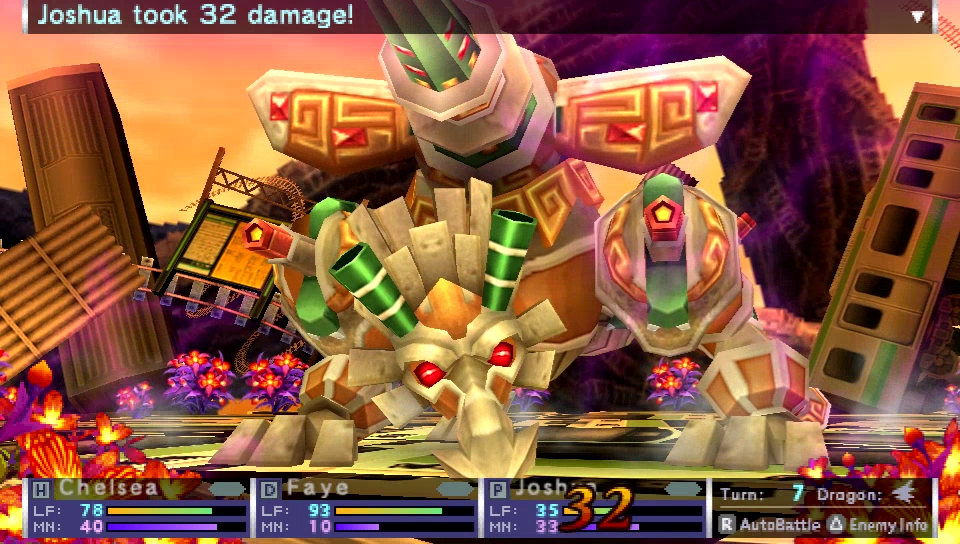
Clean Sweep: Randomly attacks the party with ATK-based Non-elemental damage 6 times, dealing 40% damage per hit. Has an accuracy modifier of 100%. Has a crit rate of 0%. Has a speed modifier of 100%.
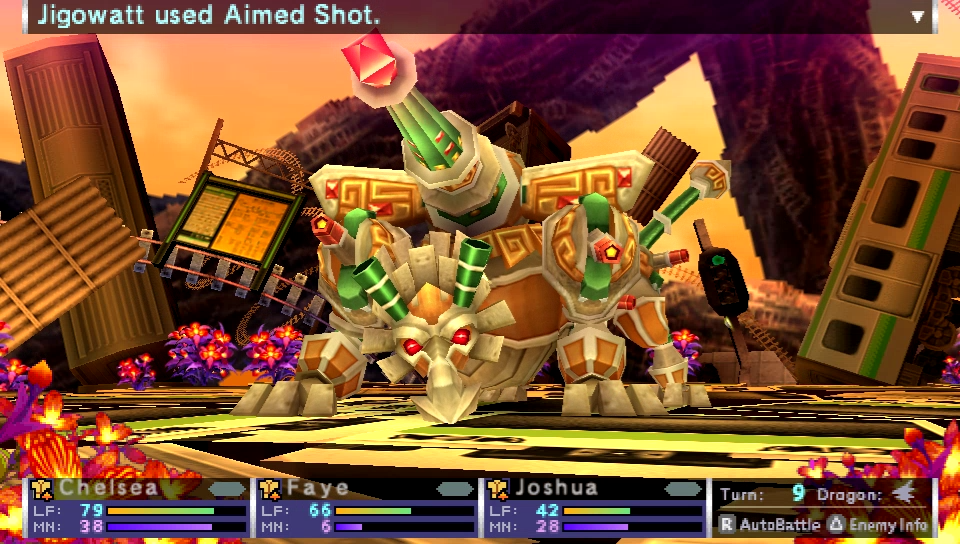
Aimed Shot: Deals 150% ATK-based Non-elemental damage to one party member. Has an accuracy modifier of 100%. Has a crit rate of 0%. Has a speed modifier of 100%.
Rail Charge: Telegraphs the use of Rail Gun in 2 turns. Has a speed modifier of 100%. Counts as taking 2 actions.
Rail Charge Alpha: Telegraphs the use of Rail Gun in 1 turns. Has a speed modifier of 100%. Counts as taking 2 actions.
Railgun: Deals 400% MAT-based Lightning damage to all party members. Has an accuracy modifier of 100%. Has a crit rate of 0%. Has a speed modifier of 100%. Counts as taking 2 actions.
Discharge: Deals 65% MAT-based Lightning damage to all party members, and has an 80% chance to inflict Paralysis for 3 turns. Paralyzed party members have a 50% chance to not act. Has an accuracy modifier of 100%. Has a crit rate of 0%. Has a speed modifier of 100%.
Level: 19
LIFE: 3650
ATK: 75
MAT: 75
DEF: 43
MDF: 34
SPD: 30
Enemy Type: Imperial Dragon
SP: 300
EXP: 800
DZ: 3
AZ: 500
Item Drops: N/A
Damage Multipliers:
Fire: 50% Ice: 150% Lightning: 0% Aerial: 100%
Ailment Susceptibility:
Hack: 35% Curse: 80% Bleed: 50%
Poison: 50% Burn: 100% Freeze: 50%
Paralysis: 0% Sleep: 50% Blind: 50%
Stun: 0% D-Depth: 100% Debuff: 100%
Skills:
Clean Sweep: Randomly attacks the party with ATK-based Non-elemental damage 6 times, dealing 40% damage per hit. Has an accuracy modifier of 100%. Has a crit rate of 0%. Has a speed modifier of 100%.
Aimed Shot: Deals 150% ATK-based Non-elemental damage to one party member. Has an accuracy modifier of 100%. Has a crit rate of 0%. Has a speed modifier of 100%.
Rail Charge: Telegraphs the use of Rail Gun in 2 turns. Has a speed modifier of 100%. Counts as taking 2 actions.
Rail Charge Alpha: Telegraphs the use of Rail Gun in 1 turns. Has a speed modifier of 100%. Counts as taking 2 actions.
Railgun: Deals 400% MAT-based Lightning damage to all party members. Has an accuracy modifier of 100%. Has a crit rate of 0%. Has a speed modifier of 100%. Counts as taking 2 actions.
Discharge: Deals 65% MAT-based Lightning damage to all party members, and has an 80% chance to inflict Paralysis for 3 turns. Paralyzed party members have a 50% chance to not act. Has an accuracy modifier of 100%. Has a crit rate of 0%. Has a speed modifier of 100%.
Jigowatt isn't too tough, but it does kind of mark the point where you need to have some idea on how to play this game, or you'll just get crushed.
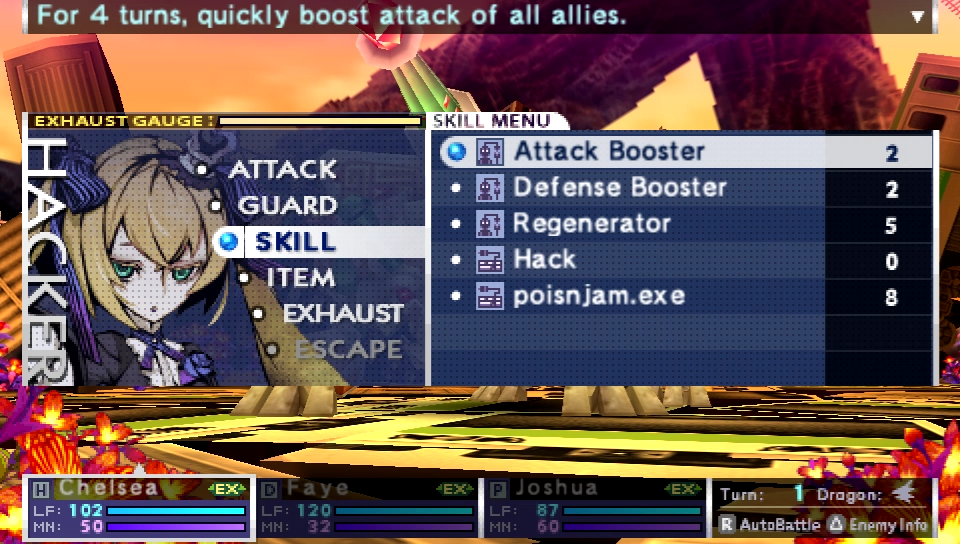
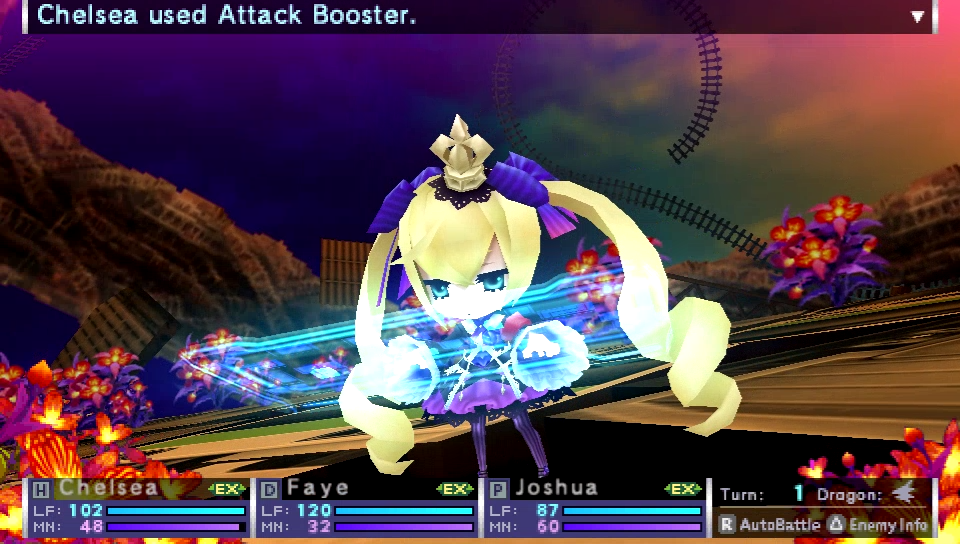
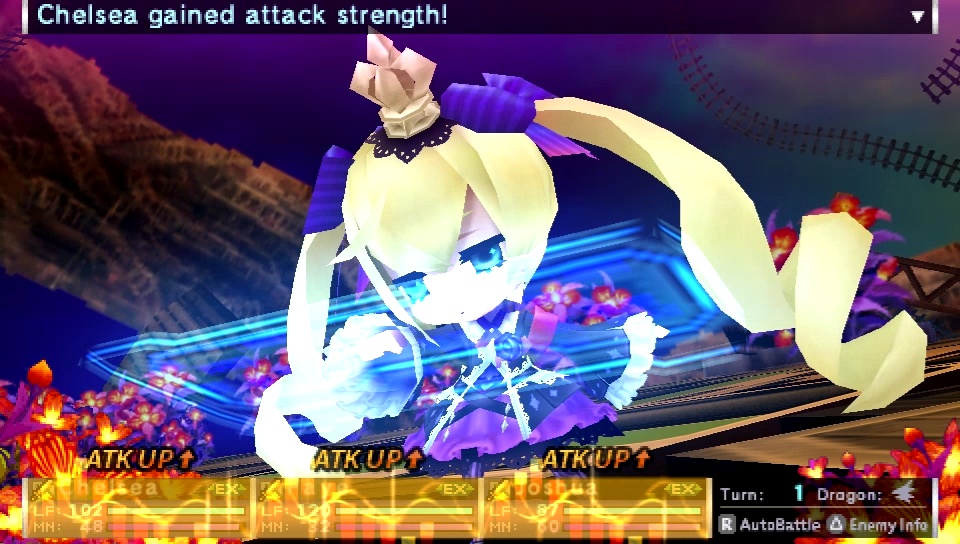
I'll have Chelsea boost everyone's attack.
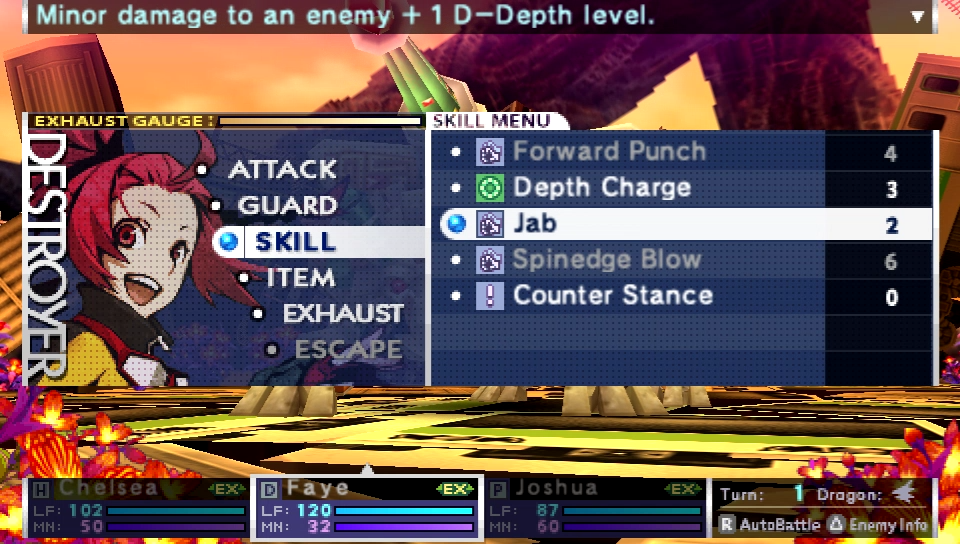
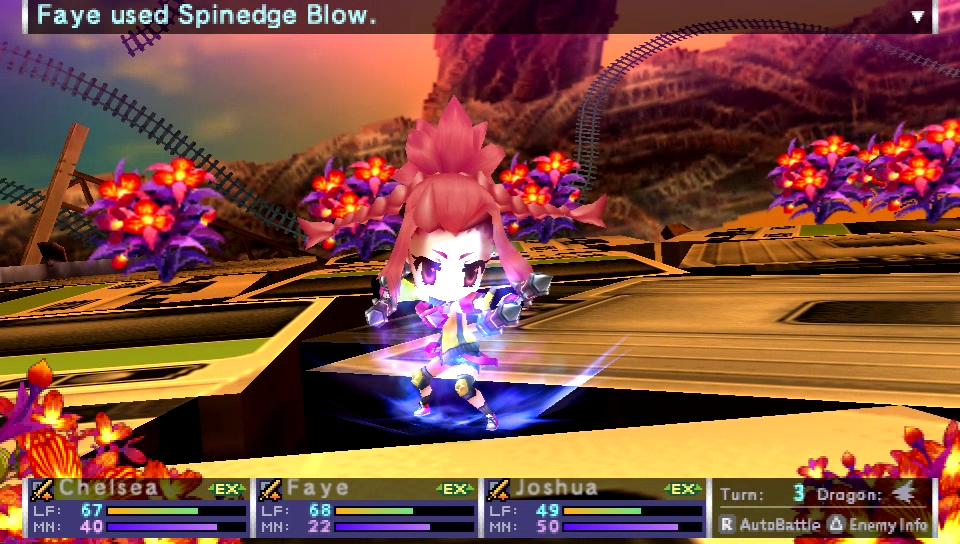
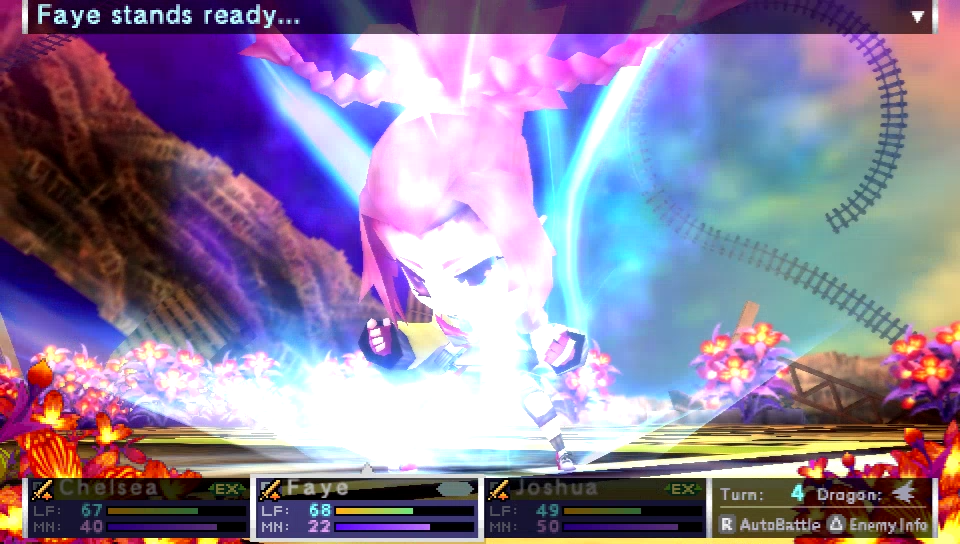
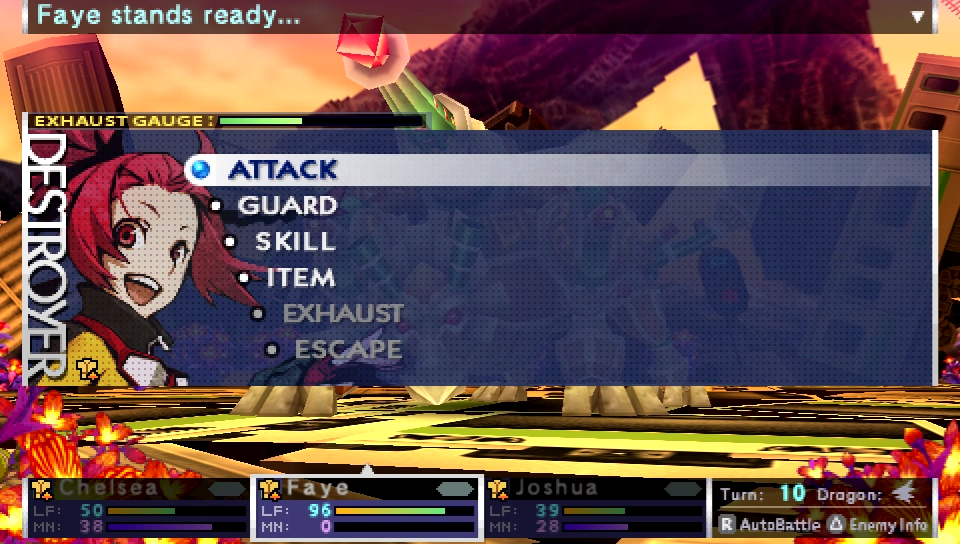
Faye is gonna start off the jab combo, and then transition into Spinedge Blow once Jigowatt build up enough D-Depth.
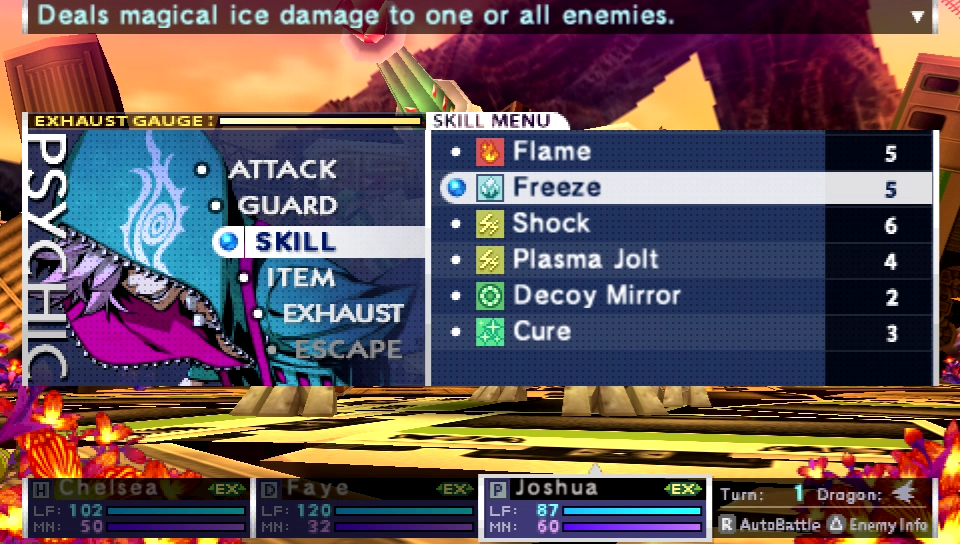
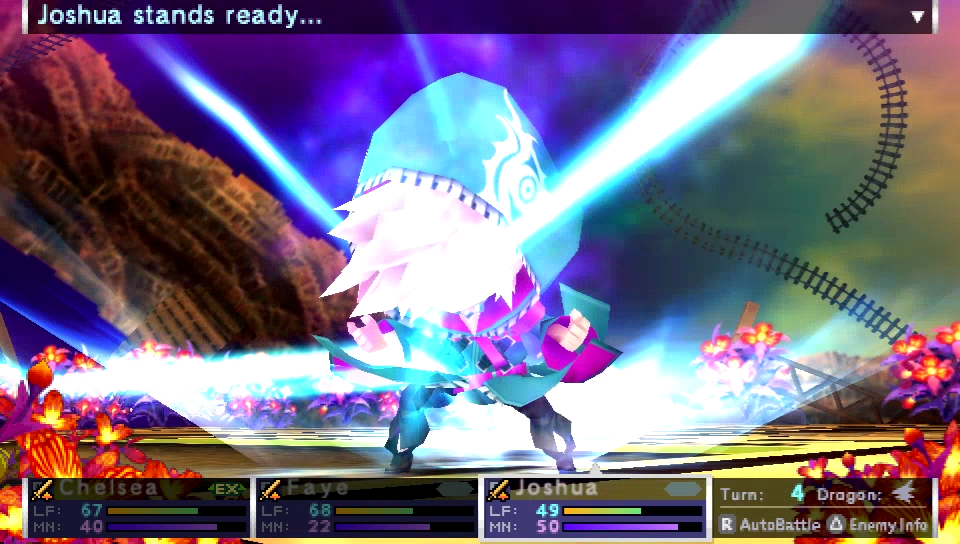
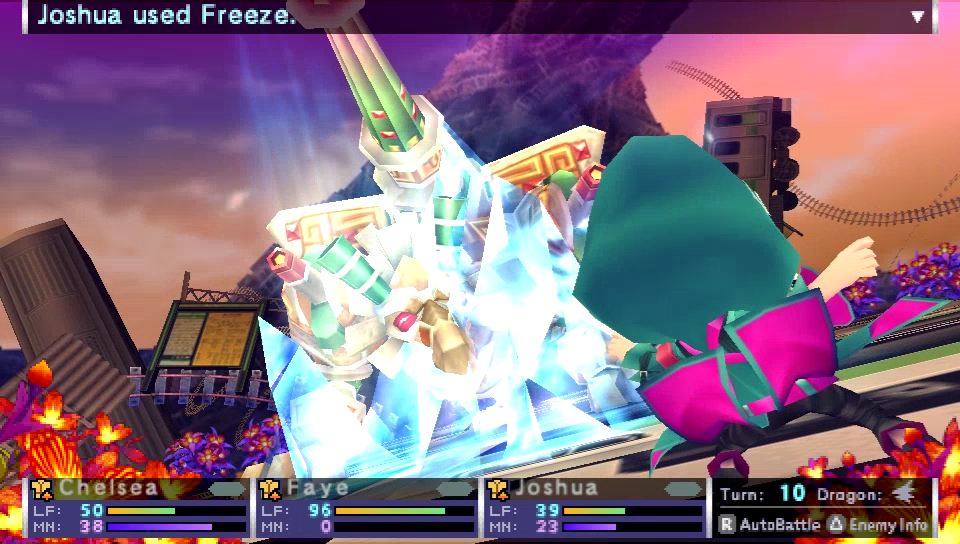
Since Jigowatt has a weakness to Ice, Joshua is just gonna spam Freeze as much as he can.
 Cheat codes, on.
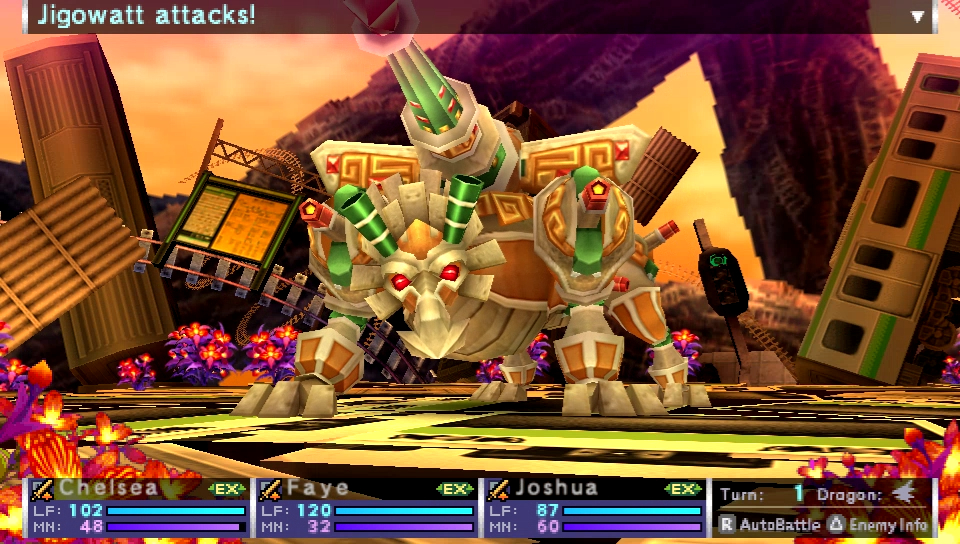
 You know, why aren't we allowed to attack twice? It's against the game's rules, that's why. Can't you make it so that we could do that too? I'm a Hacker, not a %@#$ing miracle worker.
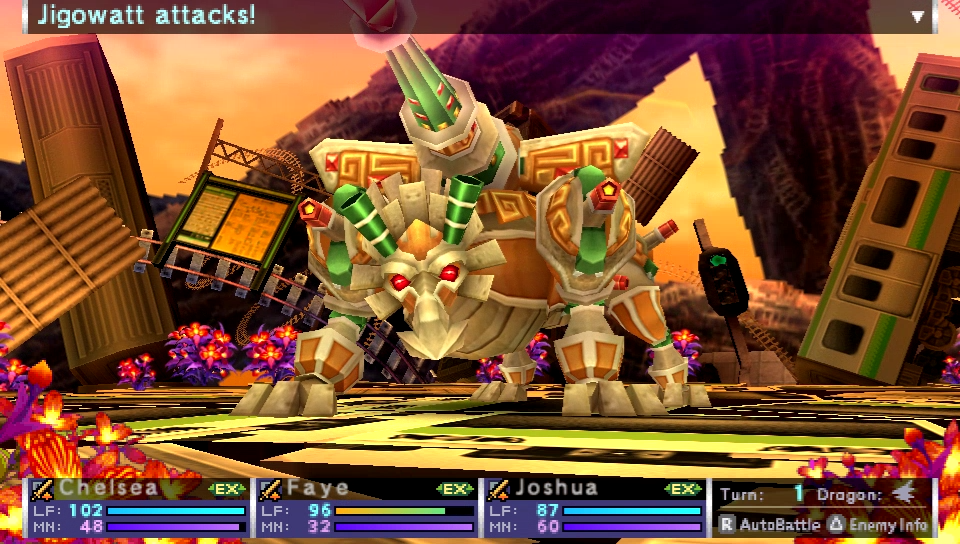
Jigowatt doesn't start off swinging just yet.
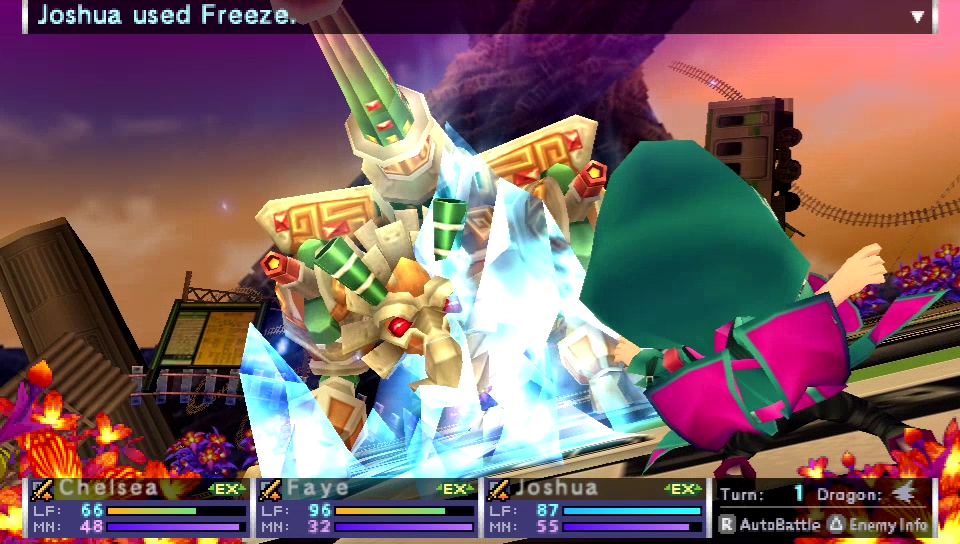
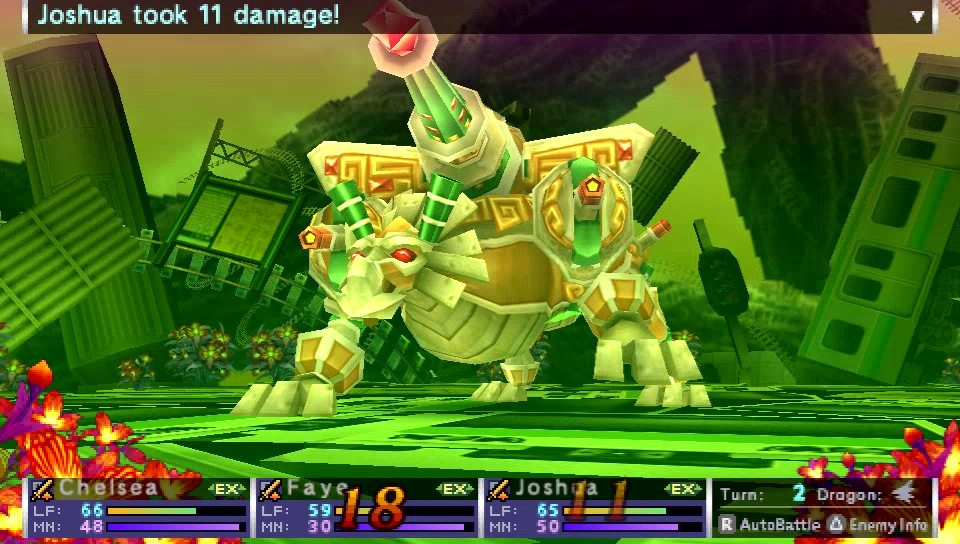
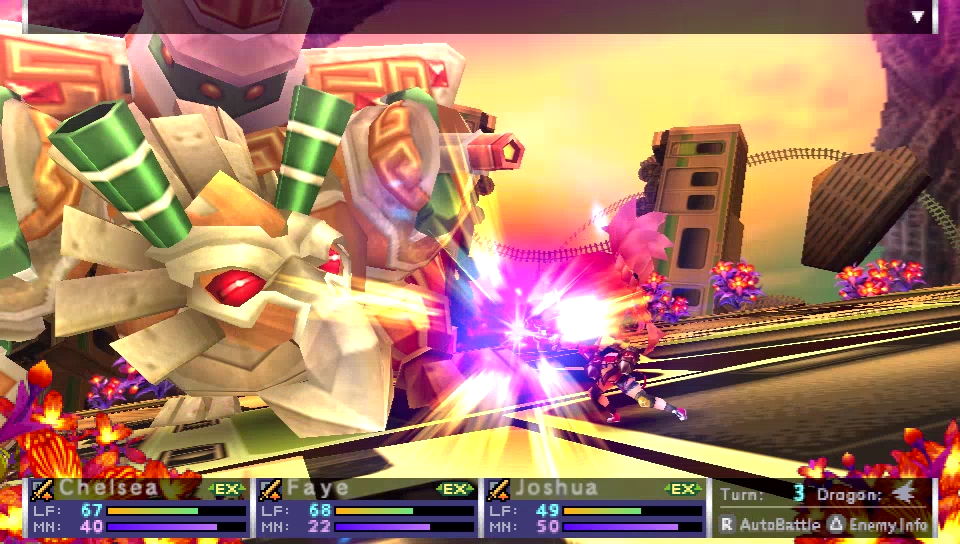
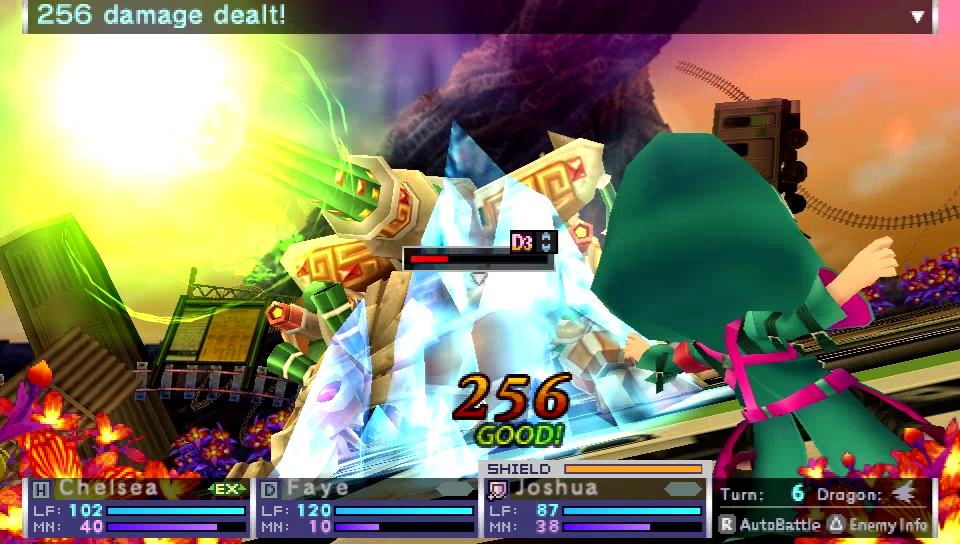
 Chill it with the lasers!
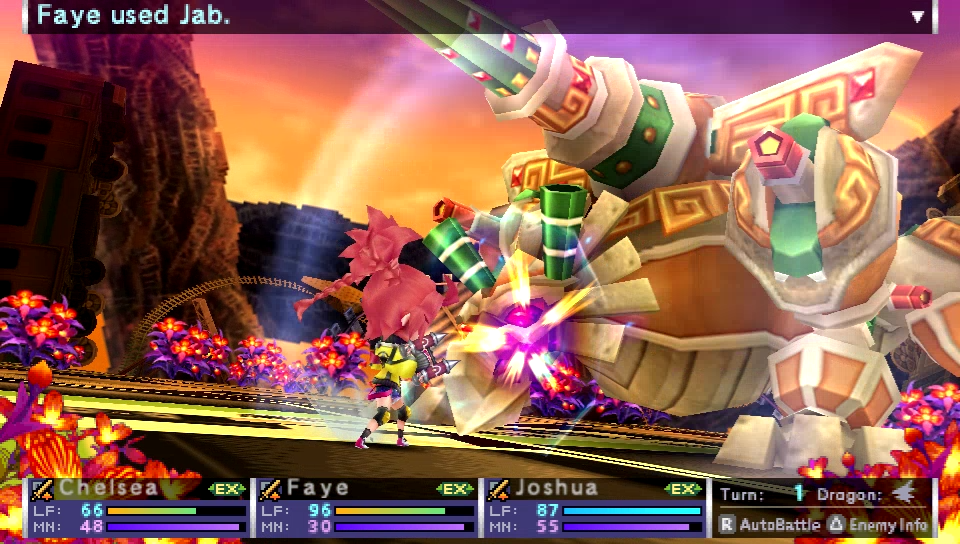
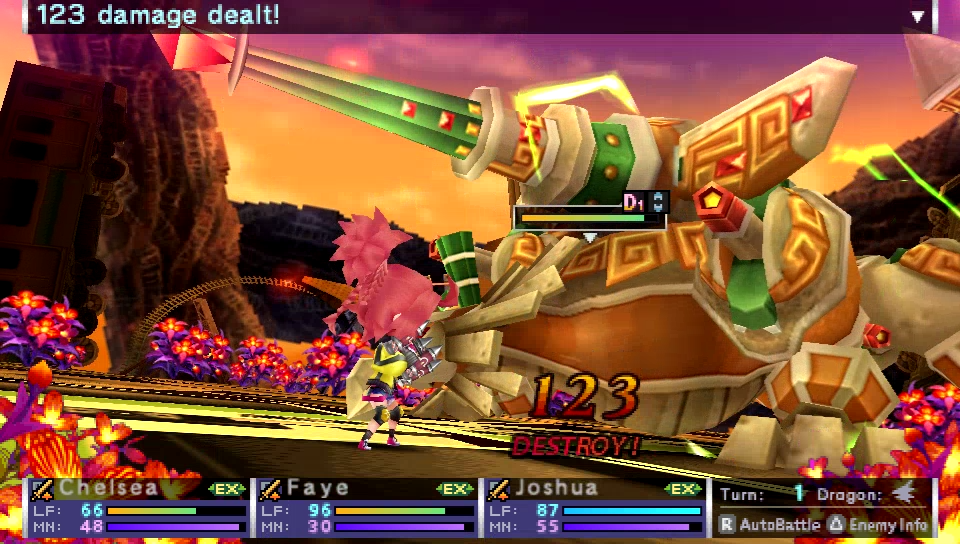
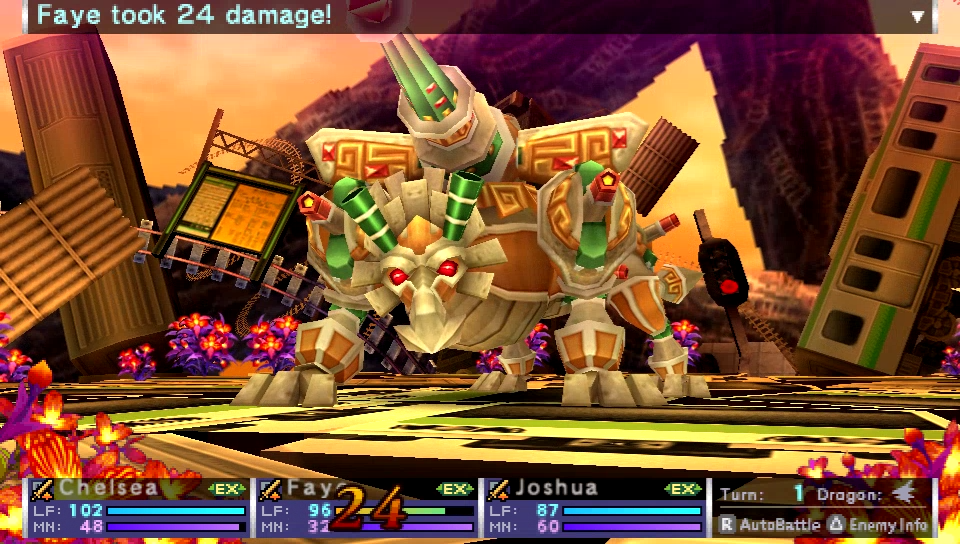
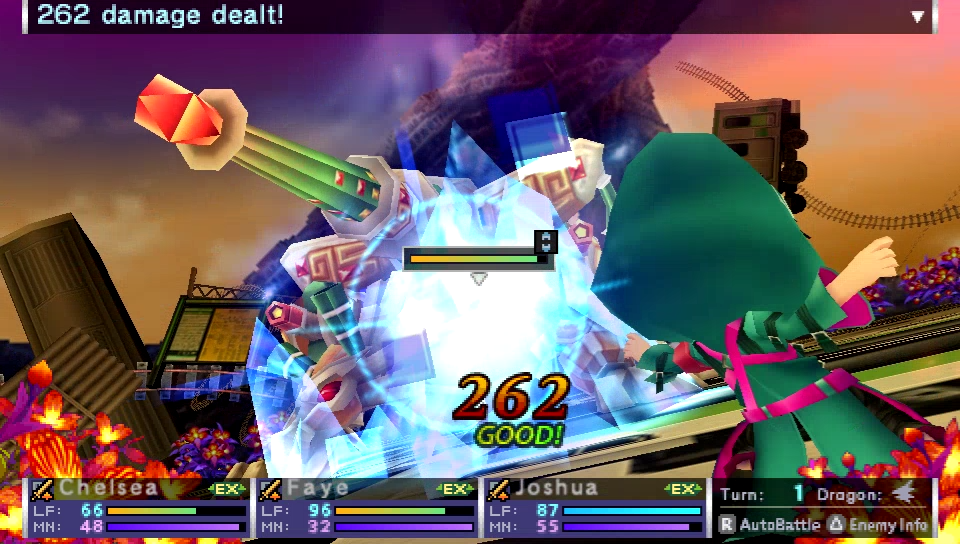
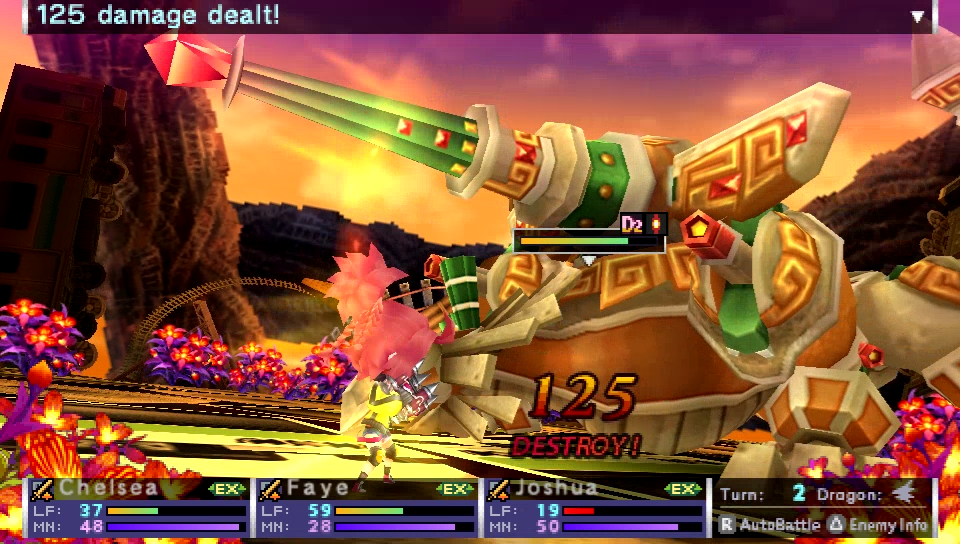
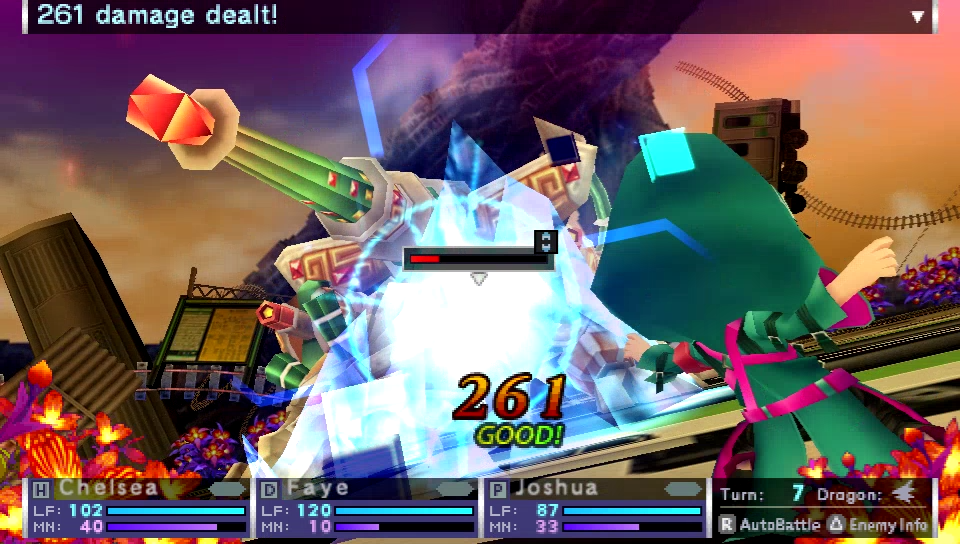
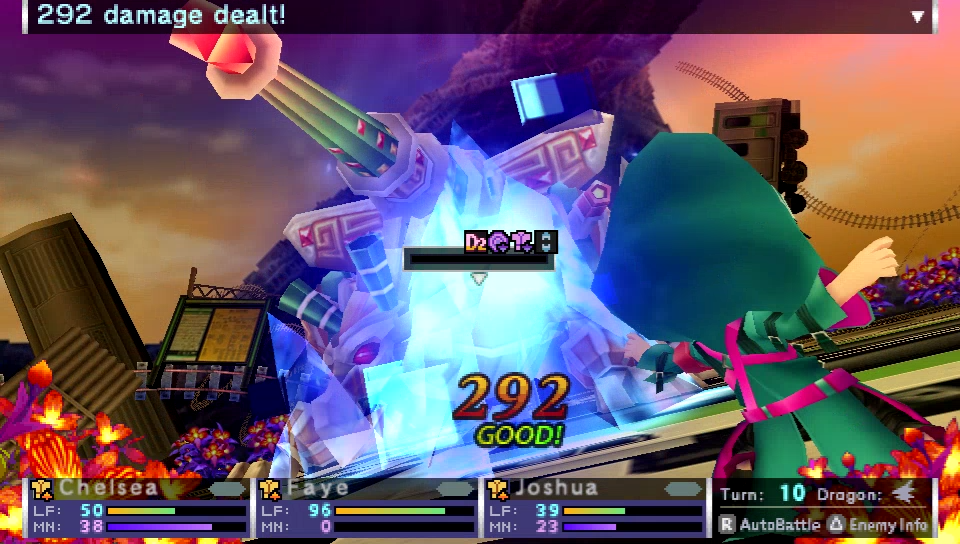
 Bonk!
Bonk!Joshua is dealing a good amount of damage right off the bat, but Faye needs to inflict some more D-Depth on Jigowatt before she can start doing so as well.

Chelsea has nothing better to do this turn, so I'll try for a Hack. If it doesn't work, then oh well.
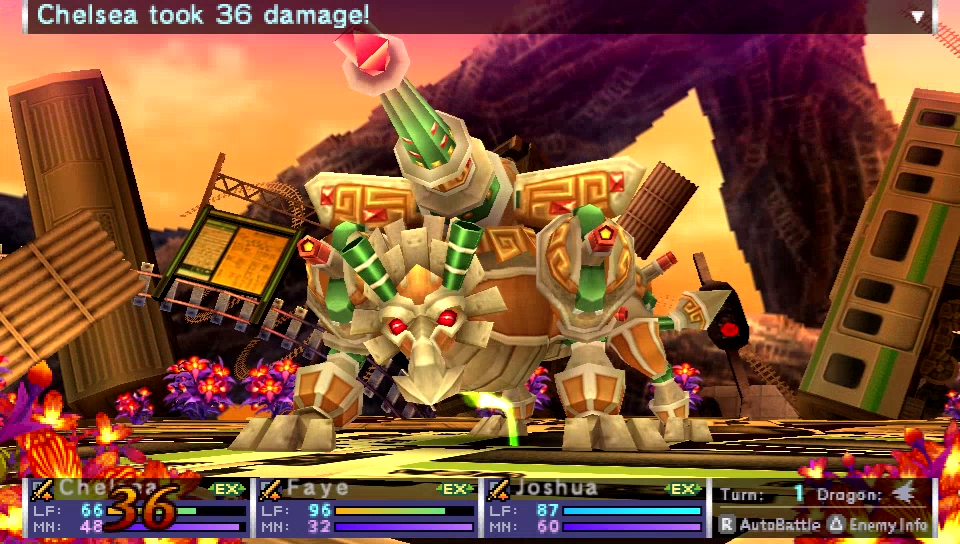
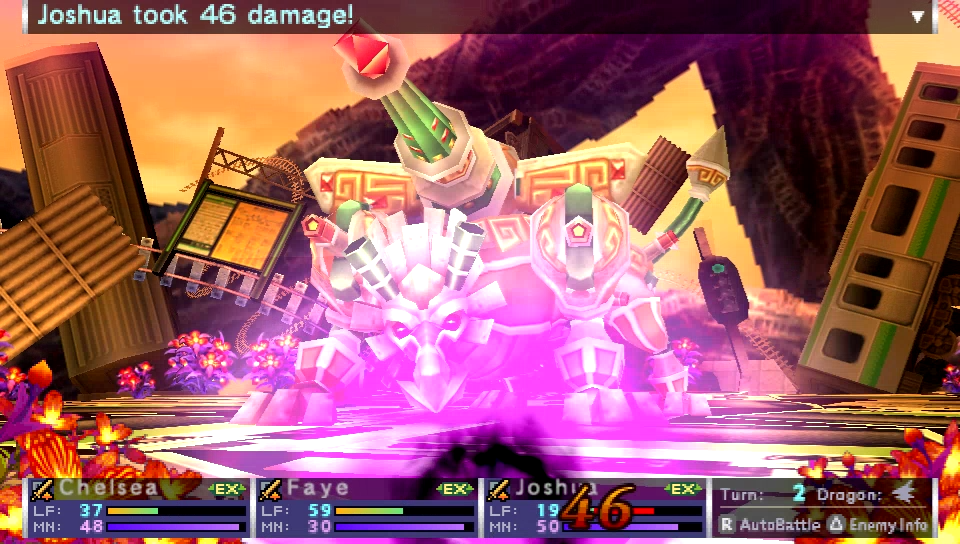
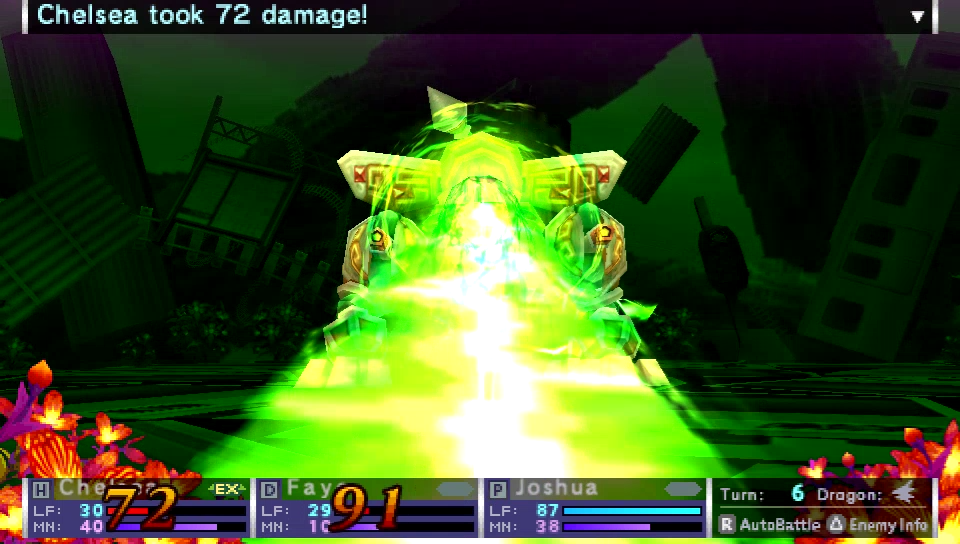
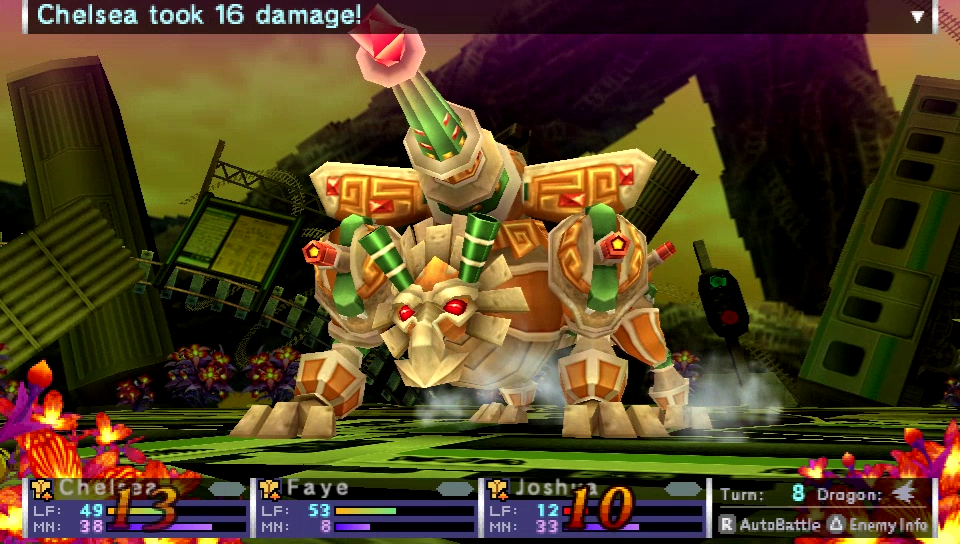
Clean Sweep is a bit nasty, but the way the targeting system works is that whoever gets targeted is determined for each hit. Party members with higher HP are more likely to be attacked, and as a result, everyone will take about the same amount of damage in most cases. But the real problem with Clean Sweep is...
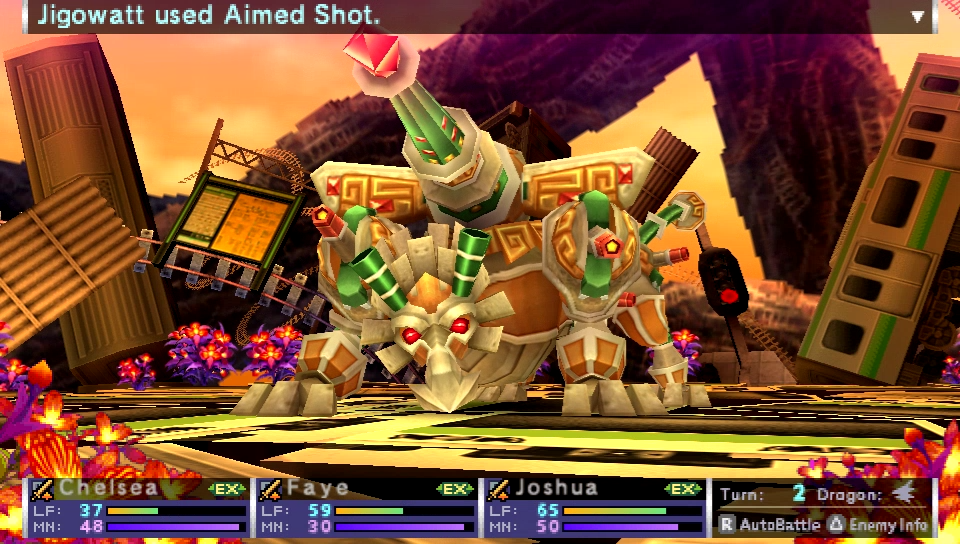
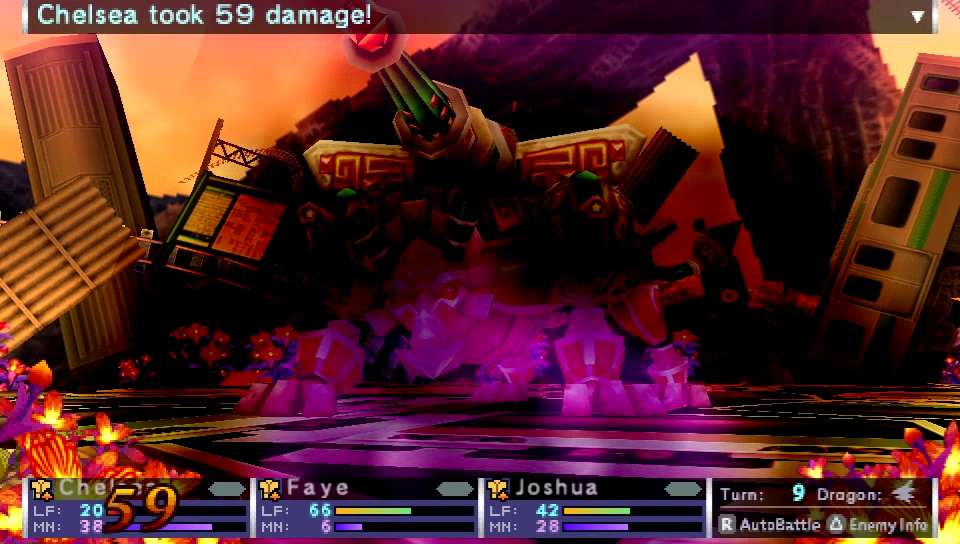
If you get a little unlucky with the RNG, Aimed Shot can get a surefire kill in some cases.

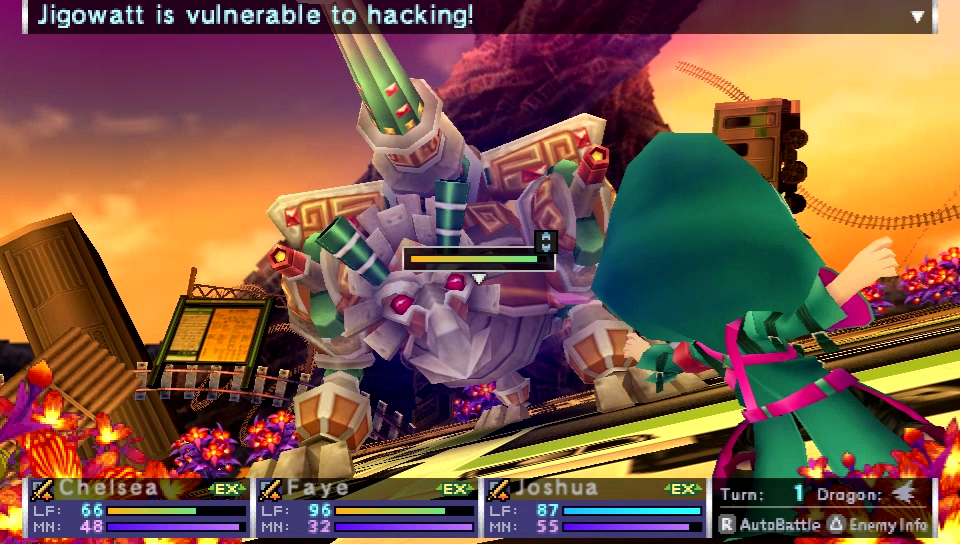
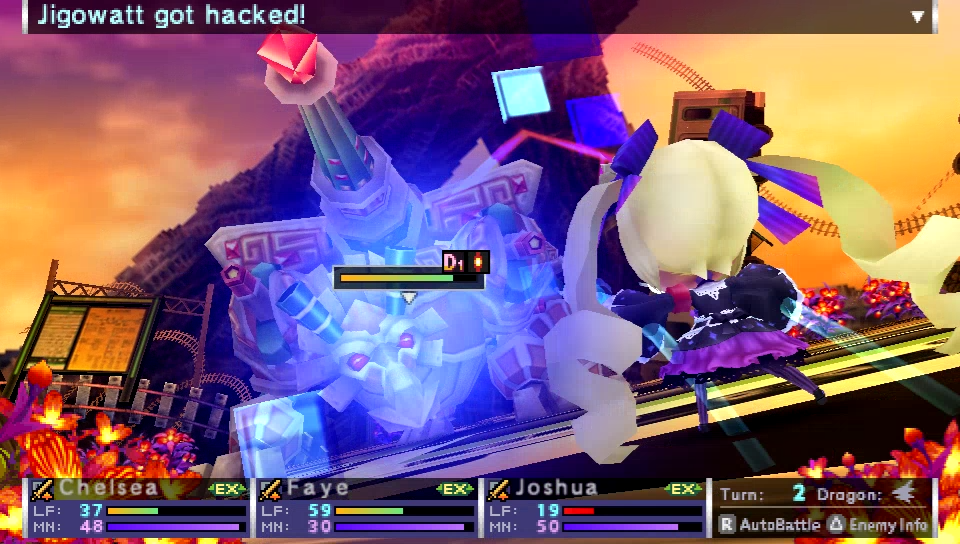 Tch. Don't these dragons know what basic security features are?
Wow, I really was not expecting that to work since that only had a 24% chance of going through.
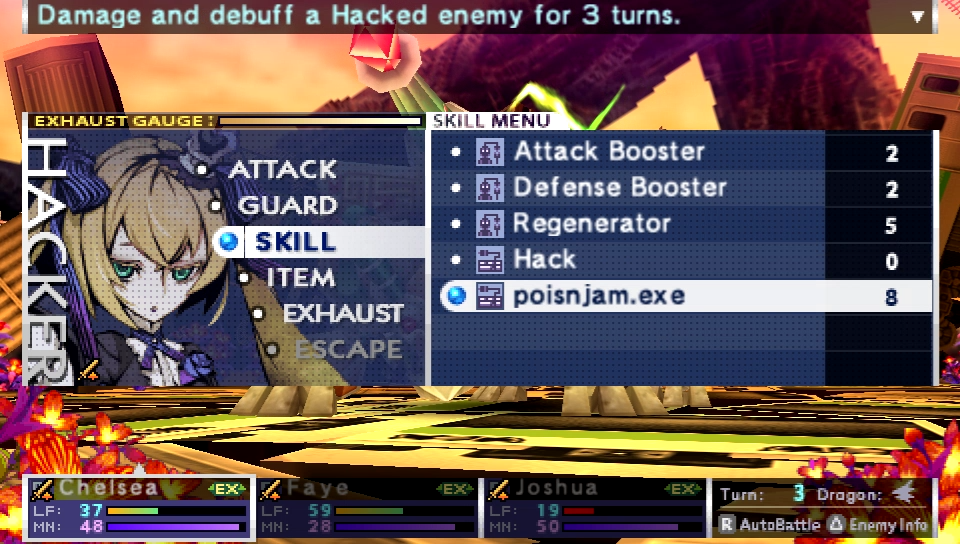
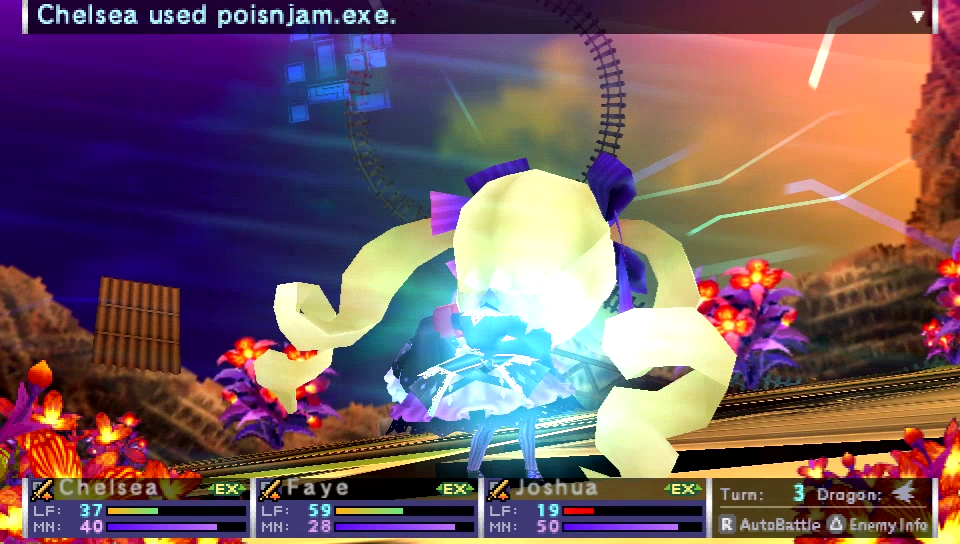
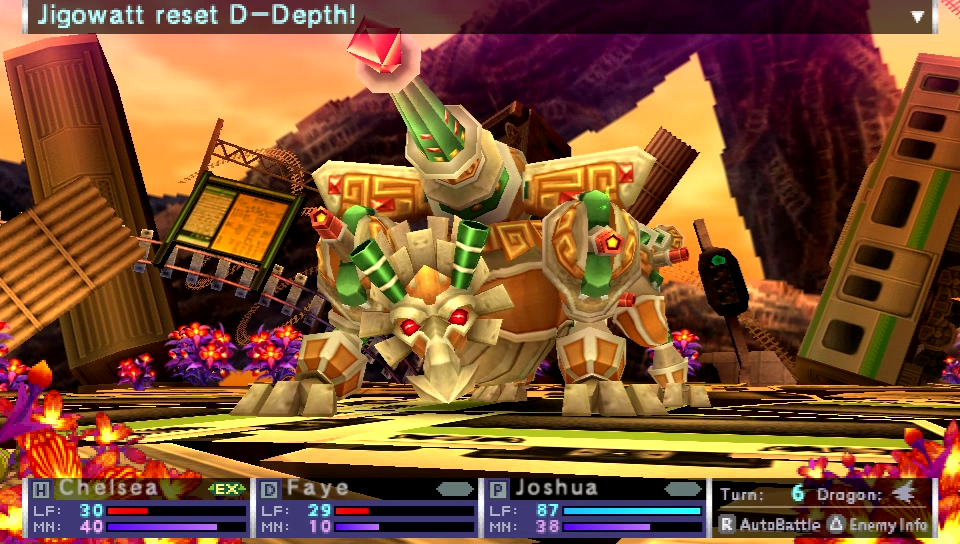
Since Chelsea successfully hacked Jigowatt, that lets me debuff it with poisnjam.exe.
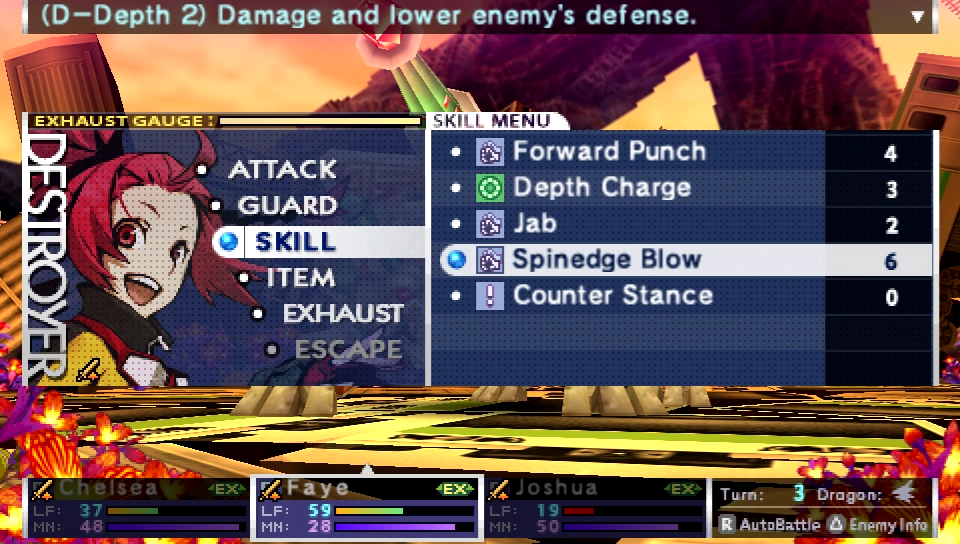
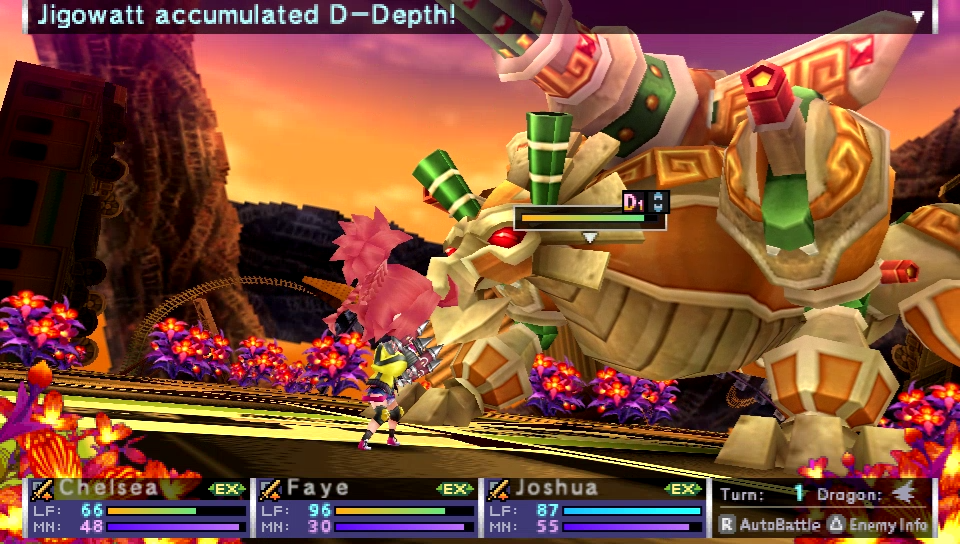
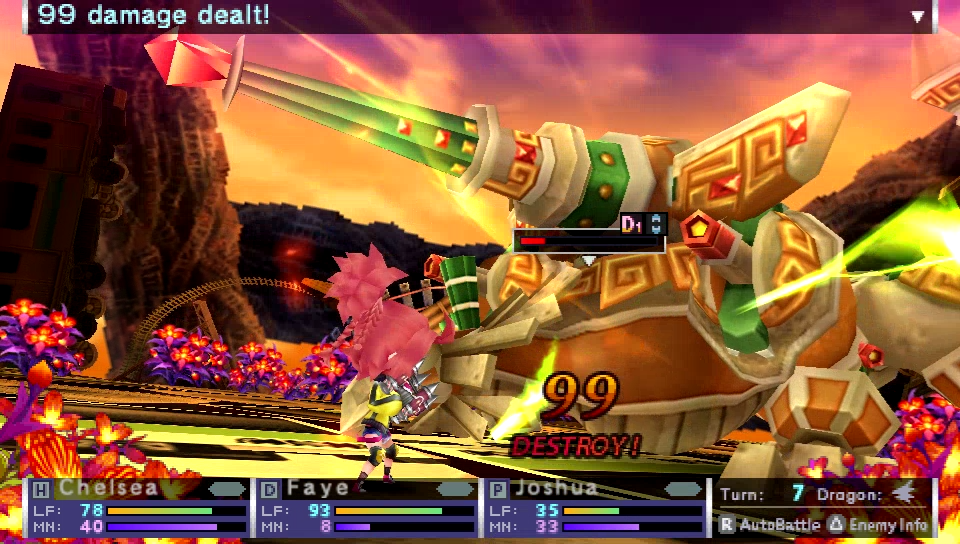
Jigowatt has 2 stacks of D-Depth on it now, so Faye can use Spinedge Blow on it.
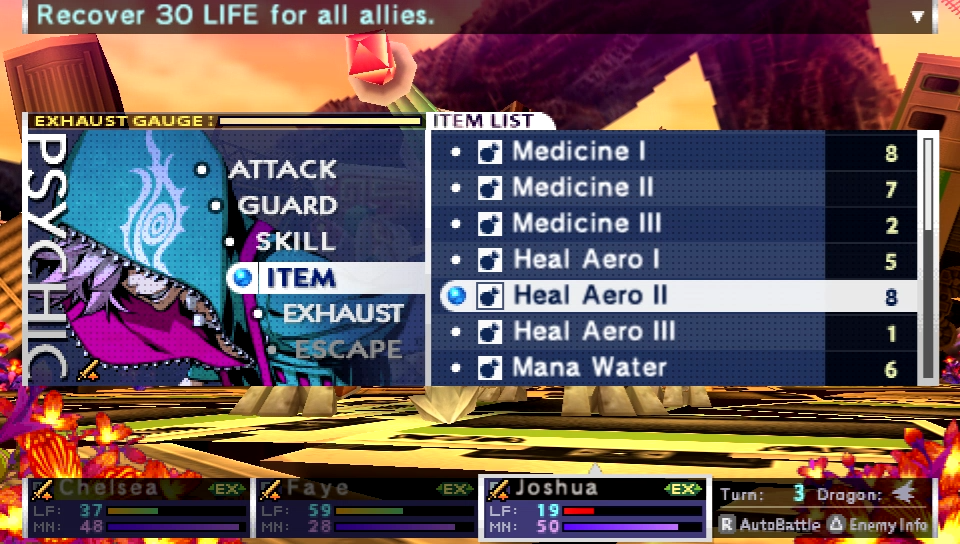
Everyone else is looking a bit beat up, and Joshua is my fastest party member, so I'm gonna have him heal up the party. Won't be using the Healing Aero III just yet. Gonna save that for now.
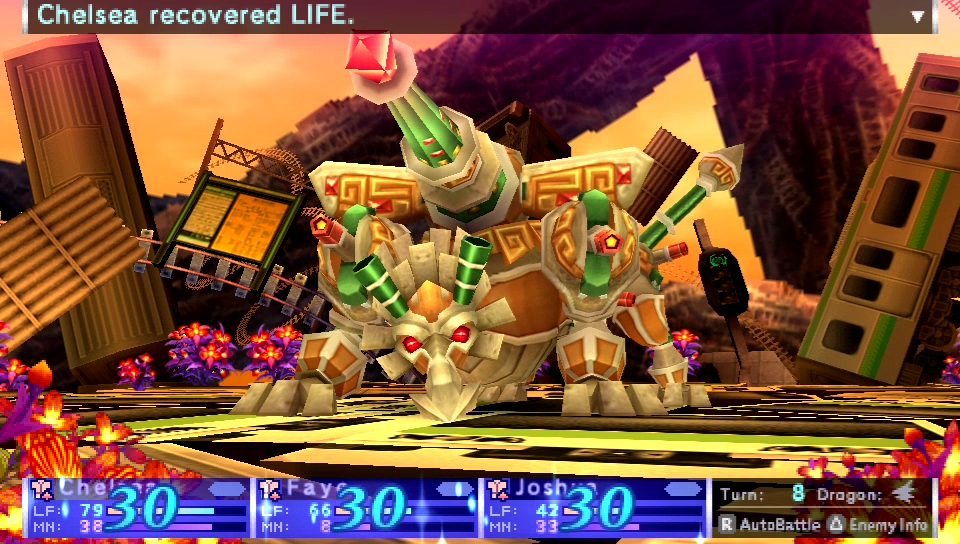
 Not my fault that you were dumb enough to turn off your firewalls.
 Gather round ladies! Much appreciated. Ahhh, thanks!
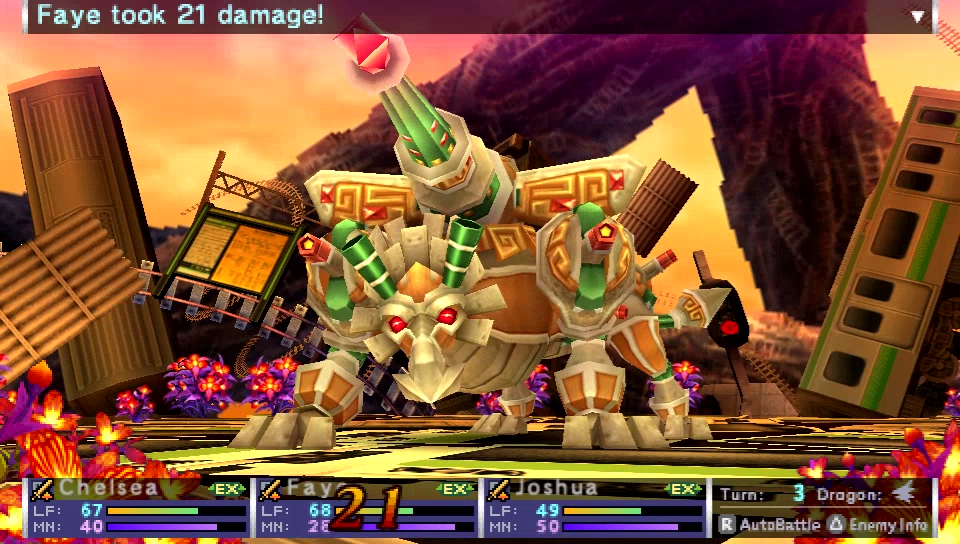
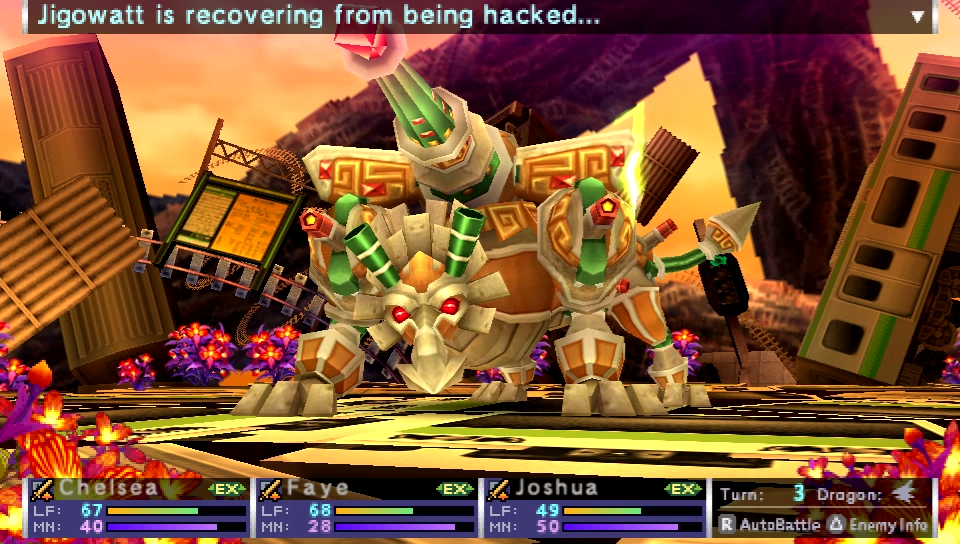
Ahahahaha! In addition to letting Hackers use various skills on the target, Hack also causes the target to have a 50% chance to not act.
 Backhand of justice!
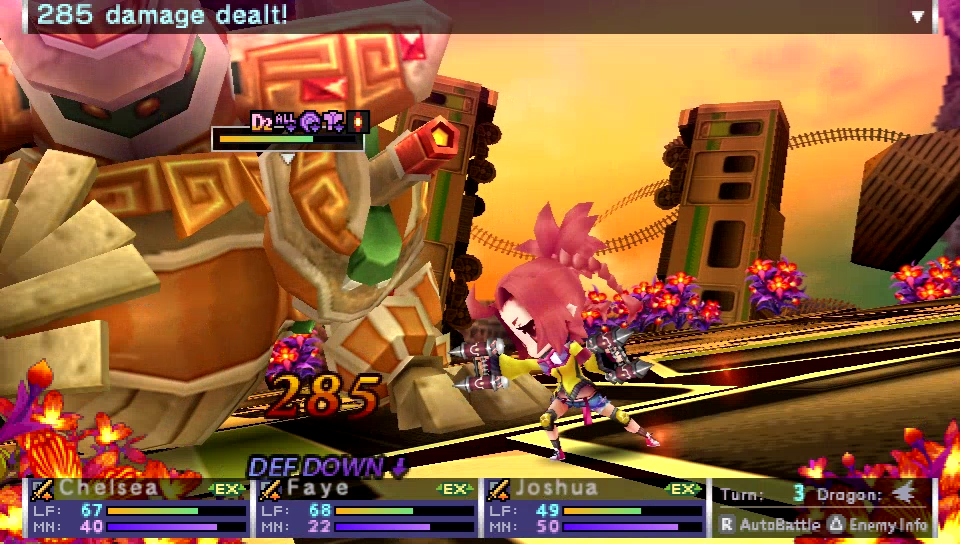
 I broke your stupid stuff, moron!
Unfortunately, hacking has a really short duration of 2 turns. So you either capitalize on it, or you don't.

Chelsea has nothing better to do, and Joshua needs to go back to dealing damage. So she's gonna be my designated healer for the rest of the battle.
 Hee hee! Get ready for the ultimate beatdown!
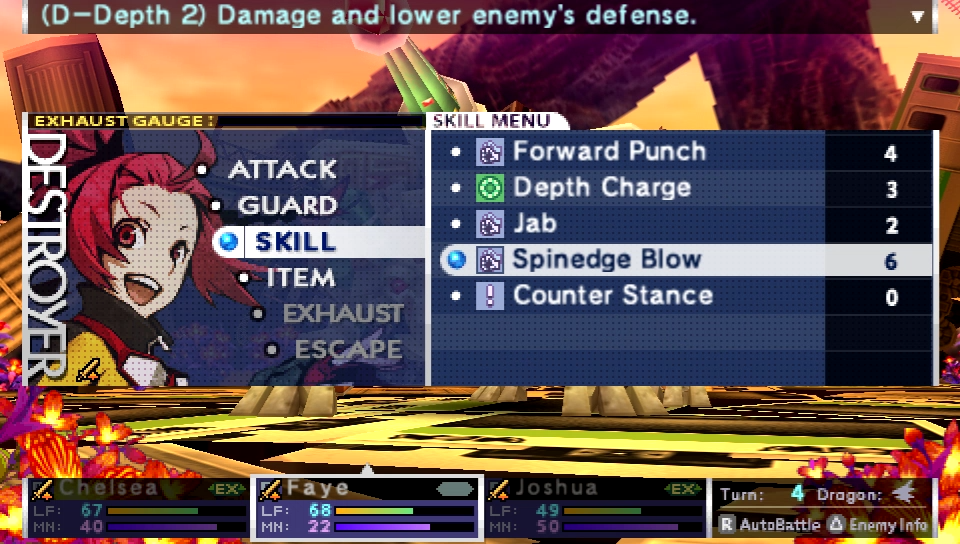
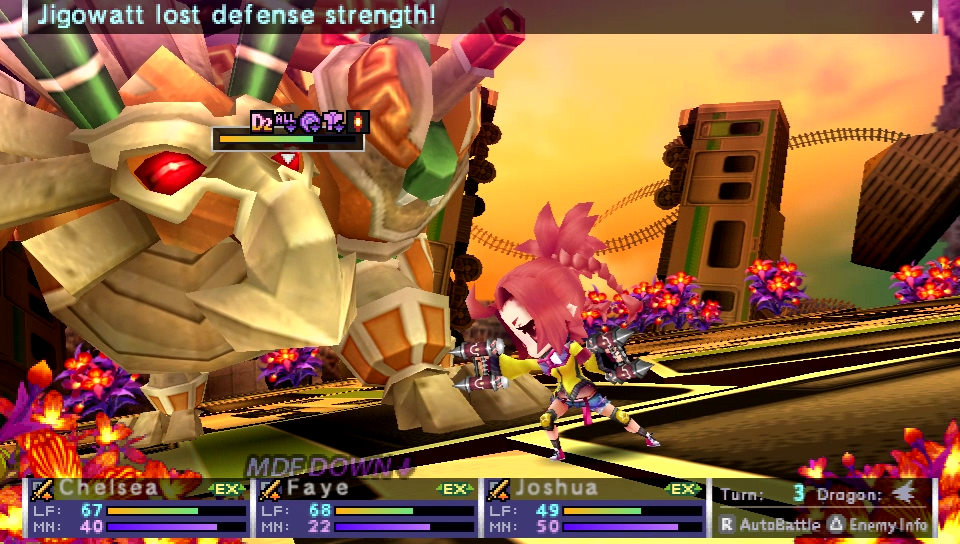
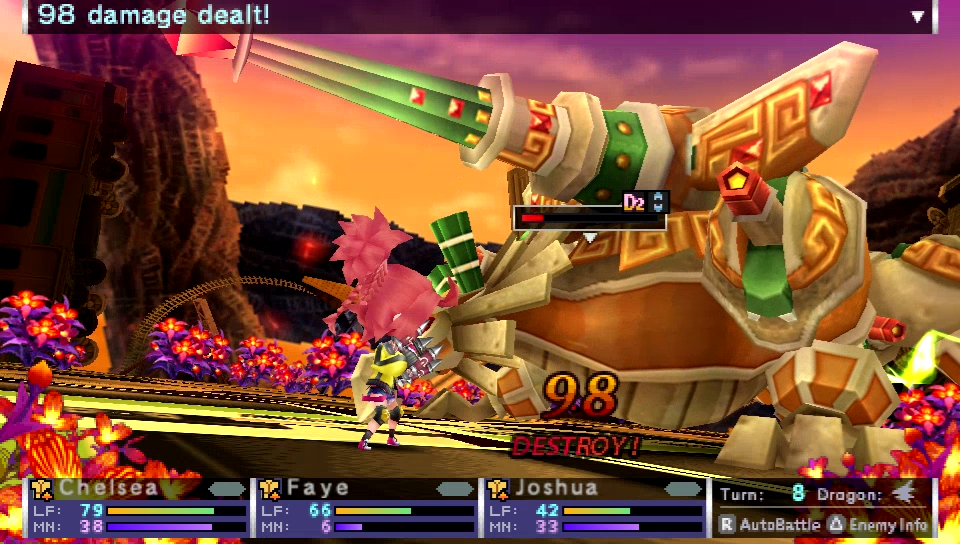
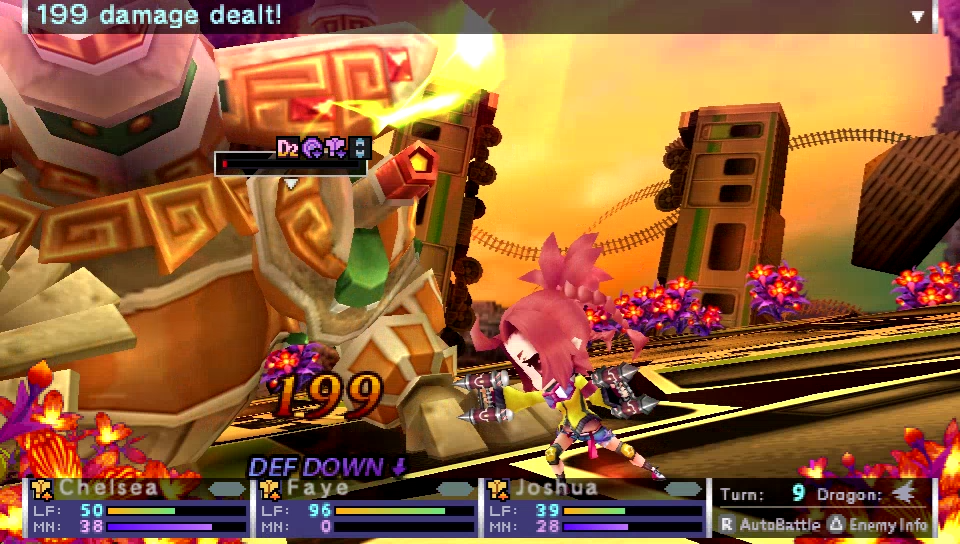
Since Chelsea is amplifying the damage Jigowatt takes, and Faye lowered its defense stat on the last turn, I'm gonna hit it with an EX-boosted Spinedge Blow.
 Time to show that thing what I can really do!
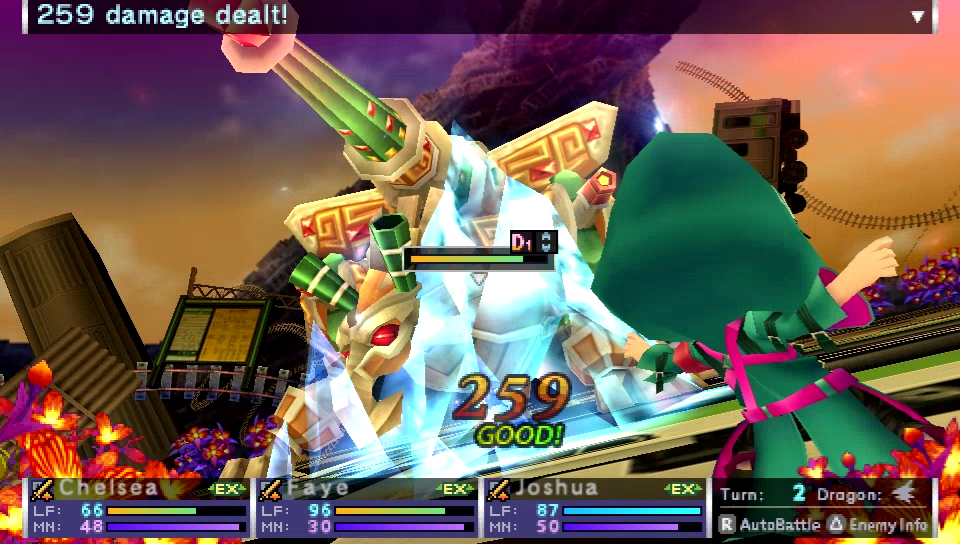
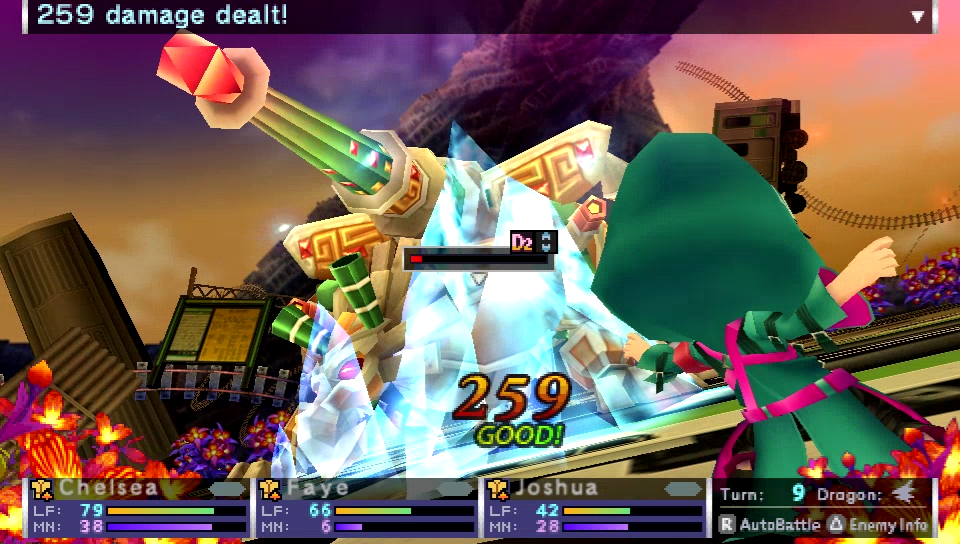
Joshua will just throw out an EX-boosted Freeze.
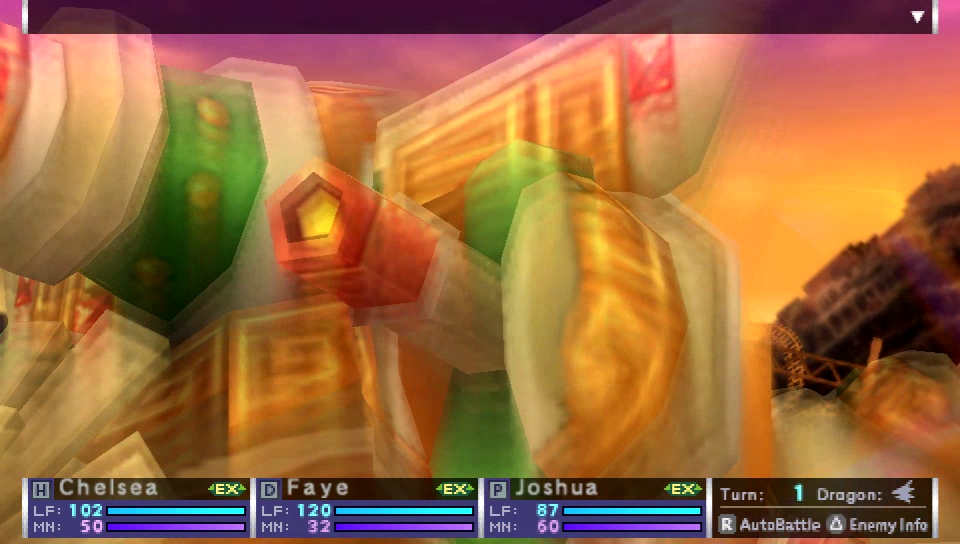
 BOOM, BABY!
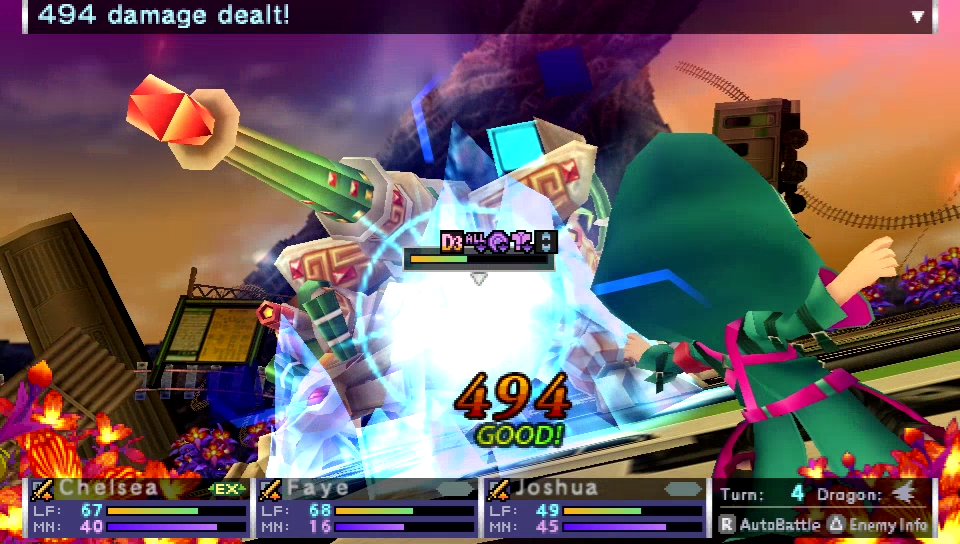 Ice to meetcha!
Mm, that is some good damage.
 I... don't like where this is heading. Me neither. Hold still for a second.
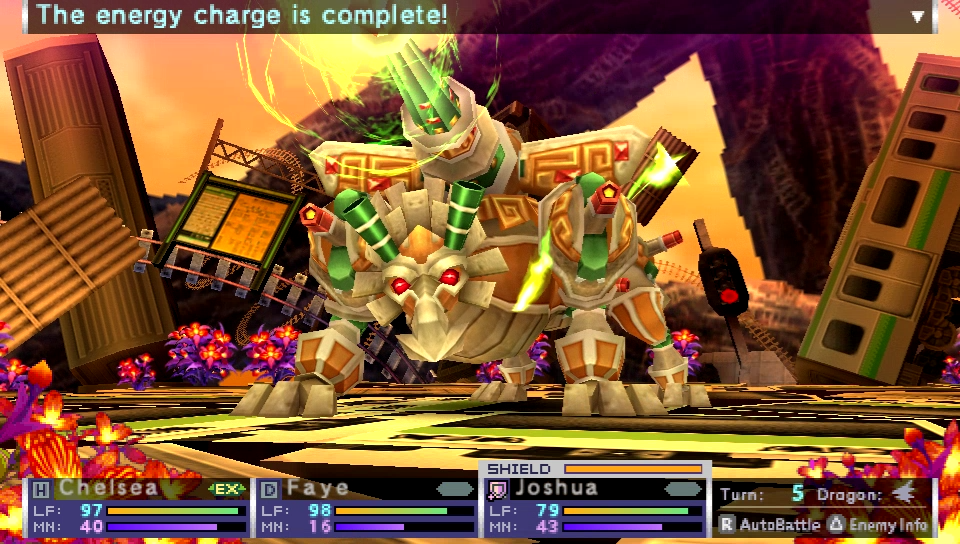
When Jigowatt uses Rail Charge, heal up. Rail Charge telegraphs that it's about to unleash its strongest attack in a few turns.
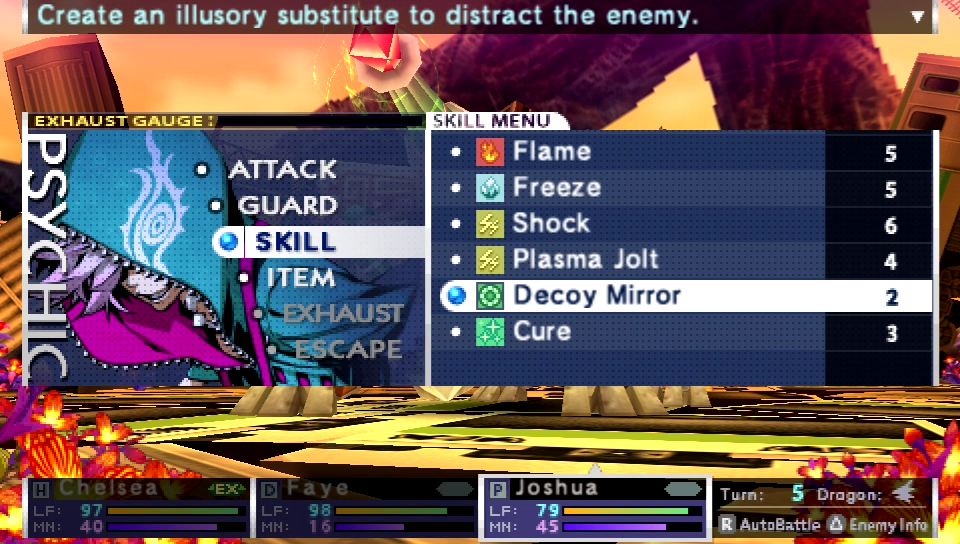
I have Joshua set up a Decoy Mirror to deal with the incoming Railgun, so he doesn't need to worry about that.
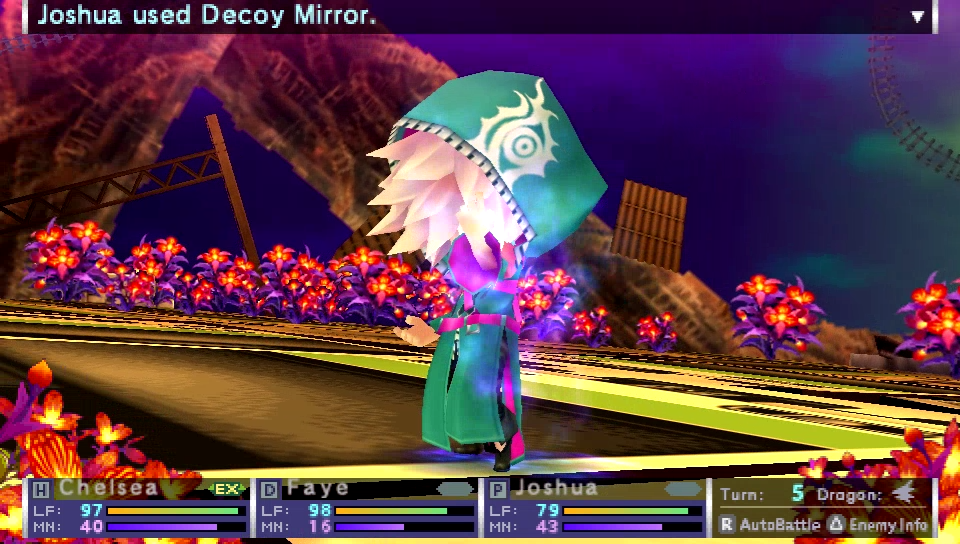
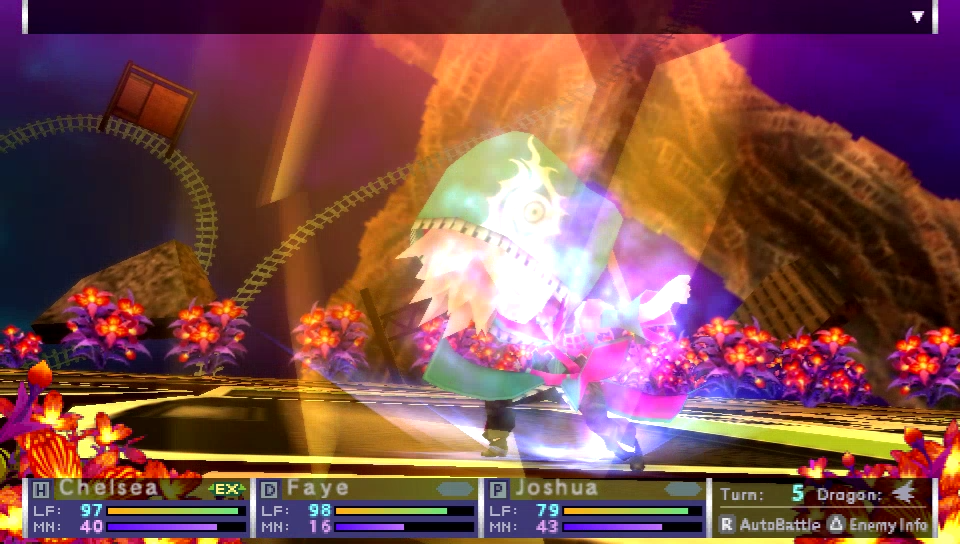 Ha! Whatever it's about to do, it won't be able to get past this!
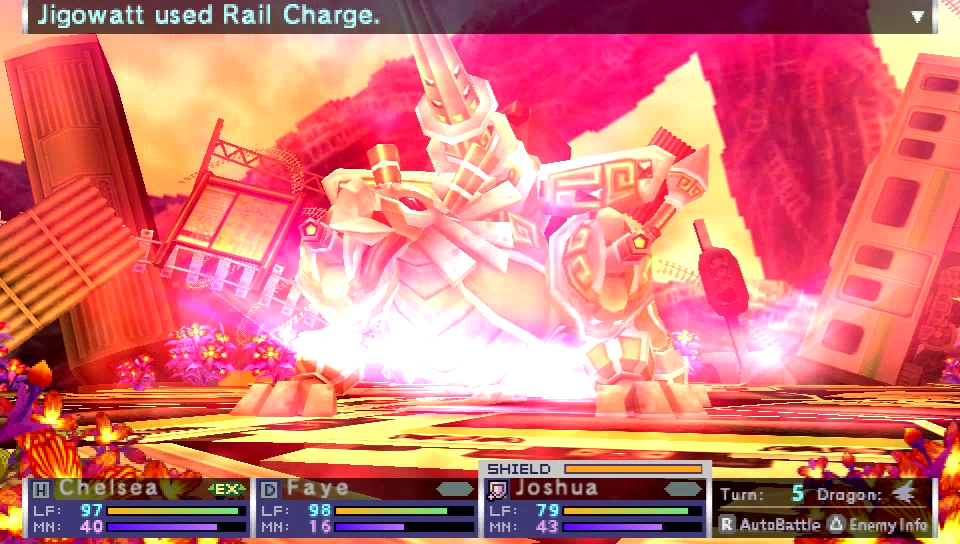
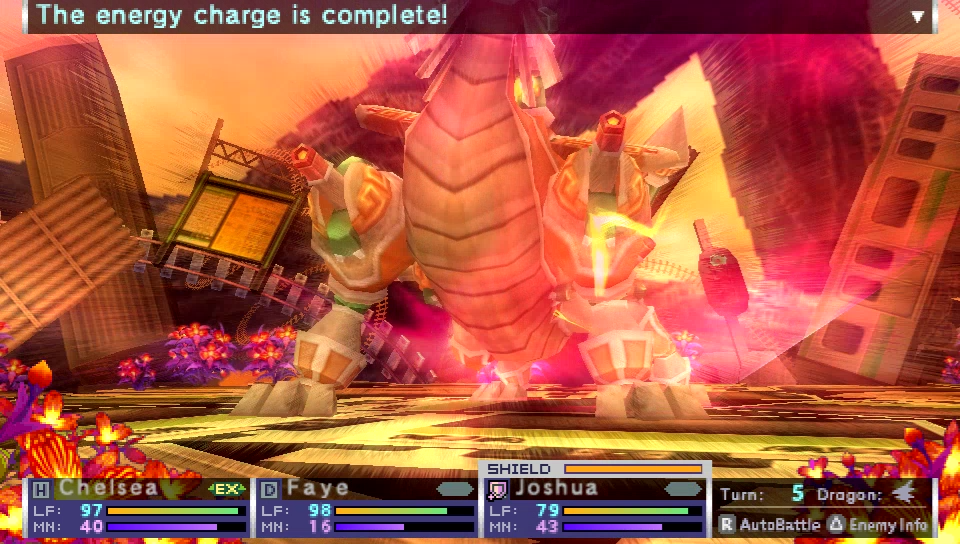
There's Rail Charge Alpha. If your party isn't fully healed on this turn, well it's gonna suck, I'll say that much.

Chelsea and Faye are forced to guard since they can't survive Railgun otherwise, but Joshua can keep going on the offensive.
 Yo, Josh! There's room under that shield for 2 more, right? Sorry ladies, every man for himself! Oh, you suck!
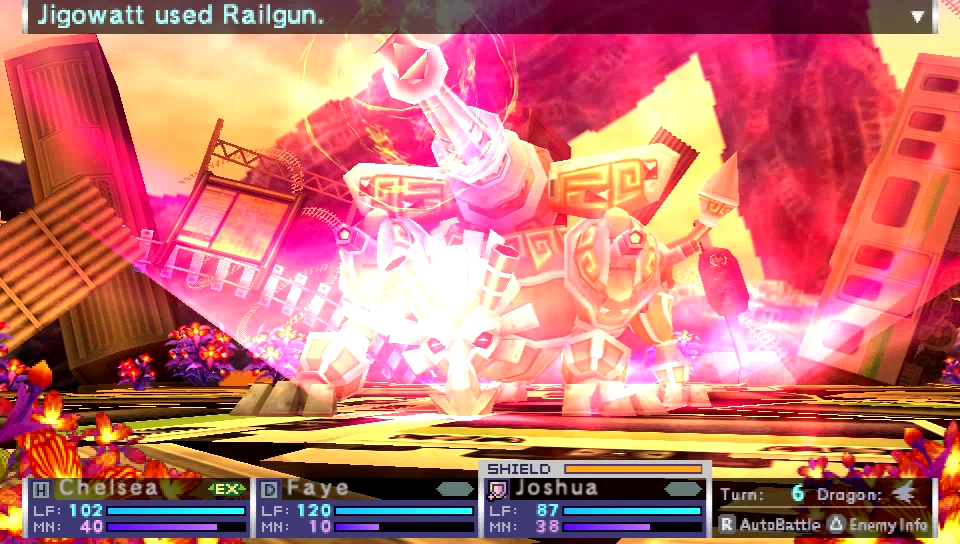

 AAAUUGGHH! You know what Joshua? I changed my mind about letting you borrow my copy of VFD. Wha!? But but, oh come on! You can't be serious! Ooh, sucks to be you right now! Ow ow ow.
Yeah, Railgun is pretty much a one-hit kill if you aren't fully healed and don't guard against it.
Great, now Faye has to start jabbing Jigowatt again before she can deal some good damage to it.
 Special delivery incoming!
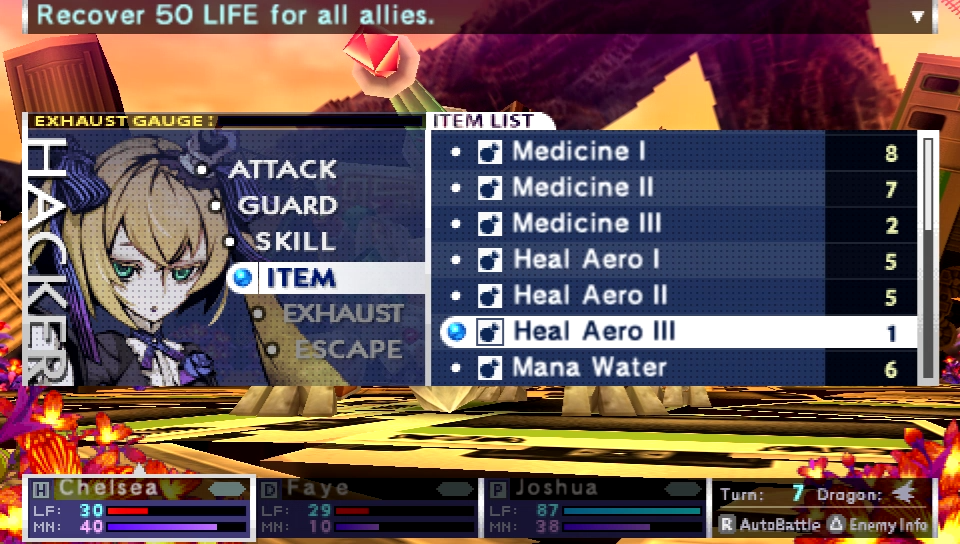
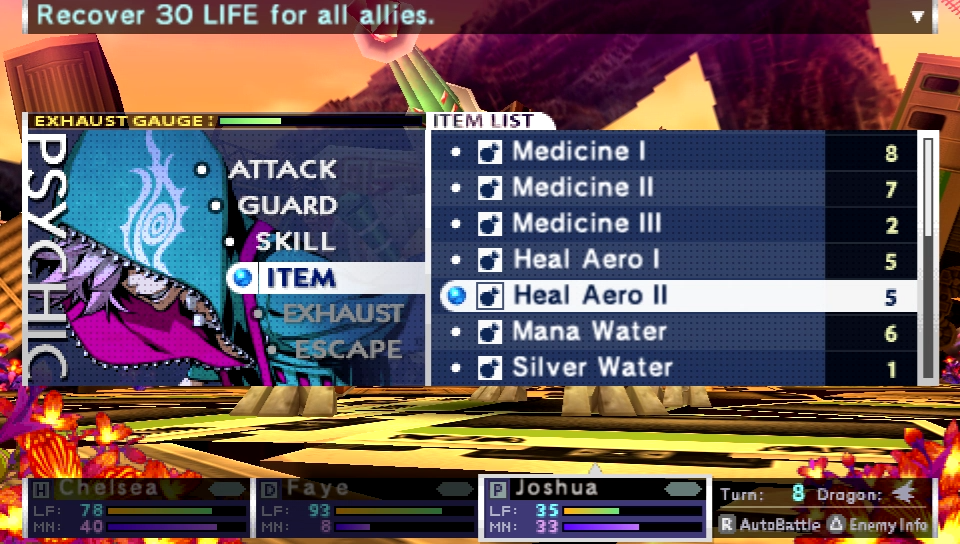
Gonna have Chelsea throw out an EX-boosted Heal Aero III so her and Faye won't get finished off by Jigowatt's attacks.

 Awww, were you hoping to pin us down? Too bad!
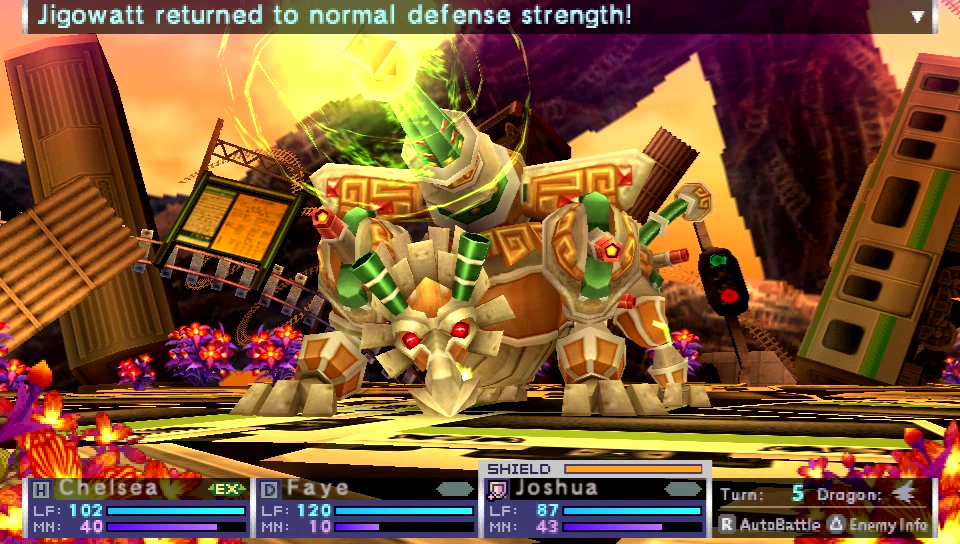
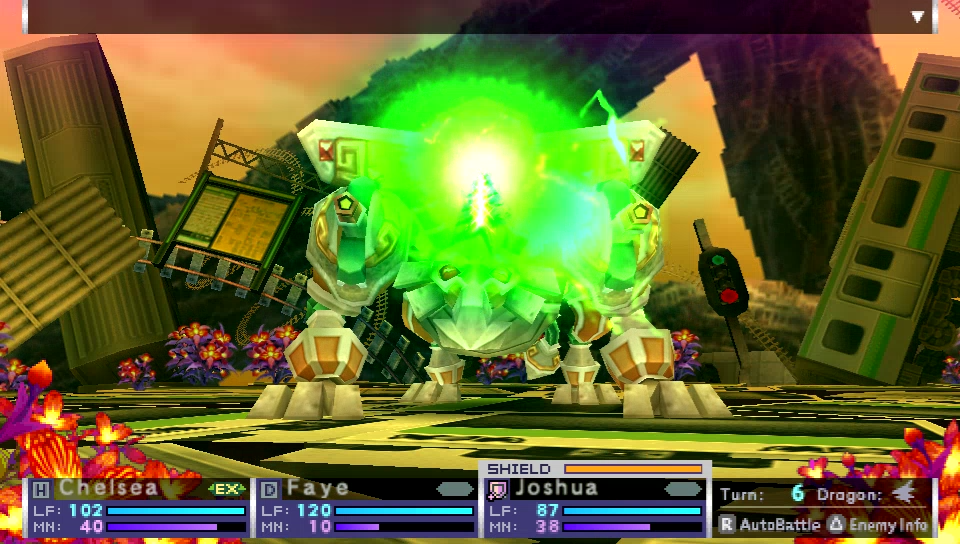
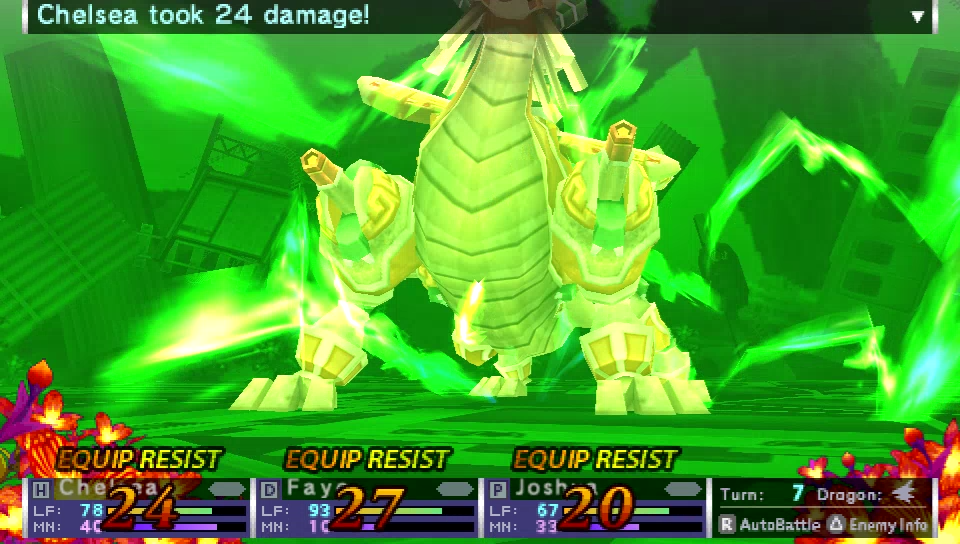
Once Jigowatt is below 50% Life, it starts throwing out Discharge. This is why you want something to guard against Paralysis. At this point in the fight, being inflicted with it can turn the tide back to Jigowatt's favor. If an ailment gets nullified by equipment, the game will tell you if it did so.
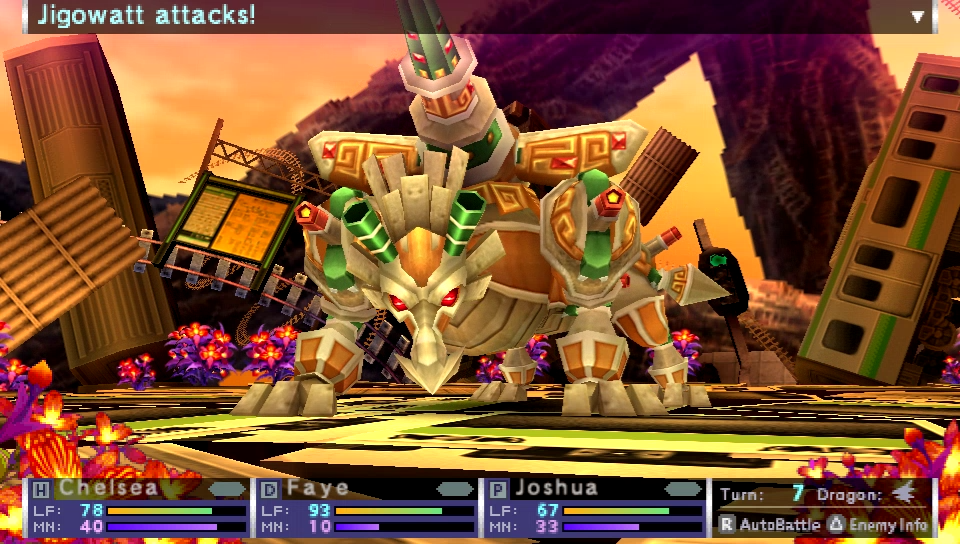
Jigowatt's attack animation for its regular attack also changes at this point, but the attack itself doesn't change one bit. No idea why there's a new animation for it.
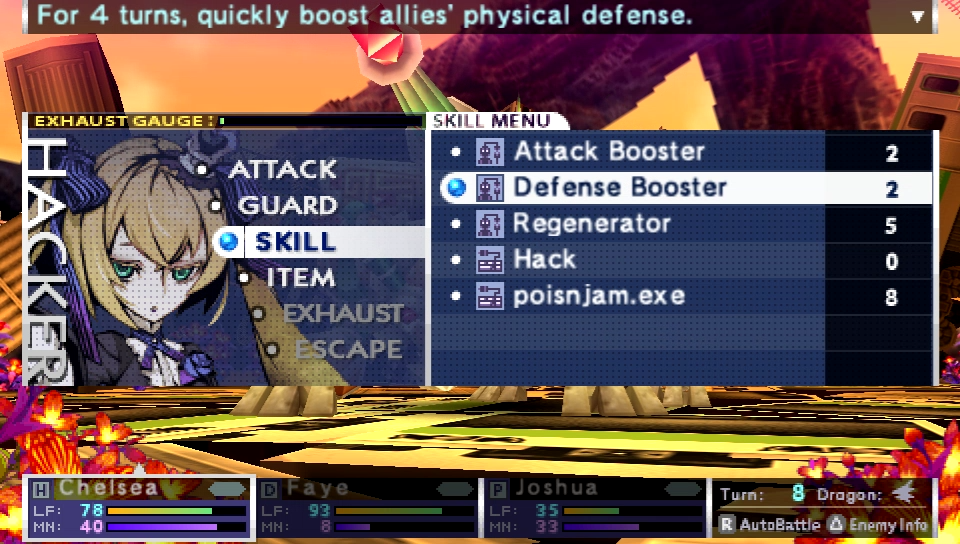
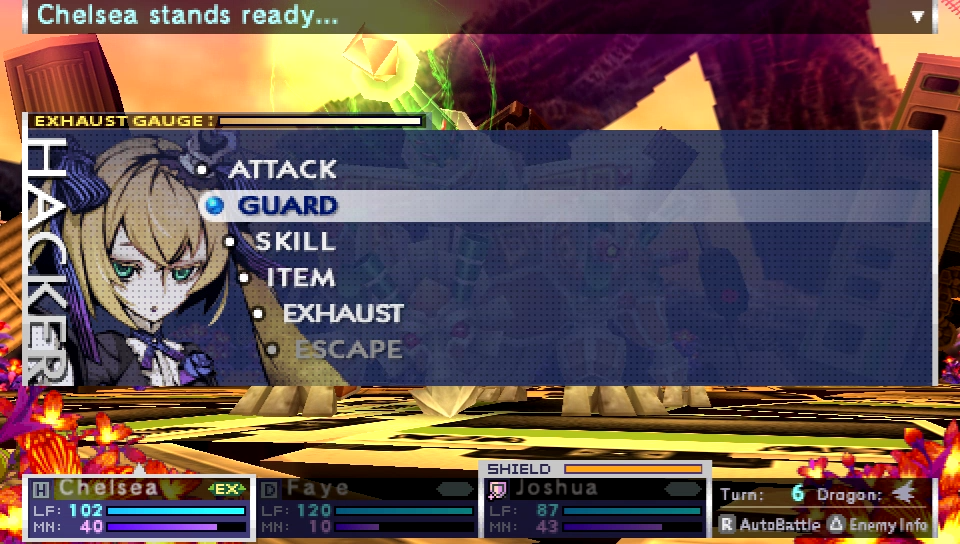
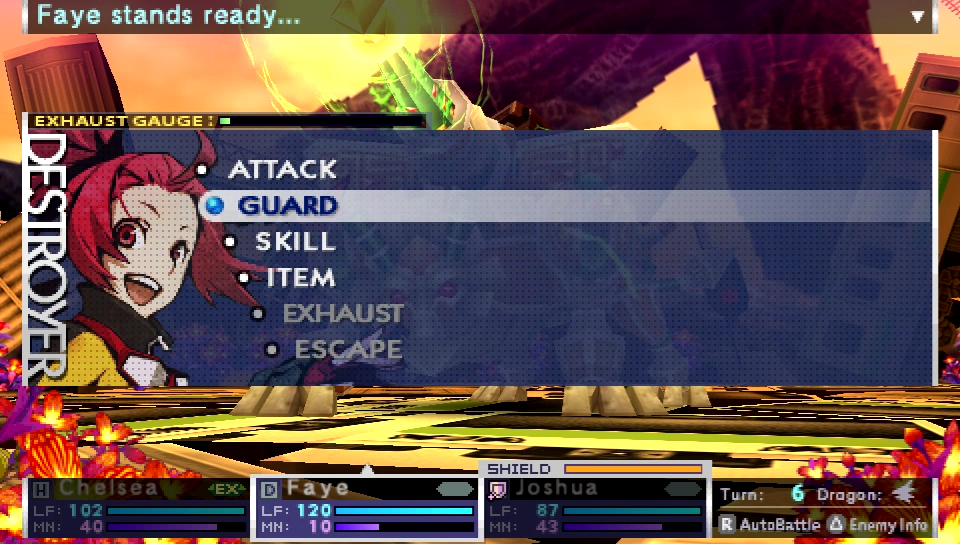
Jigowatt is almost dead, so I'm gonna have Chelsea boost everyone's defenses to secure my victory.
Hopefully, Joshua can heal everyone up before Jigowatt attacks.
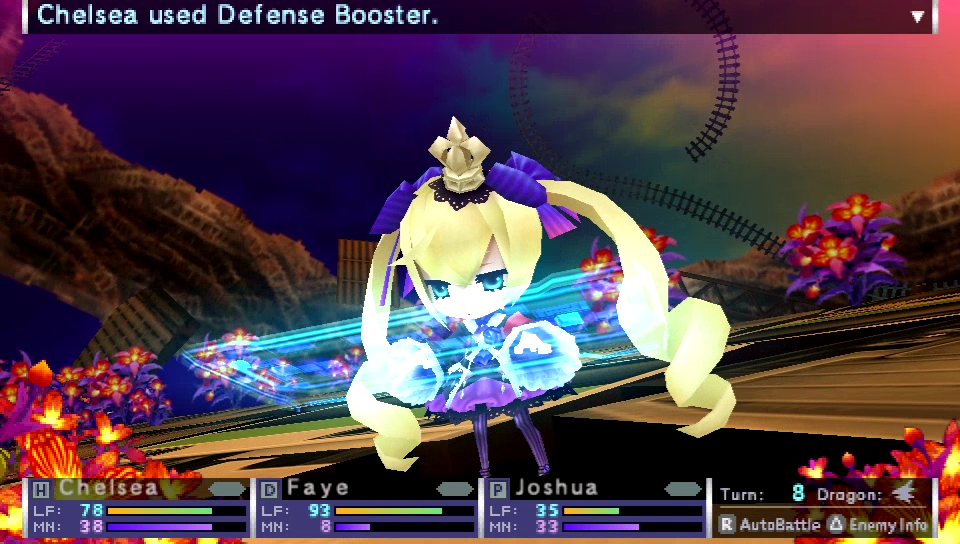
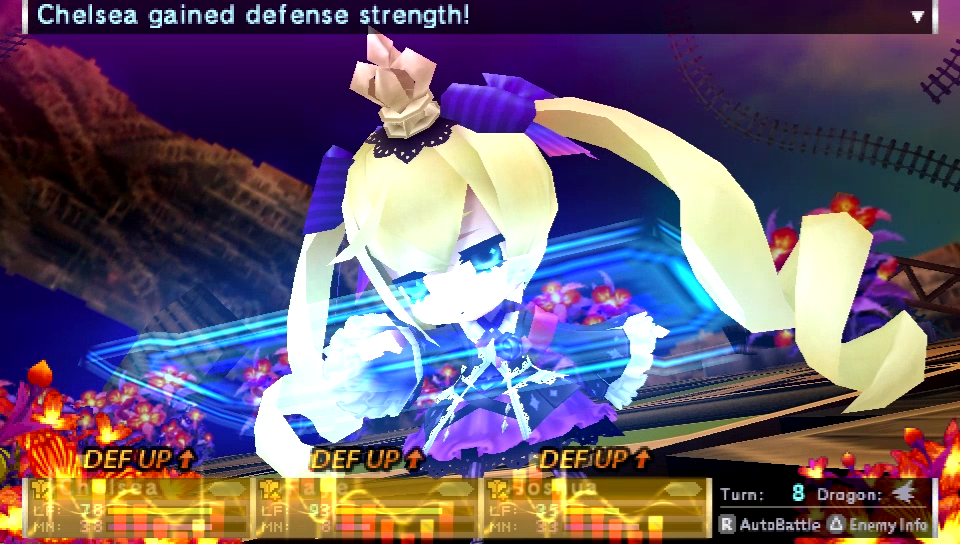 Activating defense hacks.
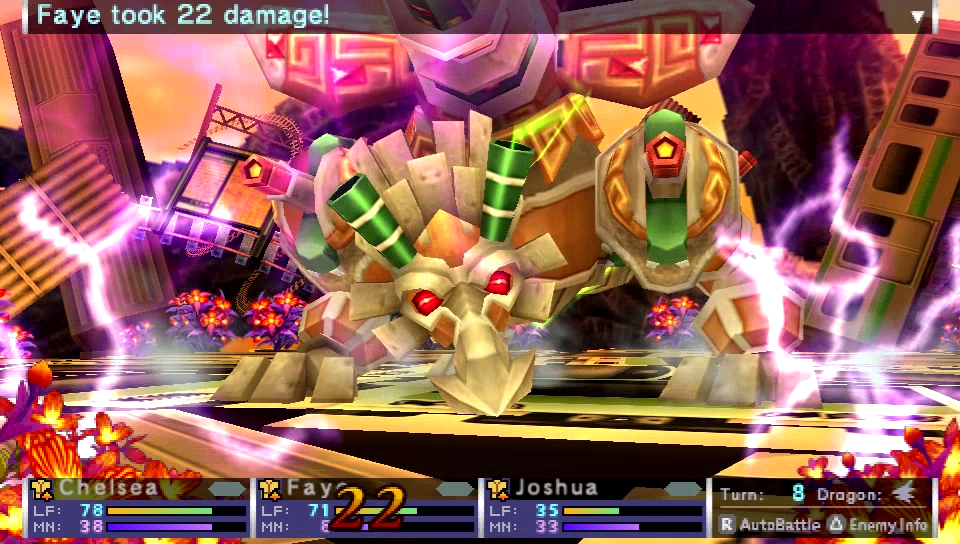
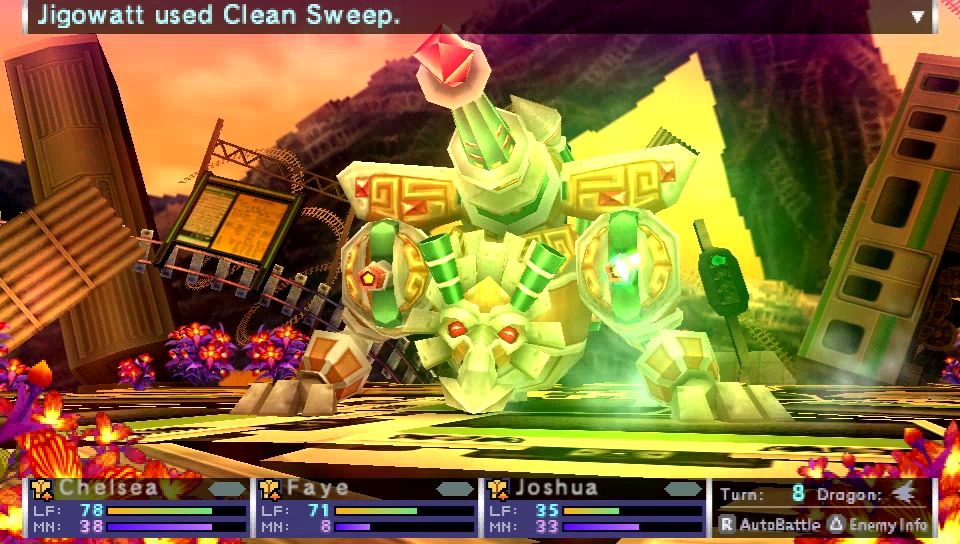
Oof. Yeah, setting up Defense Booster was the right call there. And thankfully Clean Sweep didn't manage to kill anyone.
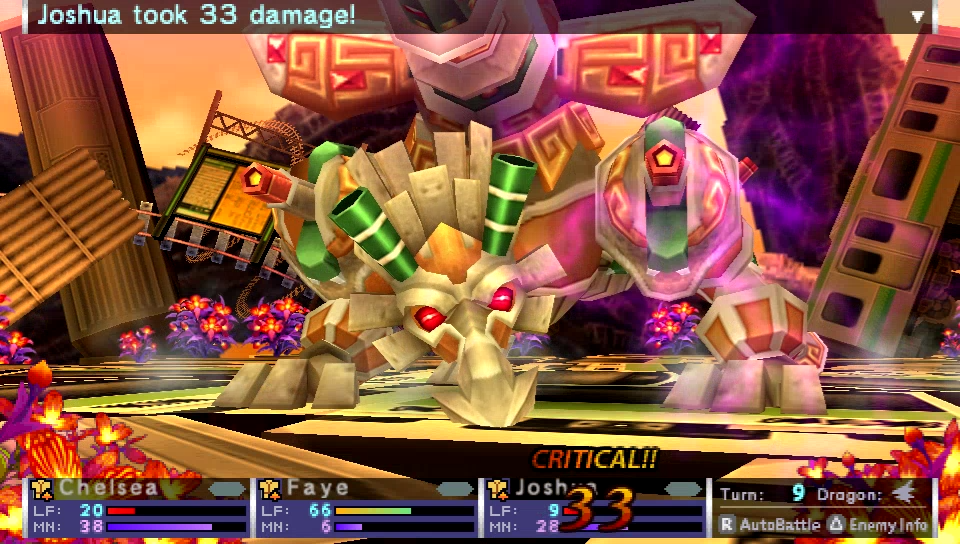
Oh hey, Jigowatt managed to get a crit.
Not that it matters, because it's almost dead.

Time to finish it off.
 You're dead, and that's a cold hard fact!
And Jigowatt goes down. Not a super tough fight, but if you're just learning the ropes, it can be a bit of a brick wall.
Jigowatt is dead.
 Let's collect a sample and return back to City Hall. ...Everyone's still alive.
Chelsea does so.
 Um, what was that?
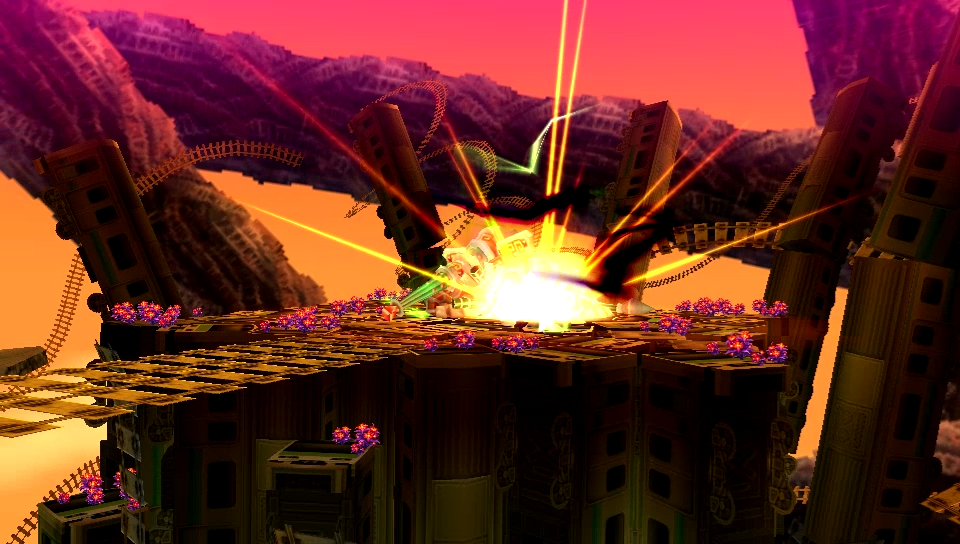
The screen flashes white a few times and a whirring sound is heard.
 Electromagnetic radiation...?! There's going to be an explosion!! ...Are you serious? Ugh, how clich�. Uhh, we better book it! Like, now!
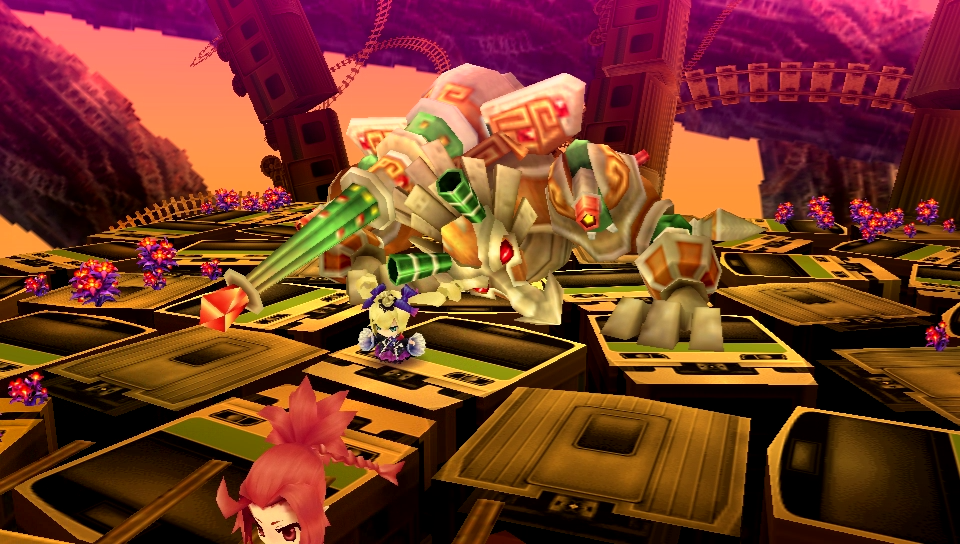
Unit 13 flees.
The screen shakes throughout the scene, then...
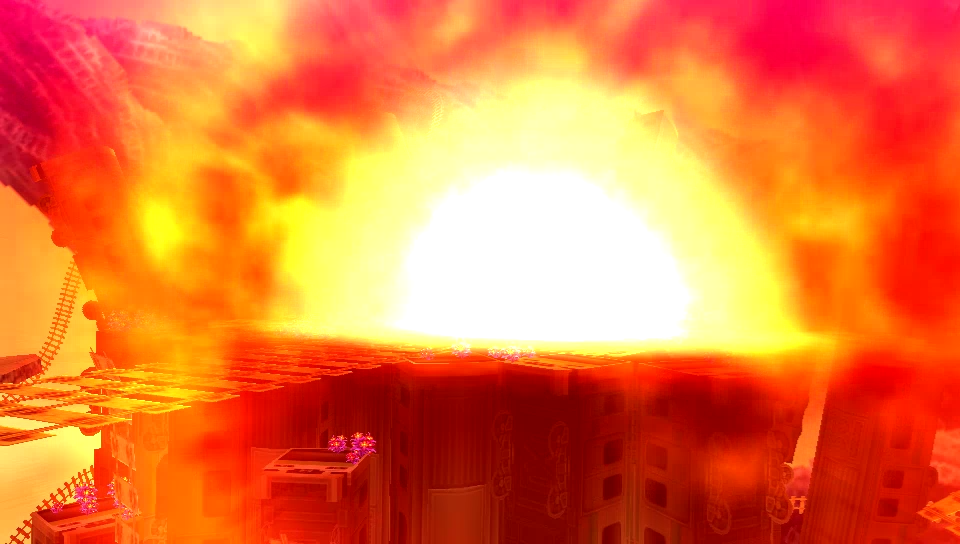
BOOM!
With Jigowatt dead, the Bloom recedes from the Ikebukuro Railcage.


And a bunch of new facilities can be repaired at City Hall. Let's get to doing that.
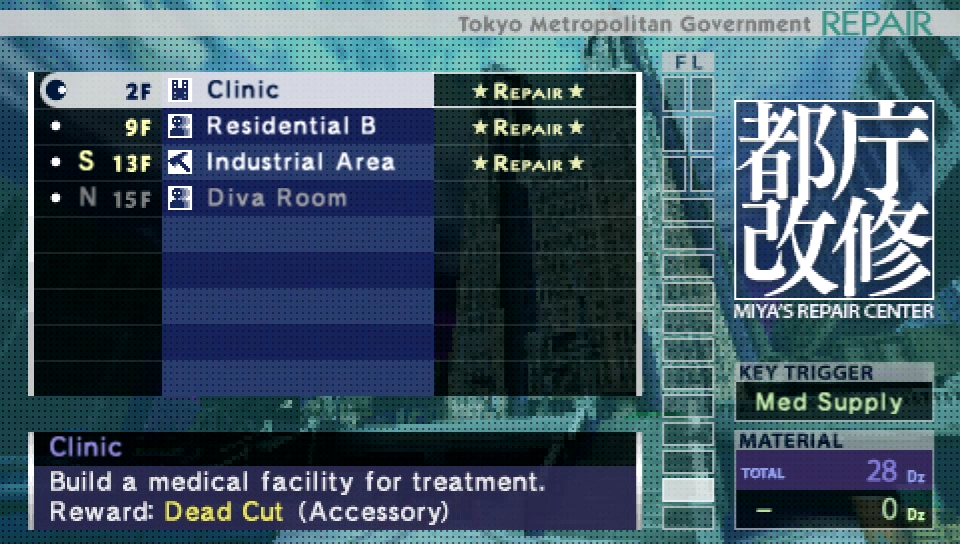
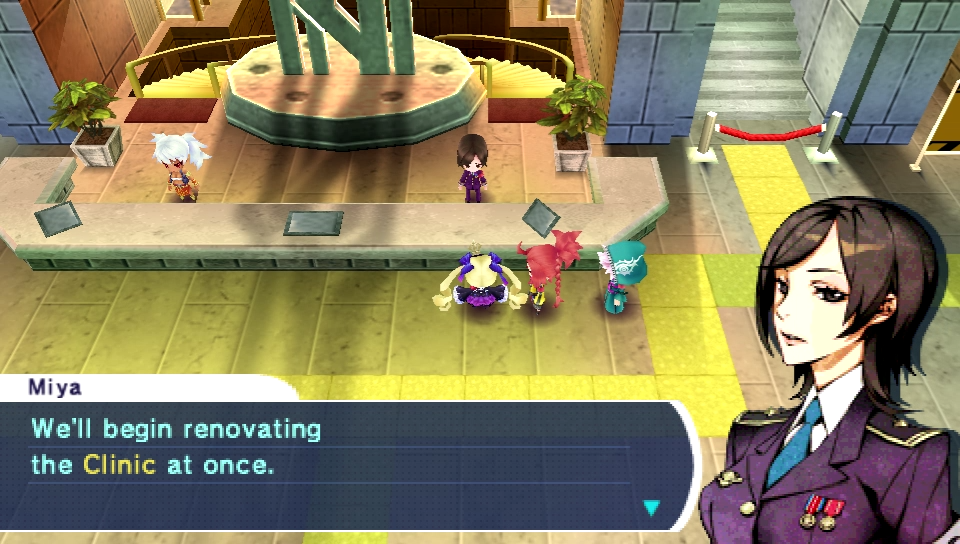

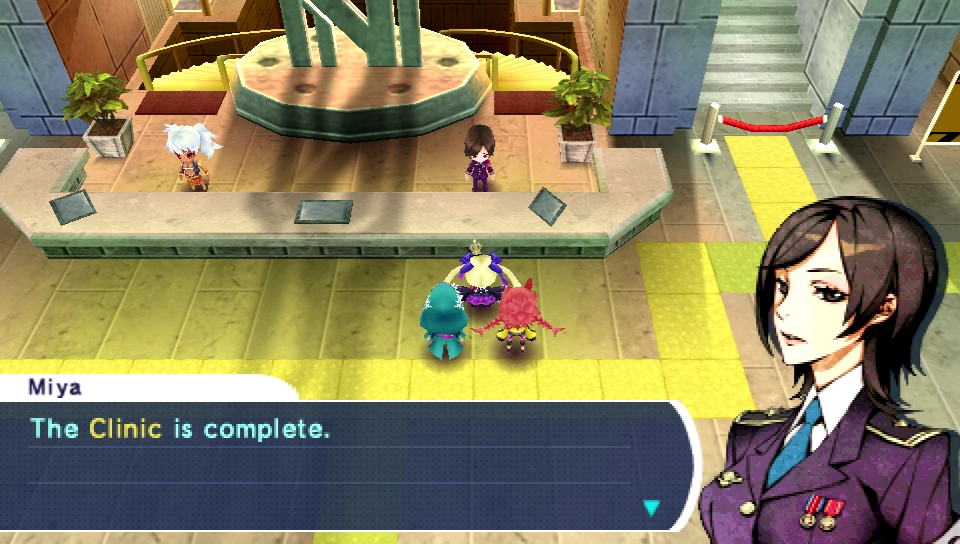
And this lets us repair some other facilities.
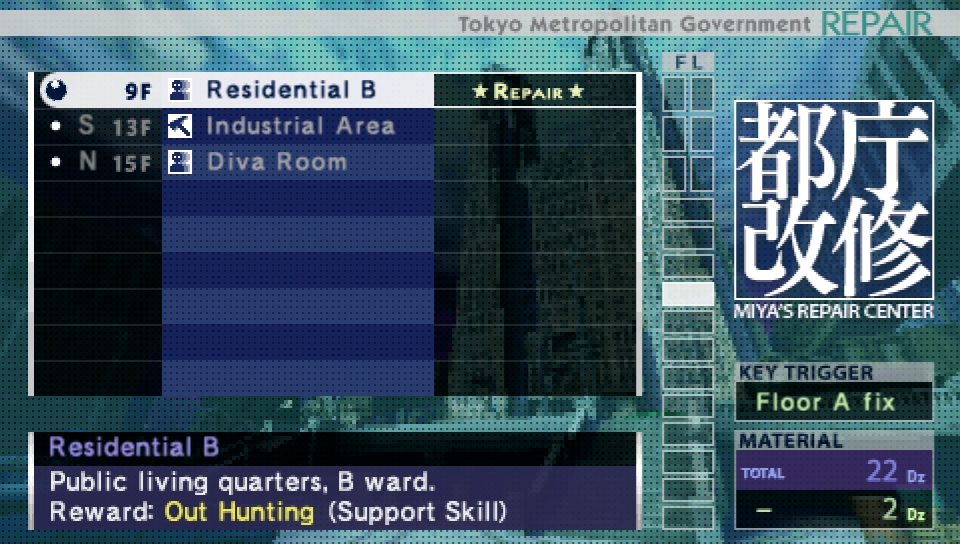
Namely the residential area, which unlocks more quests.
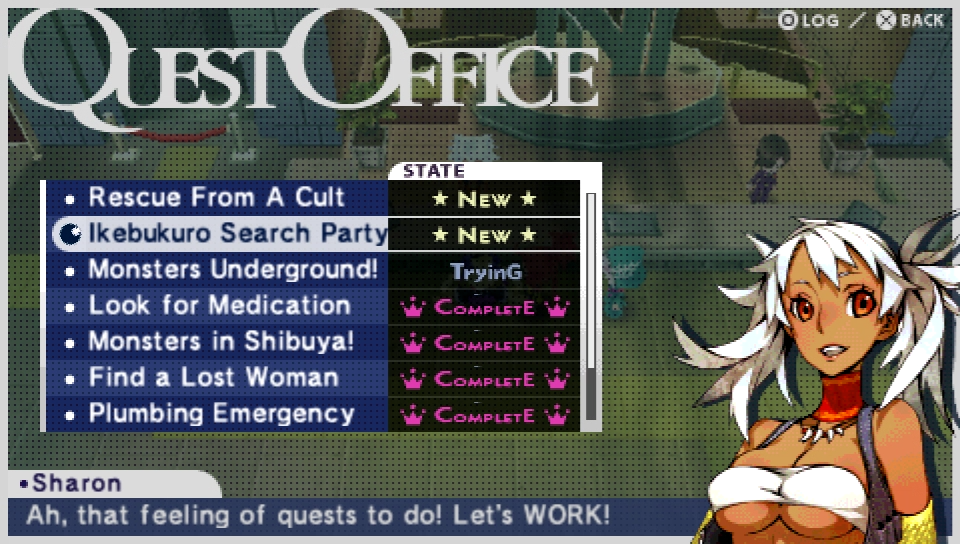
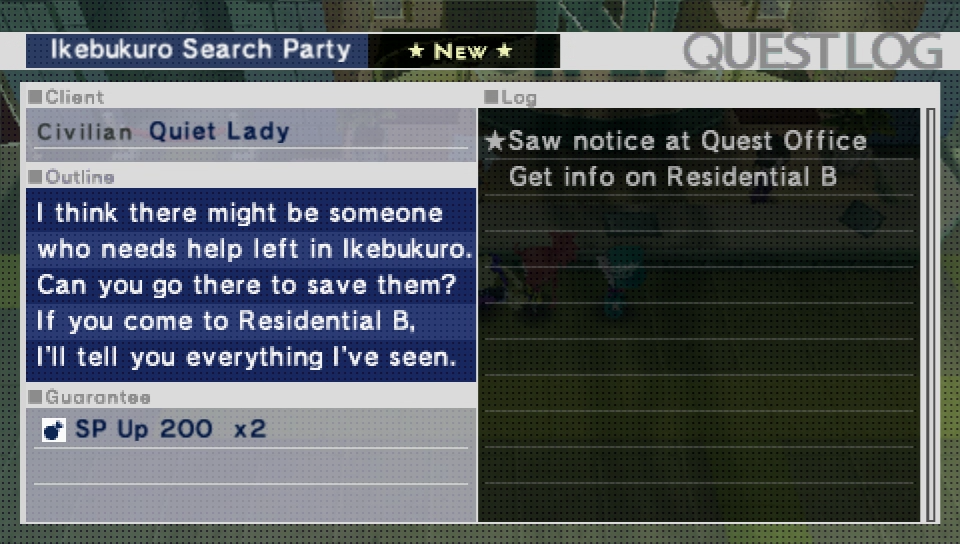 Wait, someone got left behind there? Huh. I thought we rescued everyone. Guess not. Then what are we waiting around here for? Let's go already!
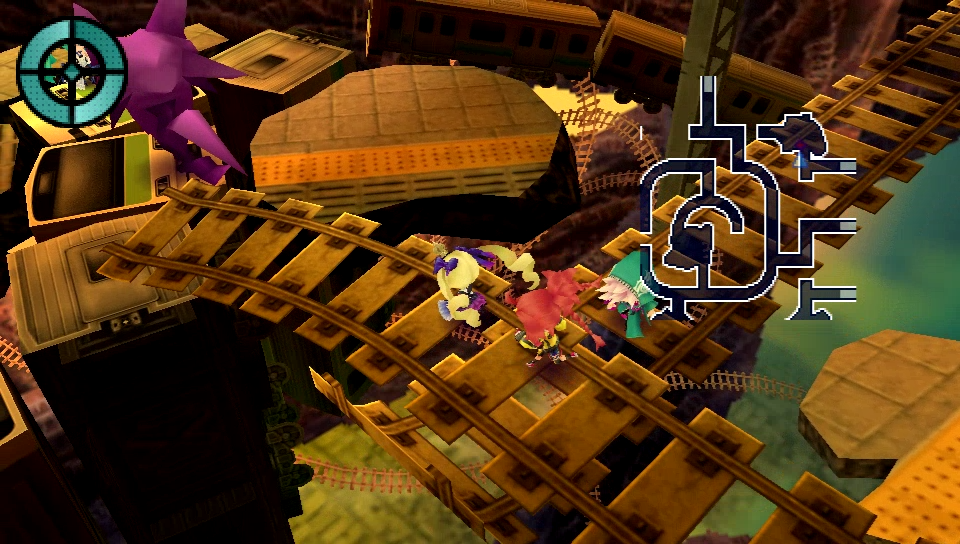
This is the place where we need to head to.
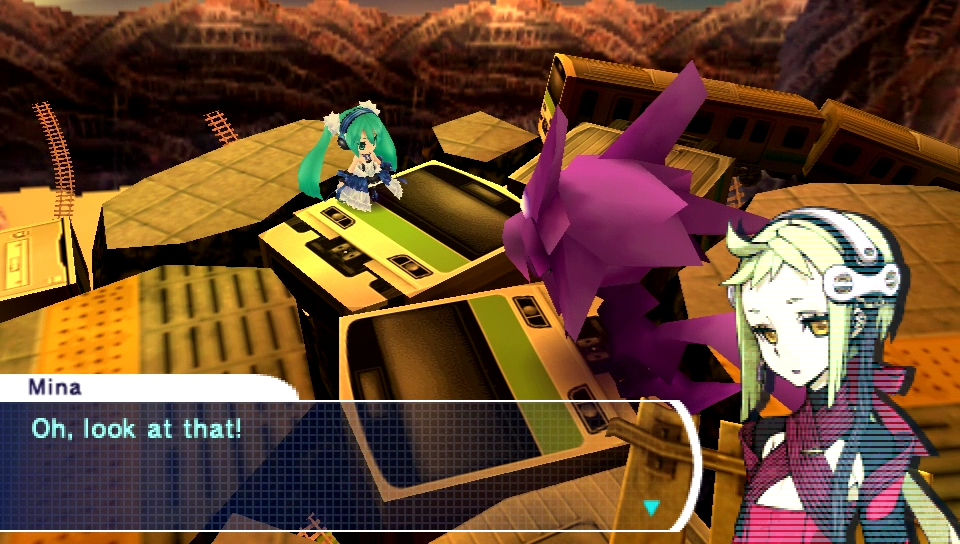

Yes, you are seeing that screenshot correctly. Miku Hatsune is actually in this game. In fact, it was a selling point for it.
A girl in a dress... she must be the one! Hurry and help her! Right!

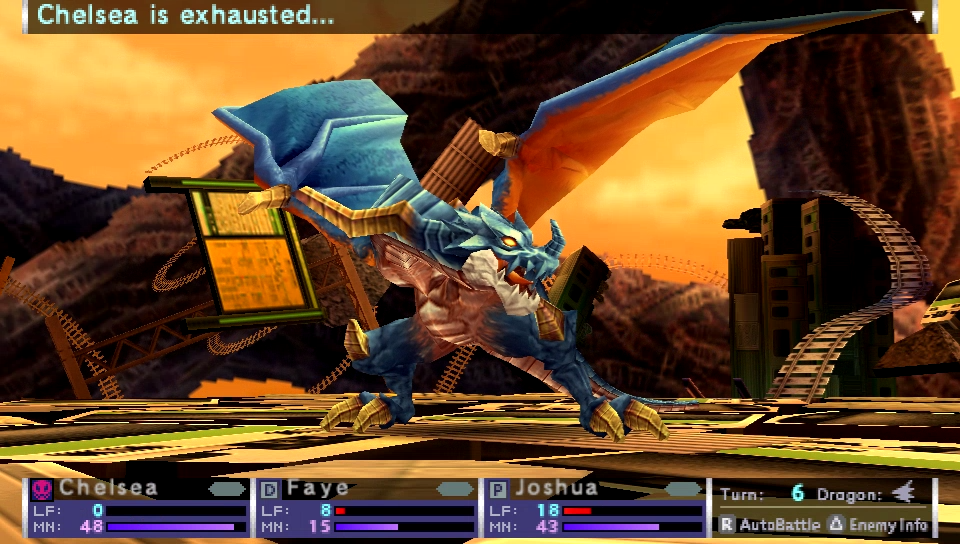
How many times are they gonna reuse that dragon model? Sheesh. Anyways...
Wyvern
Level: 23
LIFE: 1500
ATK: 99
MAT: 82
DEF: 54
MDF: 43
SPD: 30
Enemy Type: Dragon
SP: 150
EXP: 600
DZ: 1
AZ: 500
Item Drops: N/A
Damage Multipliers:
Fire: 100% Ice: 150% Lightning: 0% Aerial: 100%
Ailment Susceptibility:
Hack: 50% Curse: 80% Bleed: 50%
Poison: 0% Burn: 50% Freeze: 50%
Paralysis: 50% Sleep: 50% Blind: 50%
Stun: 0% D-Depth: 100% Debuff: 100%
Skills:
Fire Breath Phi: Deals 100% MAT-based Fire + Breath damage to all party members, and has an 80% chance to inflict Burn for 3 turns. The burn has a power of 30%, and applies a 0.9x multiplier to ATK, MAT, DEF, and MDF. Has an accuracy modifier of 100%. Has a crit rate of 0%. Has a speed modifier of 100%.
Sonic Boom Beta: Deals 150% MAT-based Non-elemental damage to one party member. Has an accuracy modifier of 100%. Has a crit rate of 0%. Has a speed modifier of 100%.
Gather Power Tau: Multiplies the Wyvern's ATK and MAT by 1.2x until the end of the next turn. Has a speed modifier of 100%.
The Wyvern really shouldn't be taken on right away since it can rip through your party very easily with its attacks. Though once you can go toe to toe with it, it's basically a somewhat stronger D#.
The fight was relatively uneventful aside from the fact that there was a casualty.
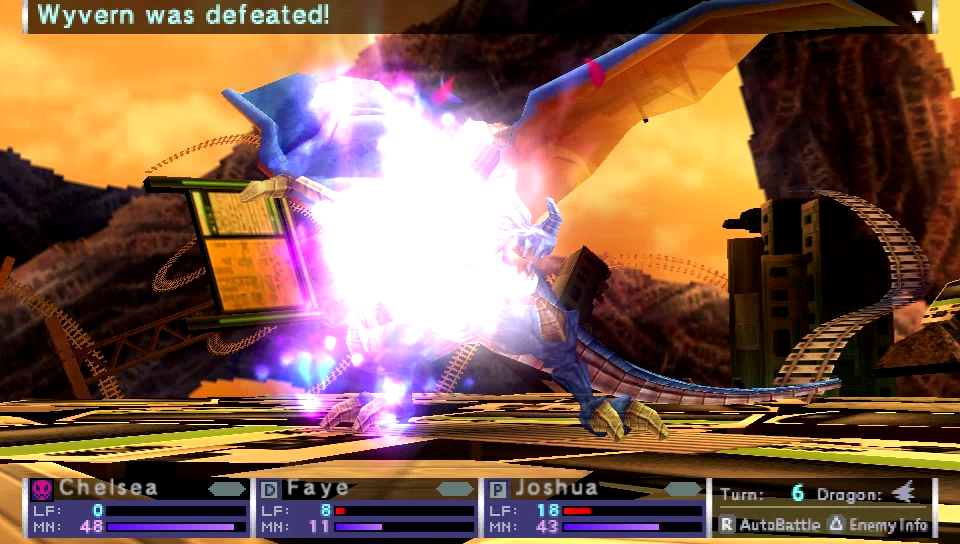
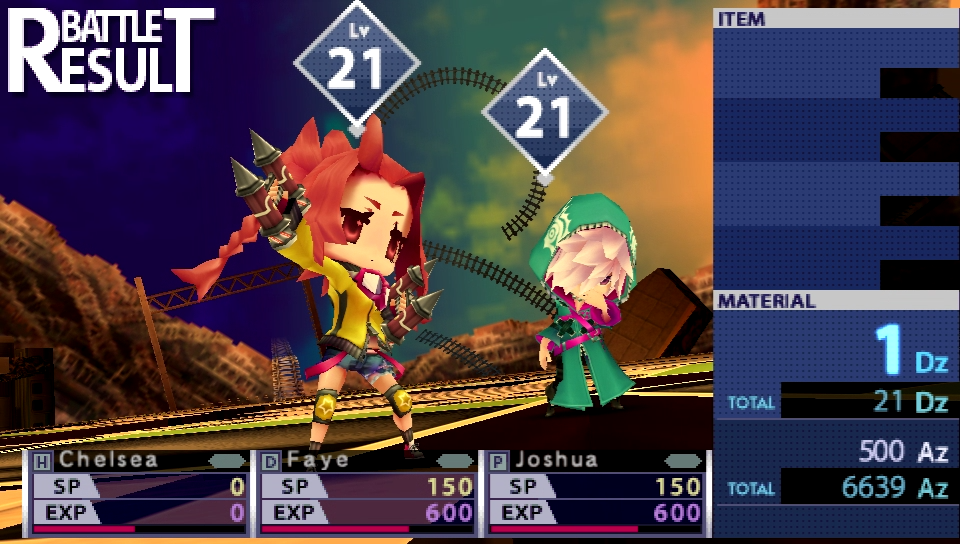
The only consequence is that the exp bars are now uneven. Look, the important part is that we rescued Miku, and that's all that matters.
 Please, we've got to get this girl back to City Hall as soon as possible.
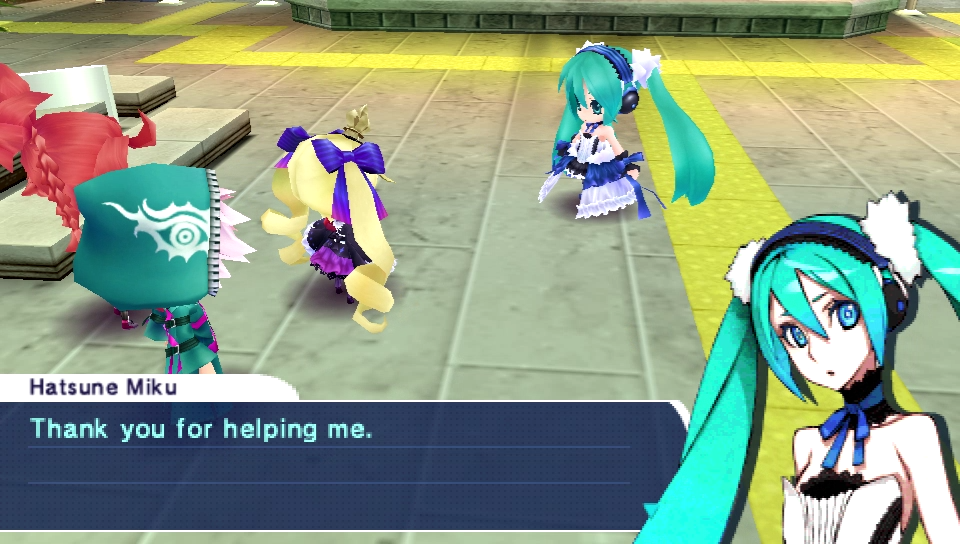

And then she immediately walks off.
...Not much of a talker, is she? Oh, please wait! We meant to find you a doctor... But you're already gone, huh? Well, she didn't look injured, so I guess it's all right, but... For now, let's go report that we found her to the person who made the request.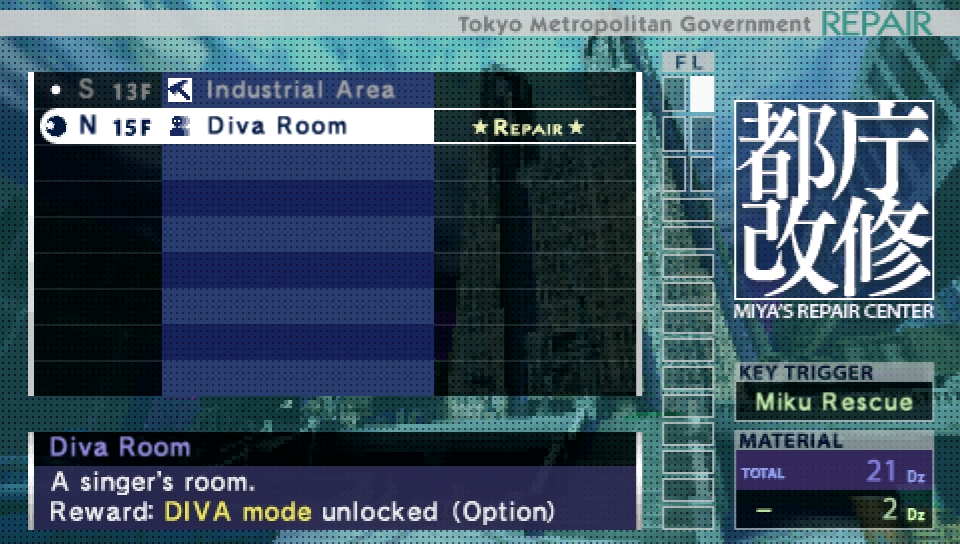
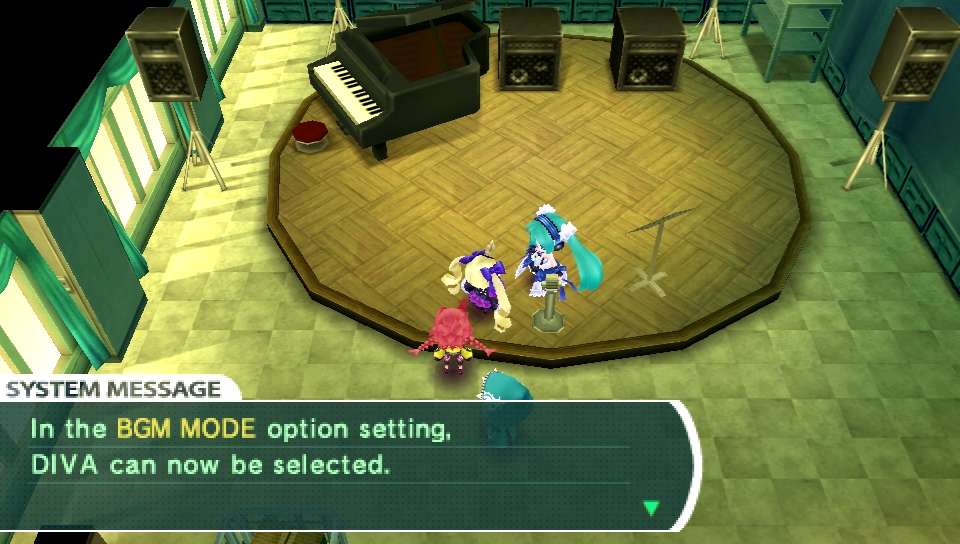
Rescuing Miku lets us rebuild the Diva room.
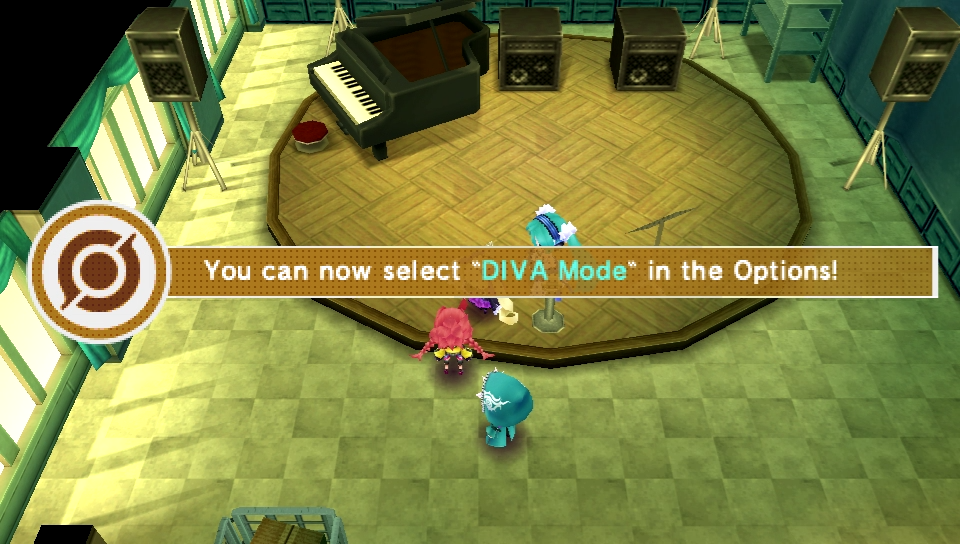
This setting is shared across system data and will be applied to all save files.

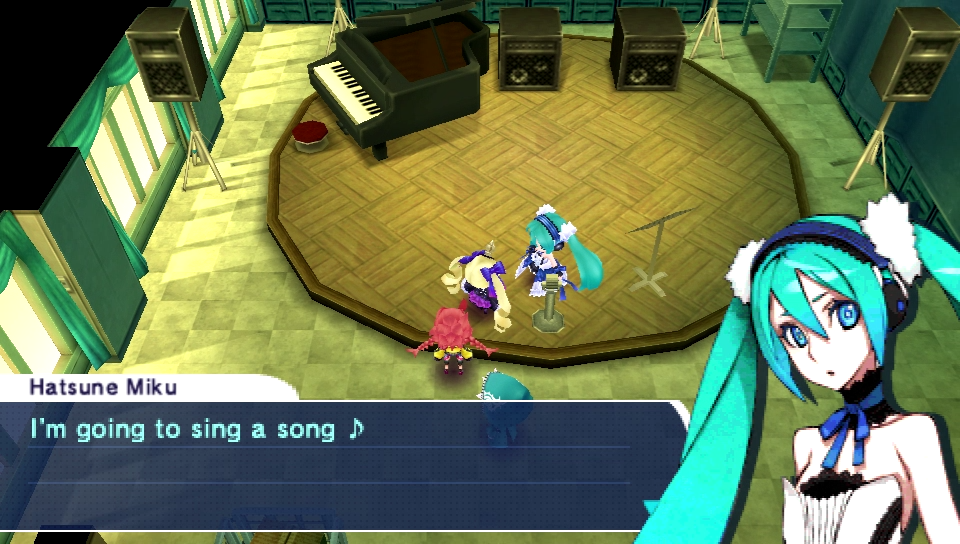
So uh, I said Miku was actually a selling point for this game. Her only role is that she provides an alternative soundtrack. She does nothing else of note in the game. I really don't like said soundtrack, and I think the normal songs are the much better tracks.