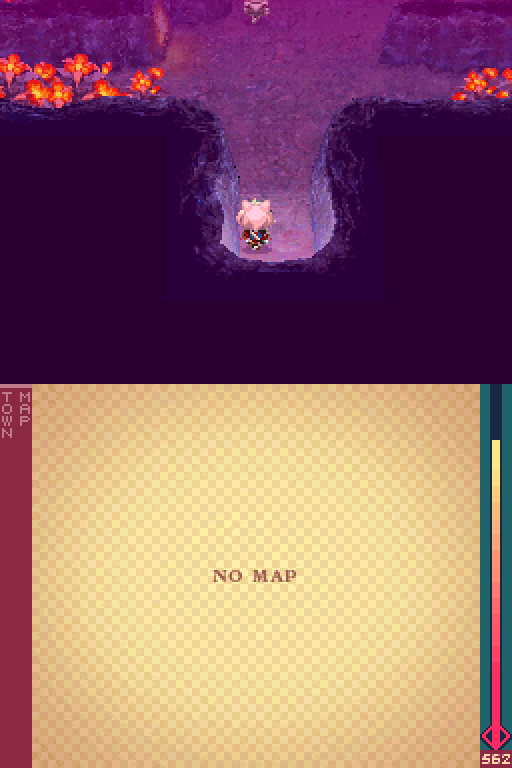
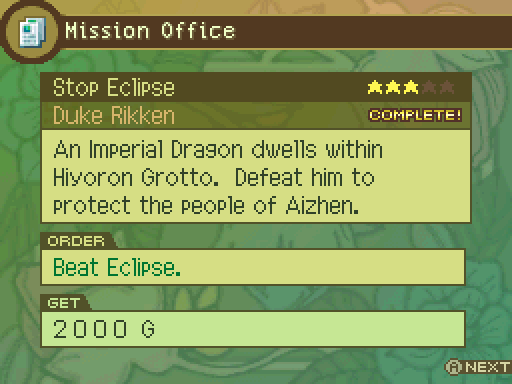
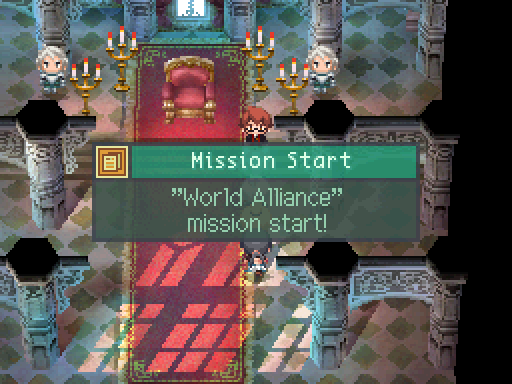
Now we can explore this dungeon properly.
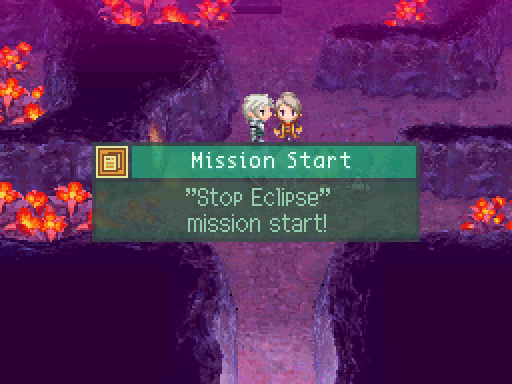
This mission is automatically started for us as well.

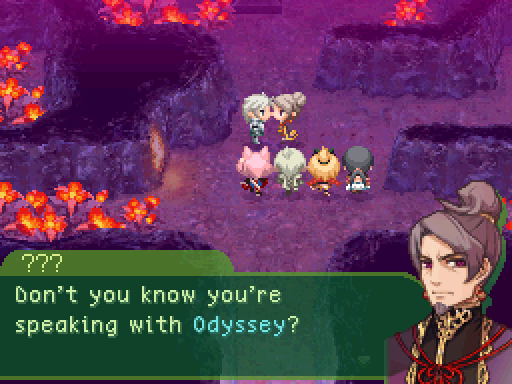
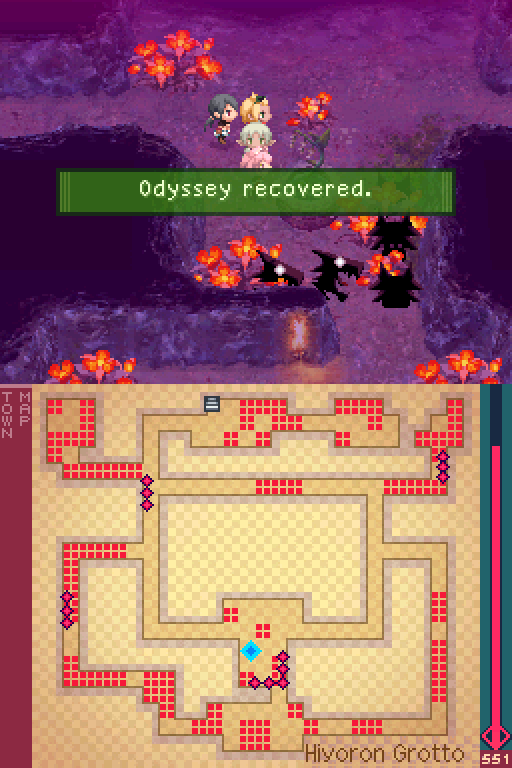
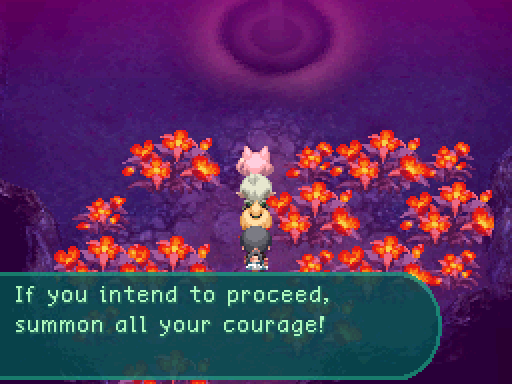
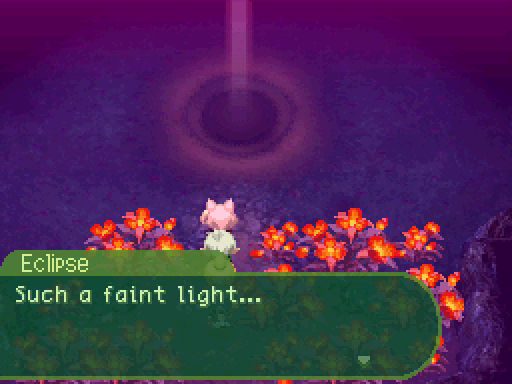
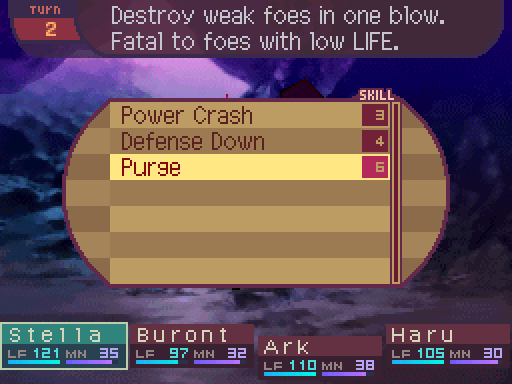
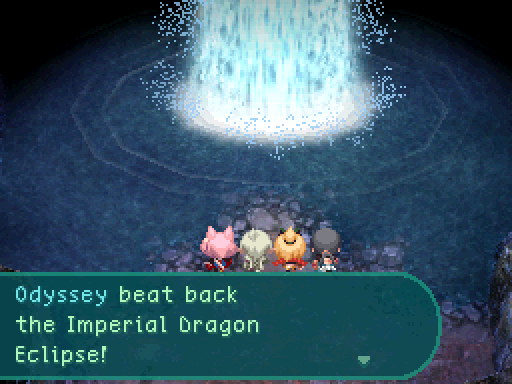
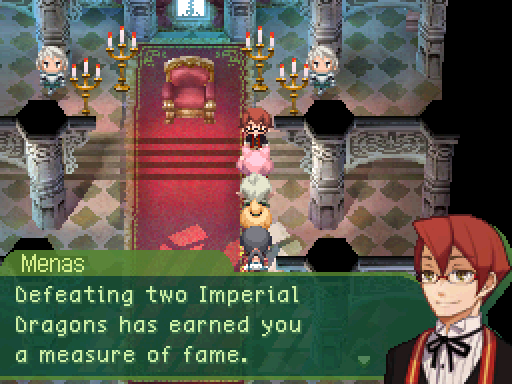
Another hint on how to deal with Eclipse. We’ll do something about that later.

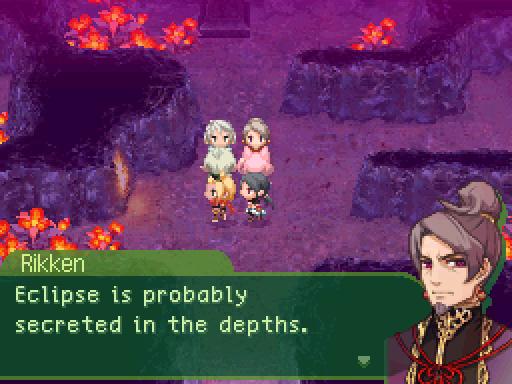
Kraken
Level: 25
LIFE: 78
ATK: 73
DEF: 43
INT: 30
SPD: 33
Attack Type: Blunt
Enemy Type: Large Animal
Exp: 136
Gold: 50
Item Drops:
-Normal: Sticky Tentacles - 30% Drop Rate.
--Tentacles of a Kraken.
-Rare: N/A
Damage Multipliers:
Slash: 100% Blunt: 100% Thrust: 100%
Fire: 100% Ice: 100% Lightning: 100%
Skills:
Filthy Ink: Applies a 130% multiplier to the party’s ailment susceptibility multipliers for 5 turns. Has a speed modifier of 80%.
Poison Tail: 70% chance of inflicting Poison on one party member. Has a Poison power of 200% (Deals 43 Poison damage.) Has a speed modifier of 85%.
If you see Krakens in a battle, take them out first. Filthy Ink is a pretty nasty debuff to be hit by since it lets other enemies inflict their ailments a lot more easily. Not only that, Poison Tail is really deadly since 43 Poison damage is practically half of our party member’s life at this point.

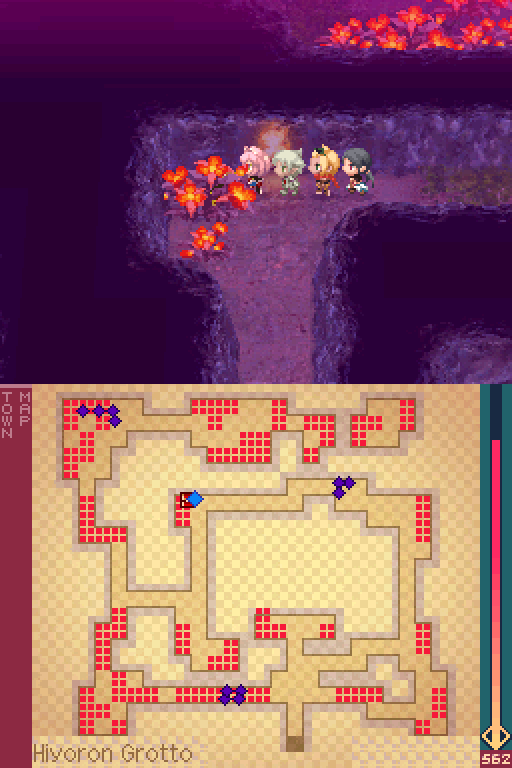
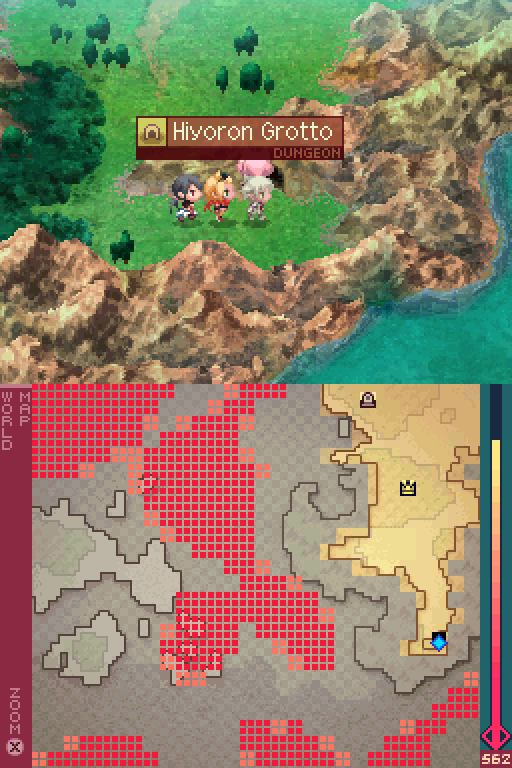
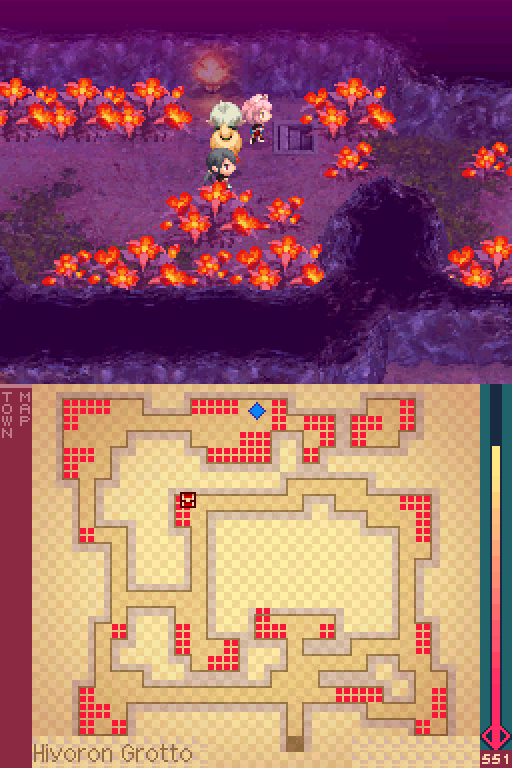
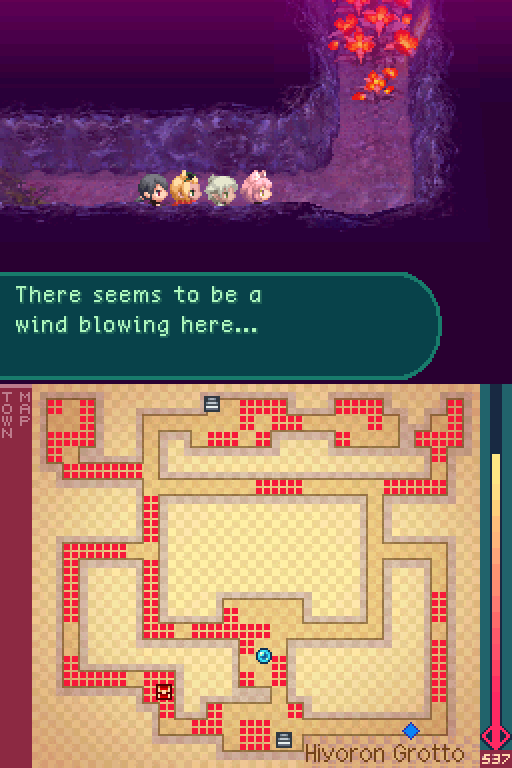
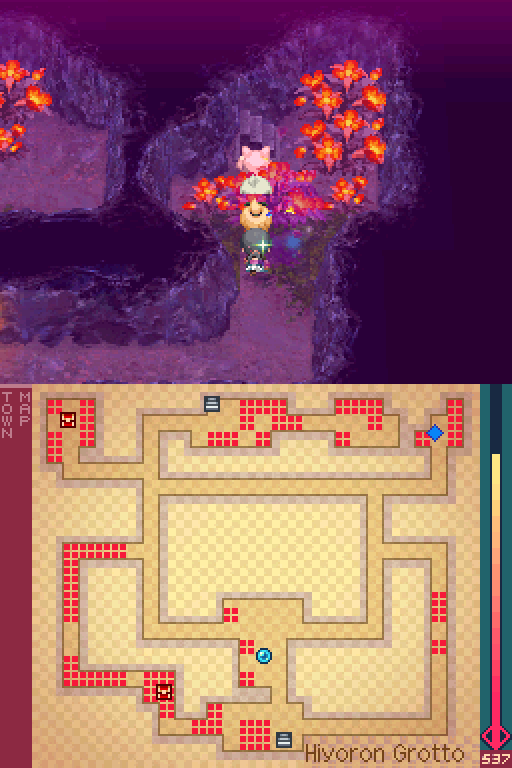
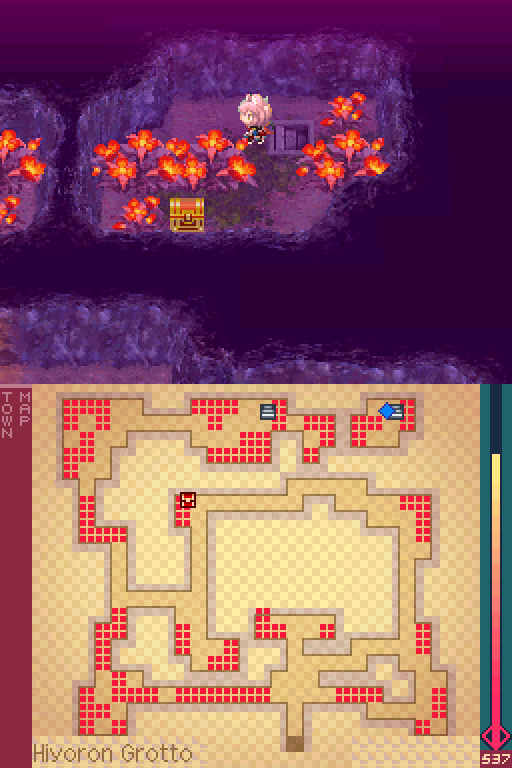
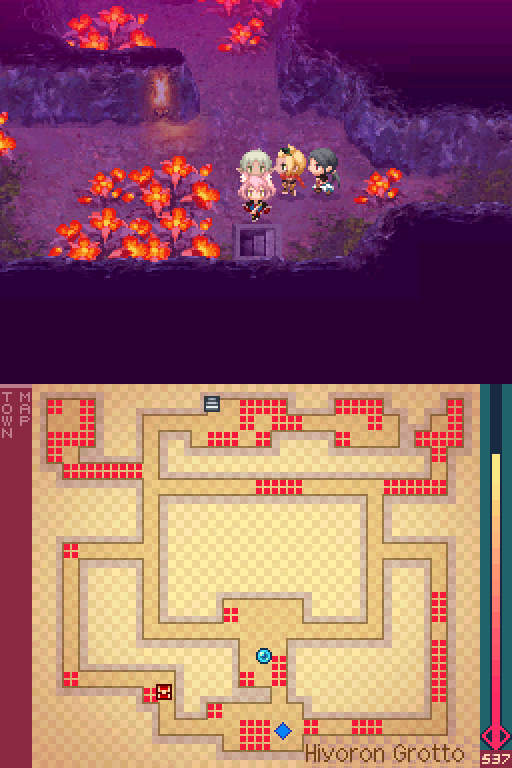
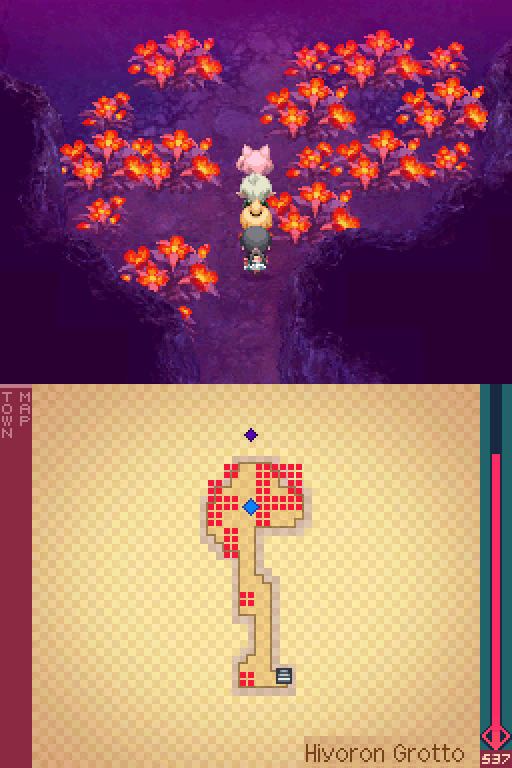
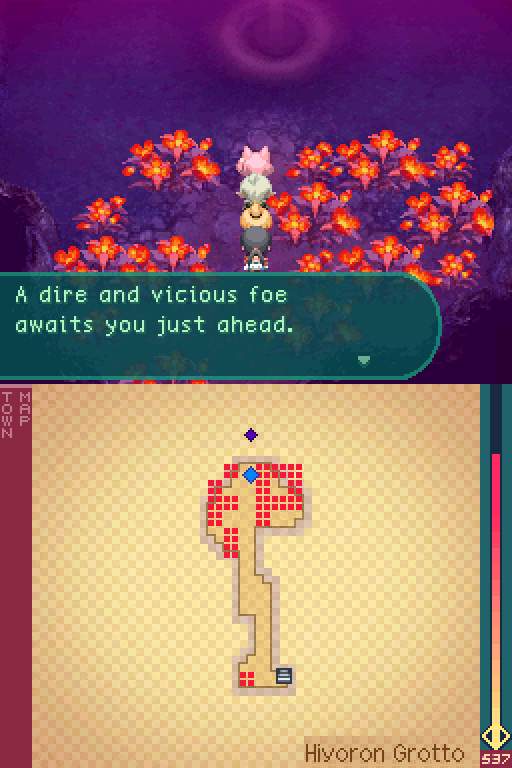
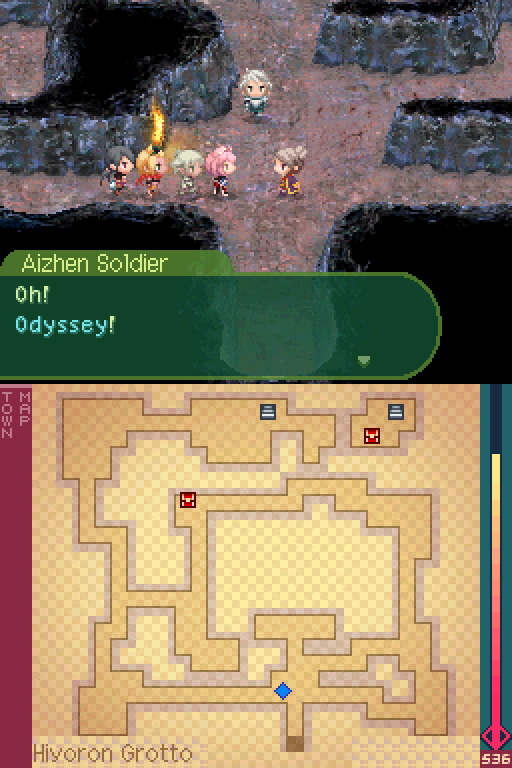
The map for Hiyoron Grotto is located right here.
This dungeon consists of a bunch of corridors with dragon chains in them.

Skyfish
Level: 24
LIFE: 68
ATK: 76
DEF: 33
INT: 25
SPD: 35
Attack Type: Blunt
Enemy Type: Large Animal
Exp: 136
Gold: 50
Item Drops:
-Normal: Fish Scales - 30% Drop Rate. 3 needed to unlock the Crow’s Nail. (Dagger, +30 ATK, +5 SPD.)
--Scales of a Skyfish.
-Rare: Fish Meat - Don’t kill with physical damage. 5% Drop Rate.
--Fish meat. For carnivores. Increases magic affinity for the day.
Damage Multipliers:
Slash: 100% Blunt: 100% Thrust: 100%
Fire: 100% Ice: 100% Lightning: 100%
Skills:
Draw Blood: Deals 130% melee ATK-Based Blunt damage to one party member and has a 30% chance to inflict Bleed. Has a speed modifier of 90%.
They sorta hit hard and inflict one of the most worthless ailments in the game? Yeah, I got nothing.
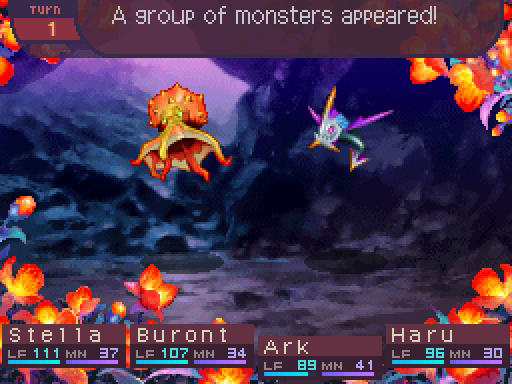
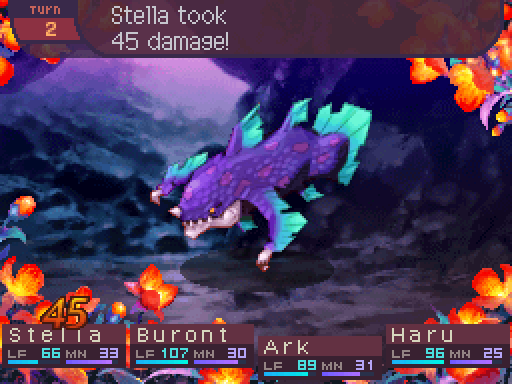
Anyways, let’s take on one of those dragon chains head on.


Enshentas
Level: 22
LIFE: 680
ATK: 80
DEF: 50
INT: 38
SPD: 30
Attack Type: Blunt
Enemy Type: Dragon
Exp: 1152
Gold: 66
Item Drops:
-Normal: Dorsal Fin - 30% Drop Rate.
--Fin of an Enshentas Dragon.
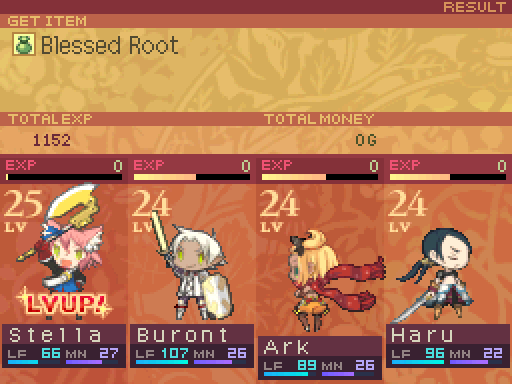
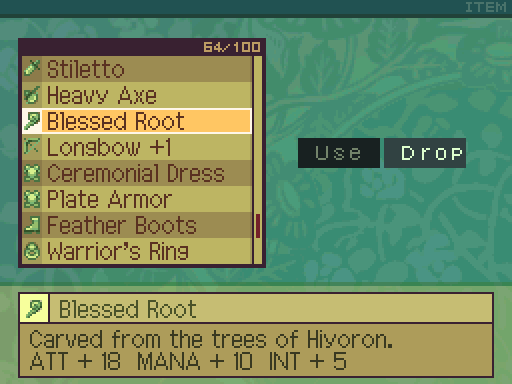
-Rare: Blessed Root - 15% Drop Rate.
--Carved from the trees of Hiyoron. ATT + 18 MANA + 10 INT + 5
Damage Multipliers:
Slash: 100% Blunt: 100% Thrust: 100%
Fire: 150% Ice: 100% Lightning: 150%
Ailment Susceptibility:
Death: 20% Masked Pain: 100% Skill Seal: 25%
Fear: 25% Curse: 50% Bleed: 25%
Poison: 50% Sleep: 25% Confuse: 25%
Paralysis: 50% Blind: 25% Stun: 100%
Skills:
Ice Edge: Deals ranged INT-Based Ice damage to one party member. Has a base damage of 68. Has a speed modifier of 80%.
Ice Wedge: Deals melee 120% ATK-based Blunt damage to one party member. Applies a 120% multiplier to all Ice damage they take for 5 turns. Has a speed modifier of 90%.
Harden Skin: Multiplies the user's DEF by 120% for 5 turns. Has a speed modifier of 80%.
Enshentas is not a particularly strong dragon, and the reason for that is that you’re expected to fight them with the rest of the dragon chain. It likes to make itself harder to kill, and then lower your resistance to Ice attacks while pelting you with Ice attacks. But by itself, it’s not that deadly.
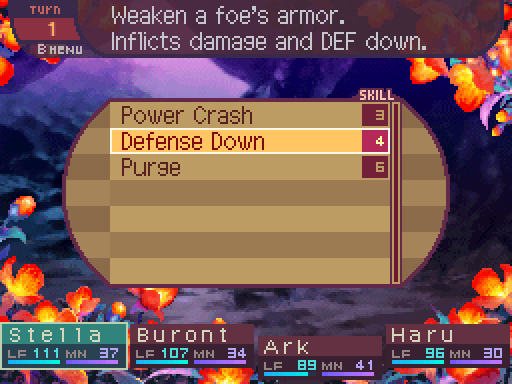
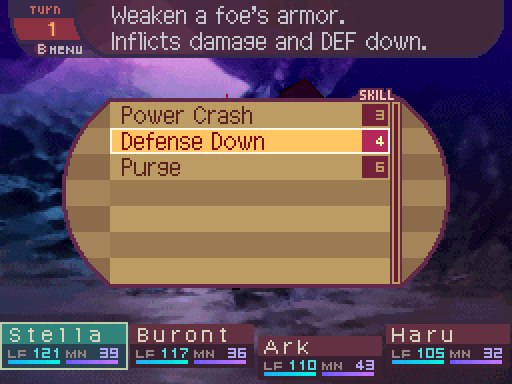
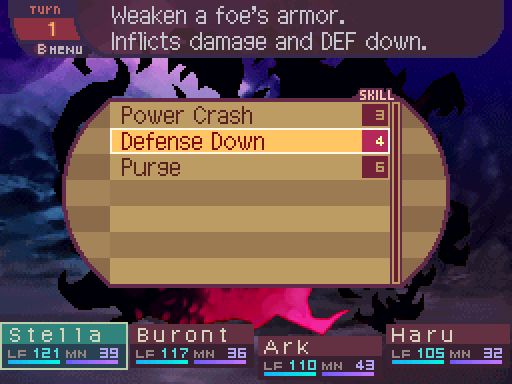
It likes to buff its DEF, but Defense Down pretty much cancels that out.
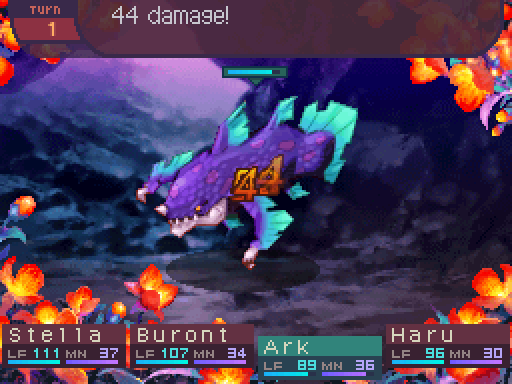
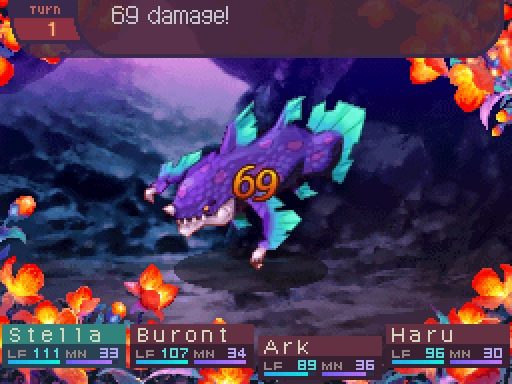
Like I said, not particularly threatening since the party is just chewing through its life.

Though its attacks hit decently hard, I guess.
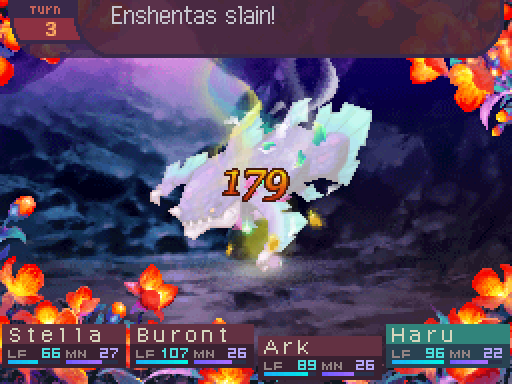
Honestly, not really a dangerous dragon.
Oh nice, I managed to get its rare drop in the first fight.
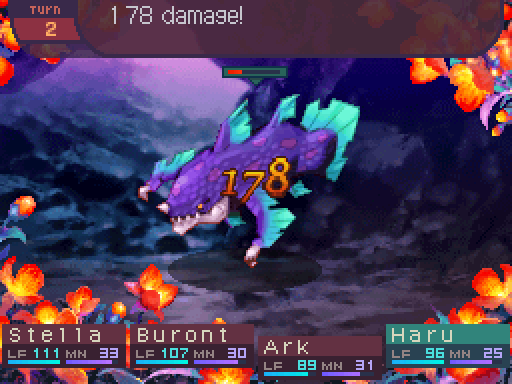
Anyways, the problem with those dragons? You’re kind of meant to fight them with the rest of the dragon chain, but if you looked at the bottom screen at the start of the battle, one of them had 3 turns to join in from the start of the battle. Due to how the joining in on battle system works, they’ll only have 2 turns at the minimum to join in, since you’ll always be at least 2 tiles away from a dragon in the dragon chains. Which is more than enough time to either kill or severely weaken one of the dragons, and doesn’t make them much of a threat. Etrian Odyssey FOEs these dragons aren’t.
Anyways, the problem with those dragons? You’re kind of meant to fight them with the rest of the dragon chain, but if you looked at the bottom screen at the start of the battle, one of them had 3 turns to join in from the start of the battle. Due to how the joining in on battle system works, they’ll only have 2 turns at the minimum to join in, since you’ll always be at least 2 tiles away from a dragon in the dragon chains. Which is more than enough time to either kill or severely weaken one of the dragons, and doesn’t make them much of a threat. Etrian Odyssey FOEs these dragons aren’t.
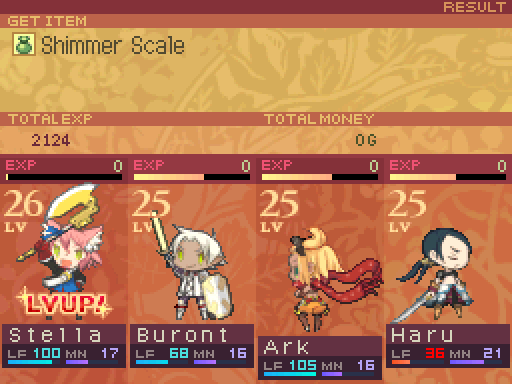
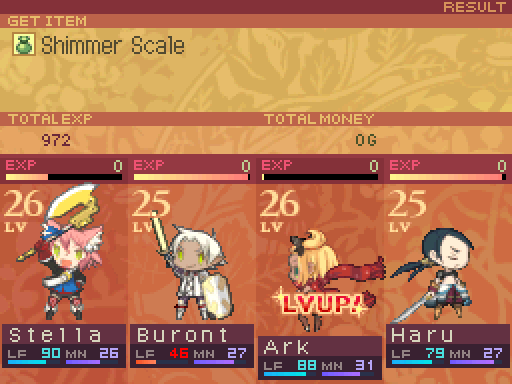
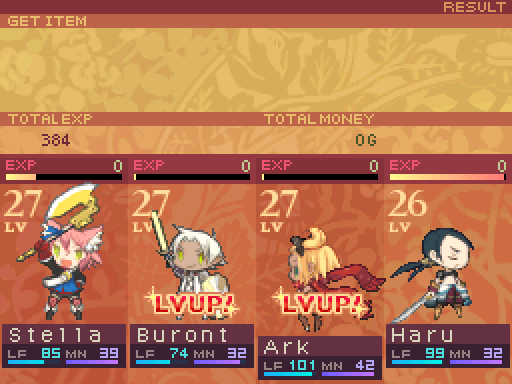
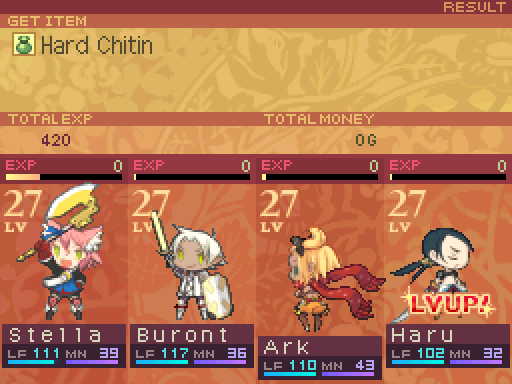
While I did snag its rare drop, no one in the party can make use of it. I suppose Nila or Edward would appreciate it if they get in the next party. Now while Stella did get a level up, I accidentally exited the menu too soon, and since there was another dragon right in front of the party, I immediately got into another battle.
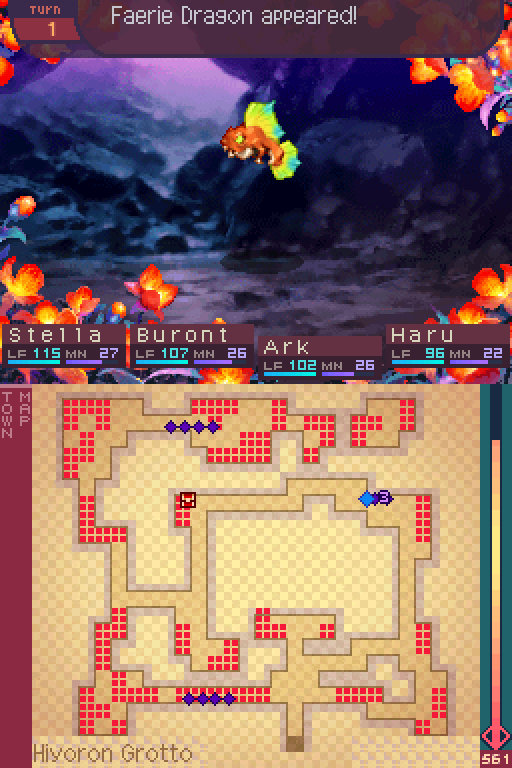
Only the lead dragon in a dragon chain is an Enshentas. The rest of the dragons in the chain are Faerie Dragons.

Faerie Dragon
Level: 21
LIFE: 400
ATK: 78
DEF: 45
INT: 36
SPD: 35
Attack Type: Blunt
Enemy Type: Dragon
Exp: 972
Gold: 64
Item Drops:
-Normal: Shimmer Scale - 30% Drop Rate. 3 needed to unlock the Freeze Guard. (Accessory, -30% Ice damage.)
--Scale of a Fairie
-Rare: Dragon Kabob - 15% Drop Rate.
--Small dragon meat. For carnivores. Increases quickness for the day.
Damage Multipliers:
Slash: 100% Blunt: 100% Thrust: 100%
Fire: 100% Ice: 50% Lightning: 125%
Ailment Susceptibility:
Death: 20% Masked Pain: 100% Skill Seal: 25%
Fear: 25% Curse: 50% Bleed: 25%
Poison: 50% Sleep: 25% Confuse: 25%
Paralysis: 50% Blind: 25% Stun: 100%
Skills:
Icicle Rain: Deals ranged INT-Based Ice damage to all party membes. Has a base damage of 45. Has a speed modifier of 80%.
Needle Fin: Deals melee 120% ATK-based Slash damage to one party member. Has a speed modifier of 90%.
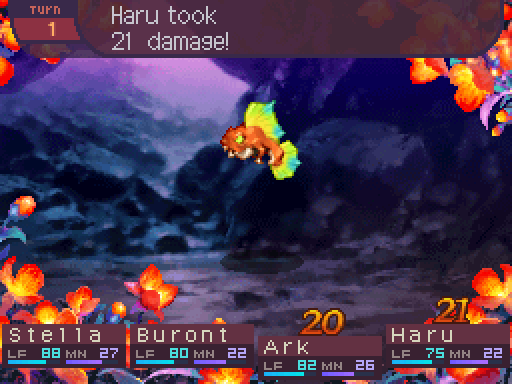
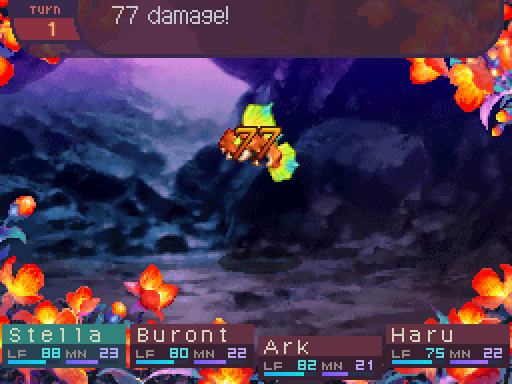
You know how I said that Enshentases aren’t that threatening? Yeah, Faerie Dragons are even less so. They’re meant to be fought in groups, but as I outlined before, that’s very unlikely to happen unless you deliberately let them join in. While killing them in 1 turn is a bit unfeasible, killing them in 2 turns is very easy to pull off considering their low offenses and defenses. I mean if there are more than one in a battle, you might want to watch out, but as it stands, they’re very weak.

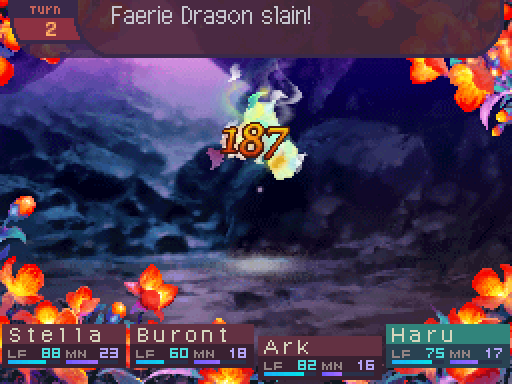
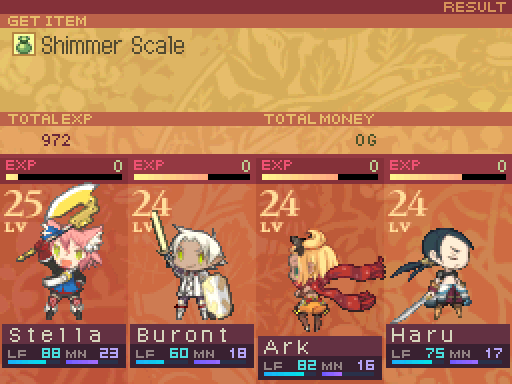
If the idea behind these dragons actually worked in execution, I probably would have had more to say. As it stands, they’re just really pathetic.
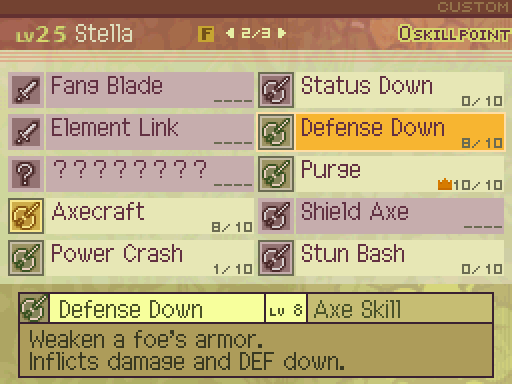
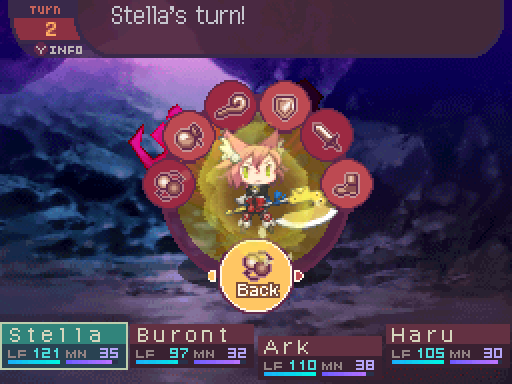
Okay, now I got an opportunity to use up Stella’s skill points. Defense Down deals 126% damage, and applies an 82% multiplier to the target’s DEF.
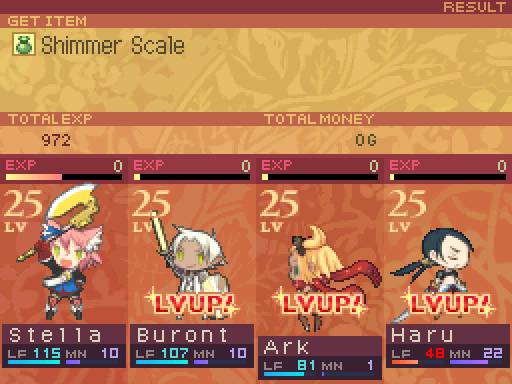
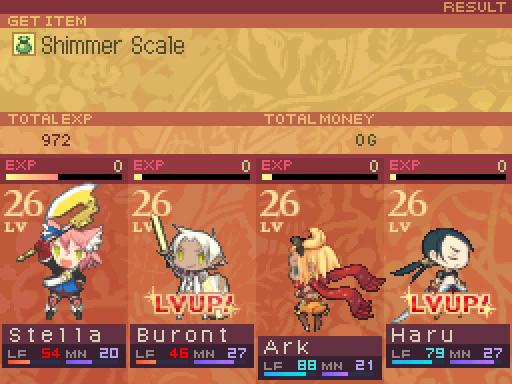
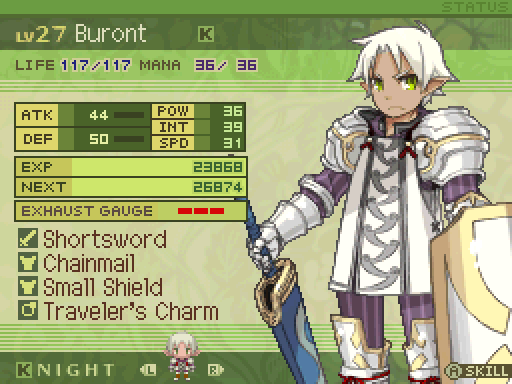
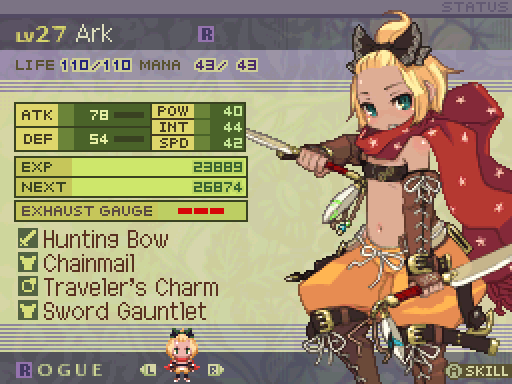
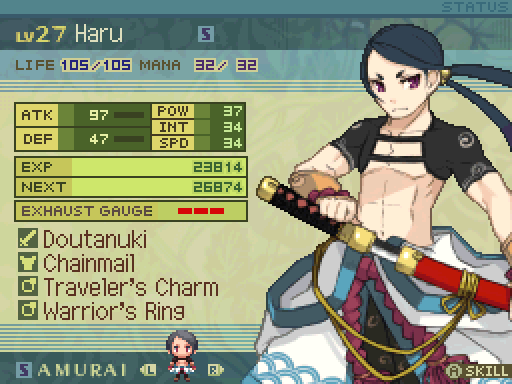
While clearing out dragon chains, Buront, Ark, and Haru all got a level up at the same time. Been a while since that happened.
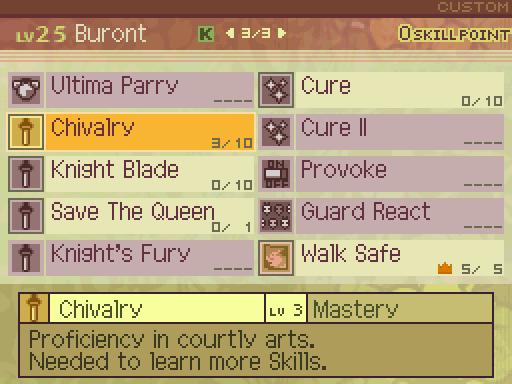
Buront’s skill points are spent on Chivalry, which apply a 118% multiplier to his Sword’s ATK.

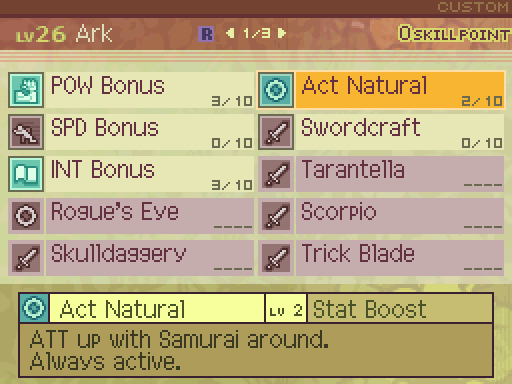
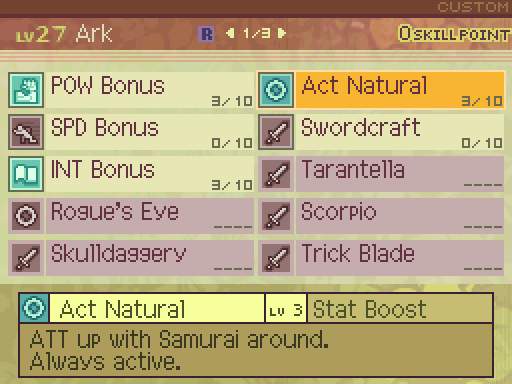
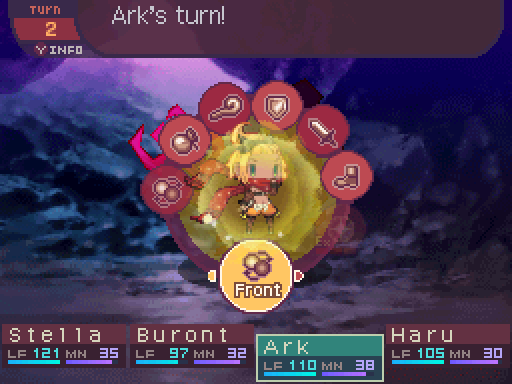
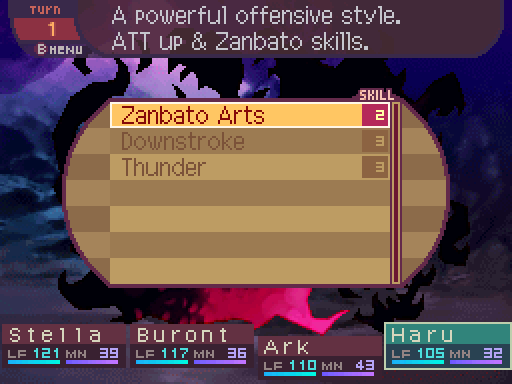
Ark levels up INT Bonus to 3, which unlocks Act Natural. Which is the skill I want.

Act Natural is one of the Rogue’s bests passives. If a Samurai is in the same party with a Rogue, they get a boost to their ATK. And this is AFTER the boost from their weapon mastery is applied, meaning that it also takes the Rogue’s POW into account. How much of a boost does this result in? It would be enough to let Ark deal outdamage Nila. Though if a Samurai isn’t in the party, this skill does nothing. If you have both a Rogue and a Samurai, this skill should be taken as soon as possible.
At level 1, it applies an 110% multiplier to the Rogue’s ATK if a Samurai is in the party with them.
At level 1, it applies an 110% multiplier to the Rogue’s ATK if a Samurai is in the party with them.

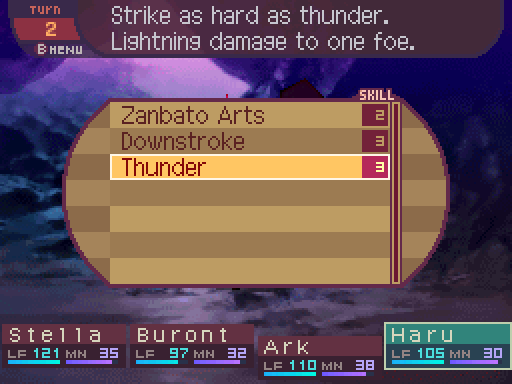
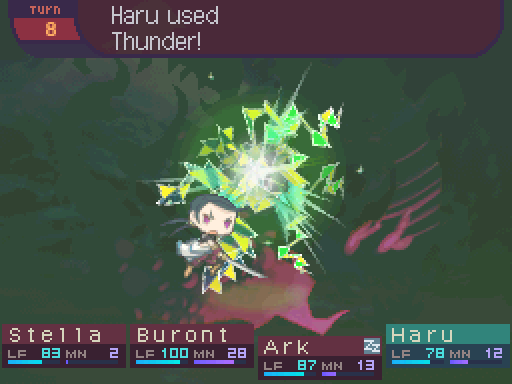
Thunder deals 142% damage. At this point, I had to leave to heal up my party.
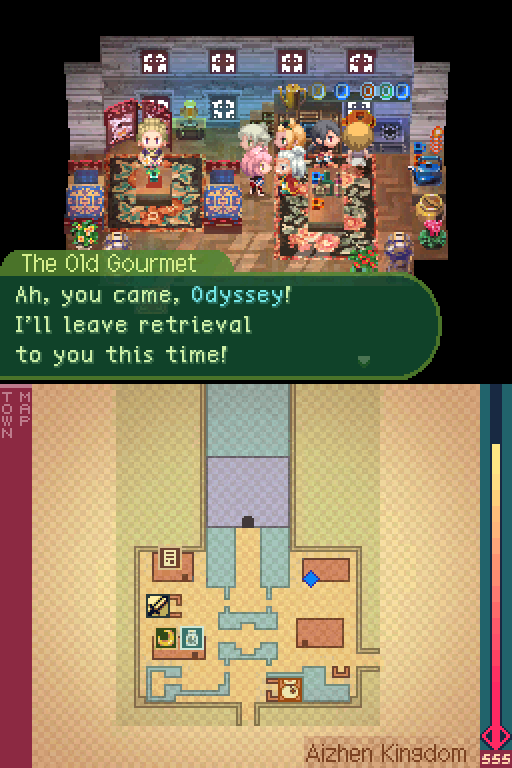
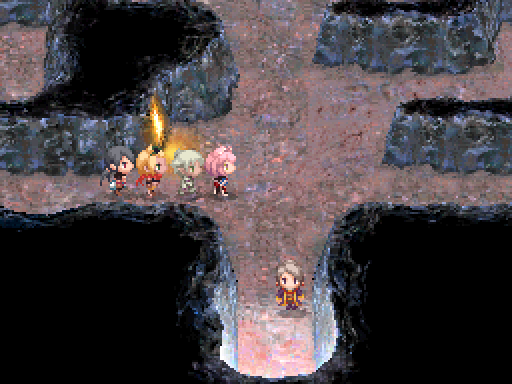
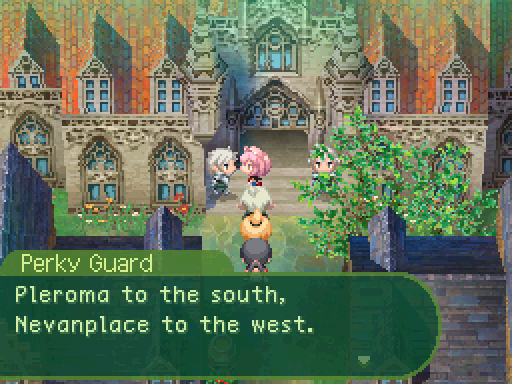
Our target is one of the three delicacies, Mormon Cactus! Yoba Sand Flats grows the largest, used in Morumore Curry. It is said to combine all flavors... I must experience it! The Western Continent, in the Yoba Sand Flats. Mormon Cactus grows there and only there. Make haste!
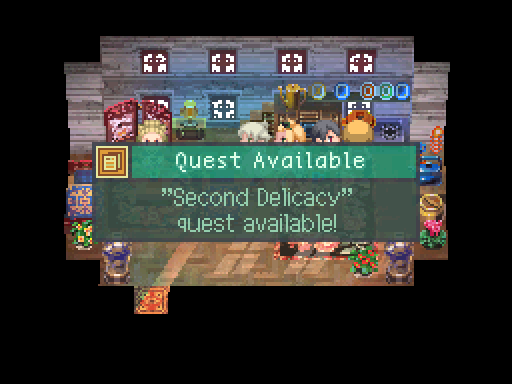
After encountering the Duke in the cave, this quest becomes available. However, Yoba Sand Flats is not a location we can visit right now, so we can’t get this done yet.
Incidentally, 1/6th of the dragons are dead at this point. Over 100 dragons killed already!
Incidentally, 1/6th of the dragons are dead at this point. Over 100 dragons killed already!

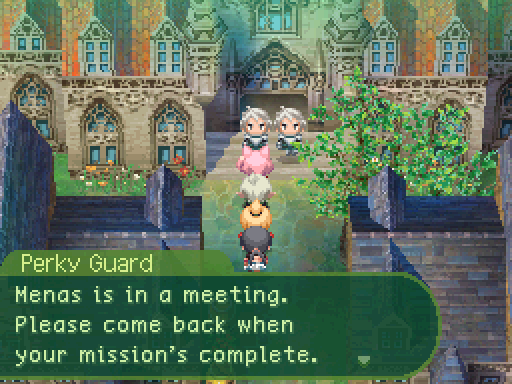
We can also report back to Menas after taking the mission. He doesn’t have much to say.
Back at the grotto, Stella gets a level up but can’t do anything with the skill point.
Starting from this dungeon, a few of the dungeons will have staircases. If you don’t see an obvious exit on the map, look around for one of these.
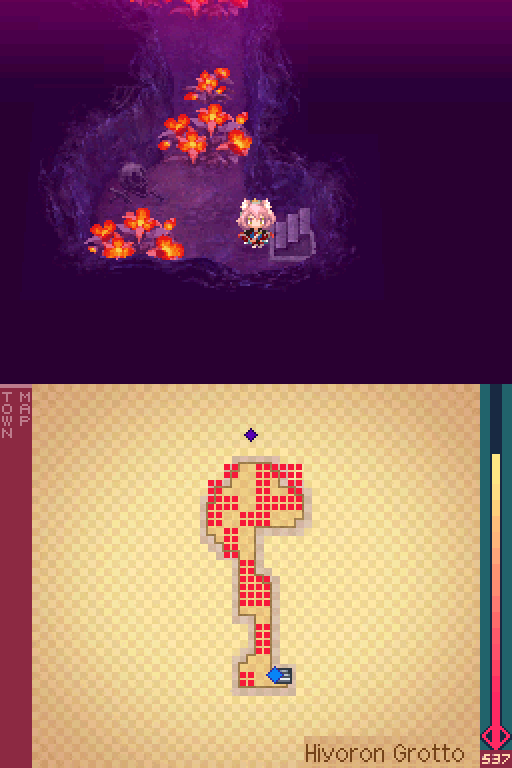
Next floor of this dungeon.
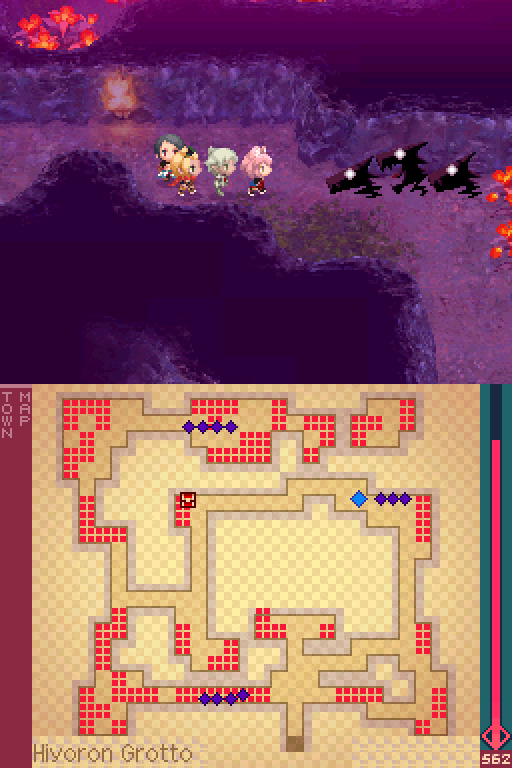
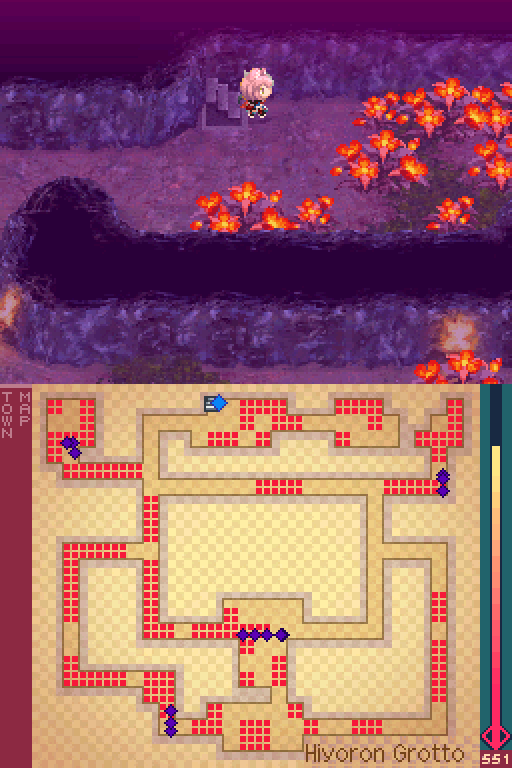
There’s a really fast chain of dragons at the bottom part of this floor.
Mainly because they’re guarding a healing spring. Meaning that I can pretty much stop going back to town to rest until all the dragons here are dead.
Ark got a level up while I was in the middle of killing off a dragon chain, but I didn’t have time to spend the skill point as I immediately got into another battle.
Which let the other 2 party members play catch up.

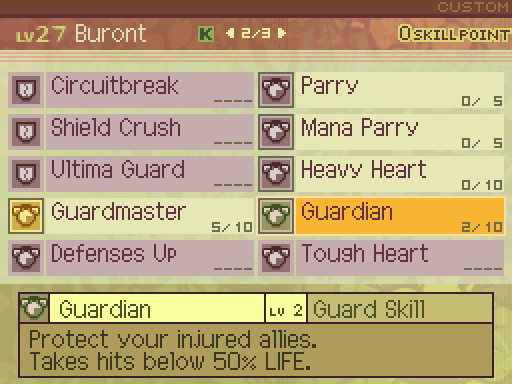
Guardian is an interesting skill. While this skill is in effect, if a party member under 50% of their maximum life gets targeted, the Knight will take damage in their place, though they’ll take a reduced amount of damage in the process. Guardian also will activate for the Knight themselves. So what you can do is if you know the enemy you’re fighting has access to AOE attacks, you can place the Knight at the very right of the party beforehand, and have them use Guardian, to ensure that it will activate on the Knight when they get hit as well.
At level 1, the amount of damage Buront takes will by reduced by 20%. The skill does have a speed modifier of 100%, but it also has priority.
At level 1, the amount of damage Buront takes will by reduced by 20%. The skill does have a speed modifier of 100%, but it also has priority.
Act Natural applies an 112% multiplier to Ark’s ATK.
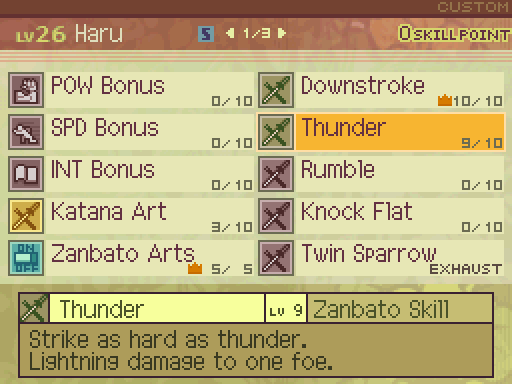
Thunder deals 145% damage.
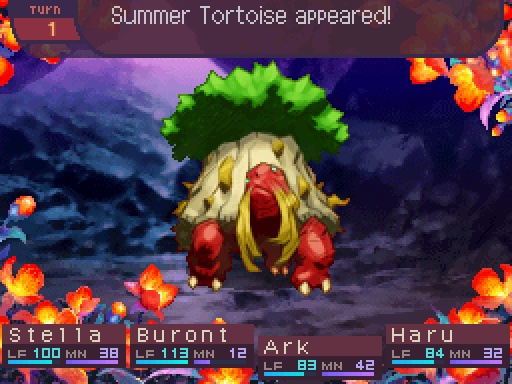
Oh, and here’s the last new enemy in this dungeon.

Summer Tortoise
Level: 25
LIFE: 100
ATK: 77
DEF: 57
INT: 38
SPD: 26
Attack Type: Blunt
Enemy Type: Large Animal
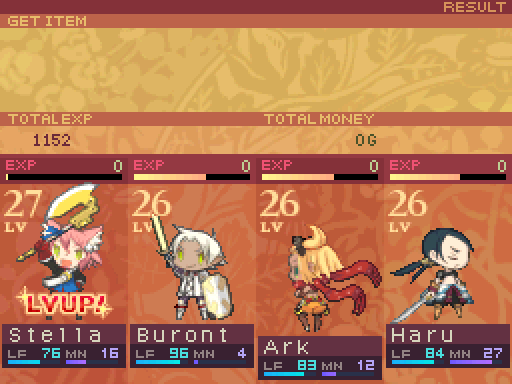
Exp: 160
Gold: 25
Item Drops:
-Normal: Aged Beard - 25% Drop Rate.
--Beard of a Summer Tortoise.
-Rare: N/A
Damage Multipliers:
Slash: 50% Blunt: 50% Thrust: 50%
Fire: 100% Ice: 100% Lightning: 100%
Skills:
Magic Shell: Applies an 80% multiplier to the user’s magical damage multipliers for 5 turns. Has a speed modifier of 80%.
Stella gets a level up later. I completely miscounted Stella’s skill points here, and thought she didn’t have enough to level up Defense Down again. Oops. I don’t realize this for a long while.
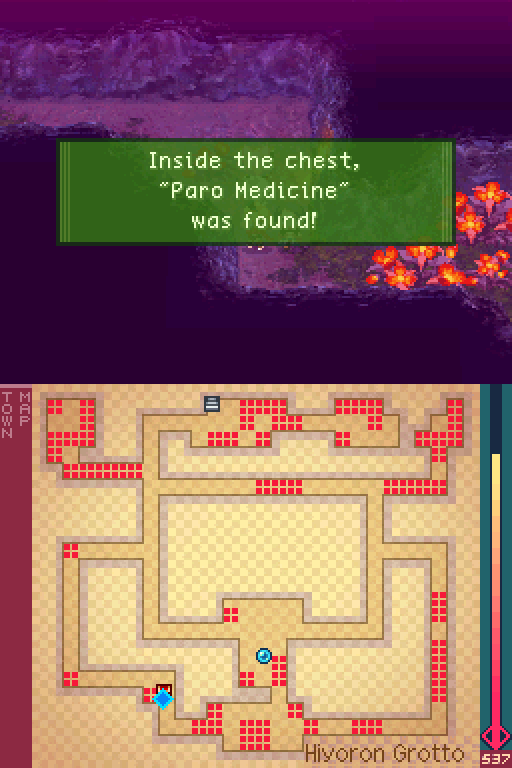
I killed all the dragons on this floor, so now let’s explore the place.

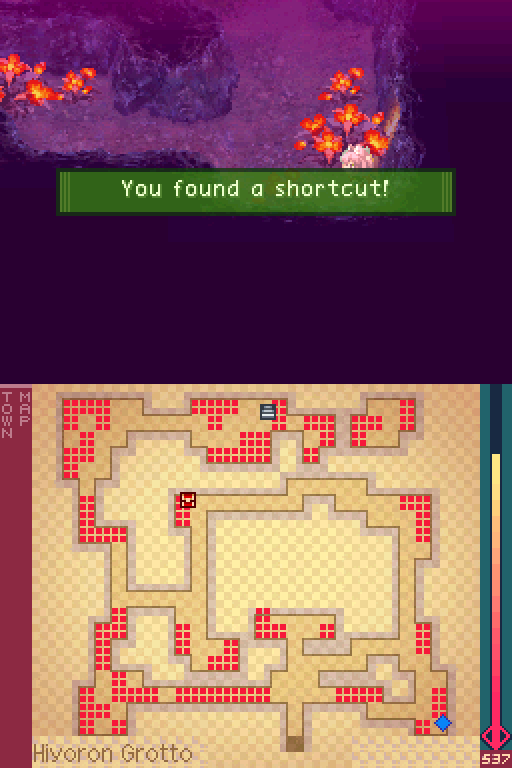
A quick shortcut back to this place.
That’s it for the treasures on this floor.
Buront and Ark got another level up.
Guardian now reduces damage by 23% if it activates.
Act Natural applies an 114% multiplier to Ark’s ATK.
There’s another staircase at this part of the floor.
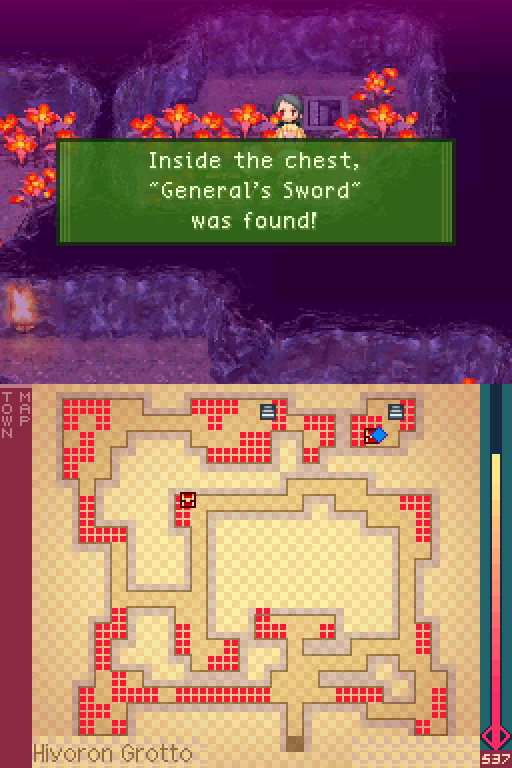
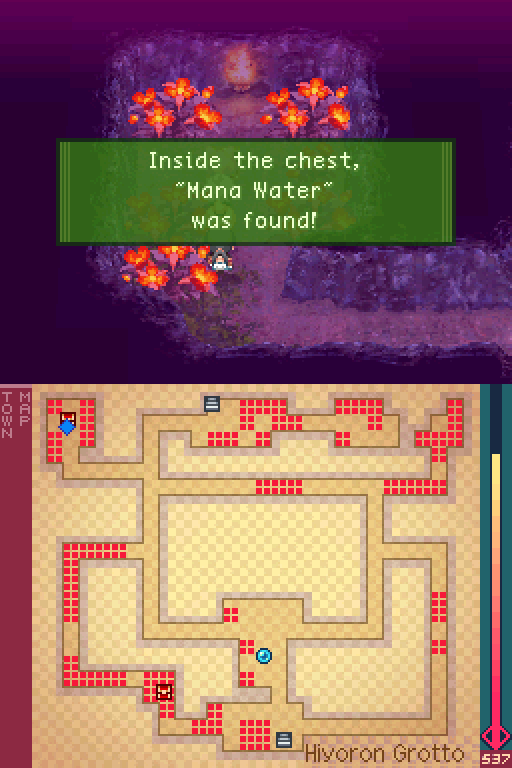
Leading to a very nice treasure.
For Sword Fighters, at least.
Haru got a level up, but he actually couldn’t do anything with that skill point he got. Since I cleared out the whole dungeon, I went back to Aizhen to sell off my loot and restock my supplies.
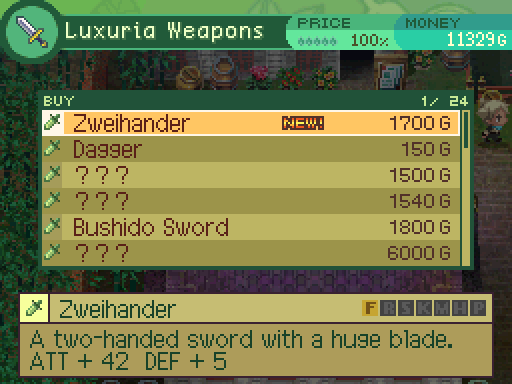
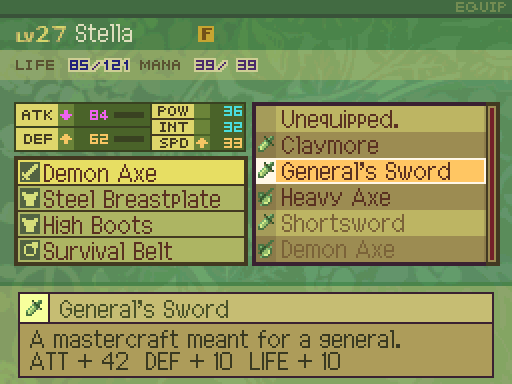
The Buggy Scissors from the Deathscissor unlocked this. Which is a nice piece of equipment, I guess. But it’s outclassed by the General’s Sword.
Back at the 2nd floor, there’s a staircase down here as well.
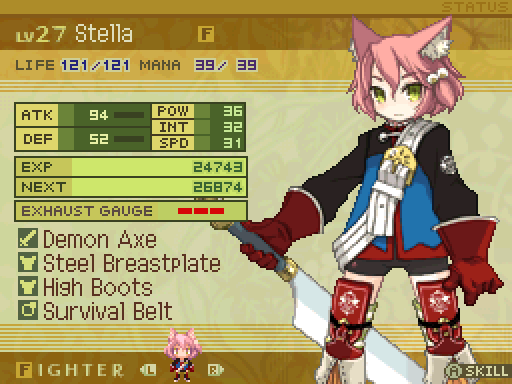
A little status update on the party.
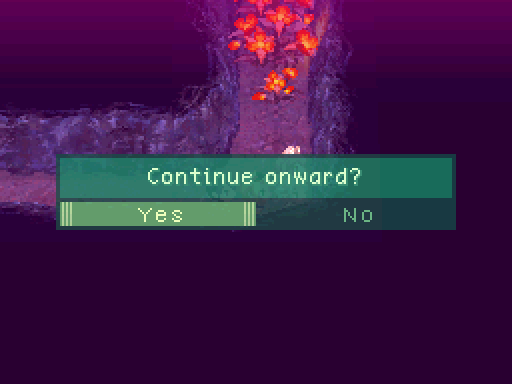
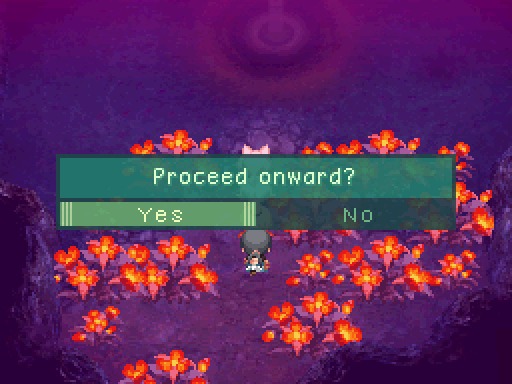
Choose your adventure!
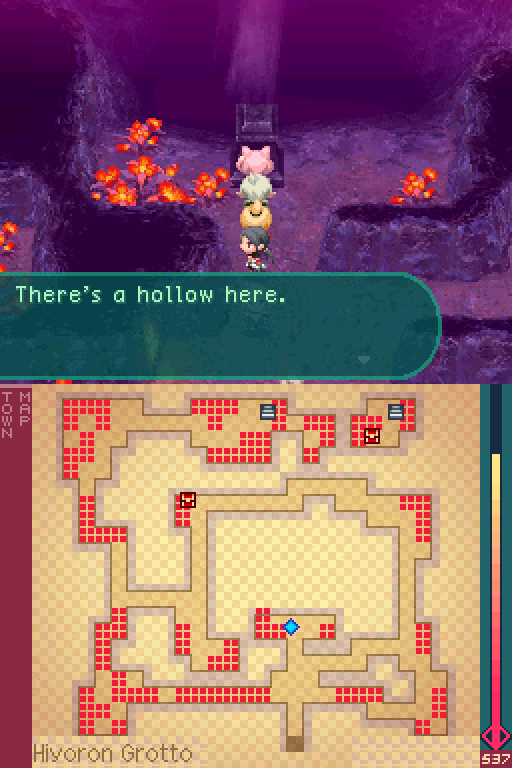
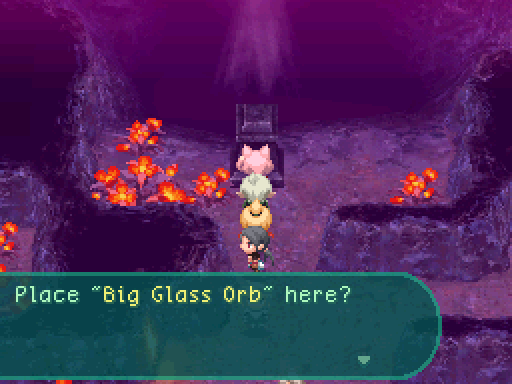
We could place the Big Glass Orb on the pedestal, but...

We can also place the True Orb here, which will have a greater effect on the upcoming fight. Oh, and don’t interact with this pedestal too much. If you keep doing that, a bug causes it to eventually not let you interact with it anymore.
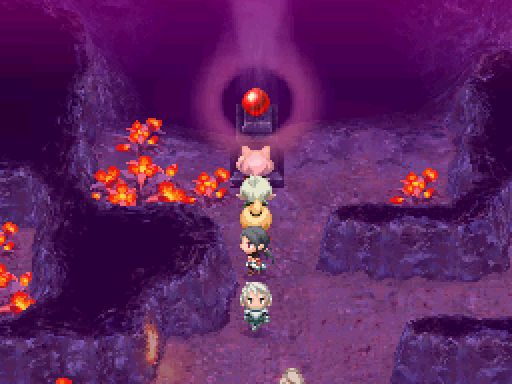
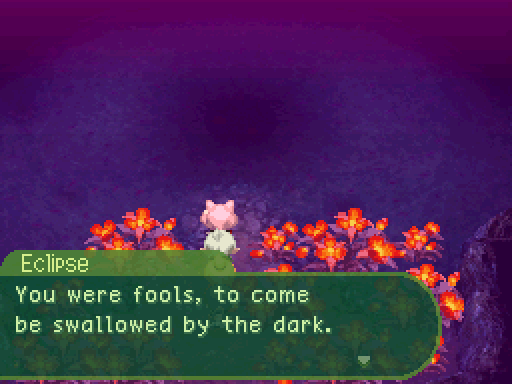
Now back to where Eclipse was.
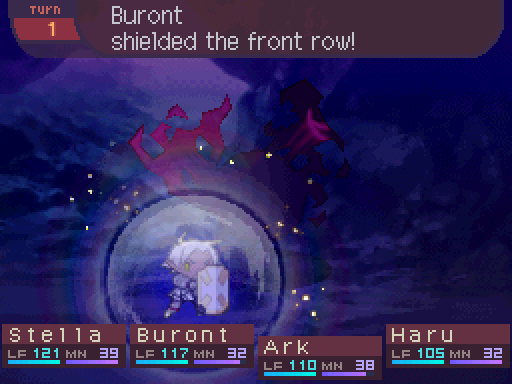
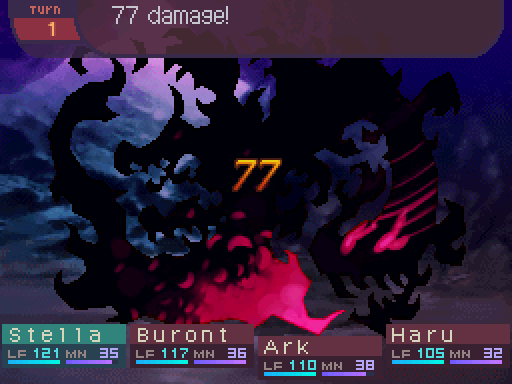
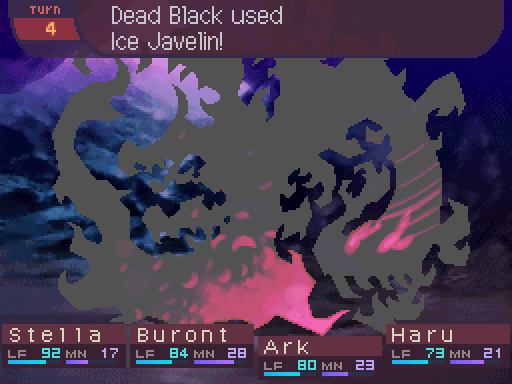
 Video: True Eclipse
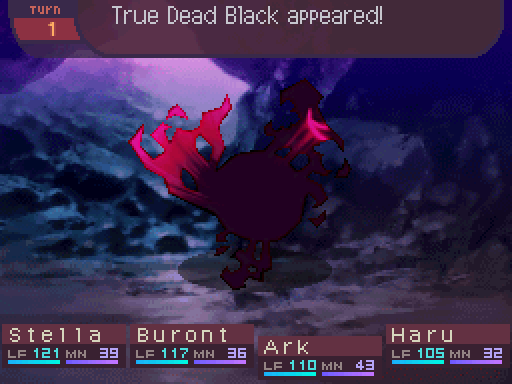
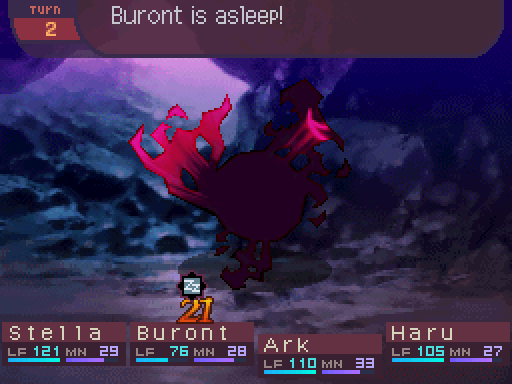
Okay a few things to explain. In the earlier releases of this game, the Those Who Stand in the Way played for this fight. Later releases of the game had Seven Threats play instead. So uh, listen to whatever you like. Also, as for the name of the enemy, Dead Black is the literal translation of the name. The fan translator told me that this was a mistake and the name is supposed to be Eclipse, so that’s what I’ll refer to this Imperial Dragon as. Anyways...

True Eclipse
Level: 25
LIFE: 3200
ATK: 85
DEF: 45
INT: 40
SPD: 30
Attack Type: Blunt
Enemy Type: Imperial Dragon
Exp: 0
Gold: 190
Item Drops:
-Normal: N/A
-Rare: N/A
Damage Multipliers:
Slash: 100% Blunt: 100% Thrust: 100%
Fire: 125% Ice: 125% Lightning: 125%
Ailment Susceptibility:
Death: 0% Masked Pain: 100% Skill Seal: 5%
Fear: 10% Curse: 50% Bleed: 25%
Poison: 25% Sleep: 10% Confuse: 10%
Paralysis: 50% Blind: 25% Stun: 100%
Skills:
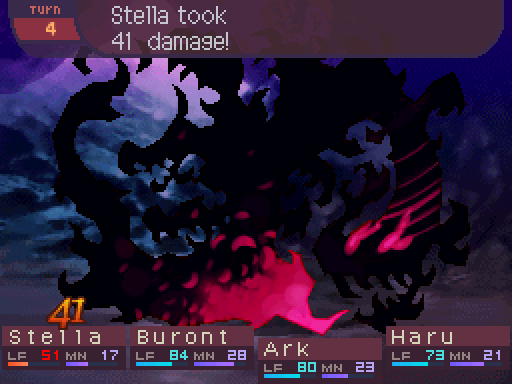
Ice Javelin: Deals ranged INT-Based Ice damage to one party member. Has a base damage of 80. Has a speed modifier of 80%.
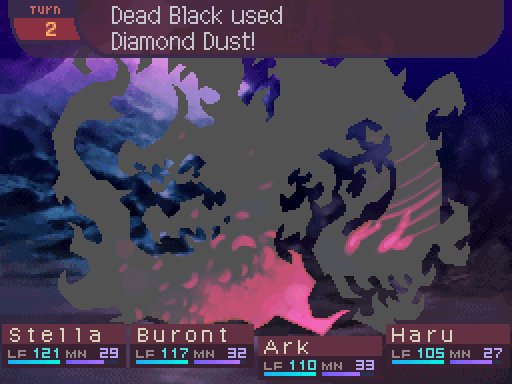
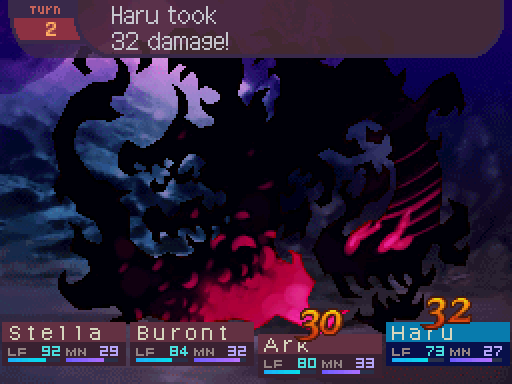
Diamond Dust: Deals ranged INT-Based Ice damage to all party members. Has a base damage of 45. Has a speed modifier of 80%.
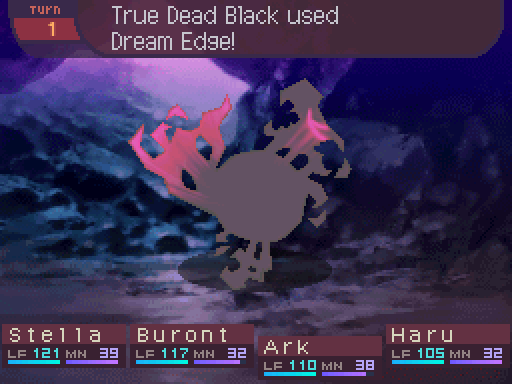
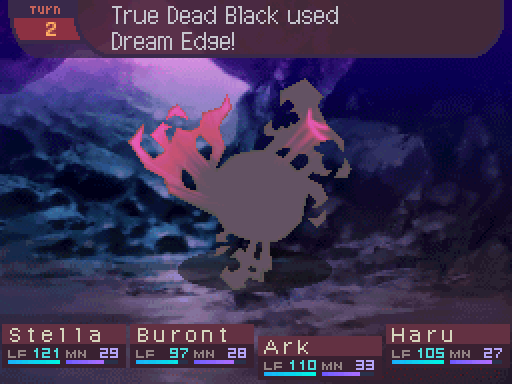
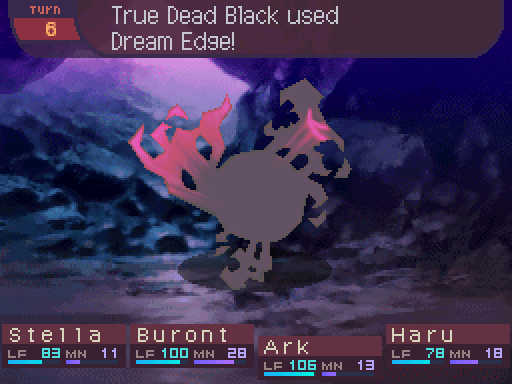
Dream Edge: Deals melee 130% ATK-Based Cut damage to one party member. Has a 75% chance to inflict Sleep. Has a speed modifier of 90%.
True Eclipse has a couple of elemental nukes on its side, and can put our party members to sleep. Oh, and there’s a bit of a gimmick to this fight. You see, we’re actually fighting the weakened form of Eclipse. Placing either the Big Glass Orb or the True Orb on that pedestal will weaken Eclipse, but it won’t do so permanently. Doing so will also place a time limit on the fight. The Big Glass Orb will give us 6 turns to work with, while the True Orb will give us 10 turns. Once time is up, Eclipse will revert to its true form and we’ll be forced to deal with that for the rest of the battle.
No, I have no idea why the weakened form is referred to as True Eclipse and the actual true form isn’t. It’s not a mistake the fan translation made, it was like that in the Japanese version too.
No, I have no idea why the weakened form is referred to as True Eclipse and the actual true form isn’t. It’s not a mistake the fan translation made, it was like that in the Japanese version too.

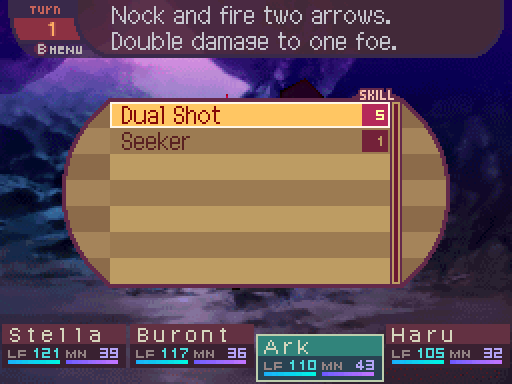
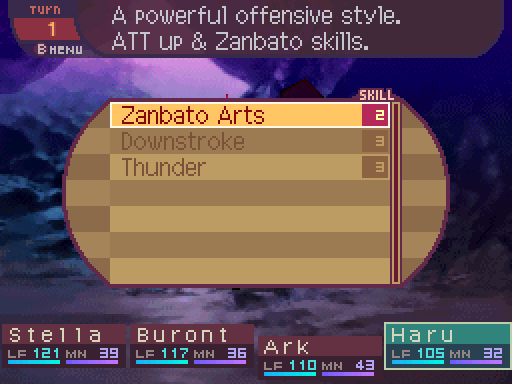
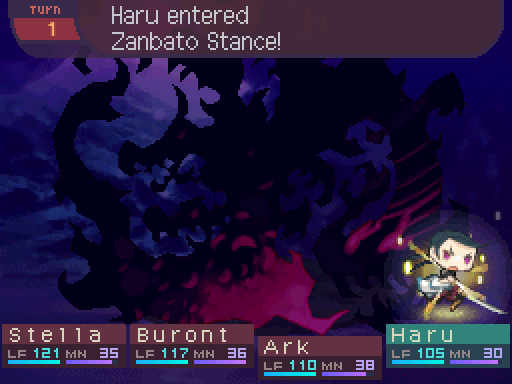
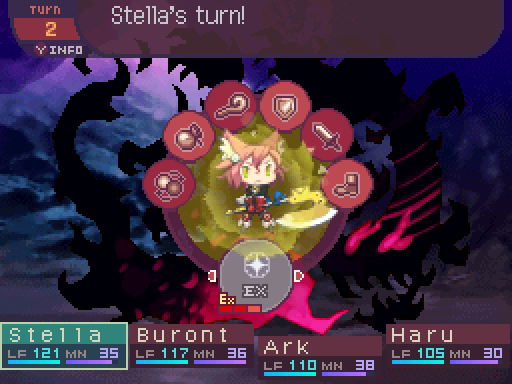
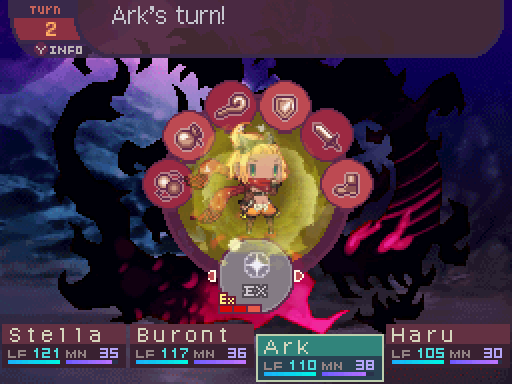
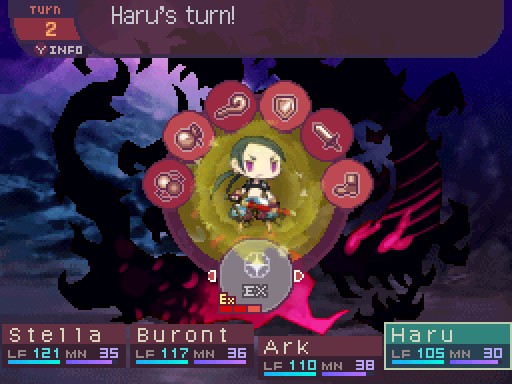
Standard opening tactics, like always.
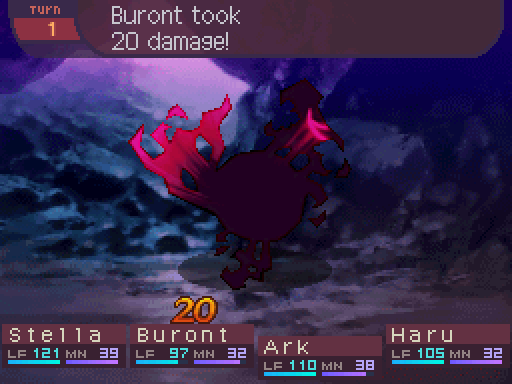
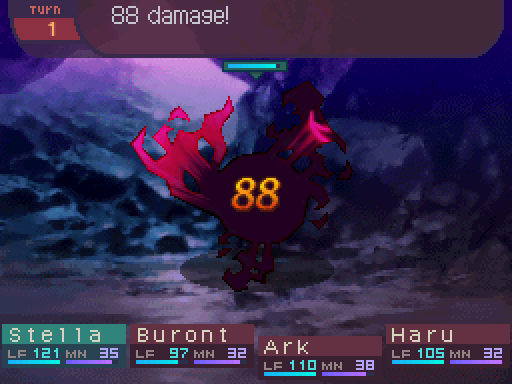
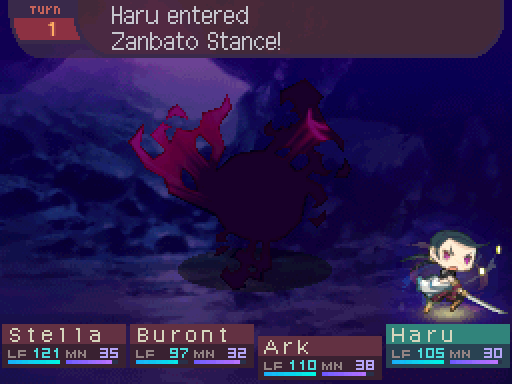
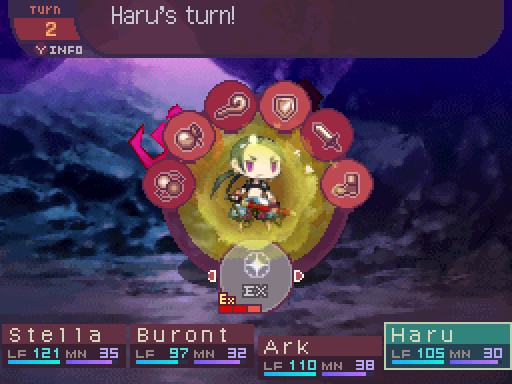
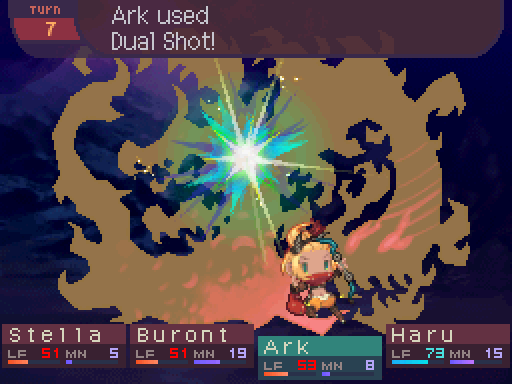
And I’m just gonna throw out EX-boosted attacks for the rest of the battle.
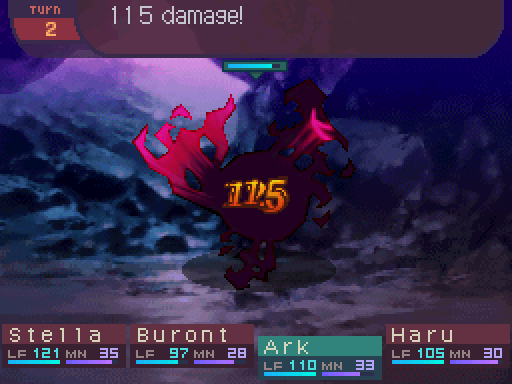
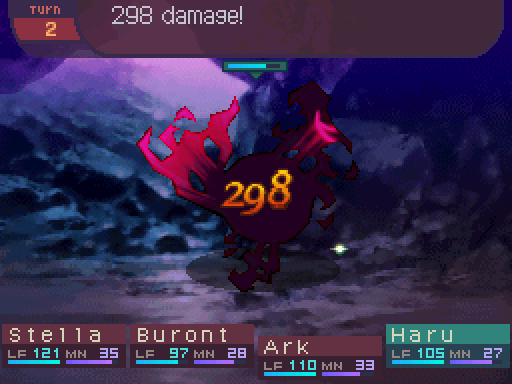

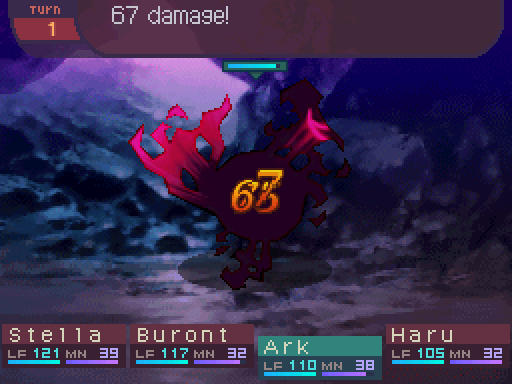
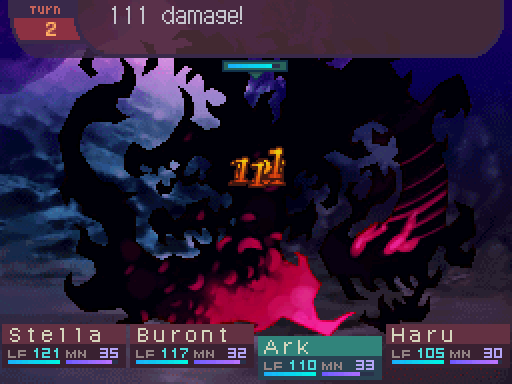
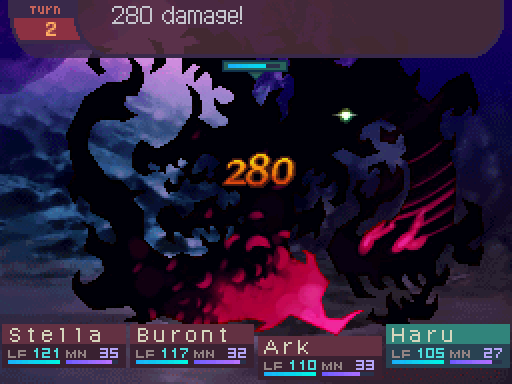
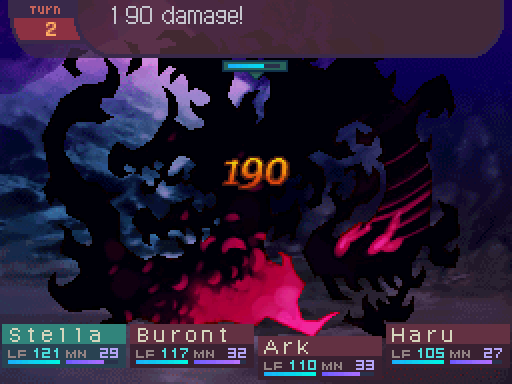
Some good damage being thrown out.

Well it’s not like Buront can do much in this fight anyway.
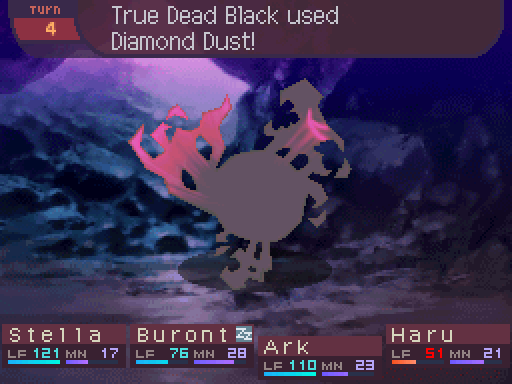
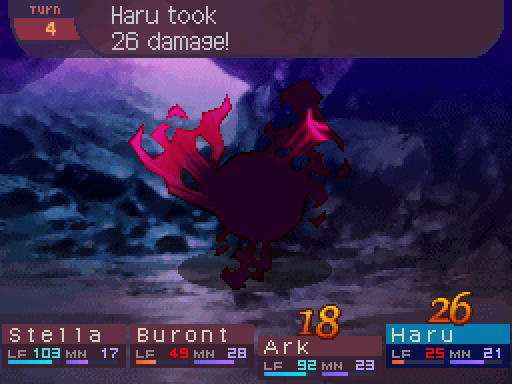
Its AOE attack also doesn’t do that much.

Though Buront and Haru’s life are getting pretty low, so I heal them up.
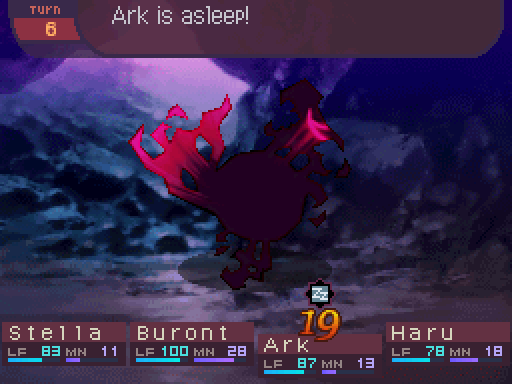
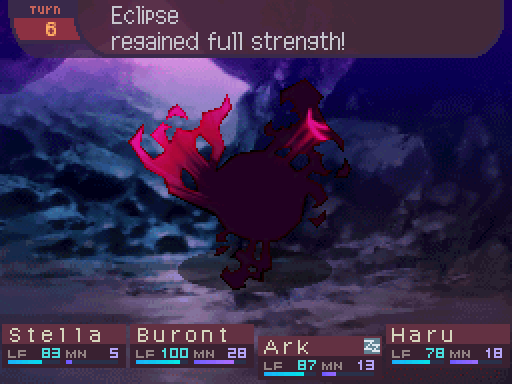
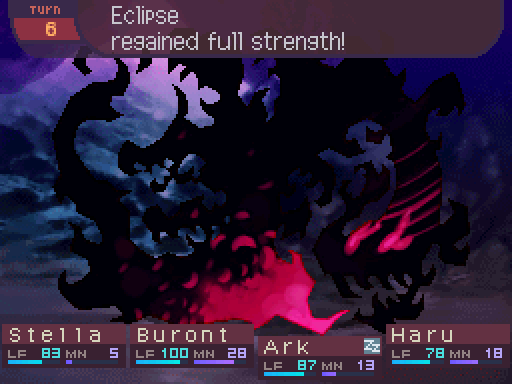
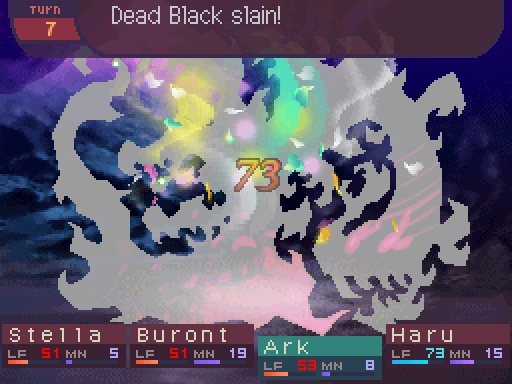
If Those Who Stand in the Way was playing in this fight, the track would shift to Seven Threats at this point. Also killing True Eclipse also causes Eclipse to shift back into its true form. It’ll regain 400 HP in this case, so you’ll have to chip that off to finish the fight.

If you’re wondering why we had to weaken Eclipse in the first place, well...

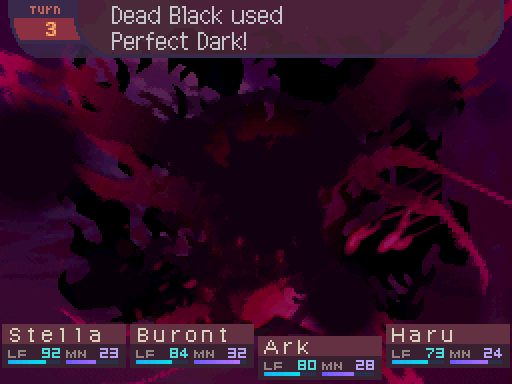
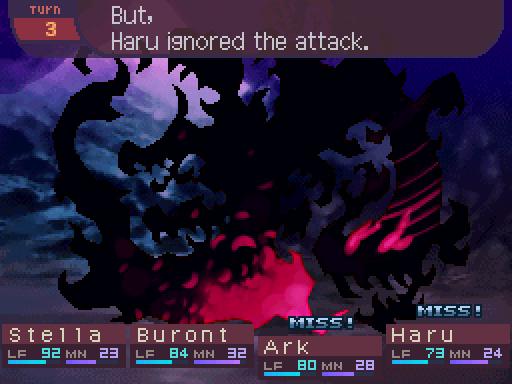
It has access to Perfect Dark. Which is an AOE Instant Death skill! Fortunately it didn’t tag anyone there. But you have to keep in mind that your options for revival at this point are very limited. The only way you can revive someone at this point is if you have a Healer that can do that, or if you got that one Hypno Crystal all the way back in Miross. If you don’t have access to those methods, someone that goes down to that attack is down for good.

Though fortunately, I didn’t have to deal with this form for long.
Eclipse isn’t particularly bad when you weaken it. But... what if we didn’t weaken it? It’s not mandatory to do so before fighting it, so let’s rewind a bit, shall we?
 Video: Eclipse
Wait, what? It’s possible to get preemptive strikes on Imperial Dragons? Uh, okay.
Anyways, allow me the pull back the curtain and reveal just how not actually intimidating this boss is. The stuff I’m about to reveal is not something any player is actually supposed to know about, and will greatly deflate the tension of this fight.
Anyways, allow me the pull back the curtain and reveal just how not actually intimidating this boss is. The stuff I’m about to reveal is not something any player is actually supposed to know about, and will greatly deflate the tension of this fight.

Eclipse
Level: 35
LIFE: 3200
ATK: 85
DEF: 50
INT: 60
SPD: 35
Attack Type: Blunt
Enemy Type: Imperial Dragon
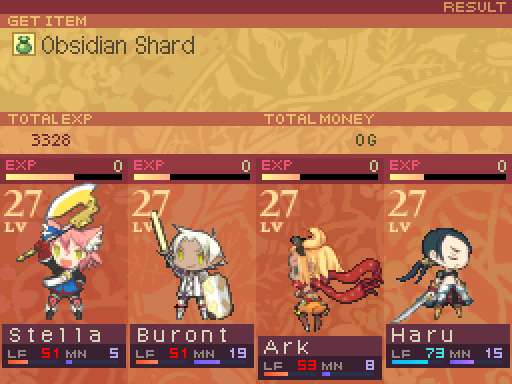
Exp: 3330
Gold: 400
Item Drops:
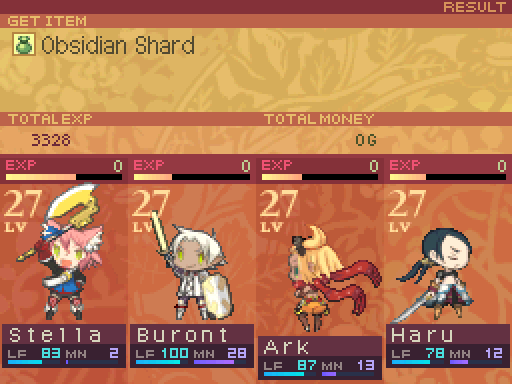
-Normal: Obsidian Shard - 100% Drop Rate.
--Splinter of Eclipse.
-Rare: N/A
Damage Multipliers:
Slash: 100% Blunt: 100% Thrust: 100%
Fire: 125% Ice: 125% Lightning: 125%
Ailment Susceptibility:
Death: 0% Masked Pain: 100% Skill Seal: 5%
Fear: 10% Curse: 50% Bleed: 25%
Poison: 25% Sleep: 10% Confuse: 10%
Paralysis: 50% Blind: 25% Stun: 100%
Skills:
Ice Javelin: Deals ranged INT-Based Ice damage to one party member. Has a base damage of 50. Has a speed modifier of 80%.
Diamond Dust: Deals ranged INT-Based Ice damage to all party members. Has a base damage of 45. Has a speed modifier of 80%.
Dream Edge: Deals melee 130% ATK-Based Cut damage to one party member. Has a 75% chance to inflict Sleep. Has a speed modifier of 90%.
Perfect Dark: Instantly kills anyone in the party that is under 60% of their maximum life. Otherwise, 0% chance of inflicting Sleep on the entire party. Has a speed modifier of 60%.
Yeah, Eclipse’s signature skill? It can only inflict Instant Death if your party members are below 60% of their maximum life. Otherwise it does nothing. (If you’re wondering about the Sleep aspect, that’s because the code for that skill gets reused for another enemy skill.) As long as you keep your party healthy, Eclipse can’t touch you. If you make sure to do that, you’ll get a bunch of free turns. Which actually makes this fight easier than if you didn’t bother weakening it. In fact, if you have a Healer with Cure All, you’ve pretty much won the fight. (Unless your Healer gets hit by an incredibly unlucky Dream Edge proc.) And for some bizarre reason, Ice Javelin actually gets weaker when Eclipse is at "full power!"
The strategy for this fight hasn’t really changed all that much. Only now I have to watch my party’s life totals even more than usual. Eclipse always casts Perfect Dark on the first turn, which is pretty much a free turn anyway, unless you came into the fight with a really unhealthy party for some bizarre reason. Outside of the first turn, Eclipse will only cast Perfect Dark after using Diamond Dust.
Eclipse’s DEF only increased by 5 points, so the party is still dealing good damage here.
Though Eclipse’s higher INT does give Diamond Dust a bit more of a boost. However, it doesn’t make up for the loss in power for its version of Ice Javelin. Diamond Dust didn’t take off enough HP for anyone to fall prey to Perfect Dark, so I just keep on attacking.
I’m not gonna bother healing until Diamond Dust gets used again, and there are party members under 60% of their life at that point. Eclipse’s offenses are pretty lackluster. The only remotely threatening attack is Dream Edge, and that’s because of the Sleep effect it has.
Seriously, why is Eclipse using a nerfed version of Ice Javelin? Its additional INT would only add on like 10 points to the base damage. Instead it loses 20 points of damage in this case.
And that’s it for Eclipse. Just keep your party more healthy than usual and you’ll be fine. Though we don’t get anything more out of killing Eclipse without weakening it. Sure Eclipse is level 35, but the game actually checks for True Eclipse’s level, which is 25. Even though we never fought True Eclipse. So we don’t get any additional exp out of this. Oh, and the rewards are tied to Eclipse, which is why True Eclipse changes to Eclipse after killing it, so you don’t lose out on the exp and item drop.
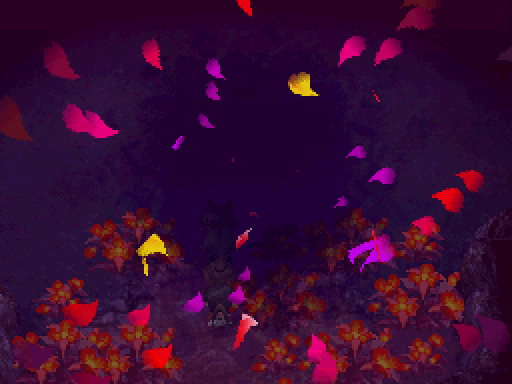
Fade to black.
Odyssey walks up the Duke and soldier.
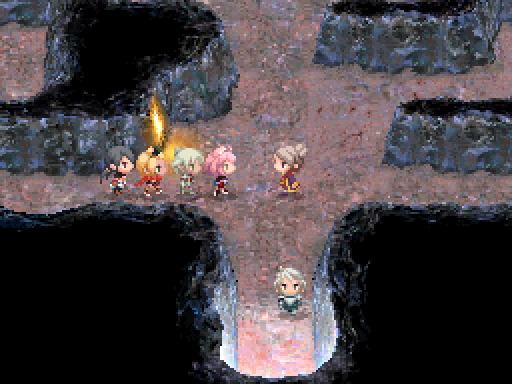
The soldier leaves.
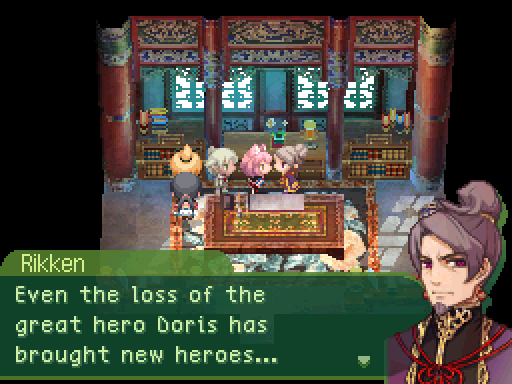
Rikken leaves.
And we’re completely done with this dungeon. Let’s head back to Aizhen.
And we’re completely done with this dungeon. Let’s head back to Aizhen.
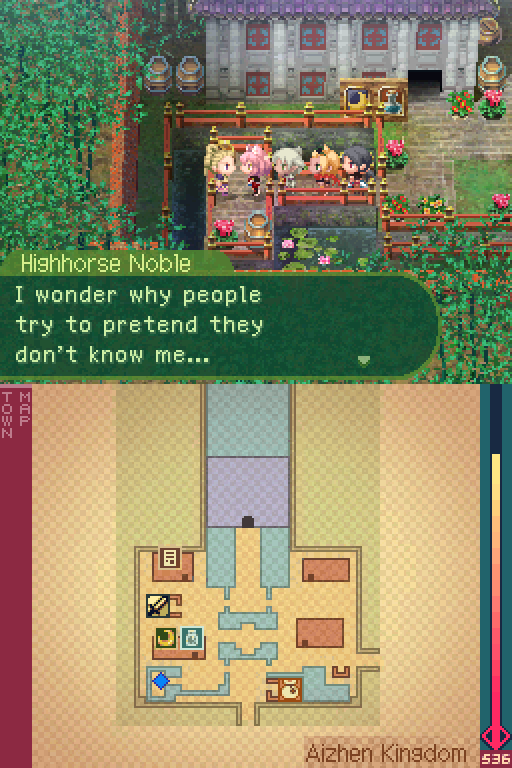
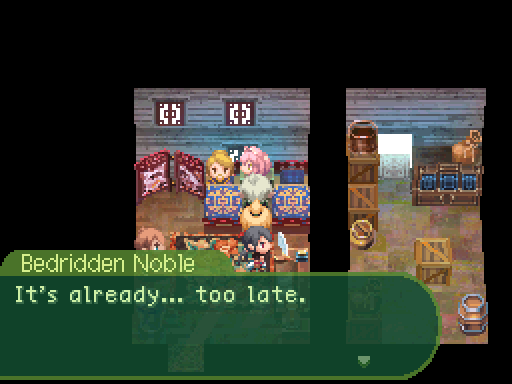
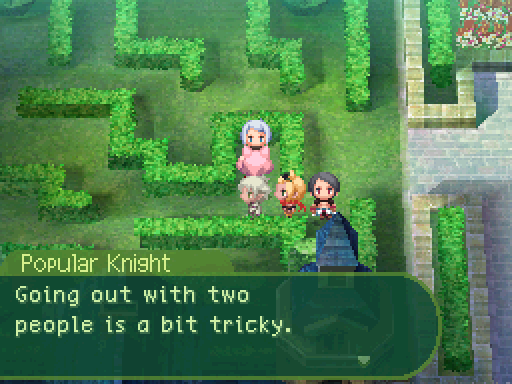
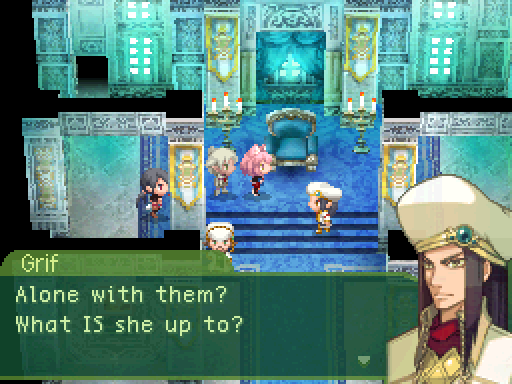
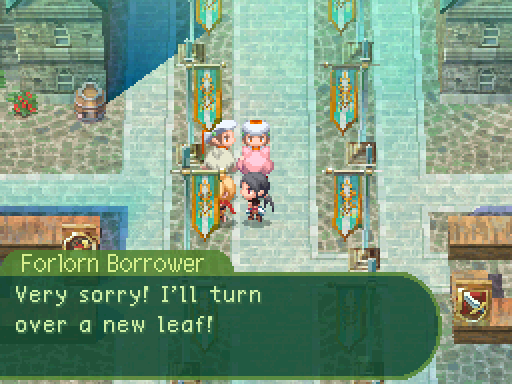
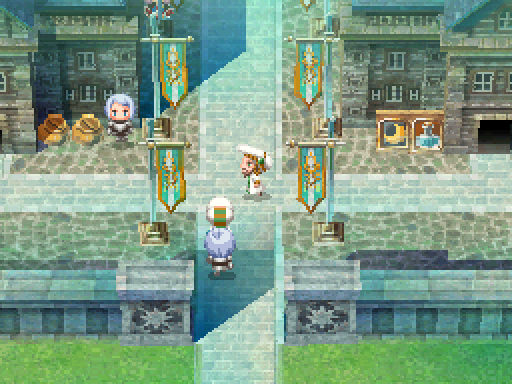
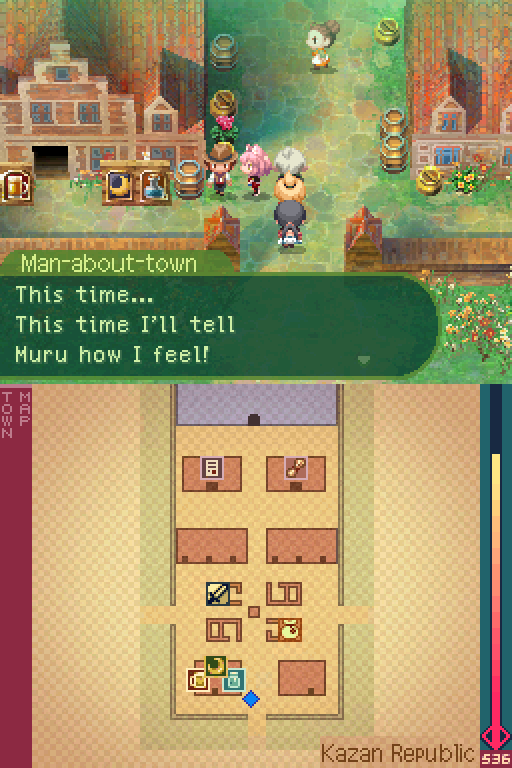
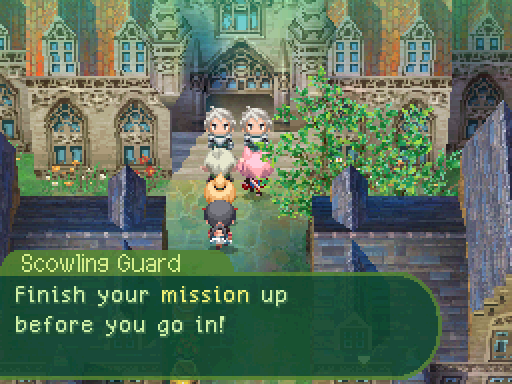
 They're fooling no one.
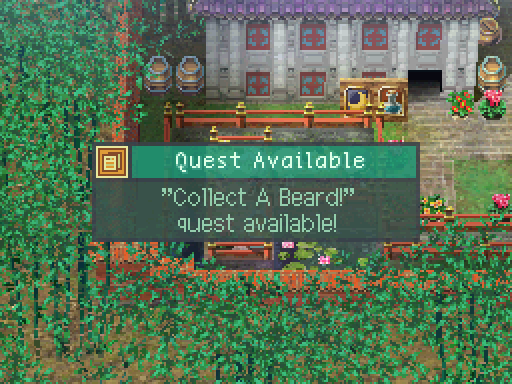
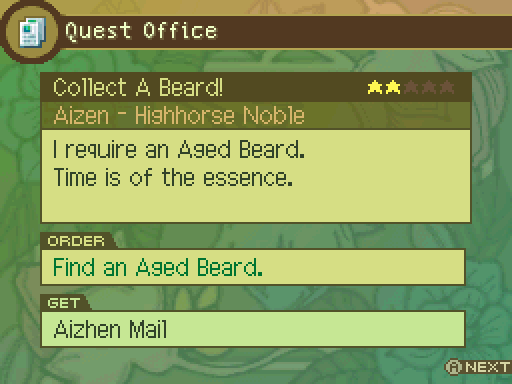
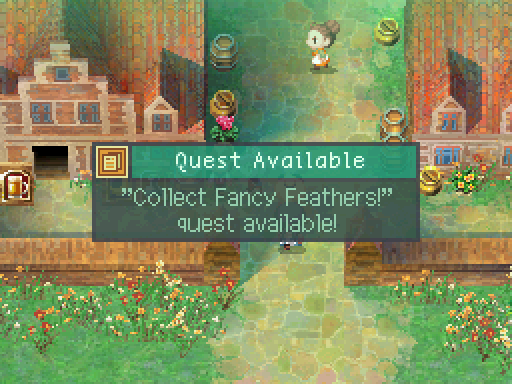
After killing Eclipse, this quest becomes available. Since we just need an Aged Beard, we can complete this now.
 Make sure it's first-class. Don't disappoint me!
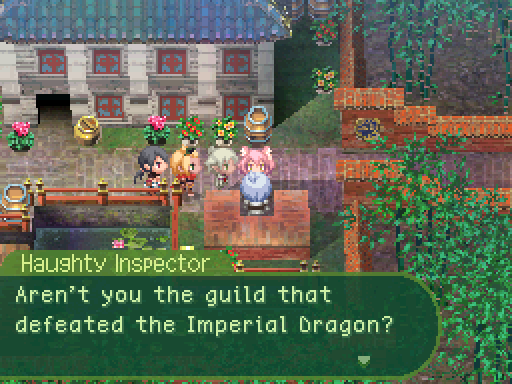
 Not just him, but most people in Aizhen... They don't like Rushe...
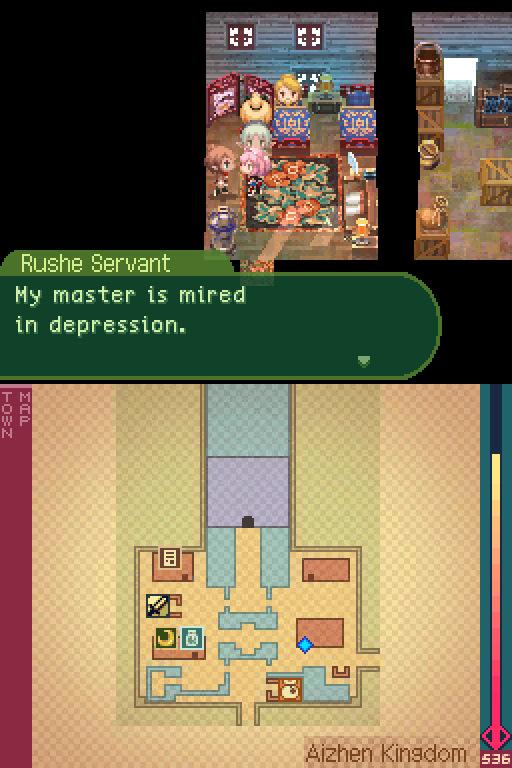
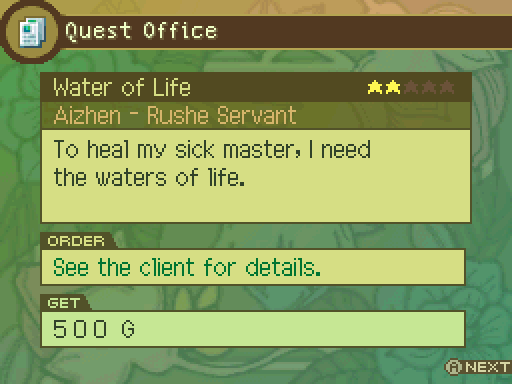
 If he doesn't change his outlook, his illness will only worsen. What he needs is Water of Life to turn his spirits around...
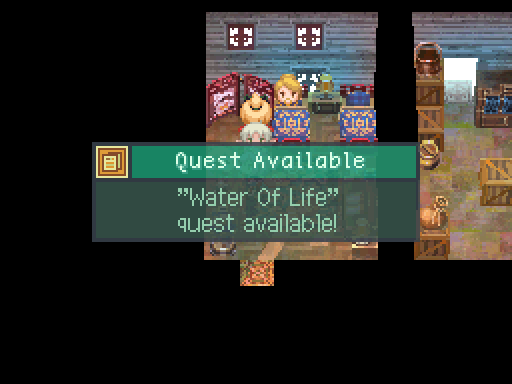
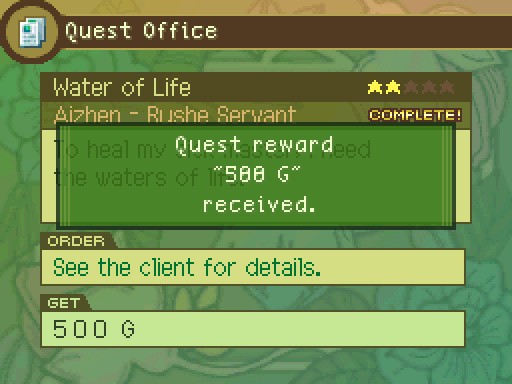
This quest also becomes available after killing Eclipse. Like with the other quest, it can be completed now.
And time to take on these 2 quests.
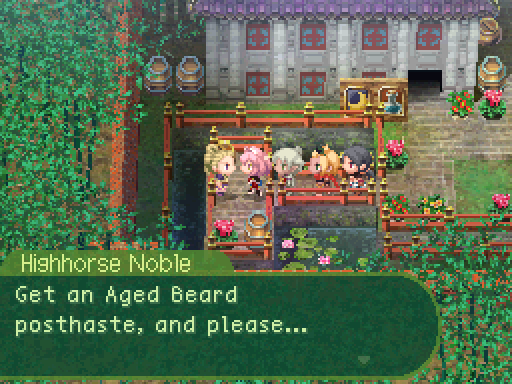
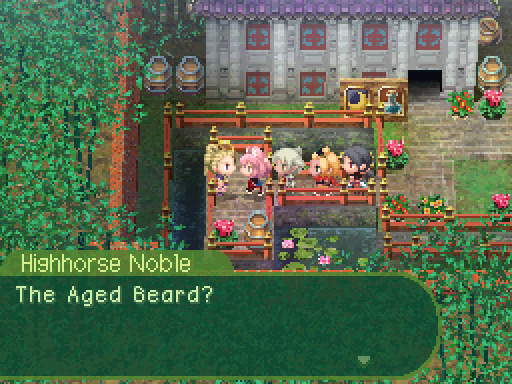
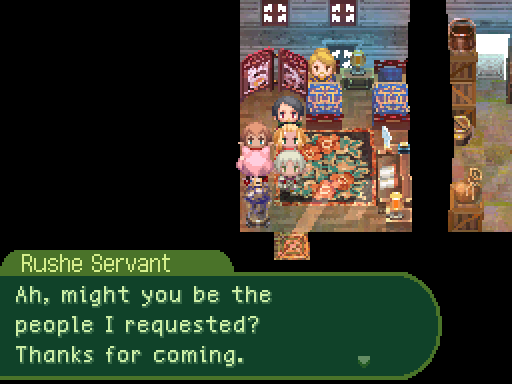
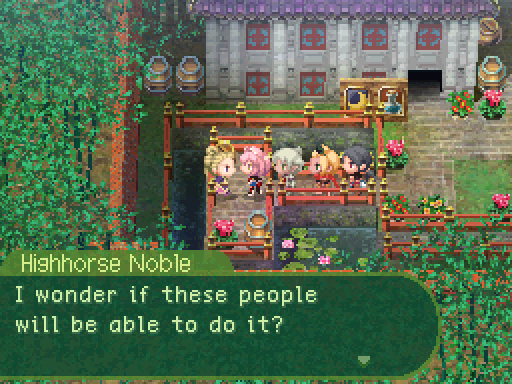 Is this really worth my time? They look so unreliable. I suppose there's no harm letting them try. I need an Aged Beard. People of your social standing likely won't appreciate my reasons. Until recently, I had been making waves in society. Of, of course… I'm by no means saying that I am not doing so these days! One day, I had a flash of inspiration. I don't feel the need to explain the details to you, however. Regardless, what I need is: an Aged Beard, in good condition. Was that clear? Understand what I'm asking for? Then, bring me the Aged Beard already!
One bit of inventory editing enemy farming later...
 Hm, merely adequate. I hope this will do.
 Your reward is in the Quest Office. Eww... You have a certain... aura... about you. Could you depart?
I took the time to unlock a bunch of new equipment at the shops, so let’s take a look at those.
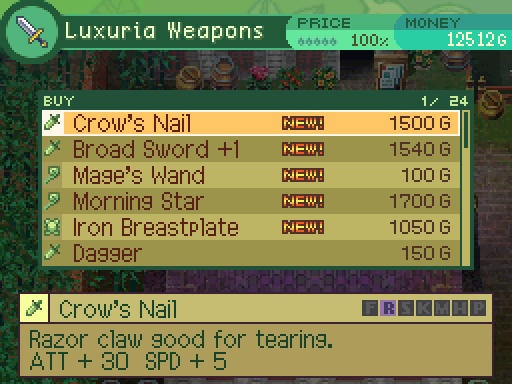
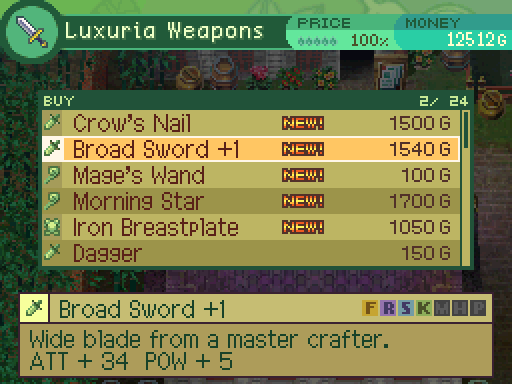
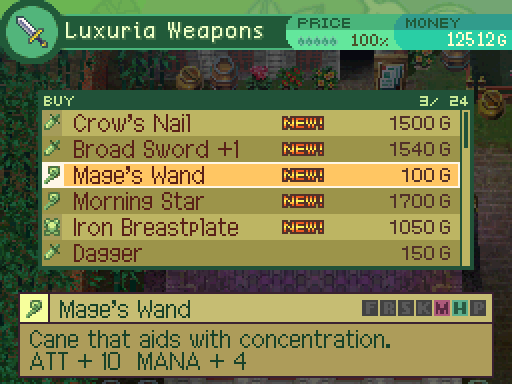
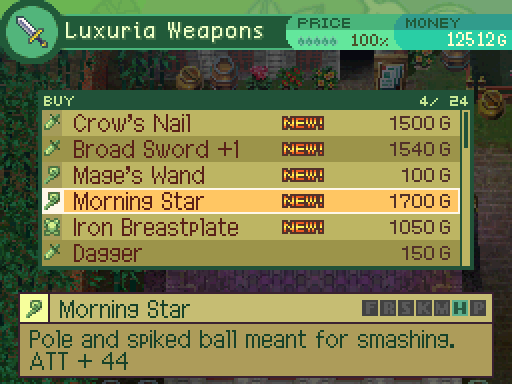
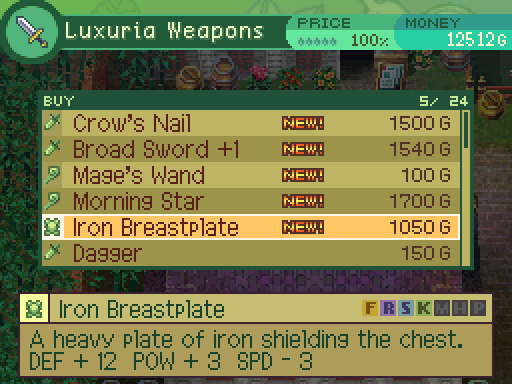
Though most of them are just outdated pieces of equipment at this point, and aren’t particularly spectacular even if you unlock them at the appropriate time. Unlike in say, Etrian Odyssey, unlocking equipment isn’t as huge of a priority in this game compared to just reaching a new city with new equipment. Anyways, onto the next quest.
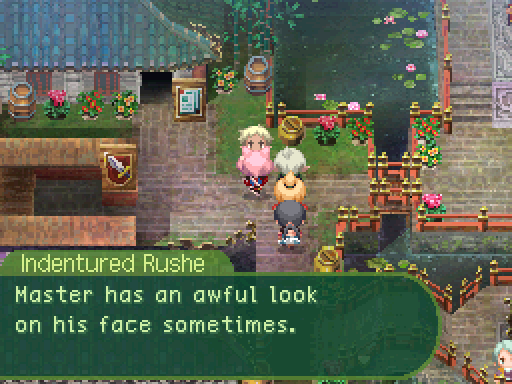
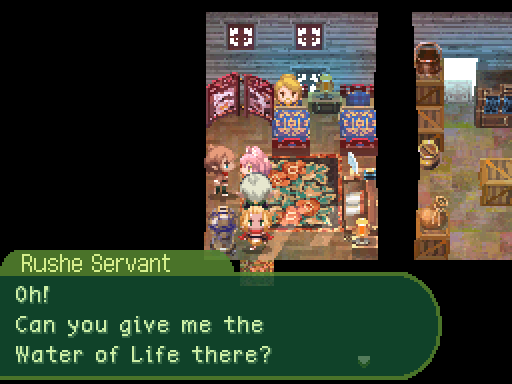
 Actually... it's the person I work for who has taken ill.
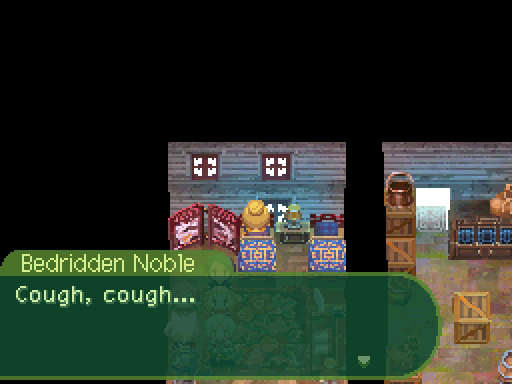 Since then, he's done nothing but wallow... Thus, I would like you to collect holy water from Hiyoron Grotto. The Water of Life, they call it, and it is said to cure any disease. So perhaps it will even be able to cure my master's. Thank you, Hunters.
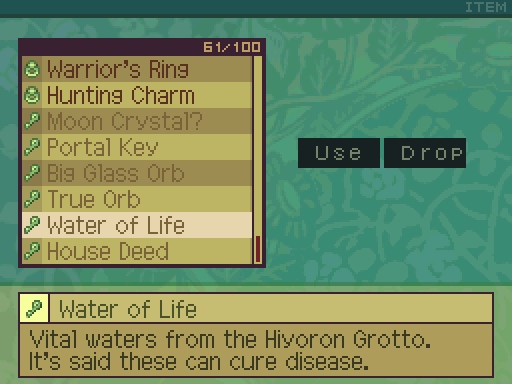
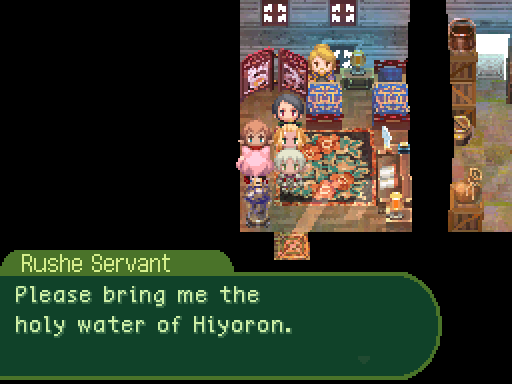 The Water of Life can cure any disease!
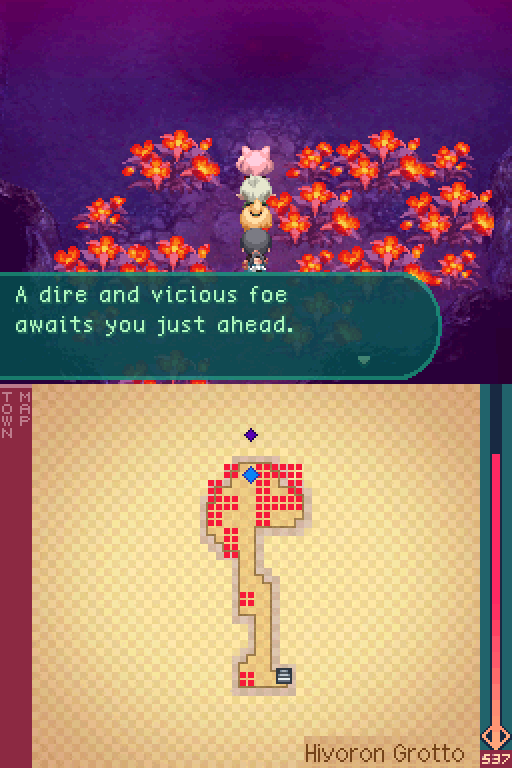
This quest is pretty easy to do. There’s only one place in Hiyoron Grotto with a body of water, so we just need to backtrack to where we fought Eclipse.
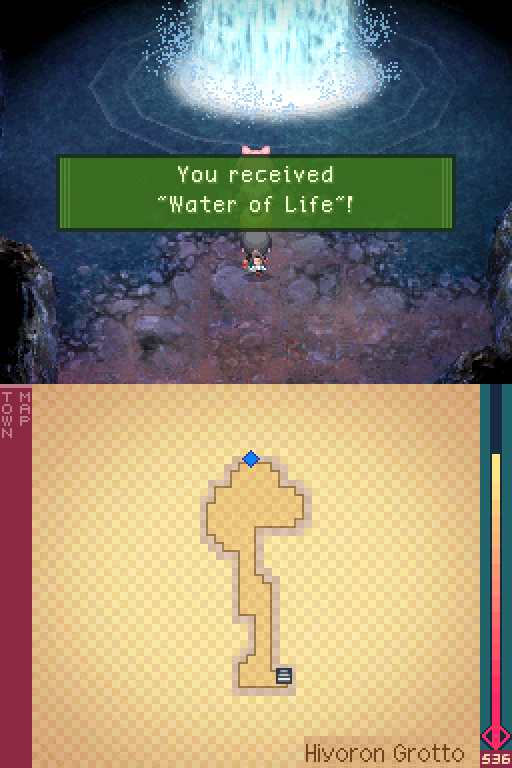
It really is as easy as that. No surprise boss fight like what happened with the Zenda Bamboo.
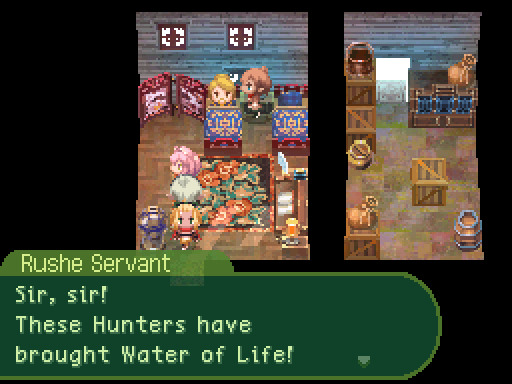
 Ohh... Water of Life! The same water said to cure any illness?! Although everyone had given up, maybe this can still cure me! Please, give it here... Gulp gulp gulp... ... I'm starting to feel a little better! Maybe there's hope! Traveler, I owe you a great debt for this! Yes, I'm getting better!
Fade to black.
 Certainly, it is good for one's health, but it cannot cure disease. Really, the healthful thing about it is the exercise fetching it. ...But, my master never made time to go there himself.
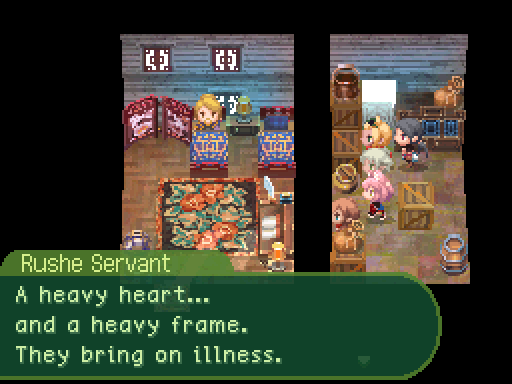 But did you see the joyful smile on my master's face? With his spirits up, I'm sure he'll recover. This time, he'll make enough trips for water. You, who provided him a reason to hope again... thank you. I'll take responsibility for caring for my master in the future. All of you, please be careful about illness on your journey.
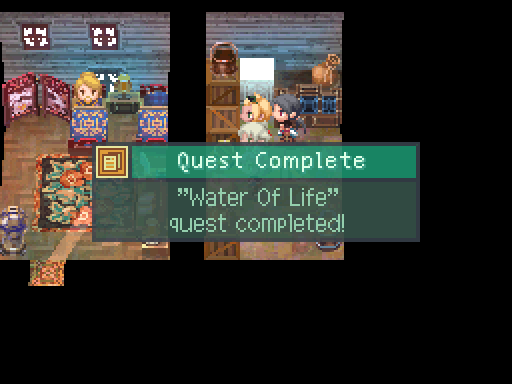
And now let’s turn in the quests and receive our rewards.
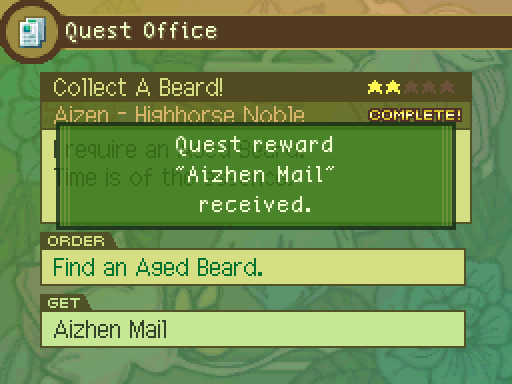
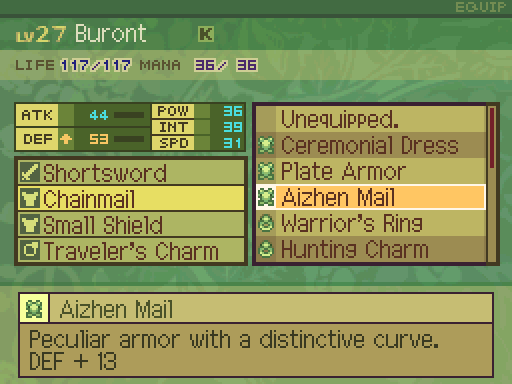
The Aizhen Mail is a nice armor upgrade for Buront, so I put it on him.
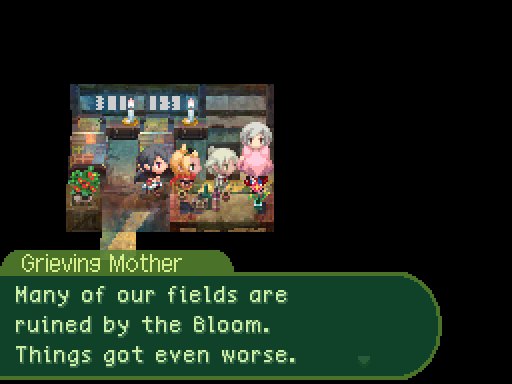
 But rather than cede their luxuries, nobles raised our taxes! Many died of hunger. Killed by the Dragons, or killed by people?
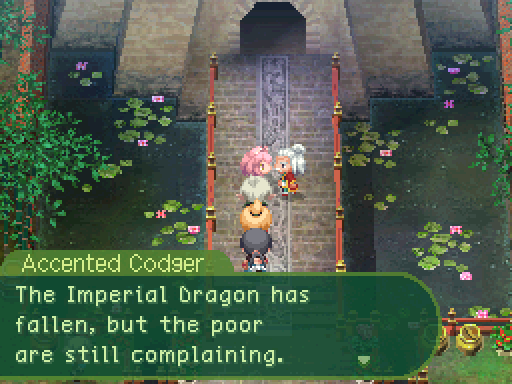
 They say tyranny is worse than Dragons...
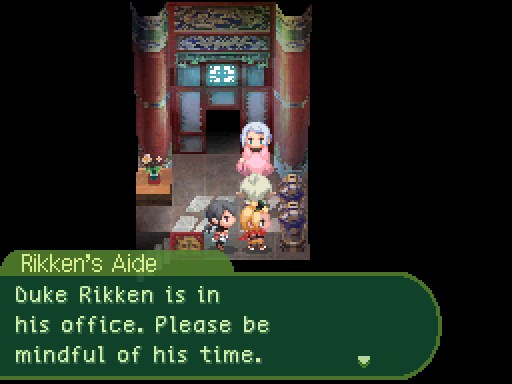

 By knowing history, you can predict the future. Don't forget!
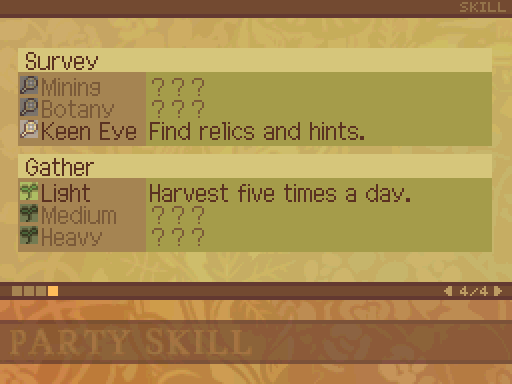
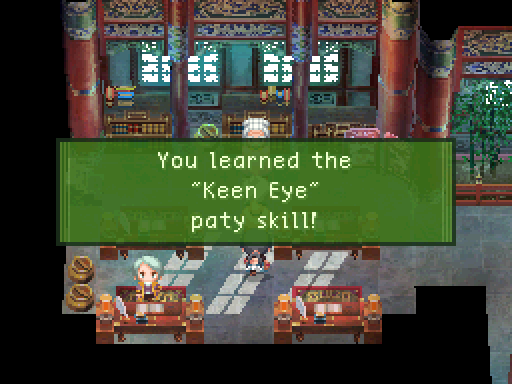
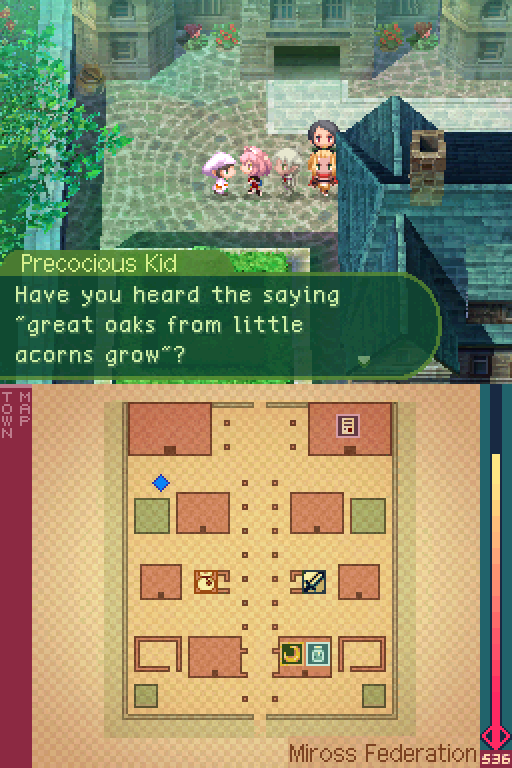
So we got a survey skill and as for what this does? All it does is just let us examine certain spots to get hints. It’s not an actual gathering skill, so we can’t get items from it.
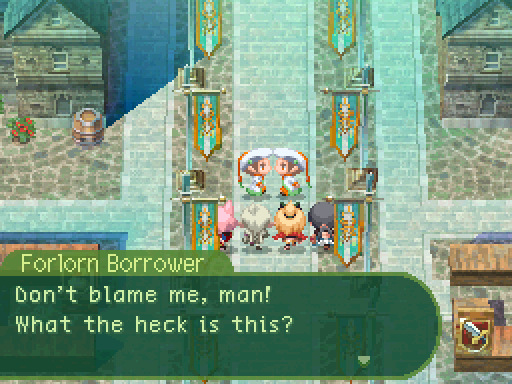
 So, how much? Do you want money? You've a solid claim.
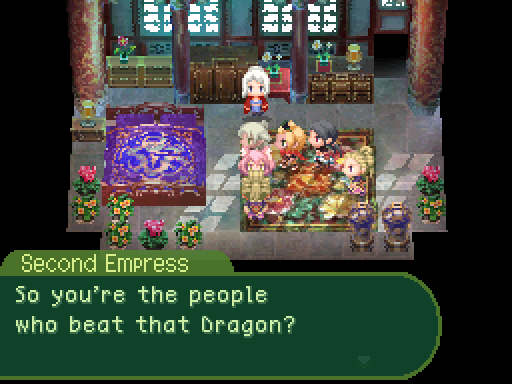 ...For savage work, perhaps savages are best, no? Hoho...
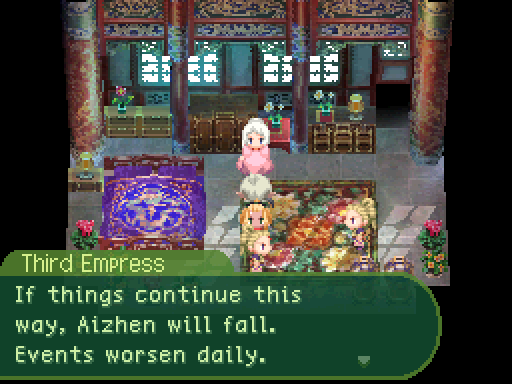
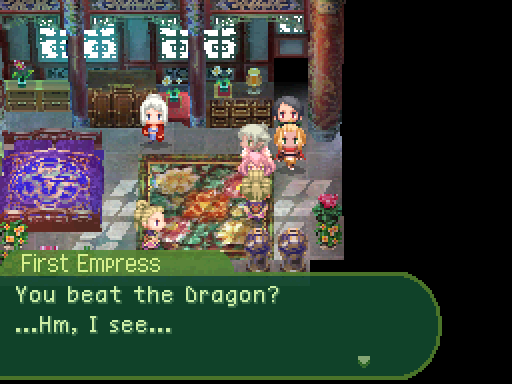
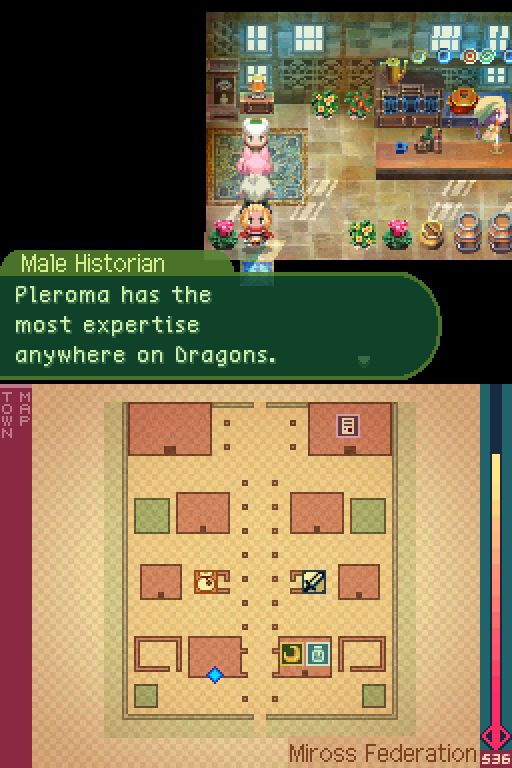
And that’s all we can do in Aizhen for now. Now that we’ve killed Eclipse, all the towns updated their dialogue. At this point in time, there’s something important we can do in Miross, so let’s head there.
Hmm, interesting.
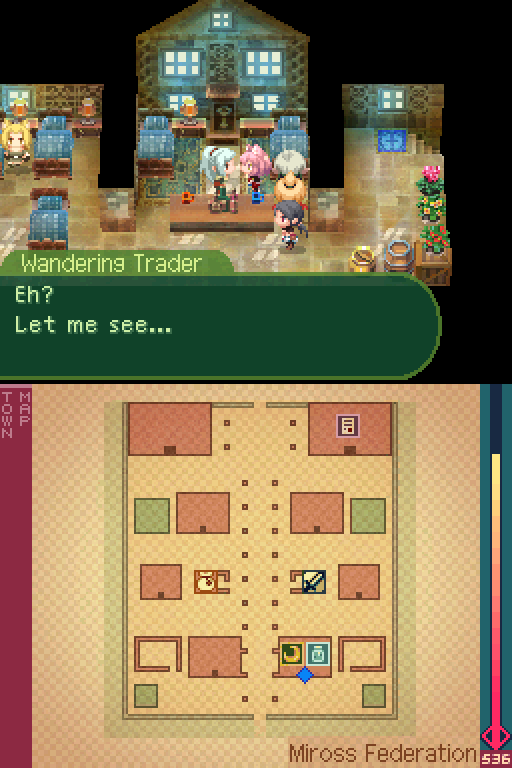


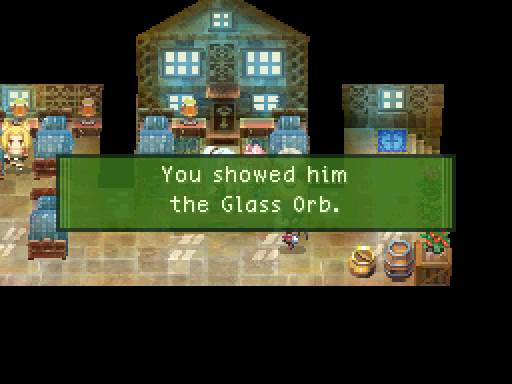
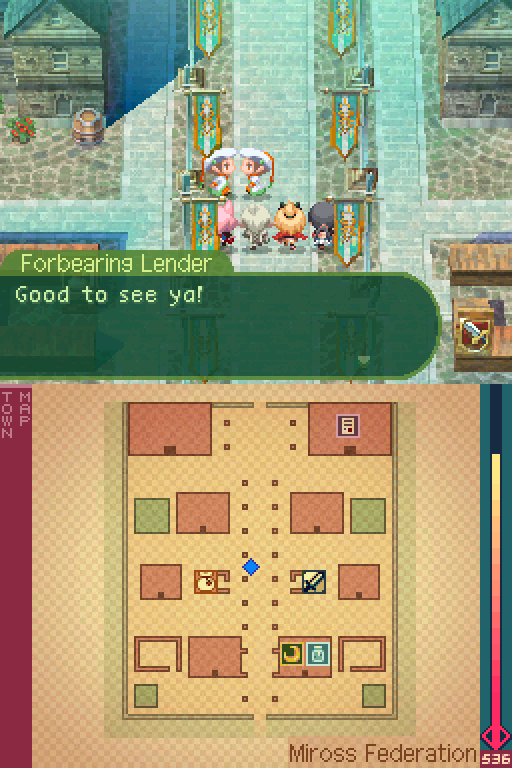
After beating Eclipse, you can sell the True Orb to this trader if you haven’t used it. But after a certain point, you won’t be able to do that and lose out on a decent bit of money.

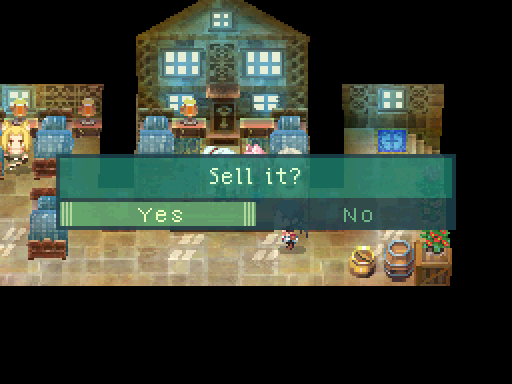
You can actually say no here to raise the price to 500 G (And that’s as high as it goes), but I forgot to do that here. Either way, you’re taking a loss since you had to pay 1000 G to acquire it.

But for the record, that wasn’t the important thing I was talking about. We’ll do that in a bit.
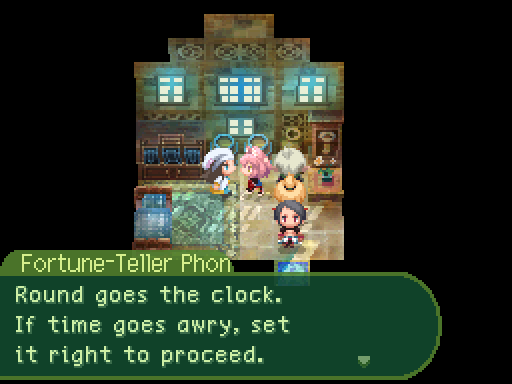
The fortune teller also has another hint for us if we talk to them again.

We can’t complete this quest yet.
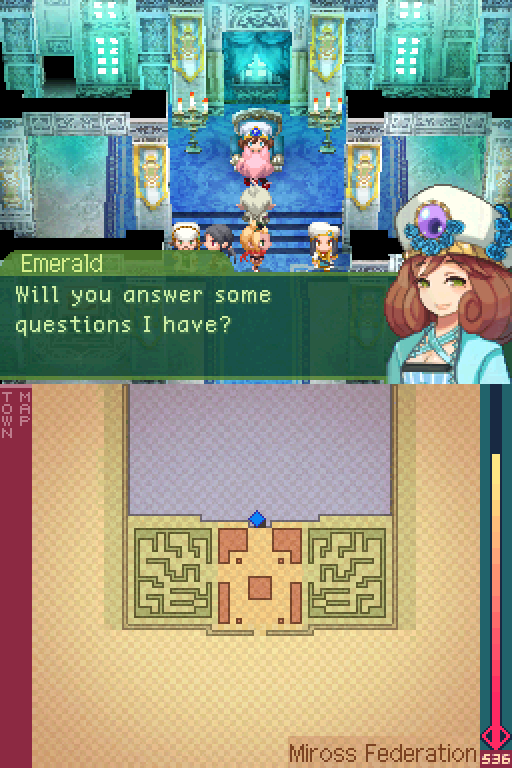

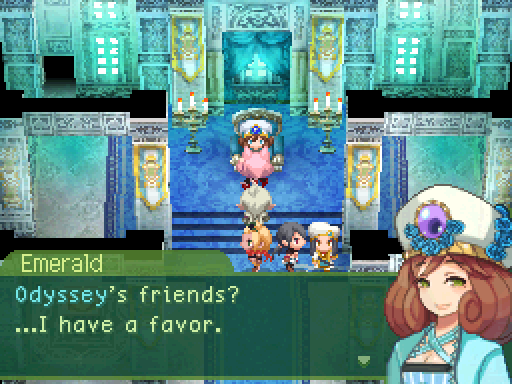
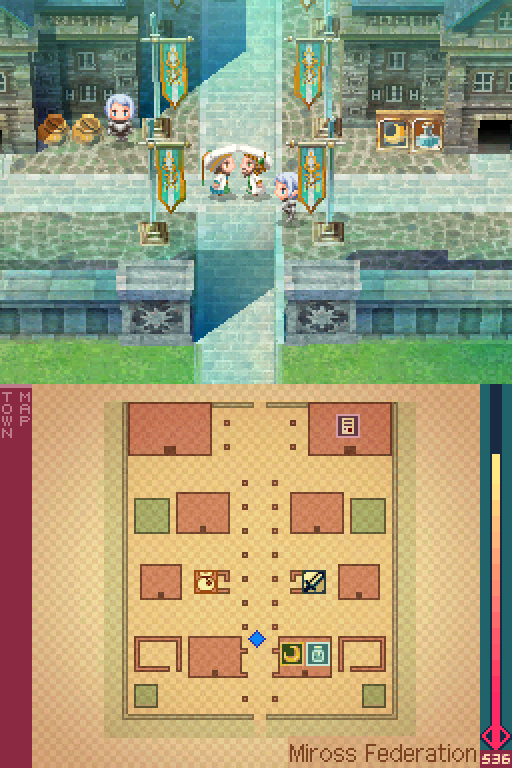
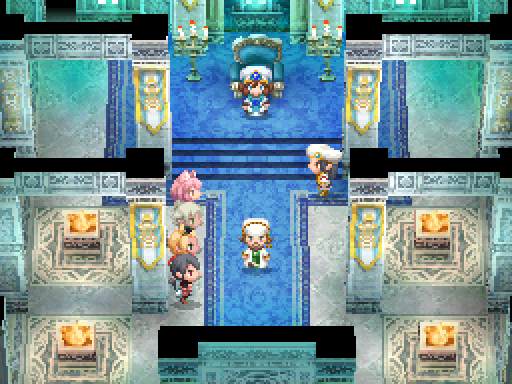
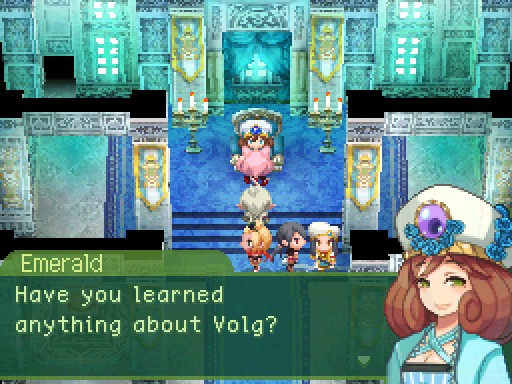
And now for the important thing I was talking about earlier. Now that we’ve killed Eclipse, we can start Miross’ sub-event.
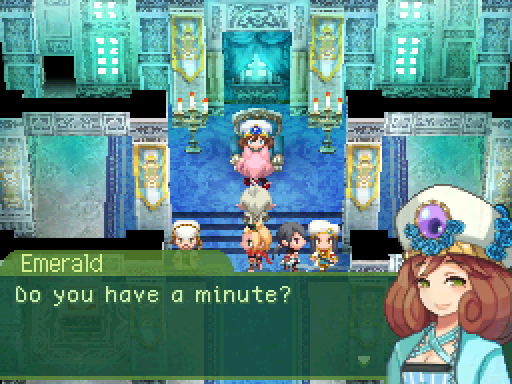
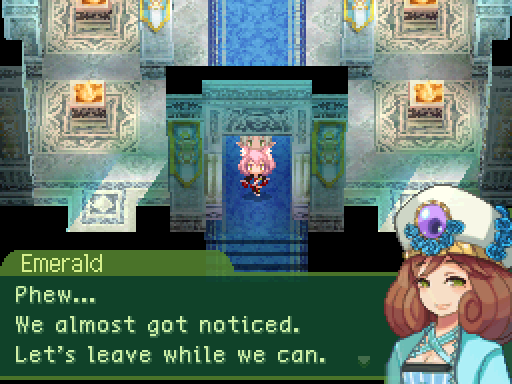
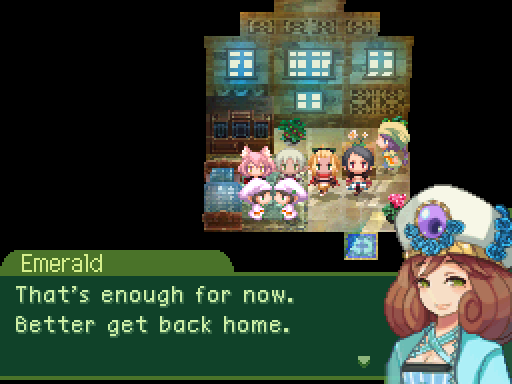
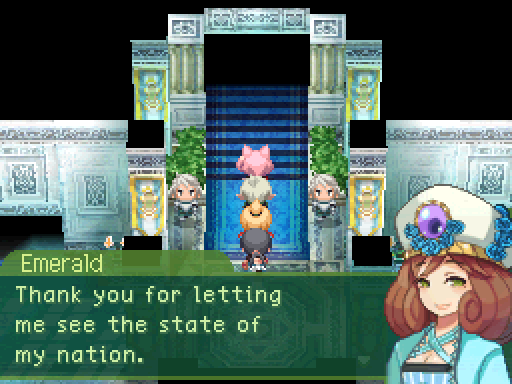
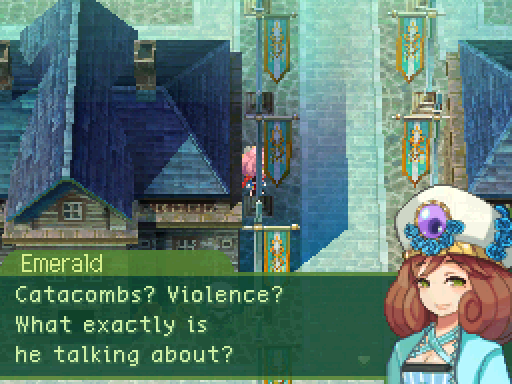
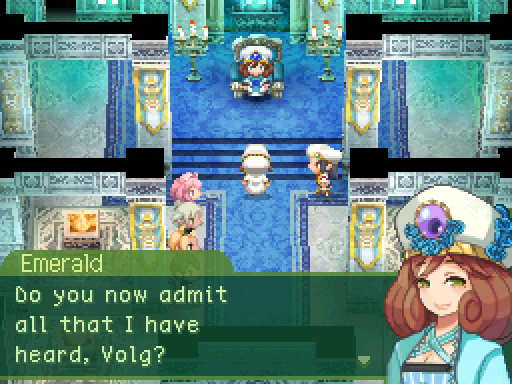
We’re not done here yet, we need to talk with Emerald again.
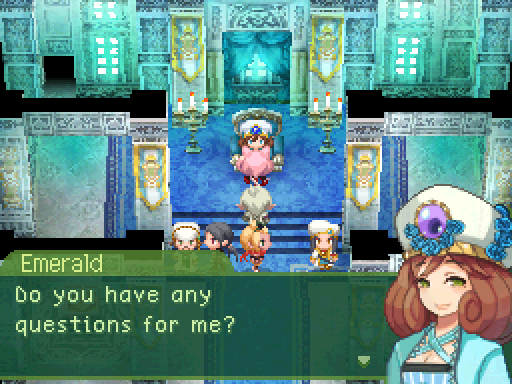

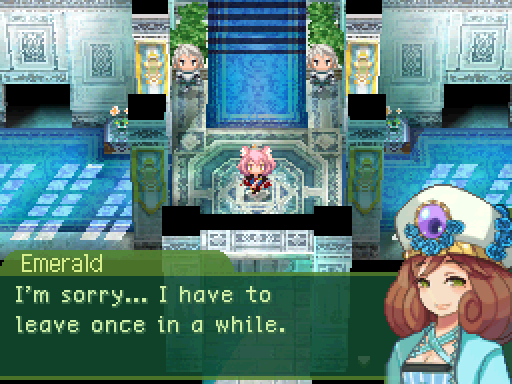
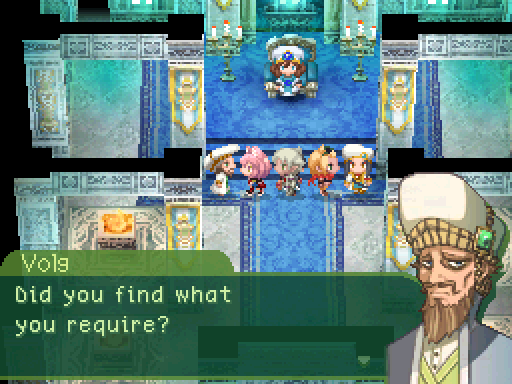
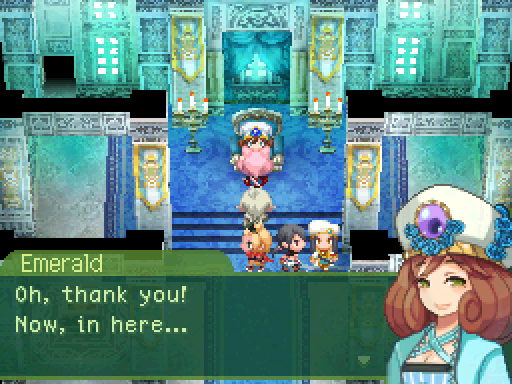
And once again, we need to talk to her another time.
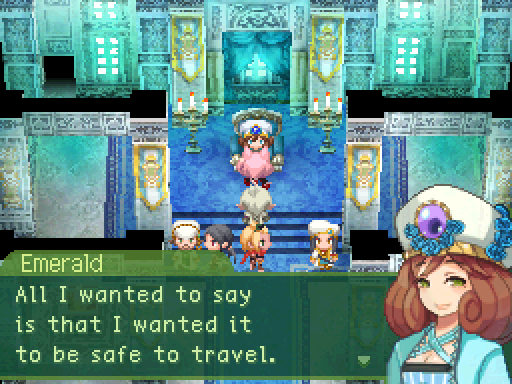
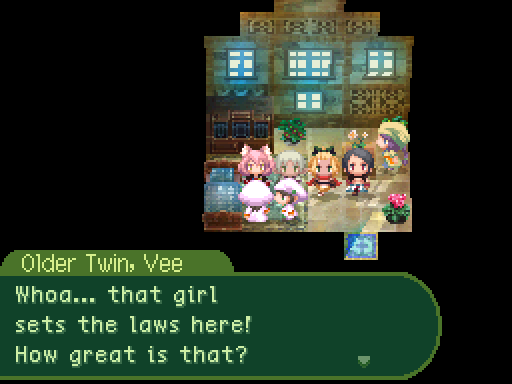
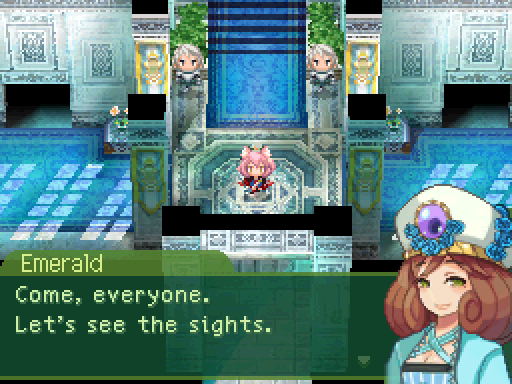
In order to progress this sub-event, we need to see a few events around town first.
That was one of the events we needed to see. The other event is in this part of the town.
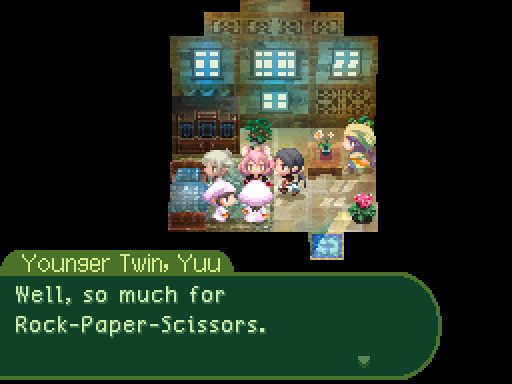
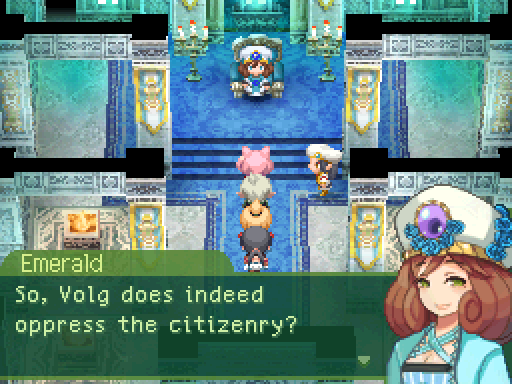
And now that we’ve witnessed those events, we can progress the sub-event some more.
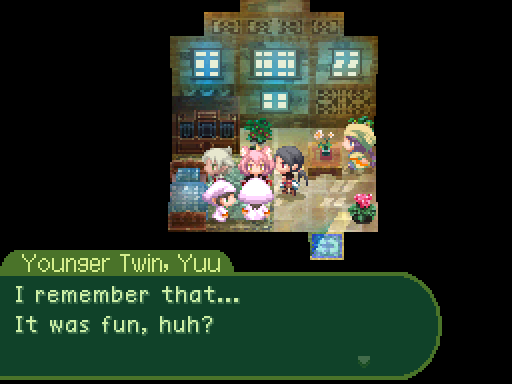
Stella looks around briefly.
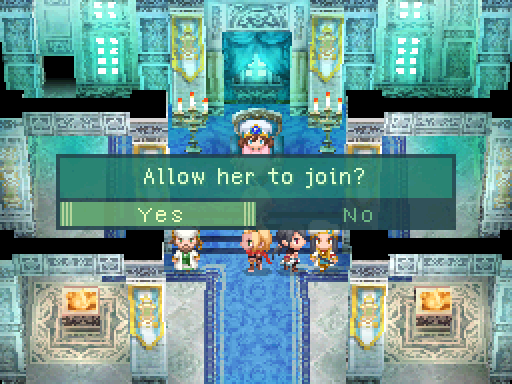
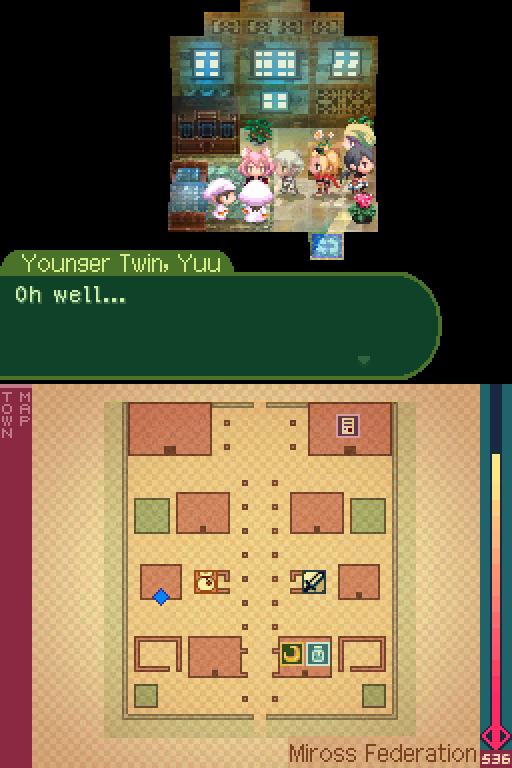
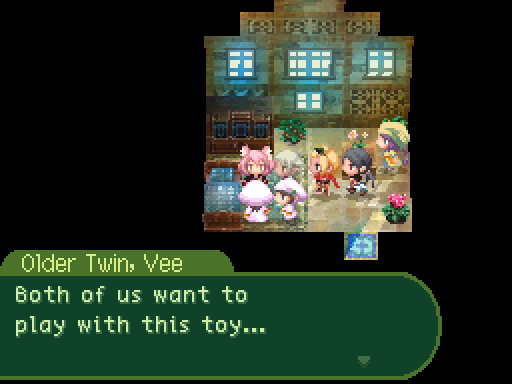
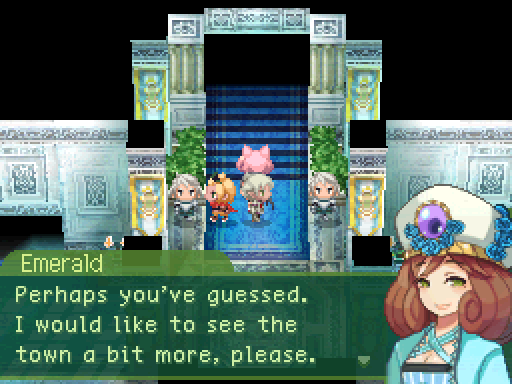
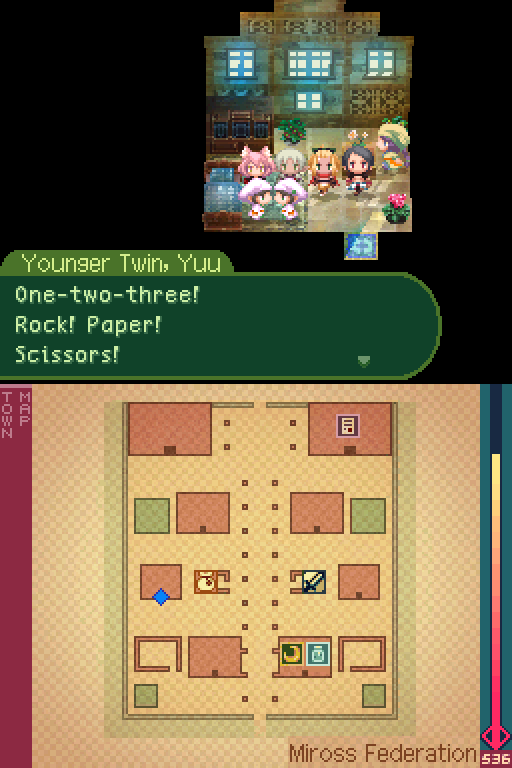
Okay, so this question? You need at least 2 female party members in your team for her to ask this. If you don’t, she just tells you to come back with a team like that. Don’t have 2 female party members in your team? Better go back to Kazan and make a new party! Yeah, the game actually checks for your party’s genders at certain points. Fortunately, the later games lack such gender locking, even if it’s only for optional stuff in this game. You’re never actually required to choose specific portraits to progress with the main plot. (Though there’s one moment later on that might cause players to think such a thing, but it’s not required there either.) Moving on...

Fade to black.

There are a few events we need to see in town first to progress this sub-event.
Fade to black.
And as for the other event we need to see...
Once that message pops up, you can head back to the castle.
Fade to black.
We’re not done with the sub-event yet. Sometimes in order to progress one, you have to stay at an inn to cause time to pass to the next day. Oh and if you had to change your party to accommodate for Emerald’s request, don’t change it back just yet. One inn rest later...
Stella looks around the room again.

This time we only need 1 female party member. Fade to black.
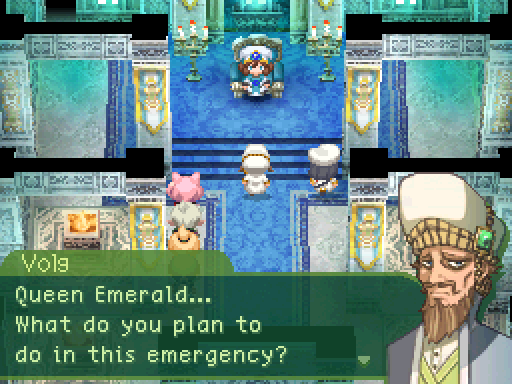
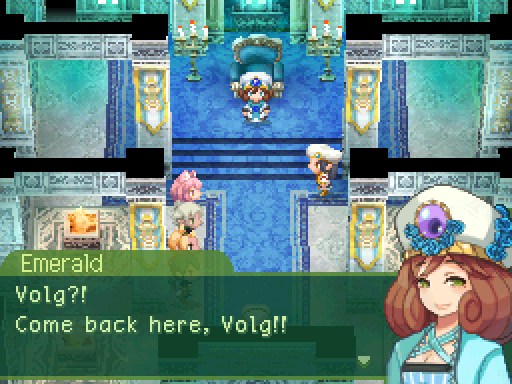
There’s only one place where we need to go this time, and that’s at the town’s entrance.
Music stops.
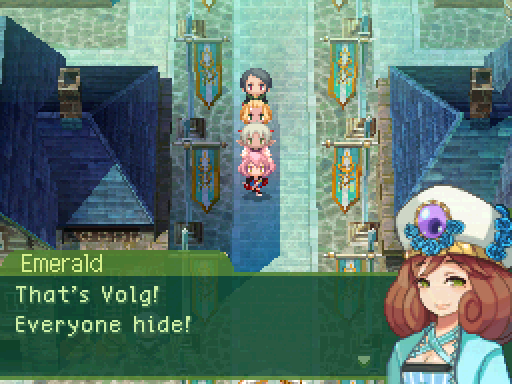

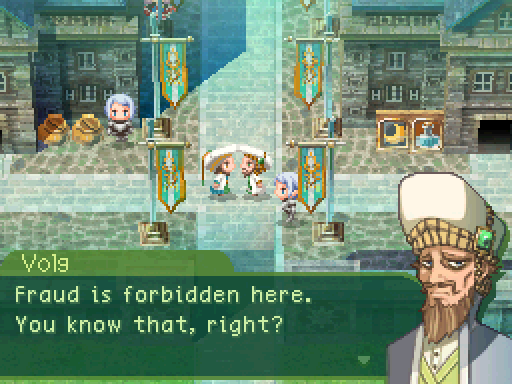
The man tries to flee, but...
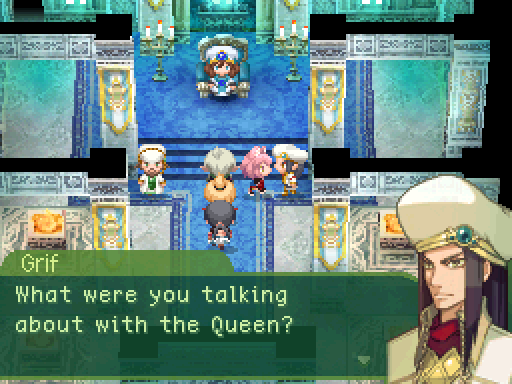
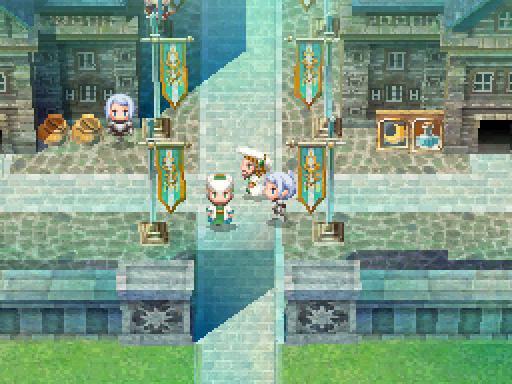
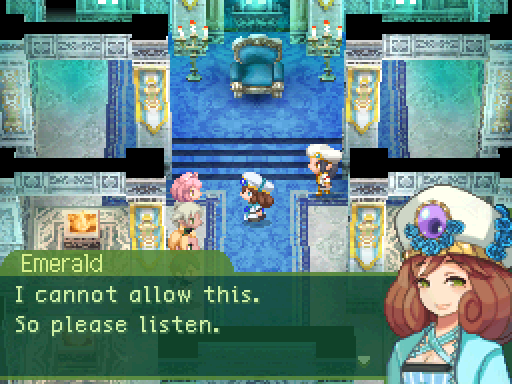
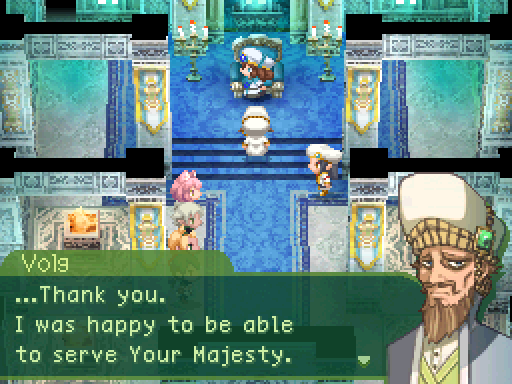
He gets cut off by the knight, and is subsequently escorted back to the castle by the knight ad Volg.
Fade to black.
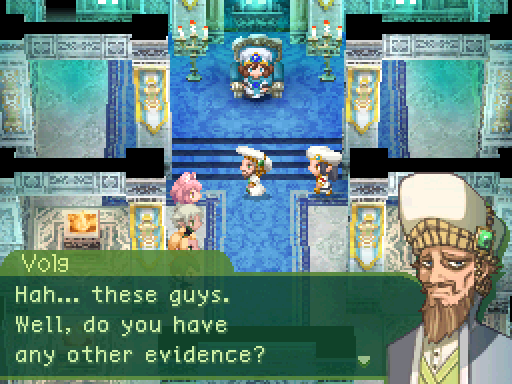
Volg leaves.
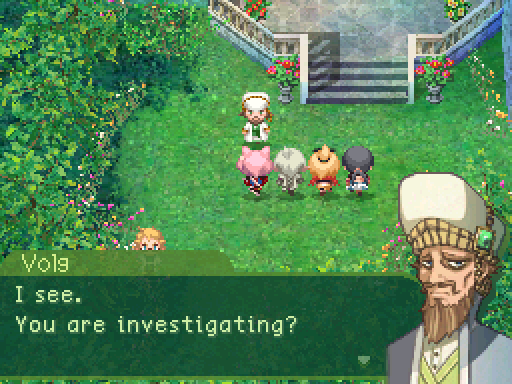
Volg is in the garden.
Fade to black.
Fade to black.


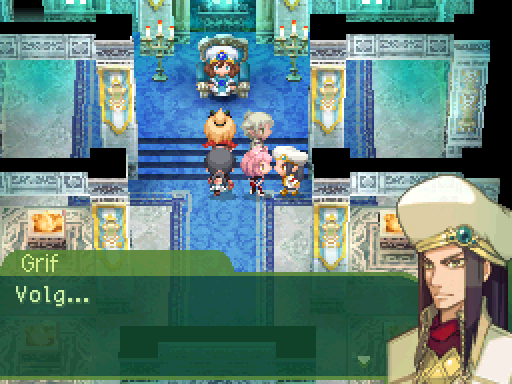
Volg looks back at Queen Emerald one last time before leaving.
Fade to black.
Fade to black.
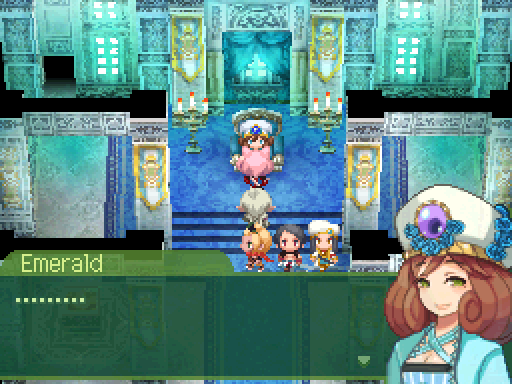
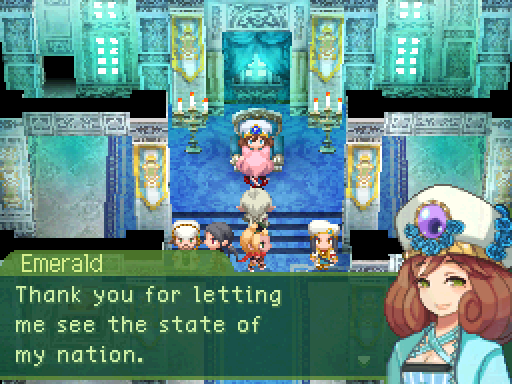
And as a result of all that, Queen Emerald is now in a state of shock. Oh, and we can’t progress this sub-event any further, so she’ll be stuck like that for who knows how long. Good job, Odyssey! You just broke a nation!
That’s all we can do in Miross for now, so let’s move onto Kazan.
That’s all we can do in Miross for now, so let’s move onto Kazan.
Eclipse’s death unlocked a few new quests in Kazan. This one can’t be completed right away, but it’s something we can do soon enough.

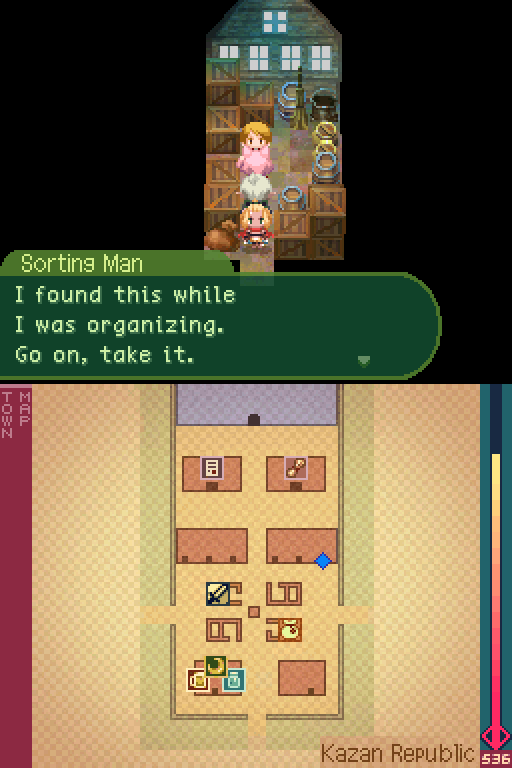
This man gives out a free Heal Aerosol.
In all honesty, do whatever you want. This game isn’t particularly difficult. Though focusing on one skill is definitely a better way to go about things than just leveling up several different skills at once.
If you’re actually having trouble with the game, that’s something to keep in mind.
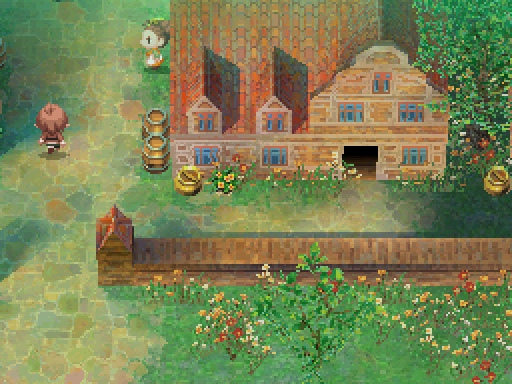
 I'm glad we met!
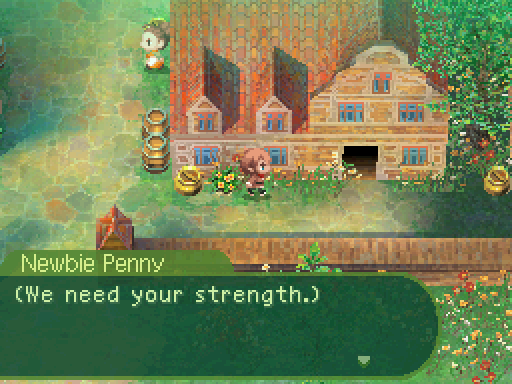
Right now, I'm... looking for someone.
They'll be back for sure if I wait here... Will it be a sign? Their firm handshakes? Suddenly... I found my calling.

 .........
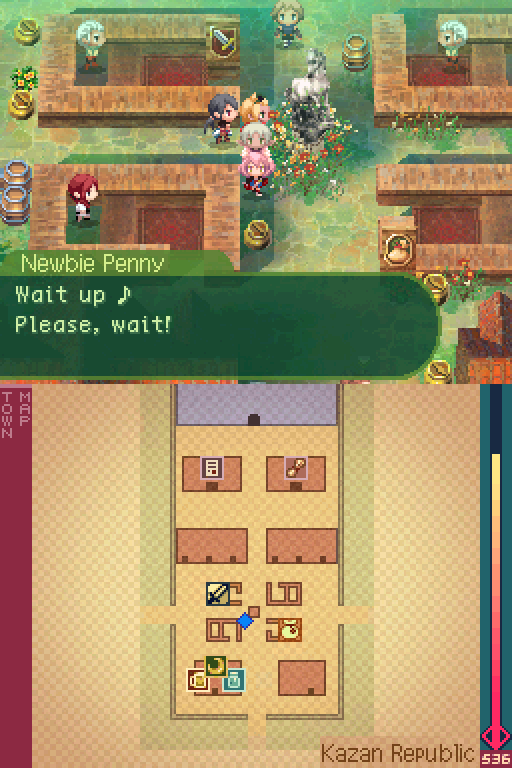
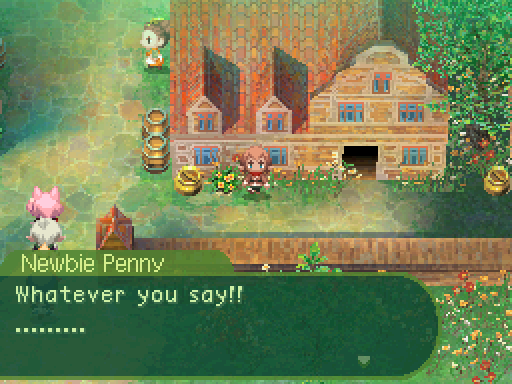
Penny bumps into the house and gets dizzy.
And then chases after the party.
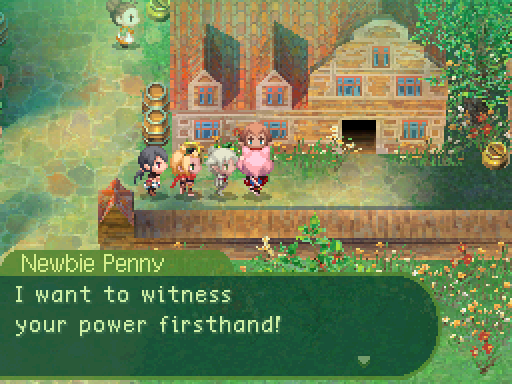
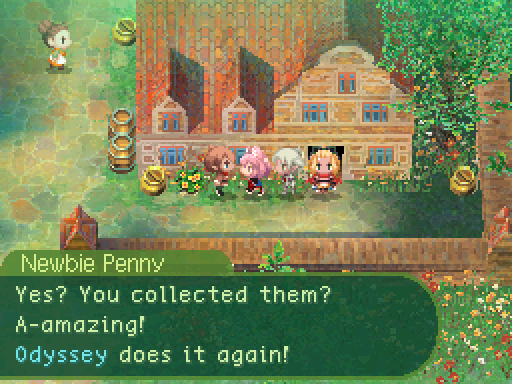
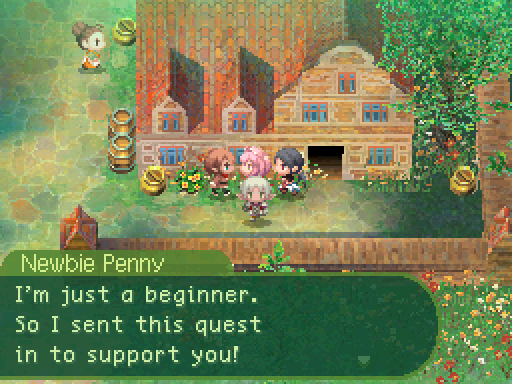
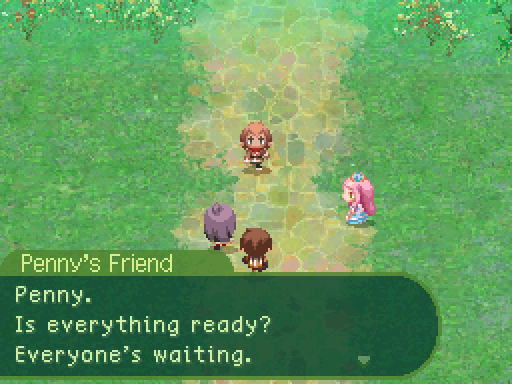
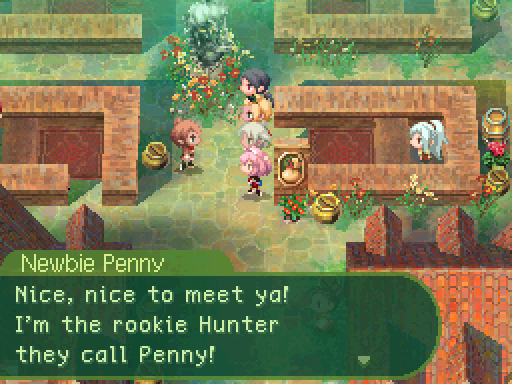 That... me... I... Odyssey, I'm a big fan of yours! You've done a lot of really great things... I truly respect you! It's because I admired you that I became a Hunter, and now I get to meet you! So, finally... I want to see how good you guys are for myself! This request'll likely be a breeze for you, but can you do it?
 Let's do it then! Sorry, I hope that wasn't too rude... I want monsters beat! I want Odyssey to beat them, actually! Oh, this is fun! You'll find out in the Quest Office... Penny the newbie needs your help! Please do my request straightaway!
Yeah, this request? It’s anything but a breeze! You’ll see why soon enough! It can technically be completed now, but the chances of doing so are extremely unlikely.
Okay then! I'll be waiting in front of your house!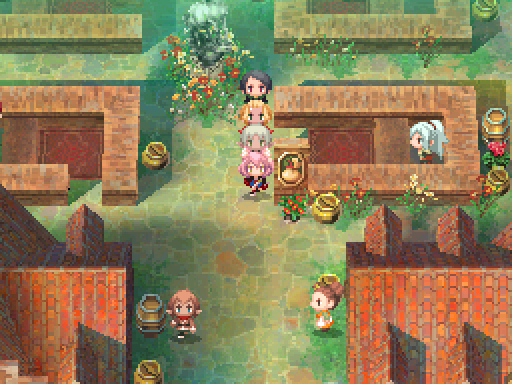
Penny leaves.
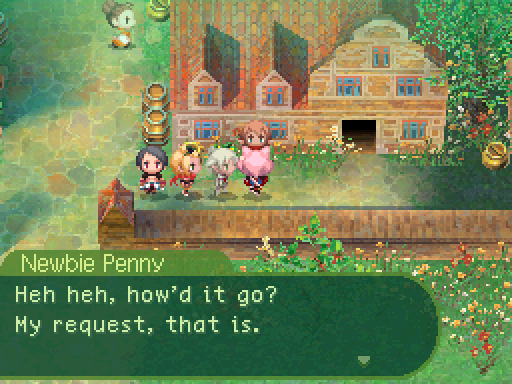
 Please, do my request, nothing too fancy!
So, that quest?
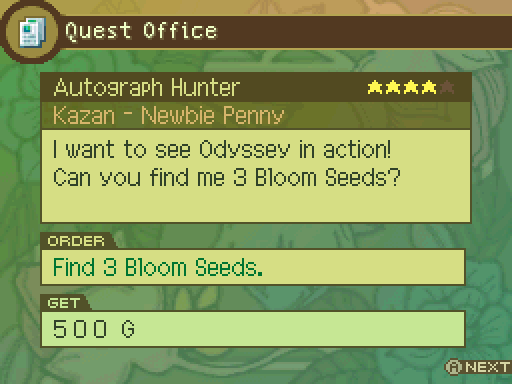
We need to find 3 Bloom Seeds to complete it! And the only ways to acquire those are to get into a fight with a Bloom Seed enemy, which really hard to find and only have a 30% chance of dropping one. Or, getting one from a Sphere Dragon, which has a mere 5% chance of dropping one! There is a guaranteed way to get them later on, but that’s not until near the end of the game!
 Bloom Seeds are rare items. Not just anyone can do this. Hope to hear back!
Oh, and trust me when I say that this is a quest that you want to get done. Anyways, coming to him with 3 Bloom Seeds...
 You guys are my idols! You're such pros. Oh, I have an idea! I'll teach you a skill not many people know!
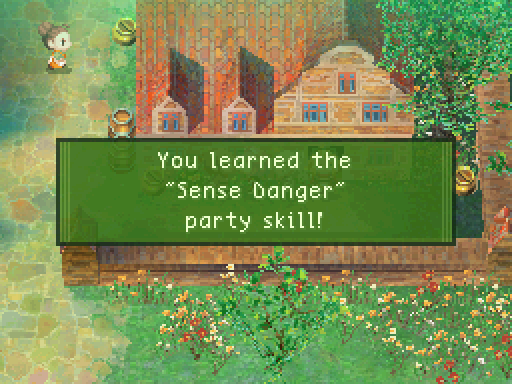
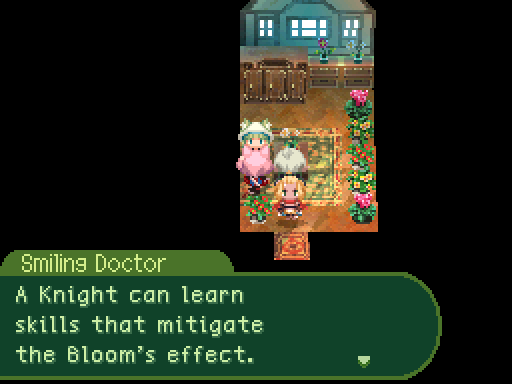
 But, Odyssey might have a tough time even with this skill... OK! My goal is to be as famous as you someday. Watch out!
 You guys are awesome! The strongest around! Odyssey!!
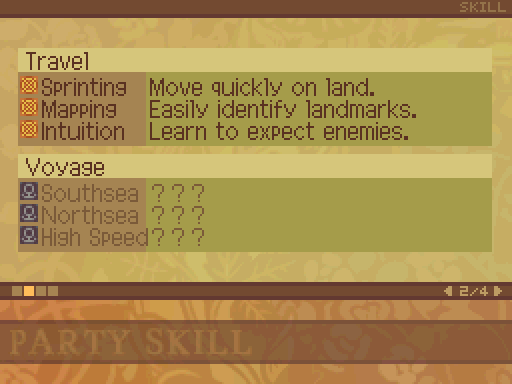
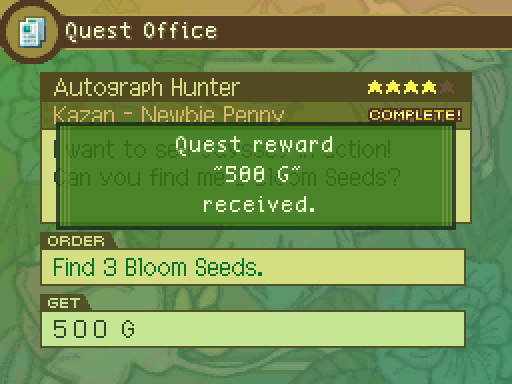
The 500 G is nice, but the real reward is the skill he gave us. More on that in a bit.
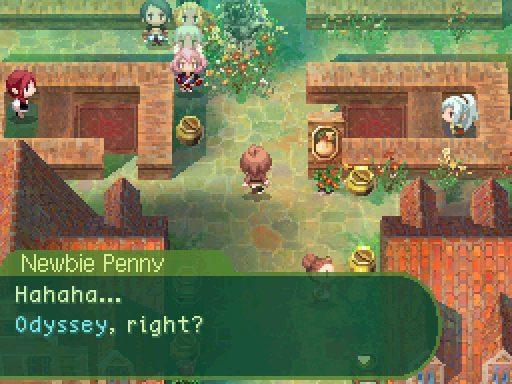
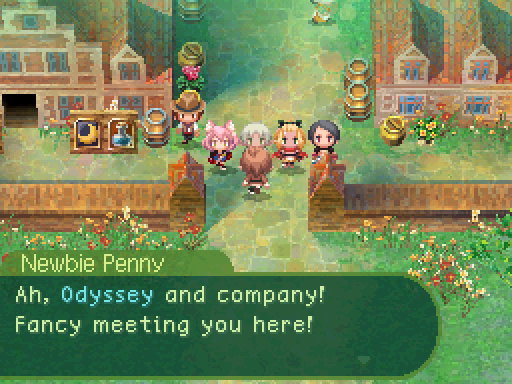 Good to see you again. I want to go on a journey, just like yours. I'm sure we'll meet on the way. So, see you around!
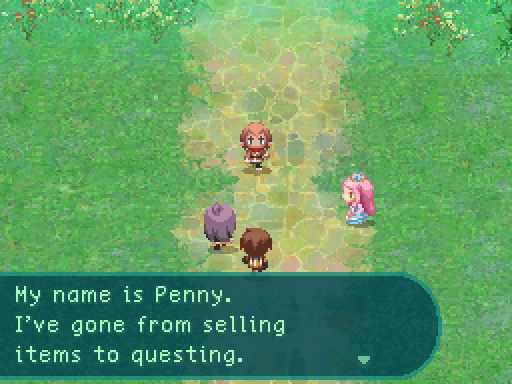
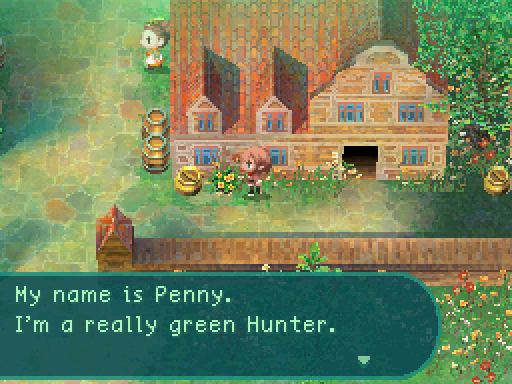
At least, that's my aim, but it's been a... learning process.
 Yeah, sure thing!
So with that quest done, why don’t we take a look at that skill we got?
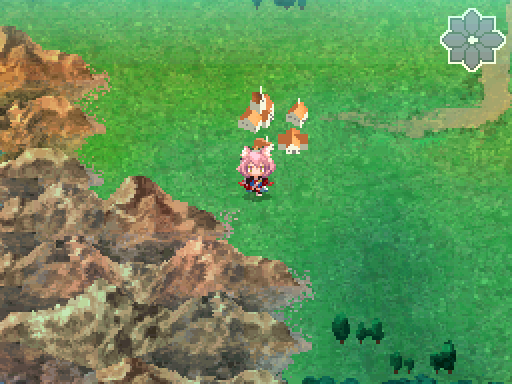
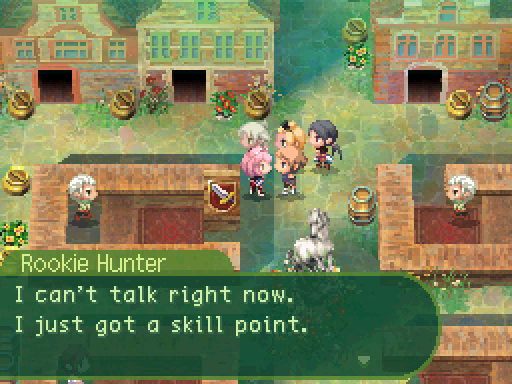
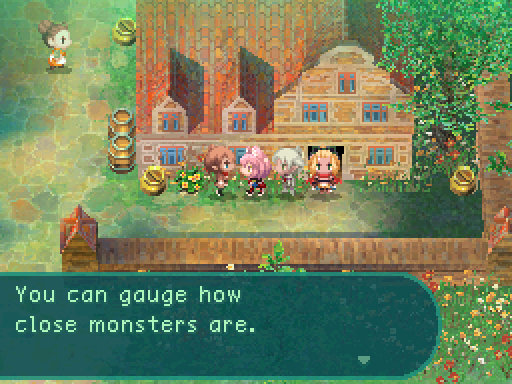
Well, there’s now a flower in the top-right corner, and walking around fills it up until it turns orange. And after the flower fills up...
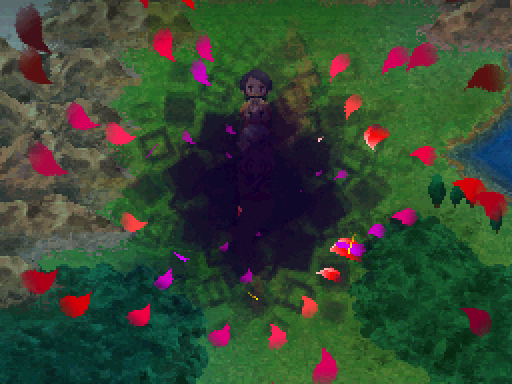
Yeah, it’s an encounter radar! What was a basic feature in the Etrian Odyssey series and the later 7th Dragon games, is locked behind a quest that requires the RNG to be extremely generous, or waiting until the end of the game to complete.
Goddammit 7th Dragon.
Anyways, now that we’ve gotten something that lets us know how close we are to getting into an encounter, I might as well go into a bit on how it works.
Every time you exit a battle, or enter a new location that has random encounters, a counter is set to 100. Each tile you step on in an area subtracts a number from 0 to 6 (It’s random, but certain tiles have certain ranges that could possibly be subtracted.) When the number goes past 0, you get into a battle. Oh and if said number dips past a certain threshold, the petals on the flower fill up. The counter’s numbers corresponds to these number of petals:
100: No petals
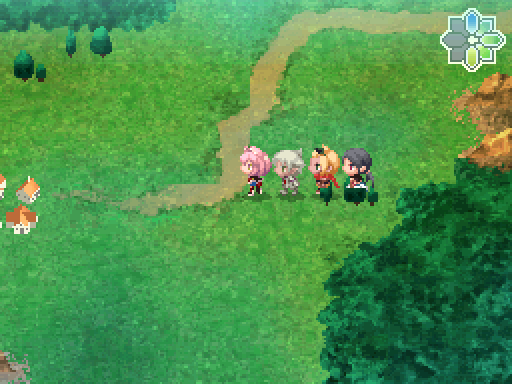
99: 1 petal
89: 2 petals
79: 3 petals
69: 4 petals
59: 5 petals
49: 6 petals
39: 7 petals
29: 8 petals
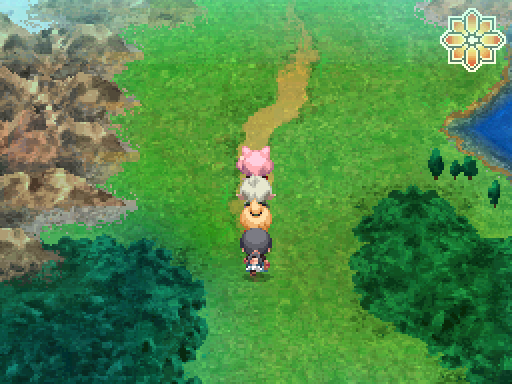
19: Orange petals
So you actually have a bit of time when the petals turn orange before you get into an encounter. Anyways, that’s enough side stuff for now, so let’s go see Menas.
Goddammit 7th Dragon.
Anyways, now that we’ve gotten something that lets us know how close we are to getting into an encounter, I might as well go into a bit on how it works.
Every time you exit a battle, or enter a new location that has random encounters, a counter is set to 100. Each tile you step on in an area subtracts a number from 0 to 6 (It’s random, but certain tiles have certain ranges that could possibly be subtracted.) When the number goes past 0, you get into a battle. Oh and if said number dips past a certain threshold, the petals on the flower fill up. The counter’s numbers corresponds to these number of petals:
100: No petals
99: 1 petal
89: 2 petals
79: 3 petals
69: 4 petals
59: 5 petals
49: 6 petals
39: 7 petals
29: 8 petals
19: Orange petals
So you actually have a bit of time when the petals turn orange before you get into an encounter. Anyways, that’s enough side stuff for now, so let’s go see Menas.
Okay, fine.

And I think this is a good point to leave off. Oh, and more importantly, a good point to change up the party. Vote for up to 3 party members you want to see in the new party. Votes must be in bold.

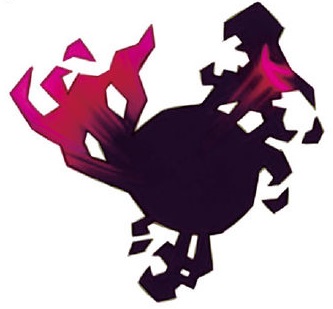
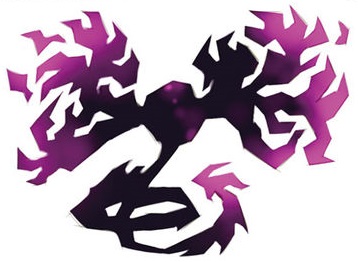
Official artwork for True Eclipse and Eclipse.
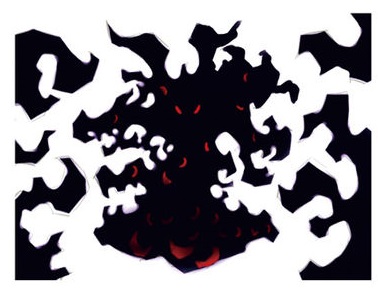
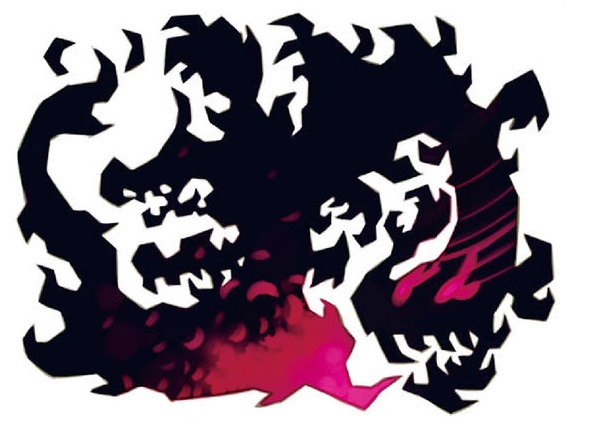
Concept artwork for True Eclipse and Eclipse. Eclipse looked more like a legion of shadowy dragons there. I’m not really sure what’s going on with concept True Eclipse there.