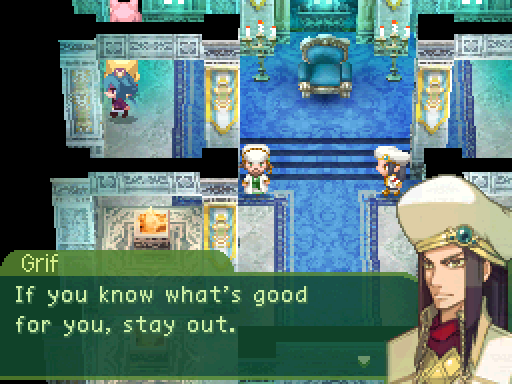
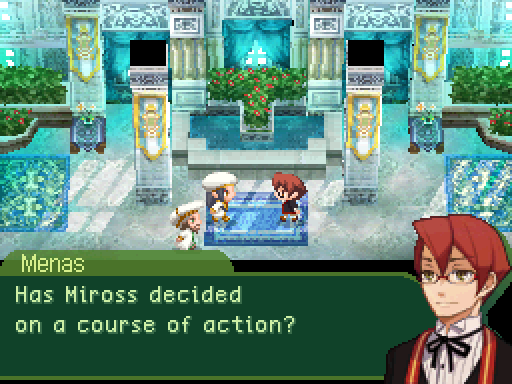
If we try to head in this room...
Now at this point, you should head to Rorakka Forest. However...
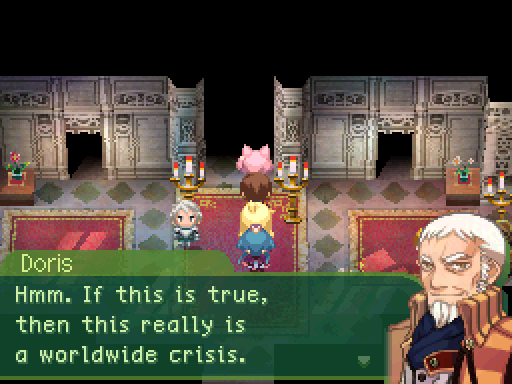
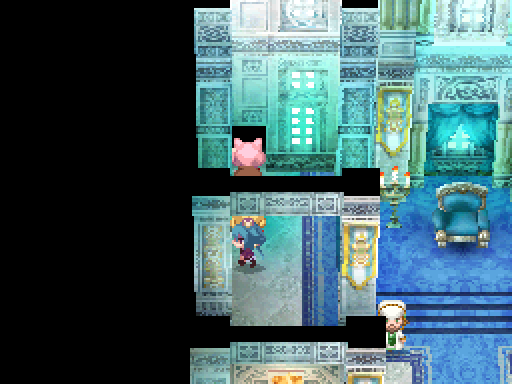
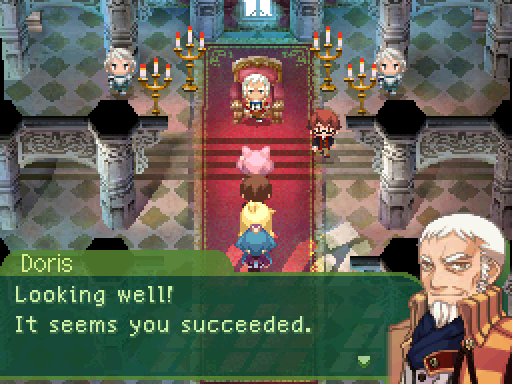
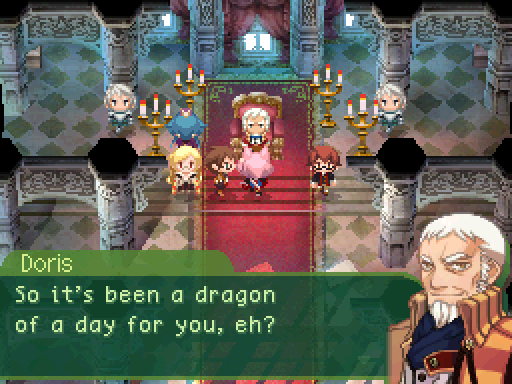
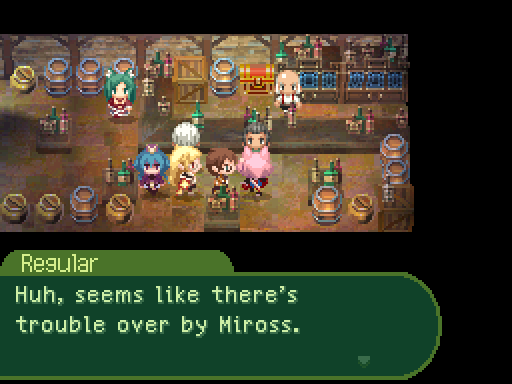
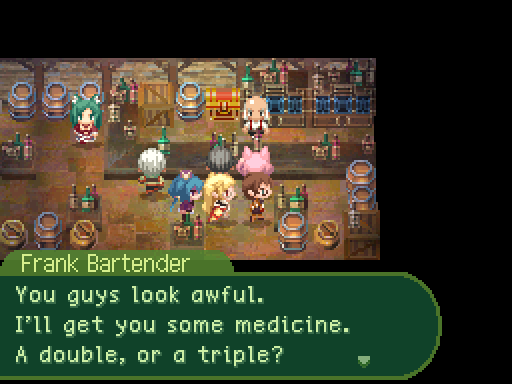
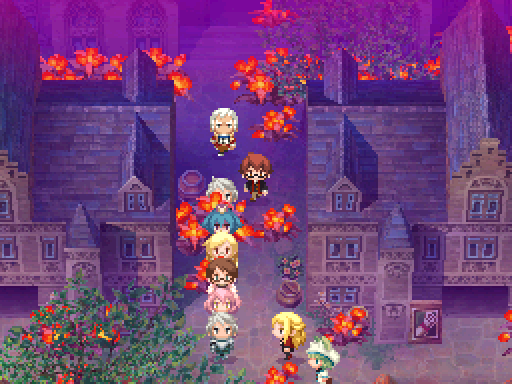
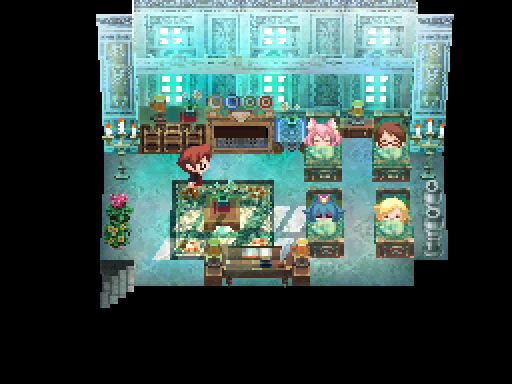
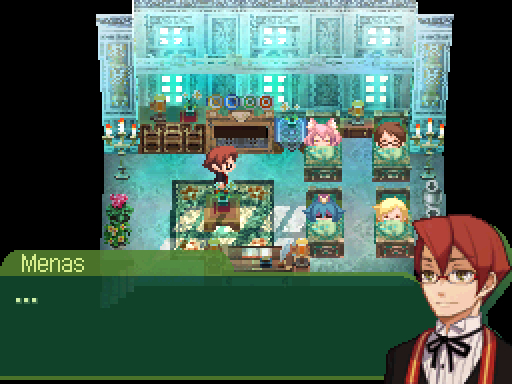
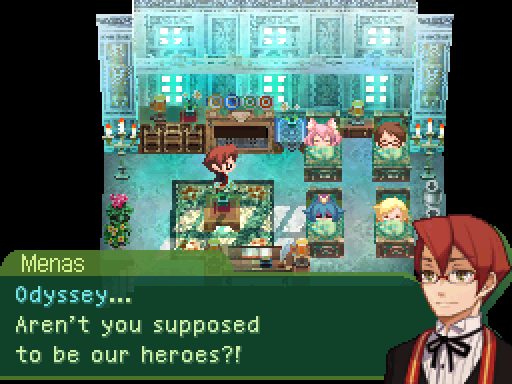
If we head back to Kazan and head to Doris' room, we'll get a very easily missable conversation since we don't have much of a reason to do this.
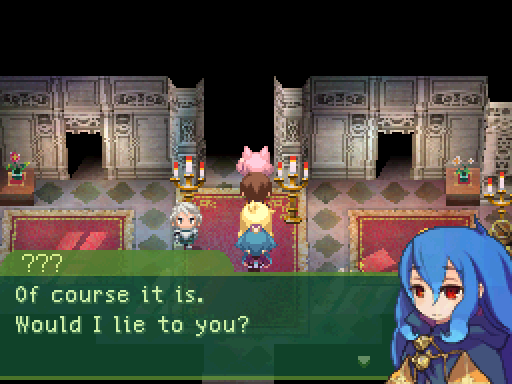
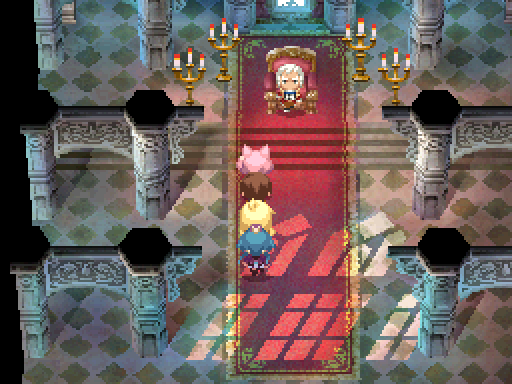
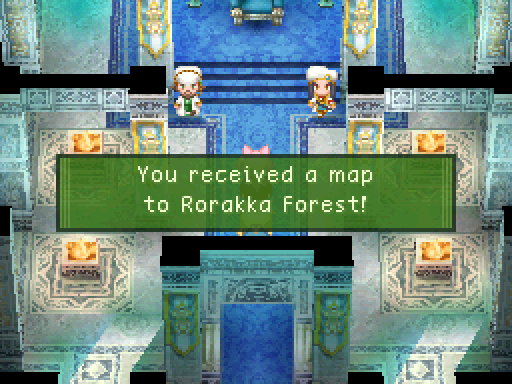
Exiting then reentering the room fills up the room with people again. Spooky. Anyways, enough diversions. Time to finally get on with the main plot.
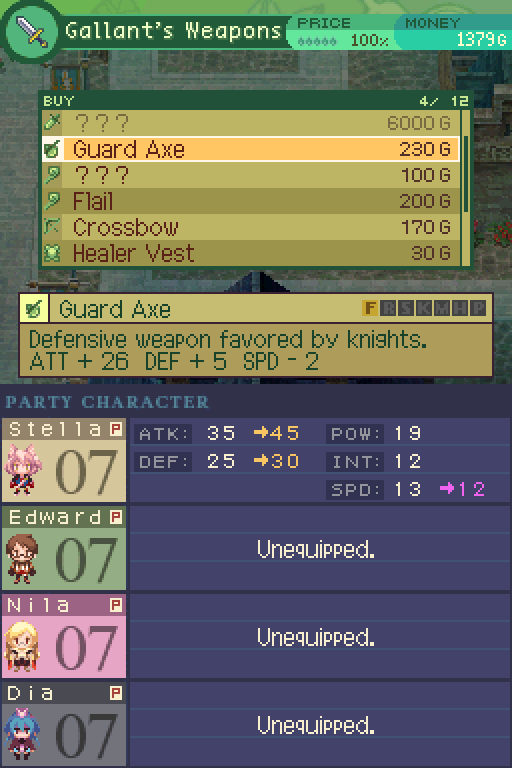
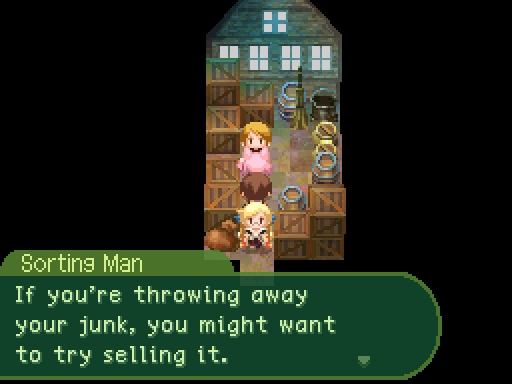
By updating my equipment first. You should have a ton of money by this point, so just take this time to outfit your party at Miross.
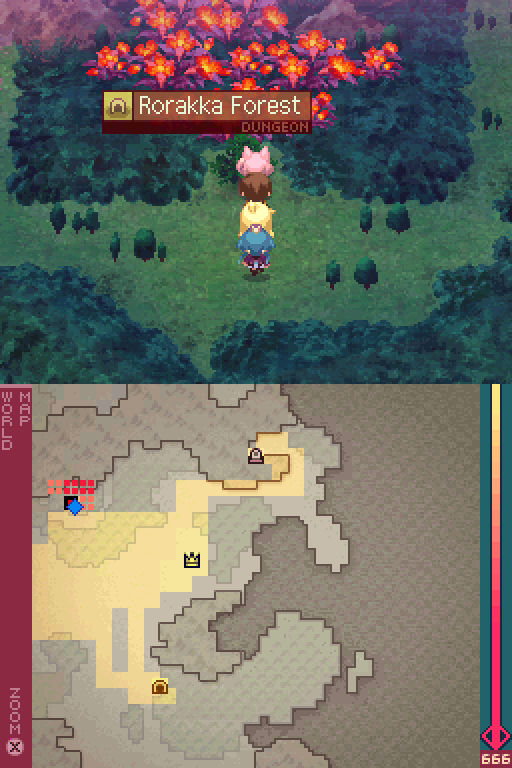
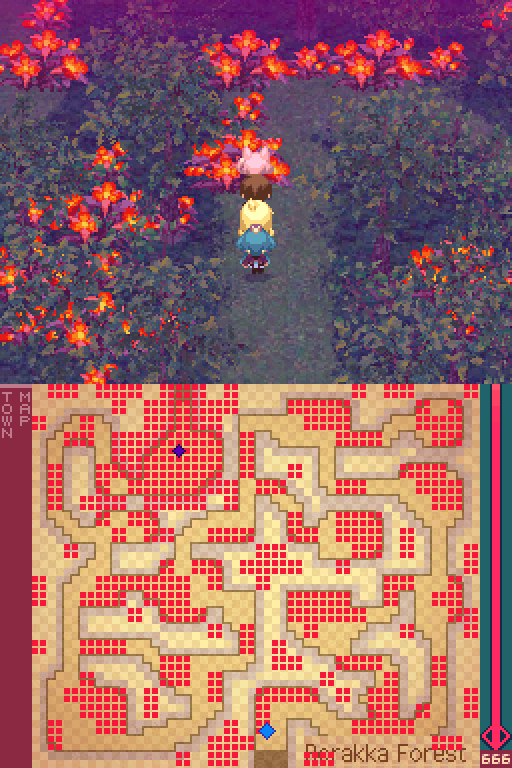
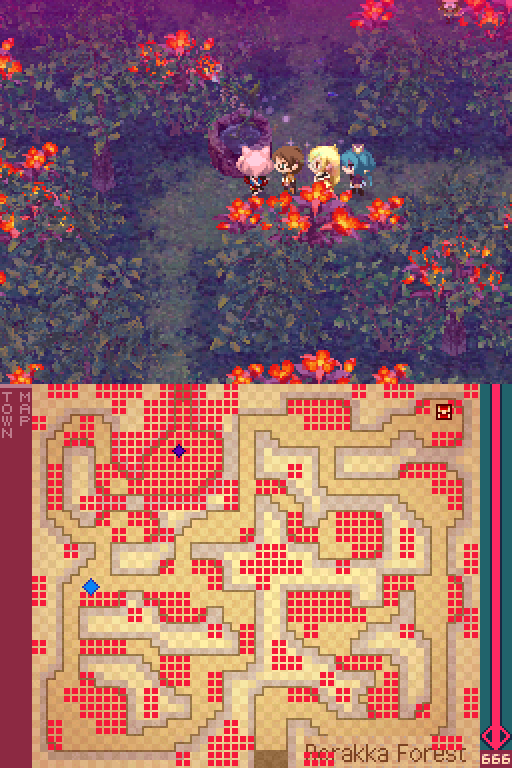
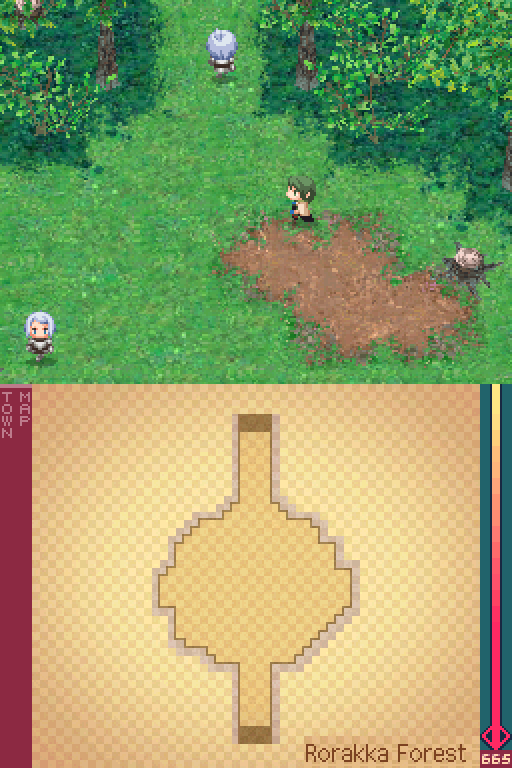
Okay, now let's head into Rorakka Forest, for real this time.
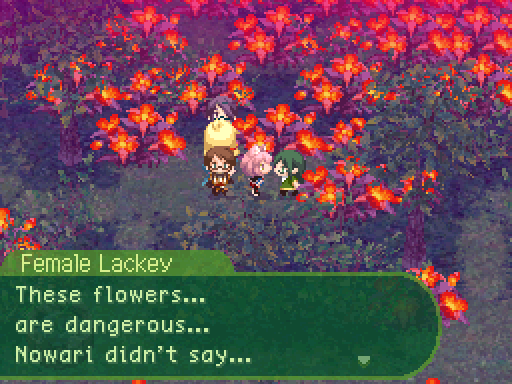
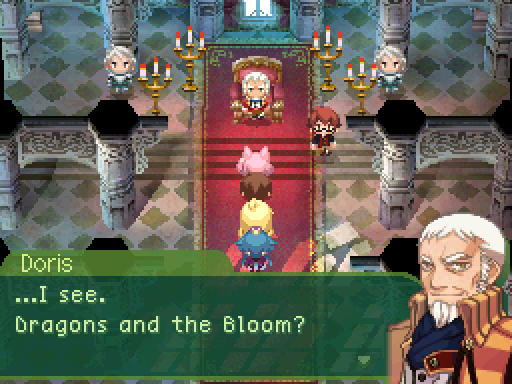
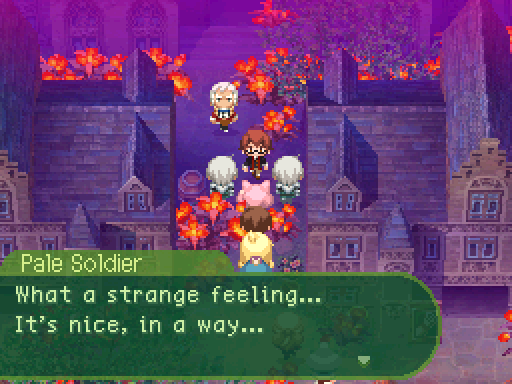
This was localized as Dragonsbane in the 4th game. From my understanding, the Japanese term for this wasn't really a word, so they had to make up something else. I'll just refer to this as the Bloom as to be consistent with the fan translation, since we'll be seeing that term a lot.
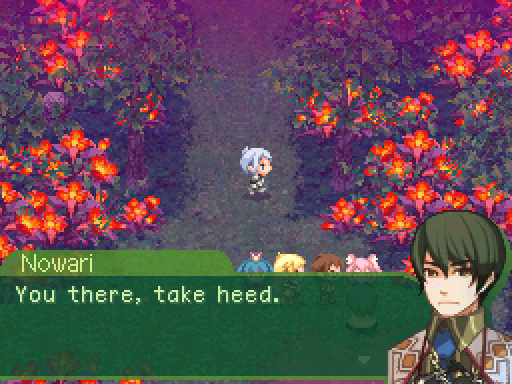

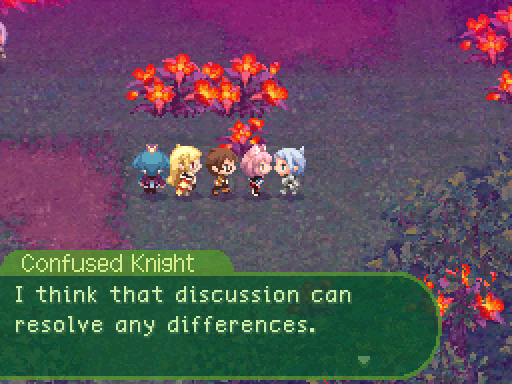
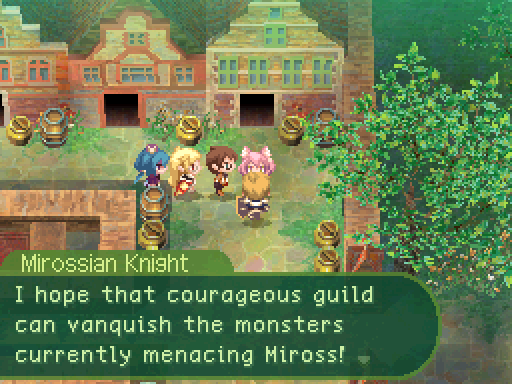
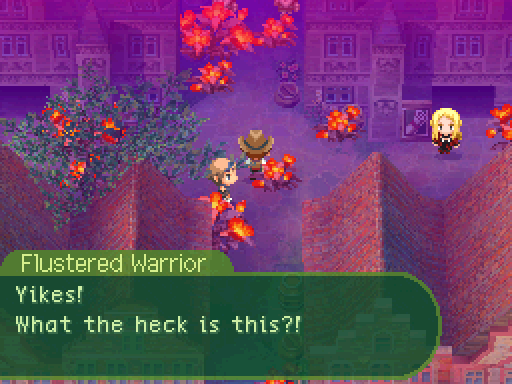
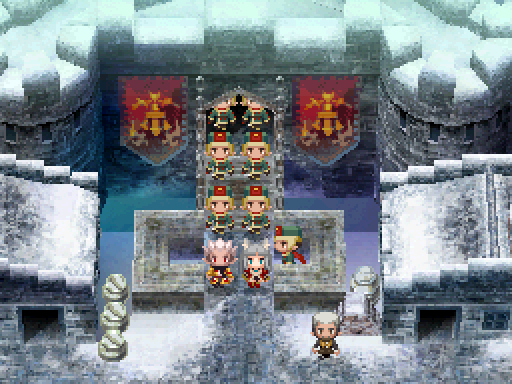
The knight moves out of the way, leaving us free to go on.
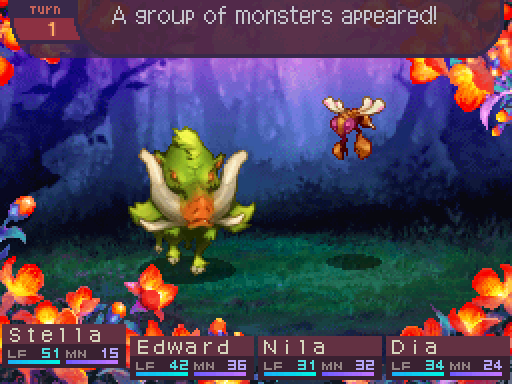
And here are the last of the random encounters in the prologue.

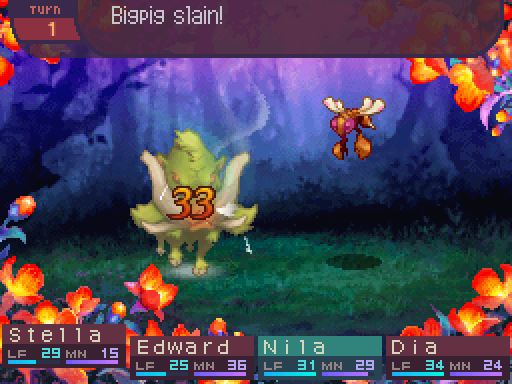
Bigpig
Level: 9
LIFE: 40
ATK: 45
DEF: 20
INT: 10
SPD: 16
Attack Type: Blunt
Size: Large
Exp: 35
Gold: 9
Item Drops:
-Normal: Beast Fang - 30% Drop Rate. 2 needed to unlock the Dagger. (Dagger, +14 ATK, +2 SPD.)
--Tough tusk with lots of uses.
-Rare: Piggy Meat - Don't kill with elemental damage. 15% Drop Rate.
--Boar meat. For carnivores. Increases ATK for the day.
Damage Multipliers:
Slash: 100% Blunt: 100% Thrust: 100%
Fire: 100% Ice: 100% Lightning: 100%
Skills:
Rush: Randomly attacks the party with Thrust damage 3 times, dealing 80% melee ATK-based damage per hit. Has a speed modifier of 80%.
Bigpigs are kind of annoying. They're fairly tanky, and hit decently hard.

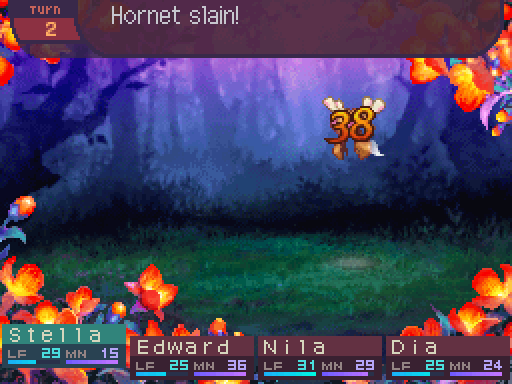
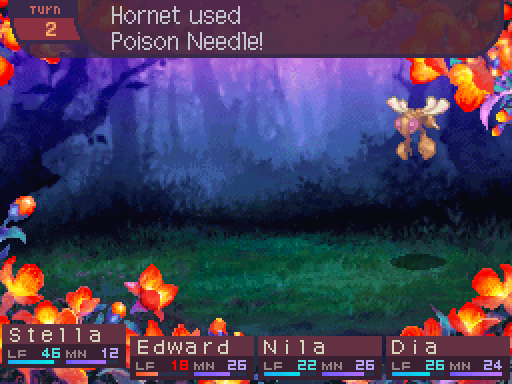
Hornet
Level: 8
LIFE: 35
ATK: 41
DEF: 12
INT: 11
SPD: 18
Attack Type: Thrust
Size: Small
Exp: 33
Gold: 8
Item Drops:
-Normal: Insect Stinger - 30% Drop Rate.
--Stinger of a Hornet.
-Rare: N/A
Damage Multipliers:
Slash: 100% Blunt: 100% Thrust: 100%
Fire: 100% Ice: 100% Lightning: 100%
Skills:
Poison Needle: Deals 120% melee ATK-based Thrust damage to one party member, and has a 30% chance of inflicting Poison. Has a Poison power of 25% (Deals 8 Poison damage.) Has a speed modifier of 90%.
Hornets are also kind of annoying. The Poison damage isn't much, but considering what gets introduced in this dungeon, it's very annoying to deal with.
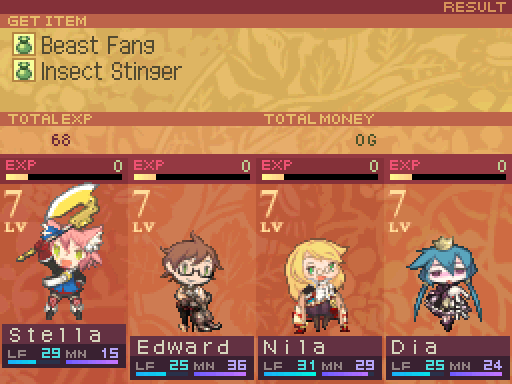
All in all, the random encounters here aren't too bad.
So this is a fairly simple dungeon, it's just one area. Oh wait but first...
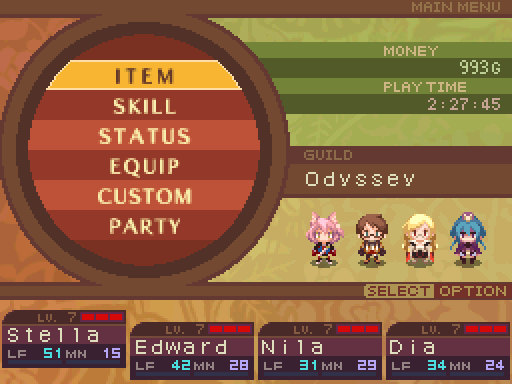
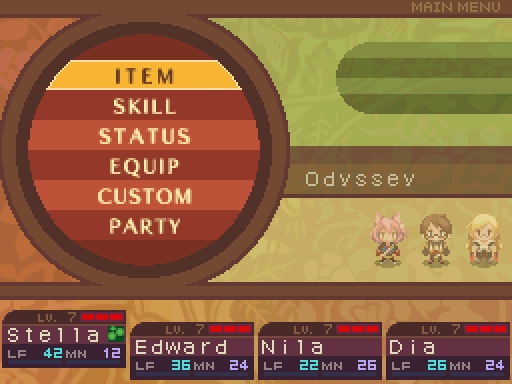
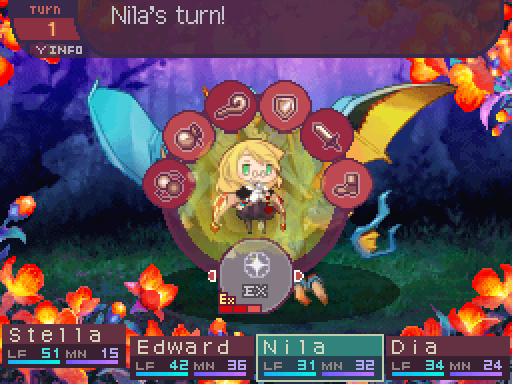
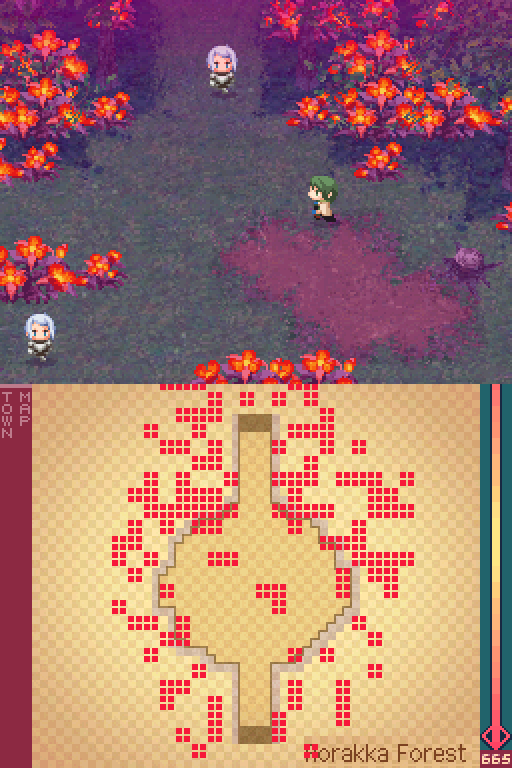
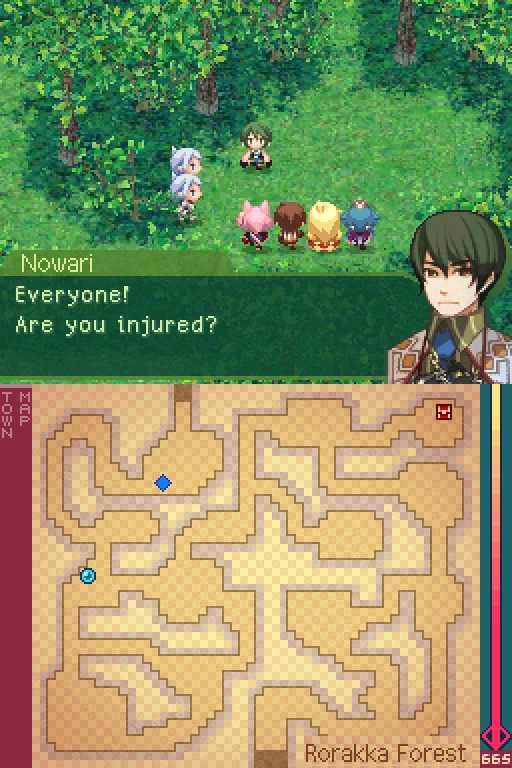
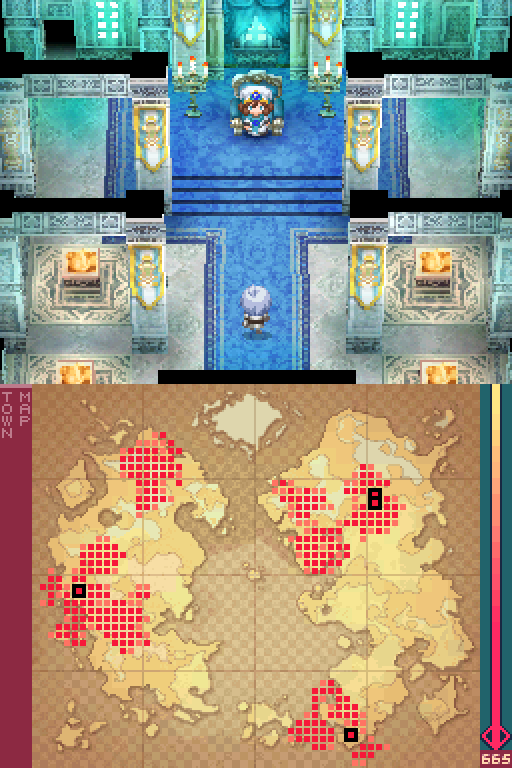
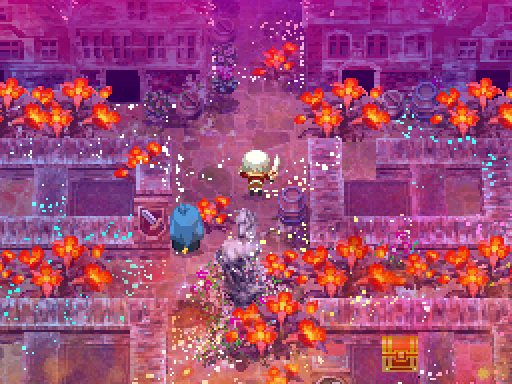
I want you to take a close look at our party member's life pools.
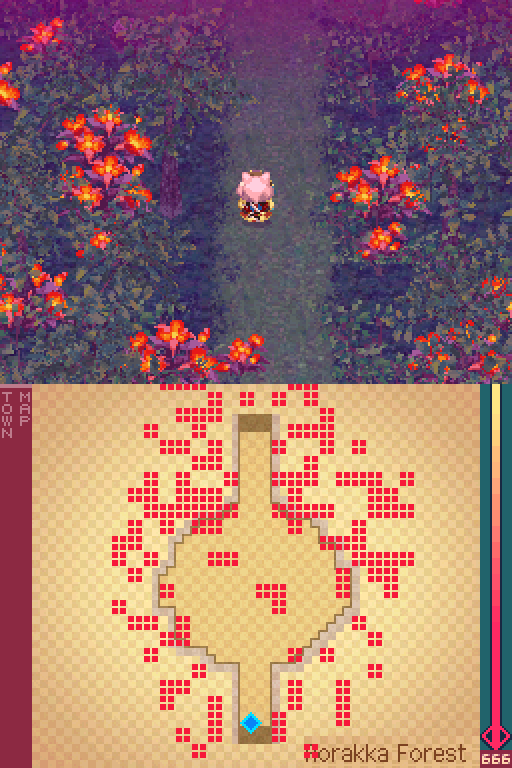
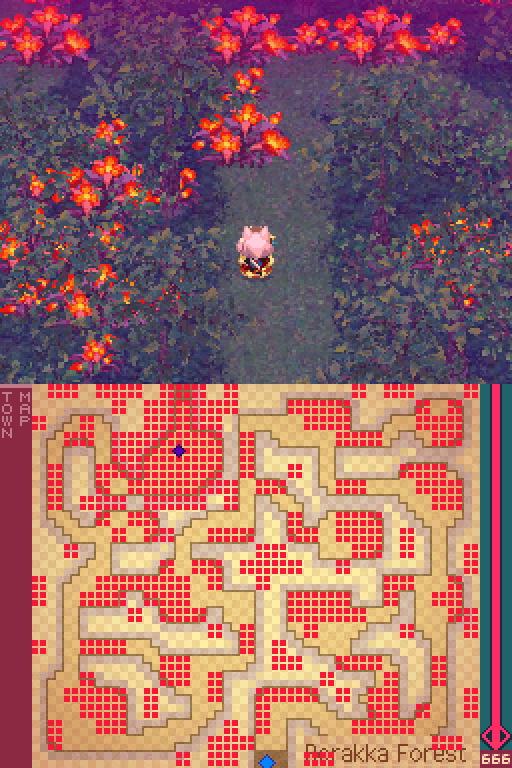
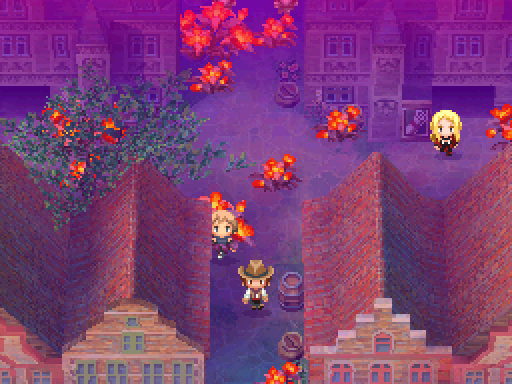
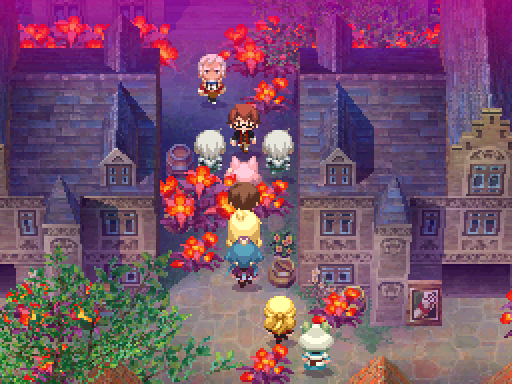
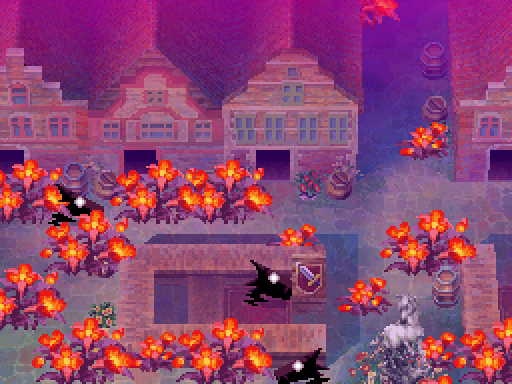
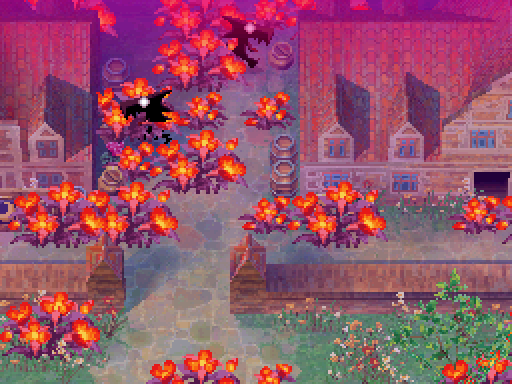
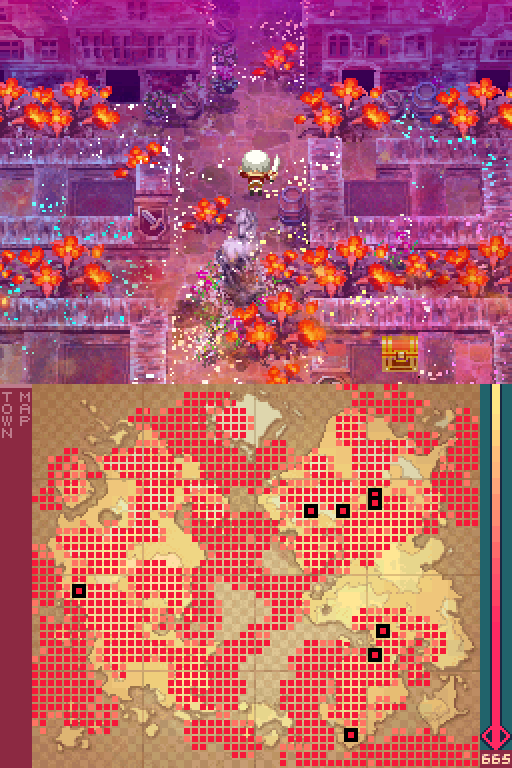
Those red tiles on the map are the Bloom. You can actually walk through the Bloom.
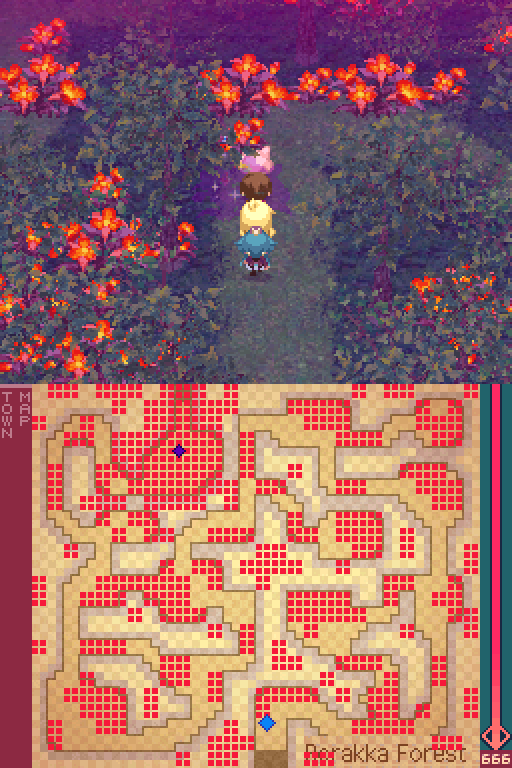
After 2 steps, a Bloom tile will disappear.

Notice how Nila lost HP. Okay, so here's one of the central mechanics of the game, the Bloom. When you walk through the Bloom, your party takes 2% of their max HP as damage. For each Bloom tile. Now the numbers may seem a bit off here. That's because I'm playing with the USA patch applied, which lowers the Bloom damage by 60% (So the party takes 0.8% of their max HP as damage, which is far more manageable.)
Some of you are probably wondering why I'm wimping out and not playing the game on the base difficulty. I mean that's probably a good question. After all, the Bloom does add to some tension to dungeons, meaning that your party could be at low health and in danger of being attacked and finished off by random encounters. On paper, anyway. In practice, all it really does is annoy you, and forces you to take more healing items along, and/or a Knight, who has a skill that can reduce Bloom damage, and forces you to heal up every few steps.
The other problem with this is that the difficulty drops off a cliff after the Raging Beast. That was pretty much the last time the game puts up any actual resistance. If the random encounters were intended to be balanced with Bloom damage in mind, it doesn't really work. The random encounters are so weak that you're not likely to be under any threat. To the point where your entire party could be at 1 HP, and they wouldn't be in any danger. The end result is that the Bloom does nothing except force you to go into the menu more often and doesn't make an easy game all that more difficult. It shouldn't come as a surprise that the later games ended up dropping this mechanic entirely. (Except for VFD, which brought it back for one section as a callback to this game.)
Oh and for the record, the Bloom regrows when you leave the area. So you can't just clear out the area then leave to heal up.
Welcome to 7th Dragon.
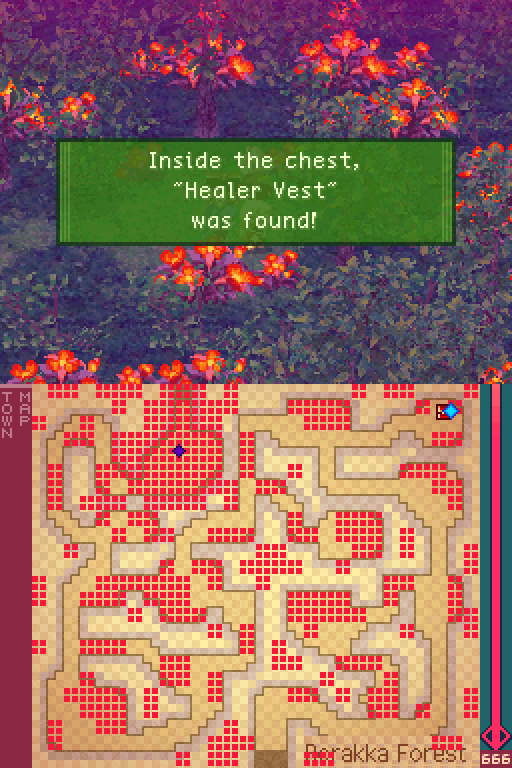
A nice piece of equipment, except I already bought this back in Miross. Oops. Anyways, that's the only treasure in this dungeon.
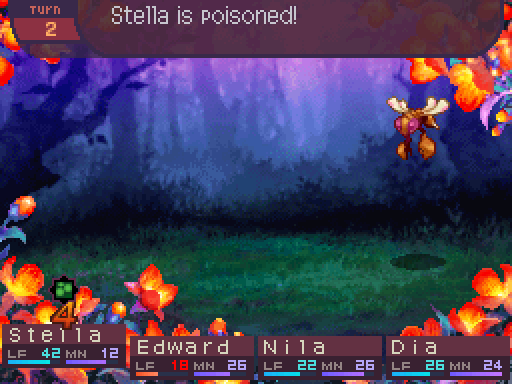
Oh great. Poison is a pretty annoying ailment. For one thing, it never goes away during the battle.
It also lasts outside of the battle. Fortunately at this point, it'll wear off naturally after walking around a bit. Of course you have to take the Bloom into consideration if it's active in the area you're in.
There's a healing spring here. Unfortunately, these can't cure status effects. Walking around a bit, outside of items and skills, is the only way to dispel them.
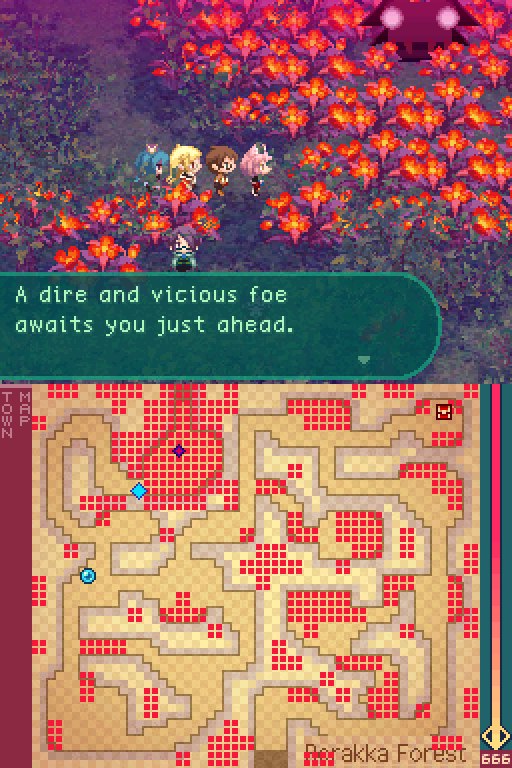
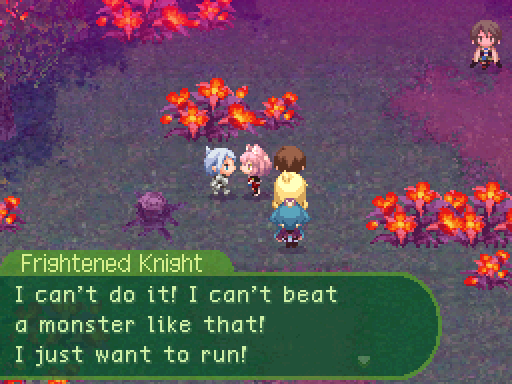
If you intend to proceed, summon all your courage!
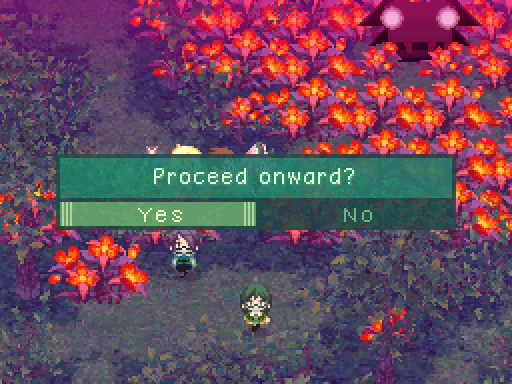
Starting from this point onward, the game will warn you if there's an upcoming boss fight so you can prepare properly.
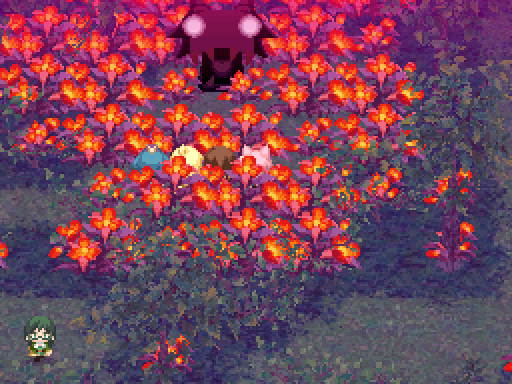
Oh, and if the party walks through Bloom in a cutscene, they won't take any damage from it, or clear out the Bloom.
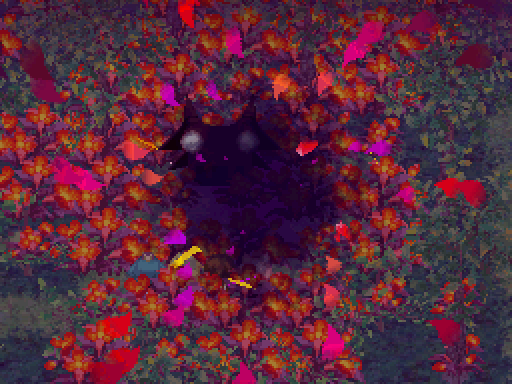
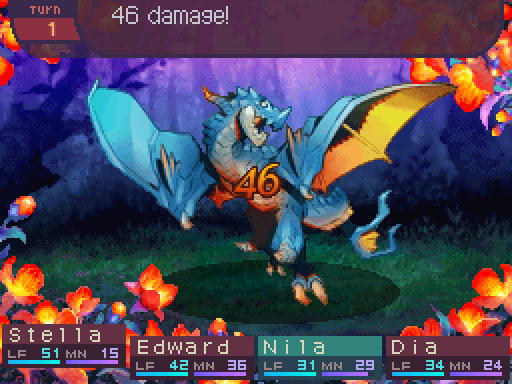
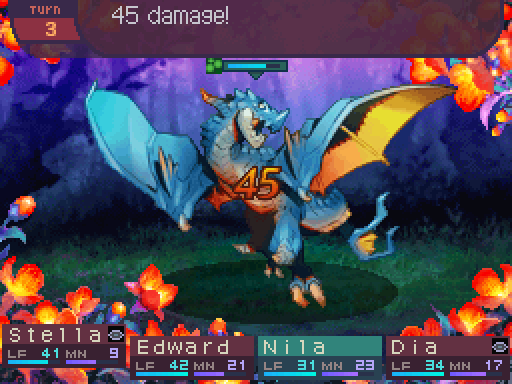
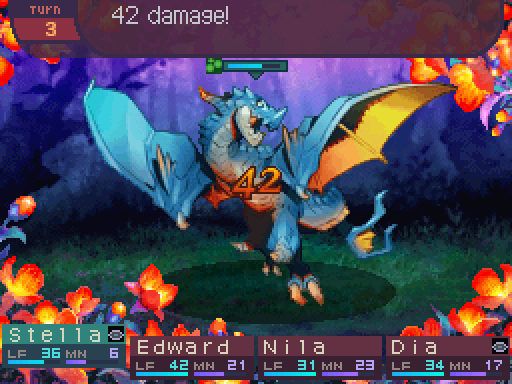
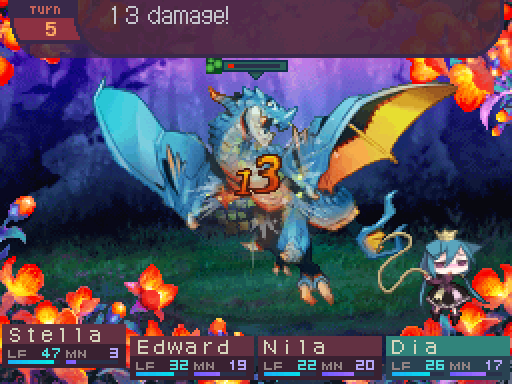
 Video: The First Dragon
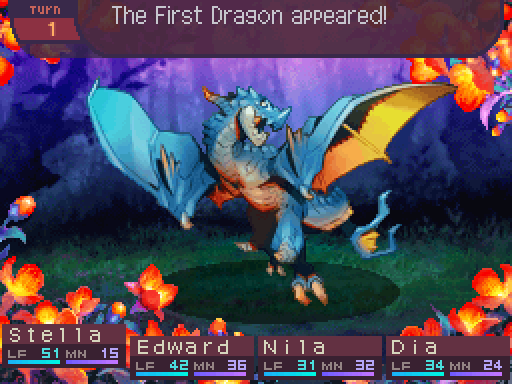
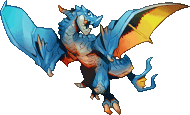
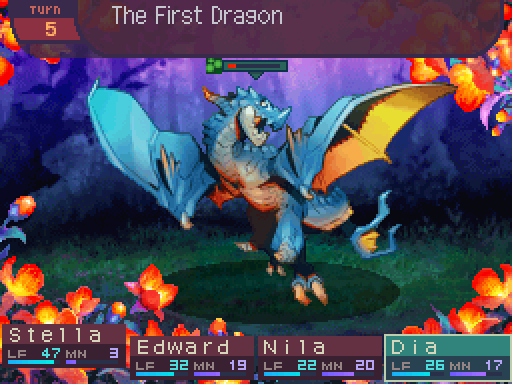
The First Dragon
Level: 8
LIFE: 560
ATK: 46
DEF: 22
INT: 18
SPD: 18
Attack Type: Blunt
Size: N/A
Exp: 345
Gold: 12
Item Drops: N/A
Damage Multipliers:
Slash: 100% Blunt: 100% Thrust: 100%
Fire: 100% Ice: 100% Lightning: 100%
Ailment Susceptibility:
Death: 20% Masked Pain: 100% Skill Seal: 25%
Fear: 25% Curse: 50% Bleed: 25%
Poison: 25% Sleep: 25% Confuse: 25%
Paralysis: 50% Blind: 10% Stun: 100%
Skills:
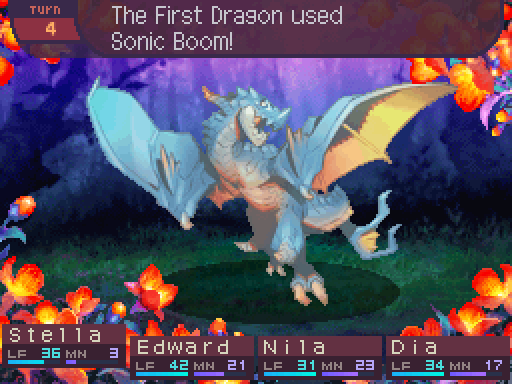
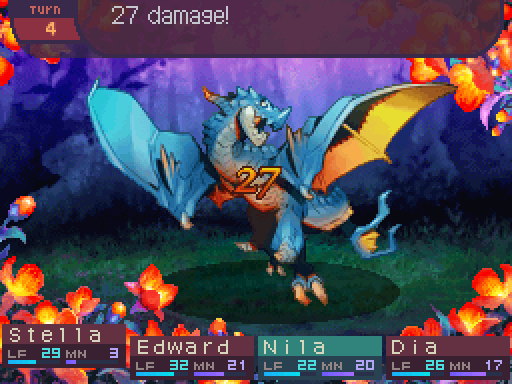
Sonic Boom: Deals 85% ranged ATK-based Slash damage to the entire party. Has a speed modifier of 80%.
Sandstorm: 50% chance of inflicting Blind on the entire party. Has a speed modifier of 80%.
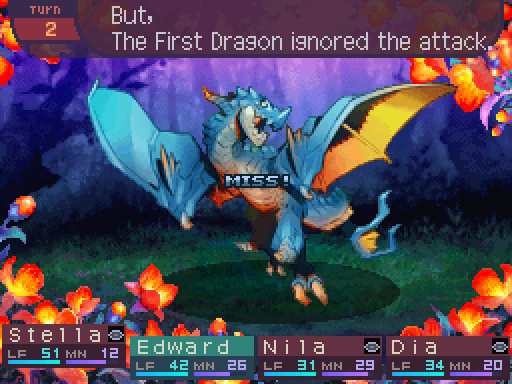
That's certainly an apt description. So yeah, ran into a dragon at last. The First Dragon is actually kind of a step down from the Raging Beast. Really, the fight is more annoying than hard. It doesn't hit as hard as the Raging Beast, and can sometimes end up wasting its turn entirely if Sandstorm whiffs.

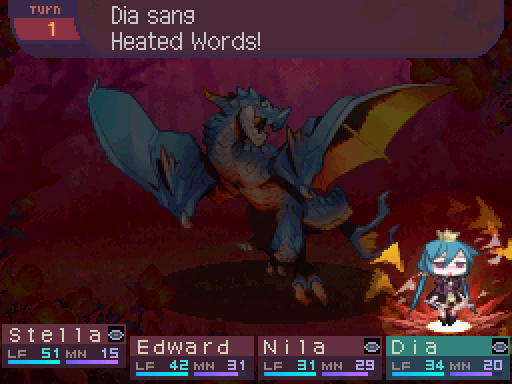
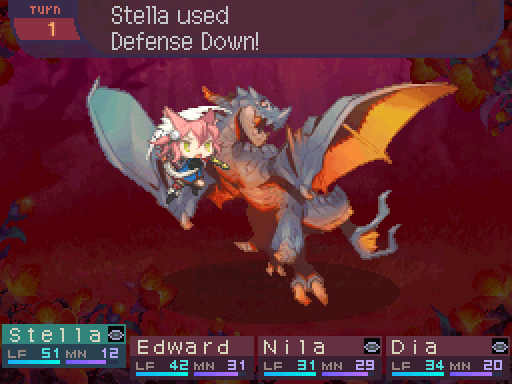
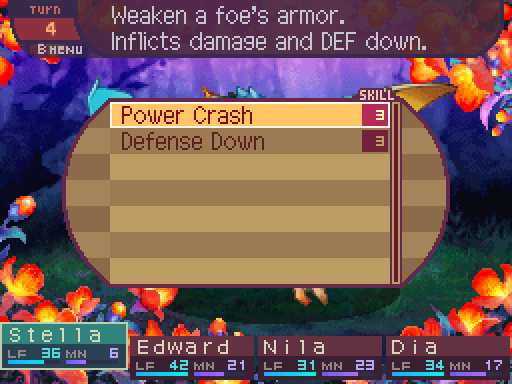
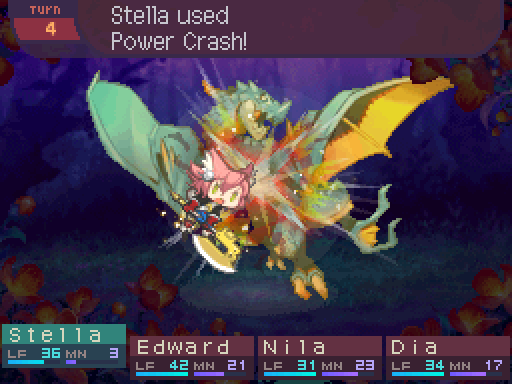
Gonna have Stella open up with Defense down.
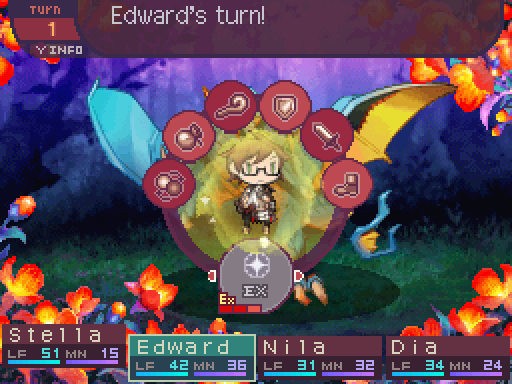
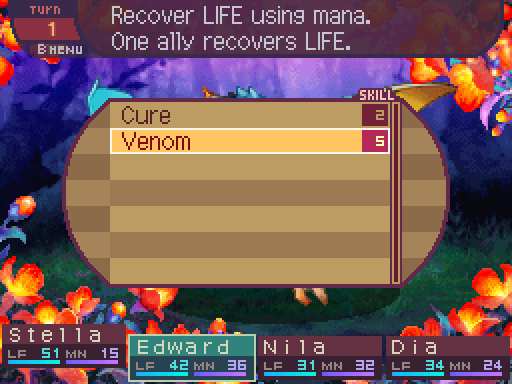
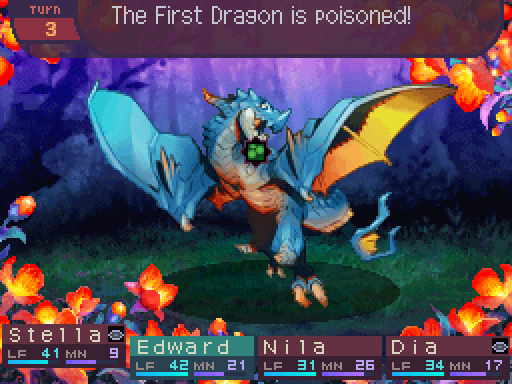
Edward is gonna try to inflict Poison on The First Dragon, since that's one of my better damage options at this point.
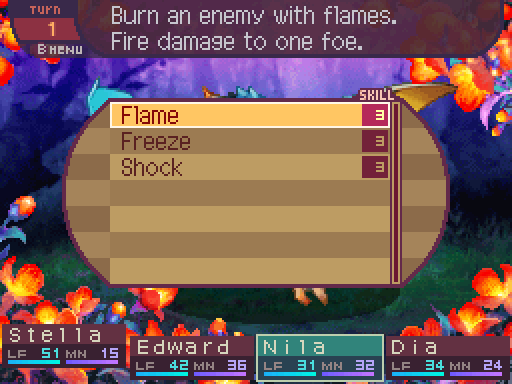
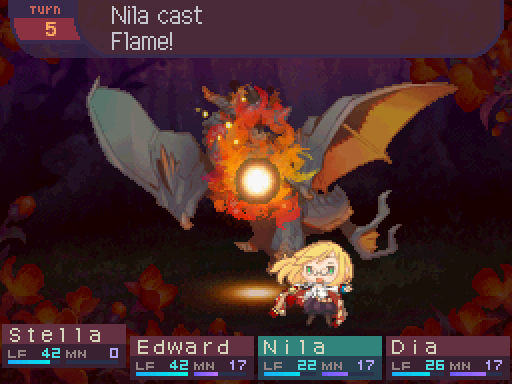
Nila will just be Nila and nuke things.
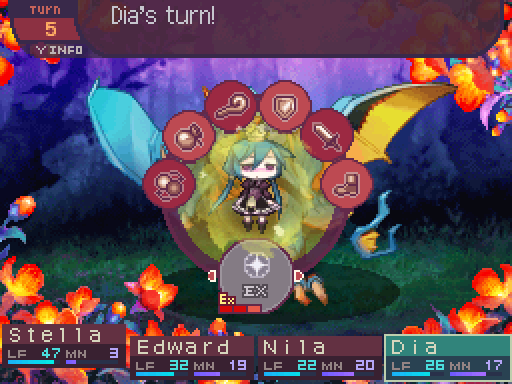
And Dia will power up the entire party.

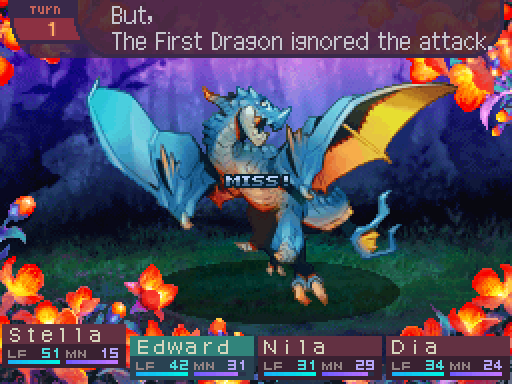
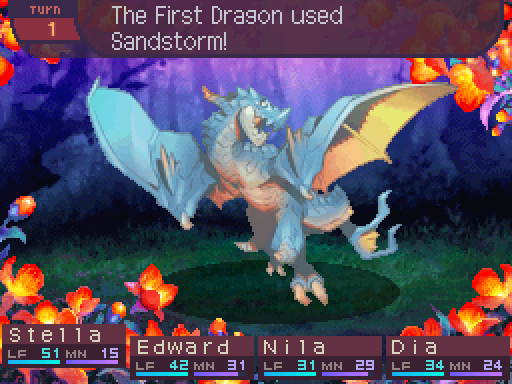
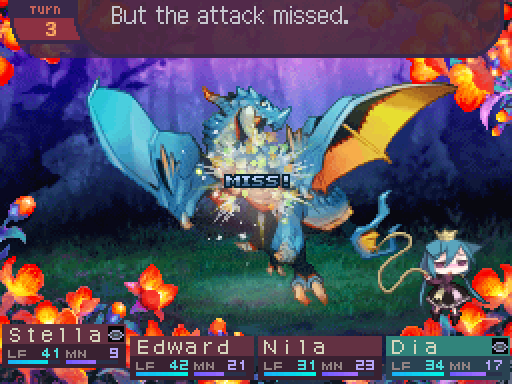
Of all the attacks to open with, it chose that one.
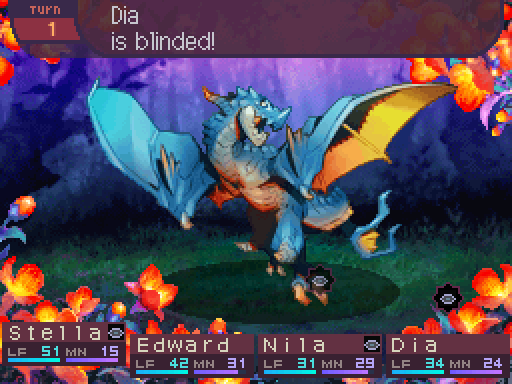
Blind reduces the target's accuracy by a severe amount (I have no idea how much it reduces it by), but also makes it so that the targets can't evade any attacks.
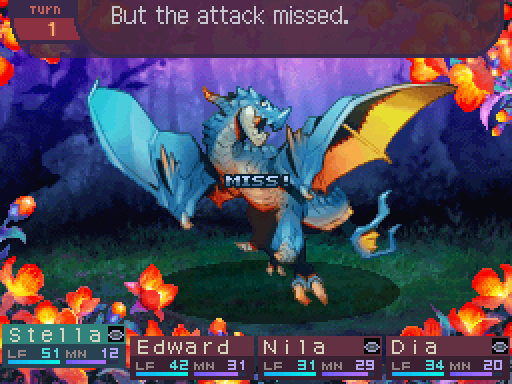
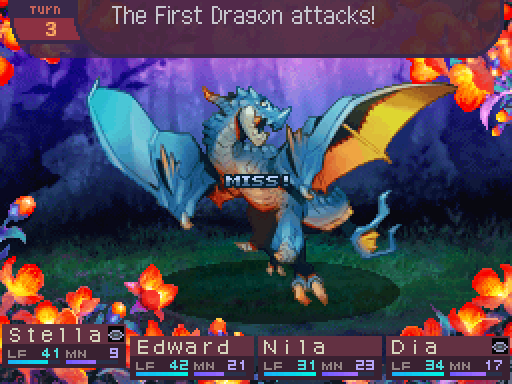
Off to a great start.
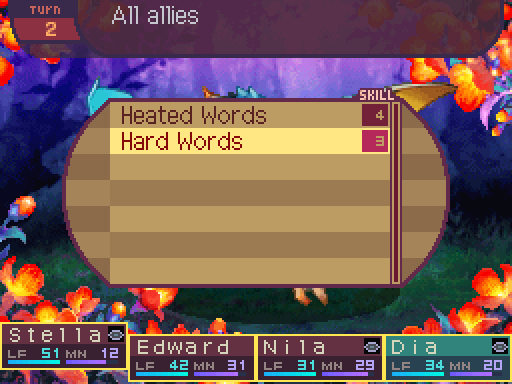
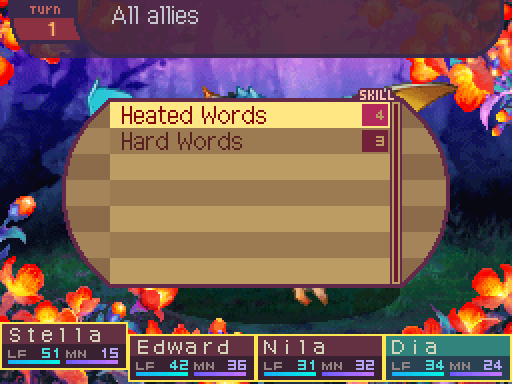
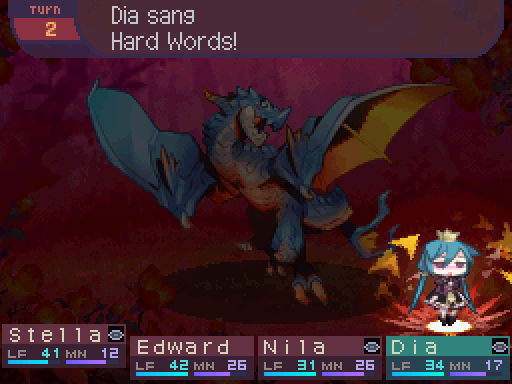
Hard Words should help this battle go by more smoothly.
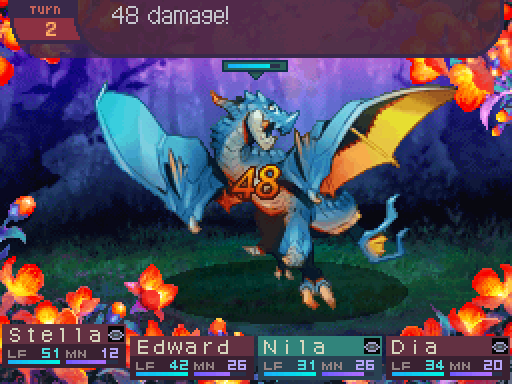
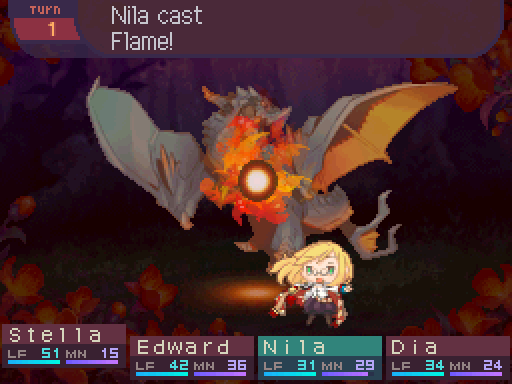
Okay, Nila's spell hit at least.
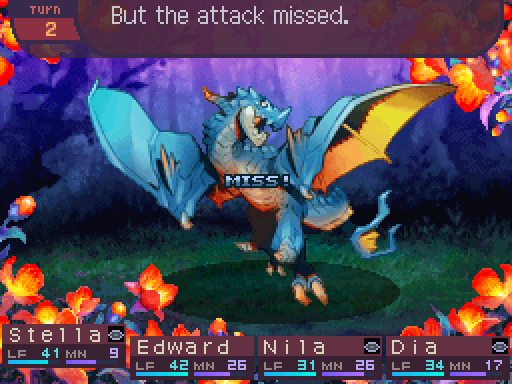
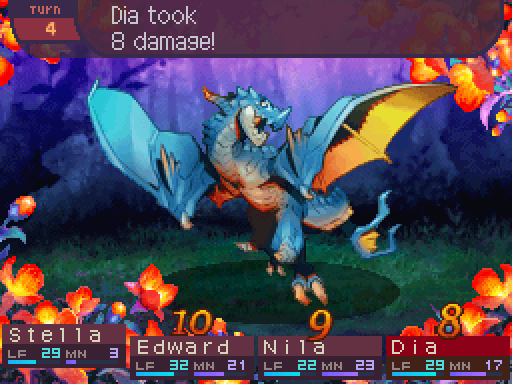
Yeah, it really doesn't hit all that hard.
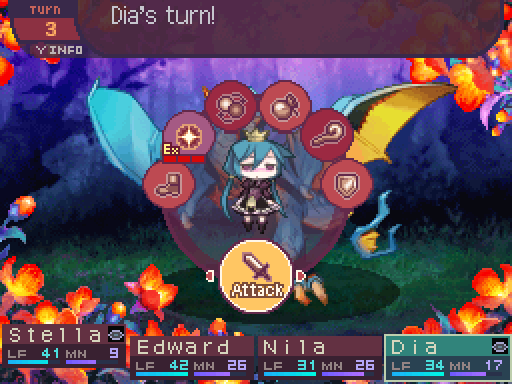
Dia has nothing left to do, so she's just gonna throw out regular attacks for the rest of the battle.
And that should make things go by quicker.
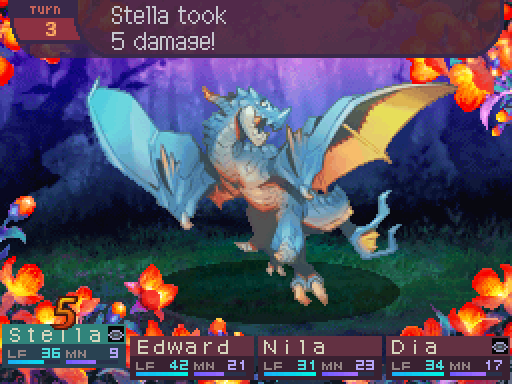
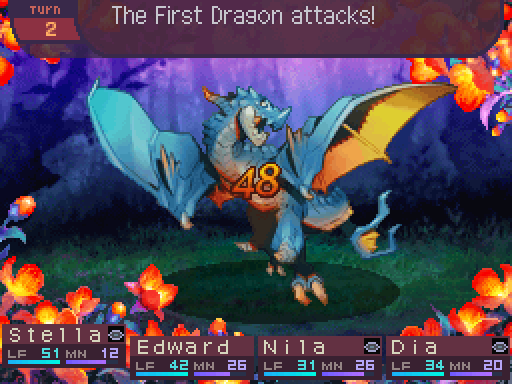
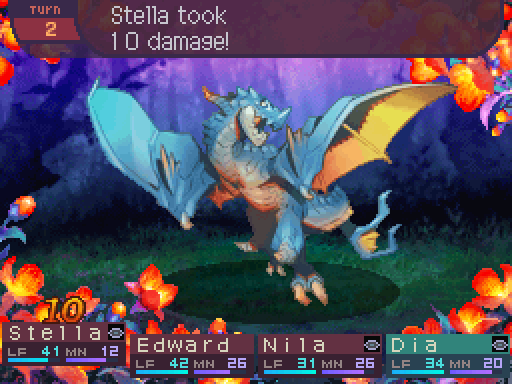
Even if it used Sonic Boom, it would barely do anything to this party.

And that is pretty potent Poison damage.

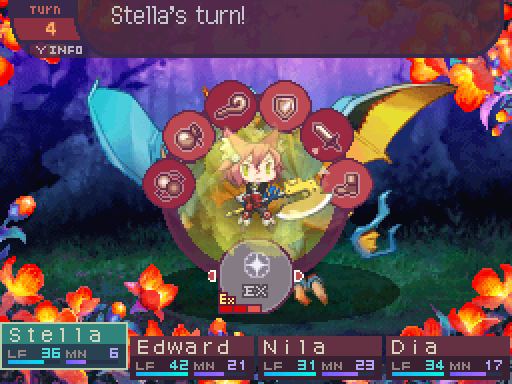
Now Stella can spam EX boosted Power Crashes, especially since she regained her sight.
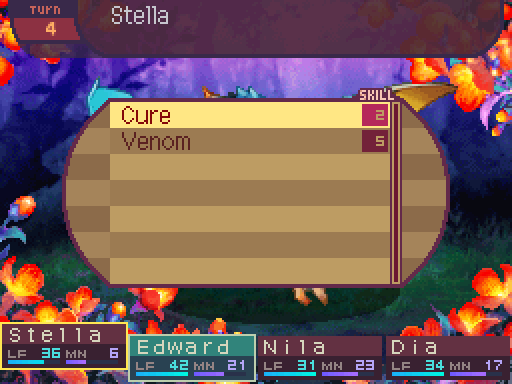
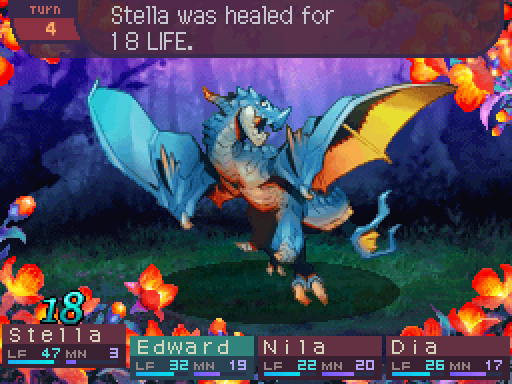
Edward will just Cure people since his job is done.
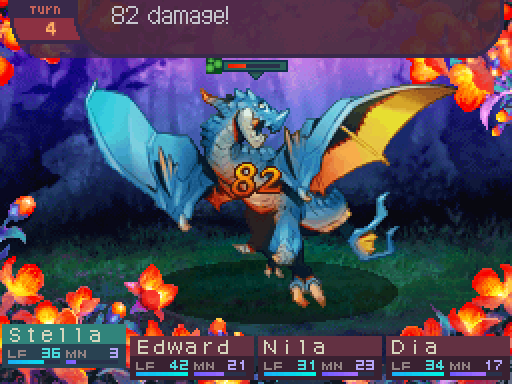
Oh wow, that is a good amount of damage.

This fight is pretty much over.


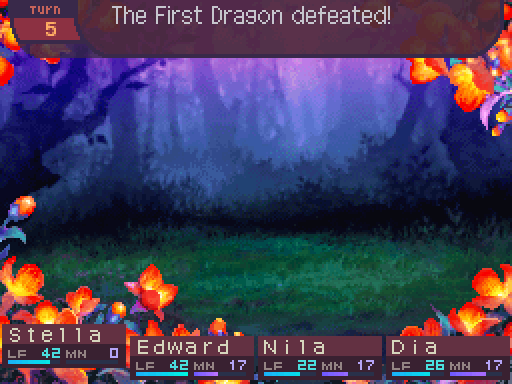

Yeah, not really a tough fight. If it spams Sandstorm, you might be in for an annoying time, but it can't really damage you.
Incidentally, that little counter in the bottom right corner decreased by 1 after that fight.

The Bloom disappears, and everyone heads into the forest..
We are automatically transported back to Kazan.

Fade to black.
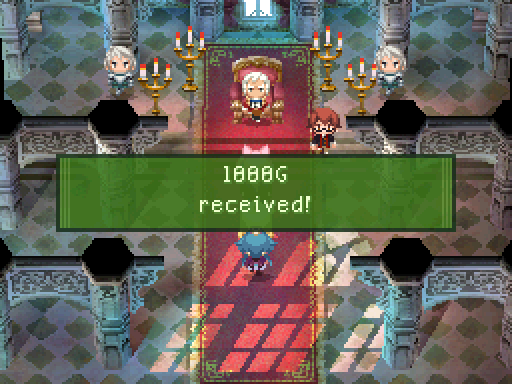
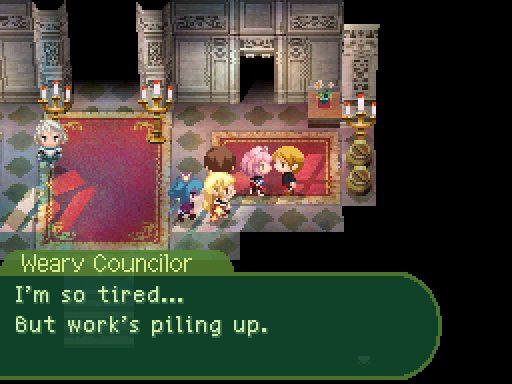
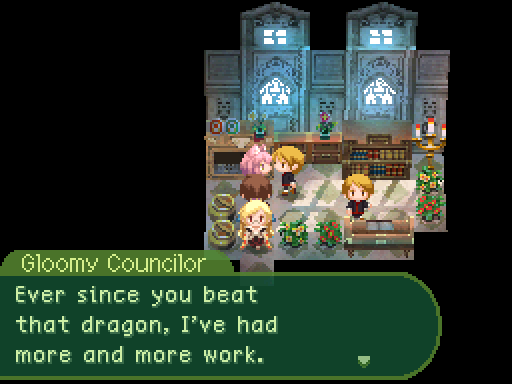
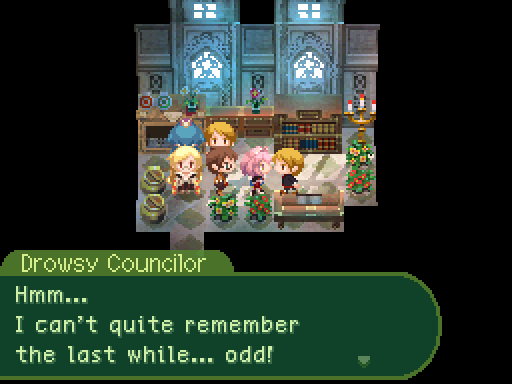
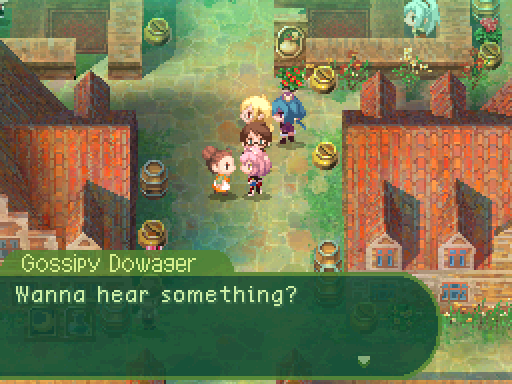
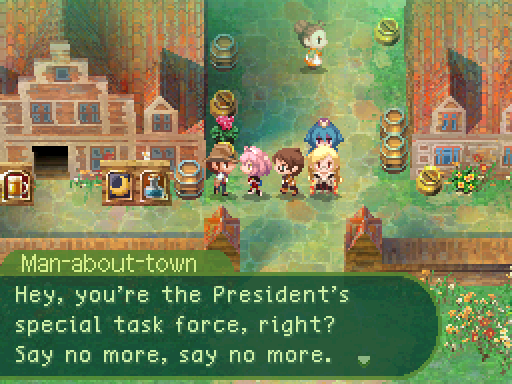
This counts as turning in the mission. It's done automatically for us here. Anyways, let's see what the town has to say about our accomplishment before we check in for an appointment.
You're not allowed to leave town after beating the First Dragon, so if you left those quests unfinished, they're gone for good.

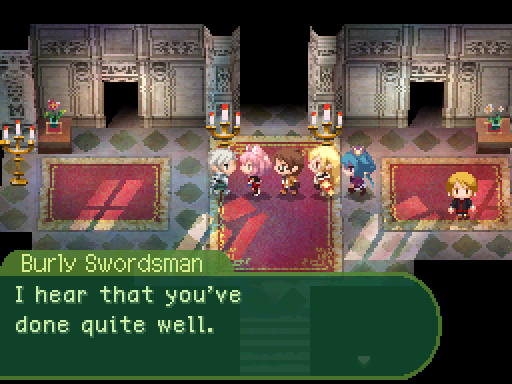
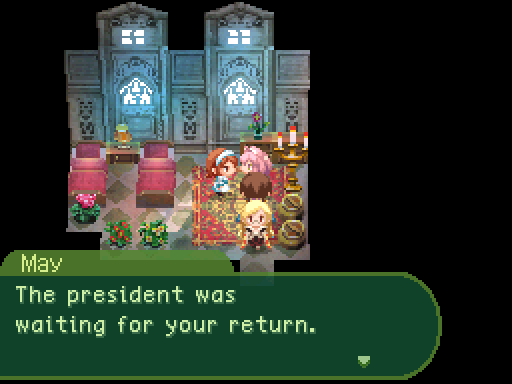
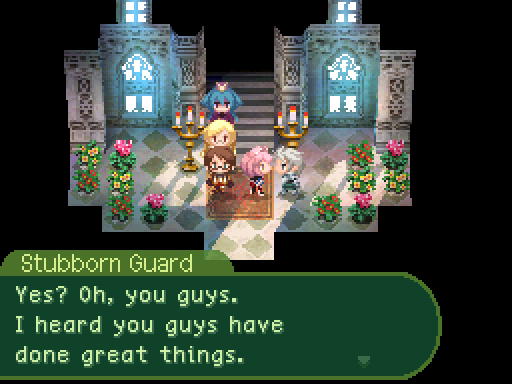
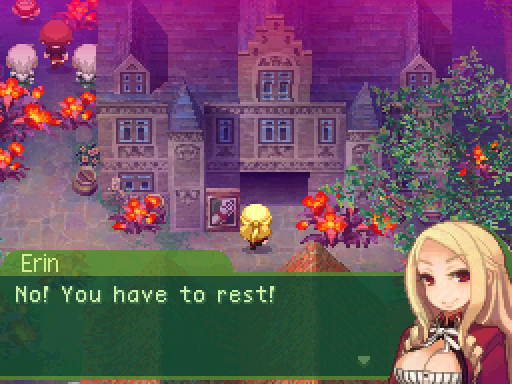
And that's all the town has to say. Let's go see Erin now.
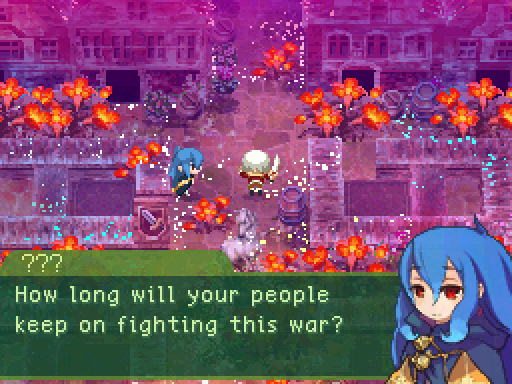
Video: Invasion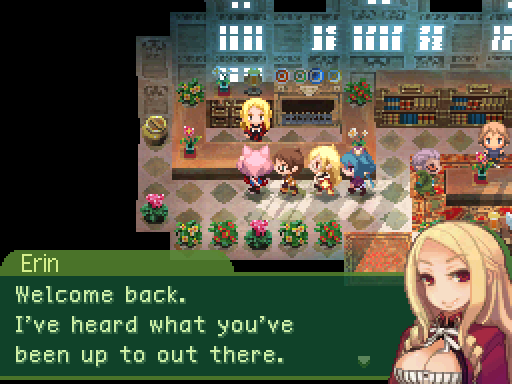
Fade to black.
The screen shakes as the music halts, and a loud crashing sound is heard.
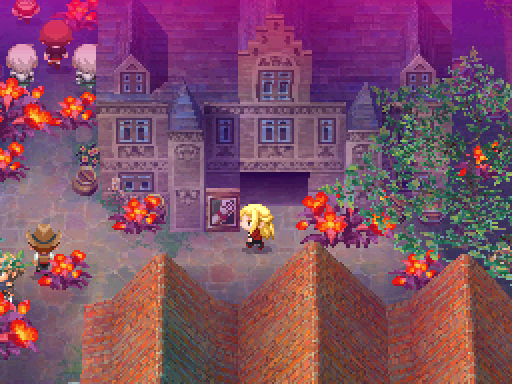
Erin goes outside to investigate.
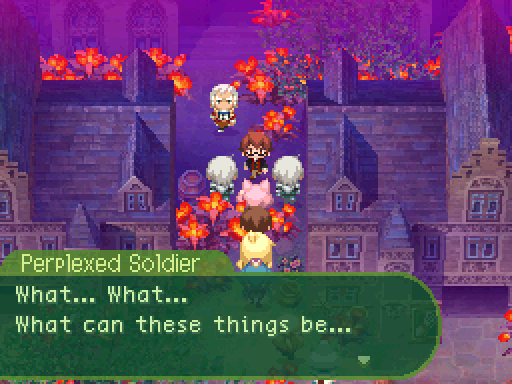
The two men flee.

The screen shakes, and roaring is heard.

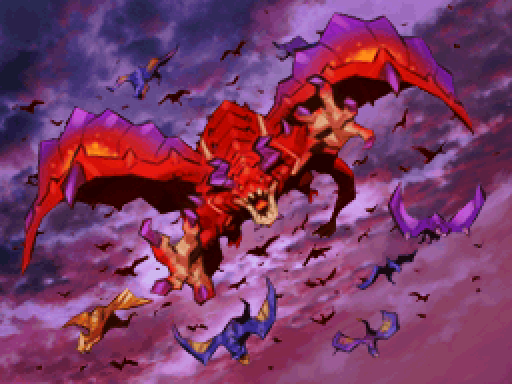


The party leaves to help the city evacuate. But...
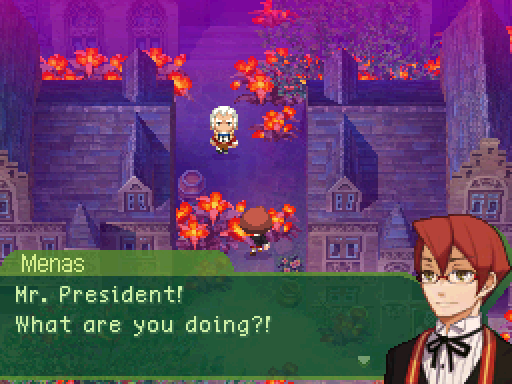
Menas proceeds to leave.
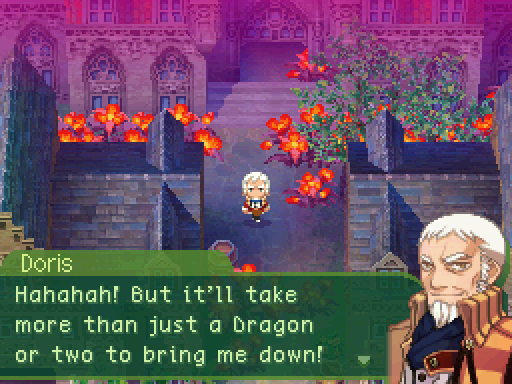
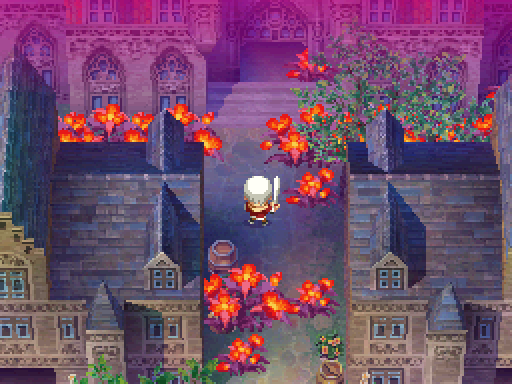
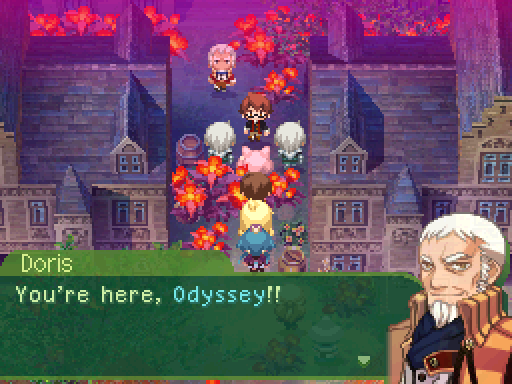
Doris brandishes his sword.


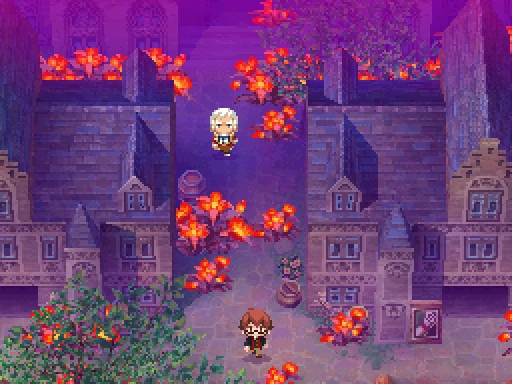
Troops march out of the city.


Sadly, Doris lost his life trying to ensure that the citizens of Kazan evacuated safely.
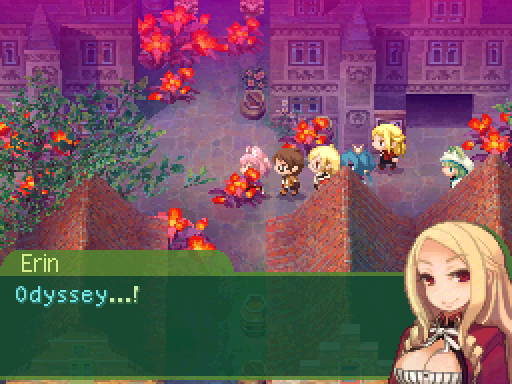
A woman walks in.

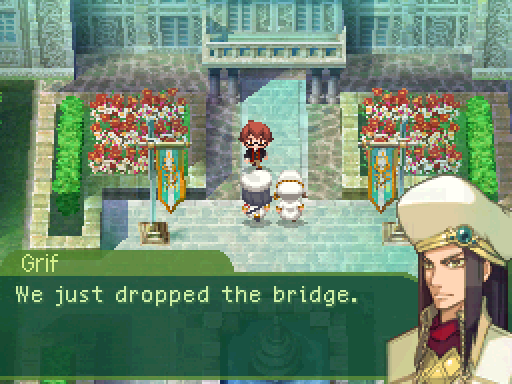
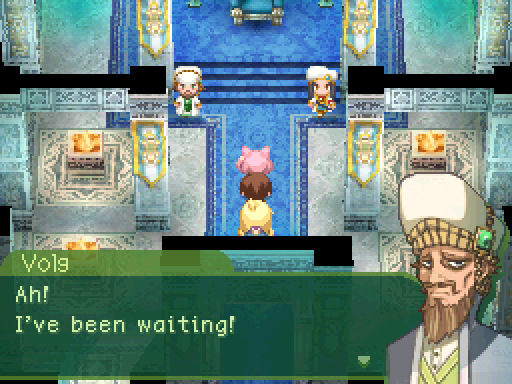
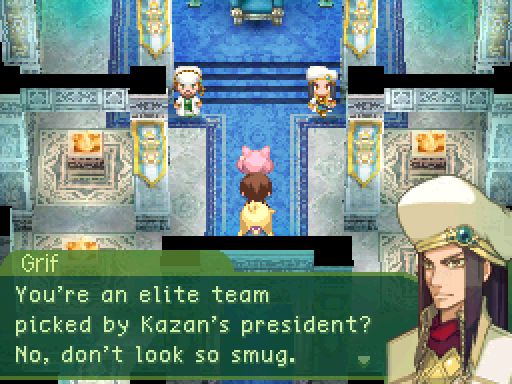
Music stops as Grif and Volg walk in.
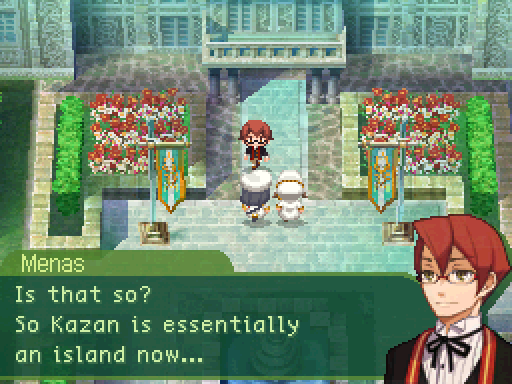
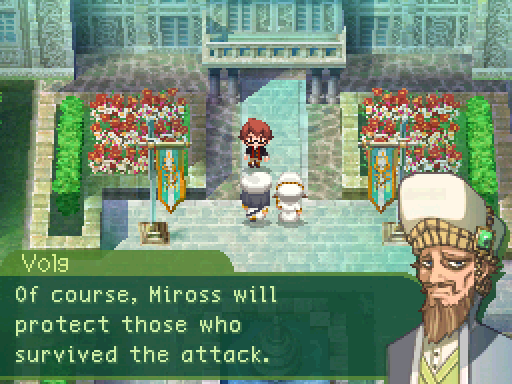


Sadly, the Odyssey guild did not make it out unscathed.

This is where the real tale begins.