
When you save your game after the dragons invade, the title screen changes to this instead, to signify that the game has really begun. There's also music playing now, and it's a rather pleasant piece. Give it a listen.
Anyways, going back to where we left off...
Anyways, going back to where we left off...


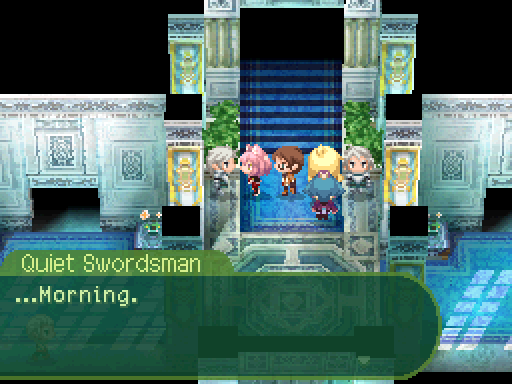
No music is playing at this point.
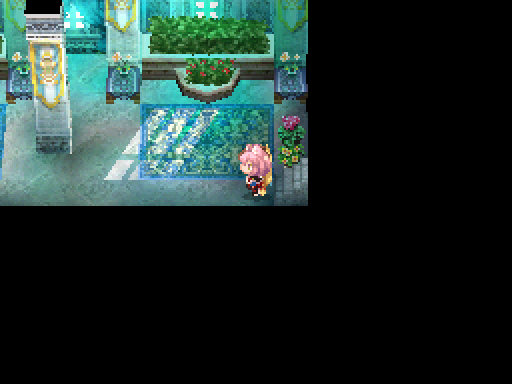
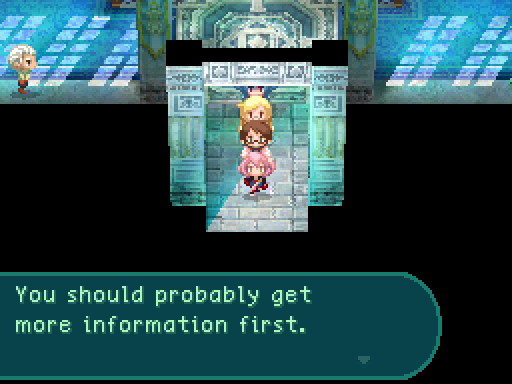
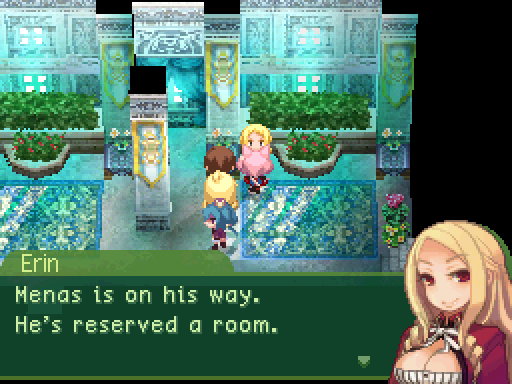
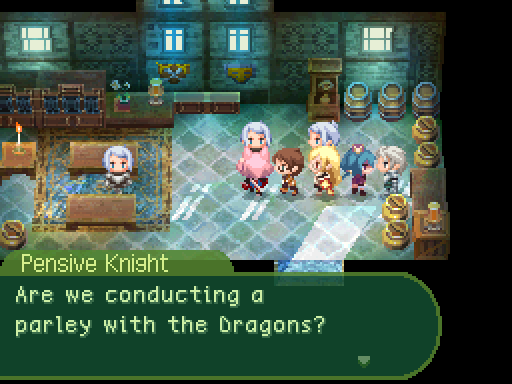
We regain control of our party at this point.

She leaves.


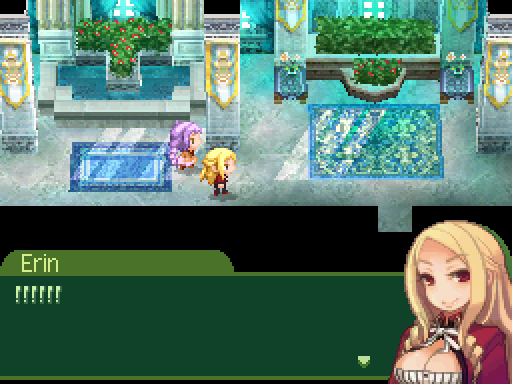
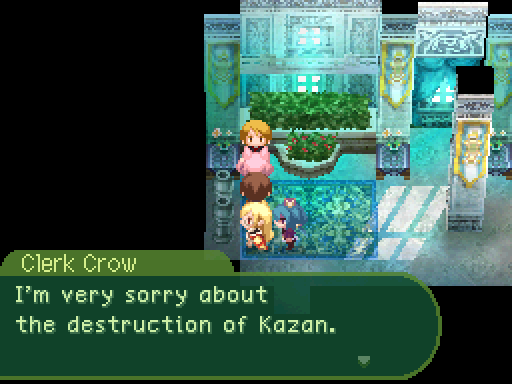
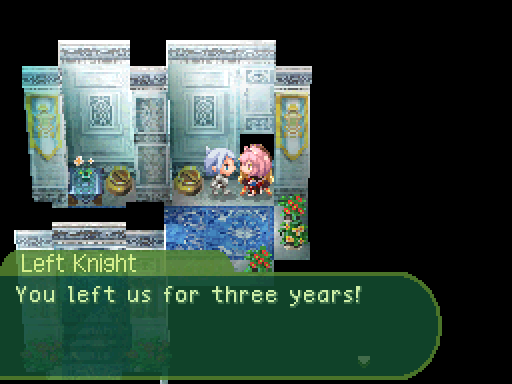
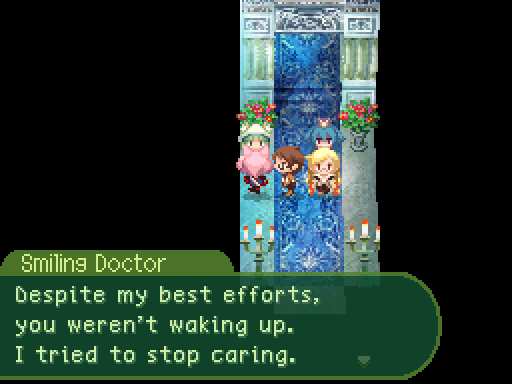
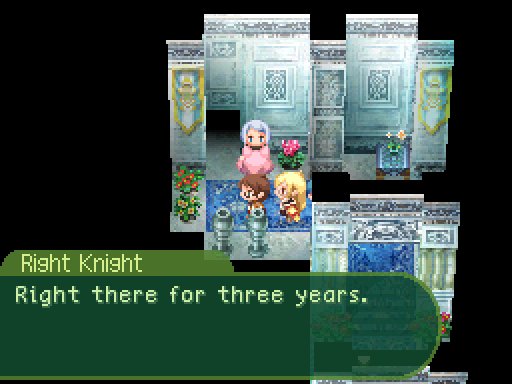
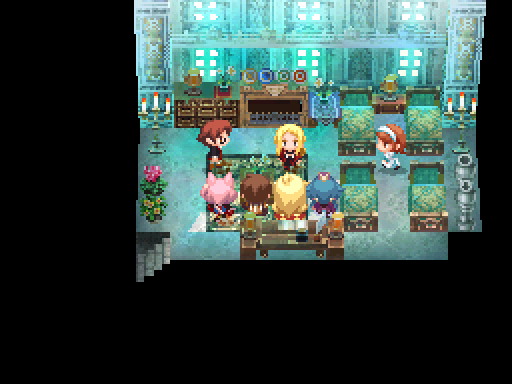
Now we have to talk to everyone in this castle, then talk to Erin again to progress.


We can't leave the castle yet.
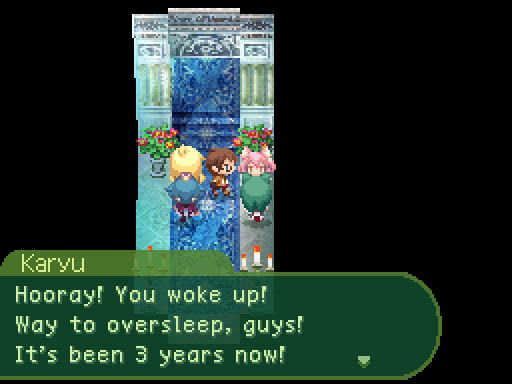
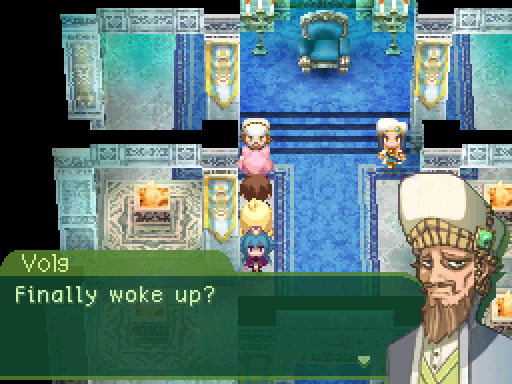
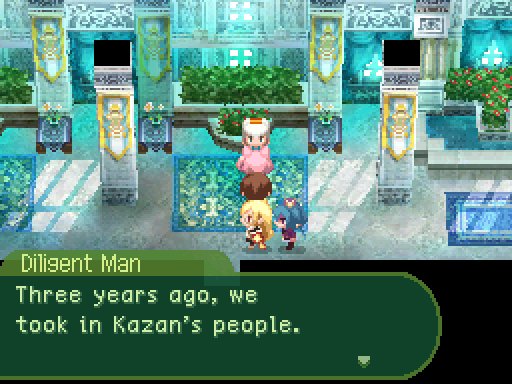
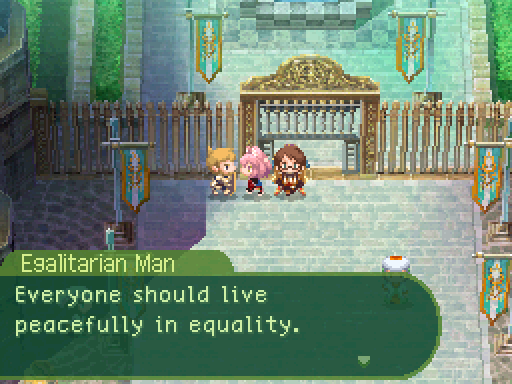
Eden is the name of this world.
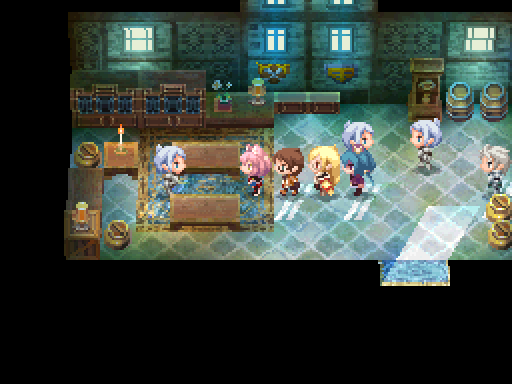
That's everyone, so let's get back to Erin.

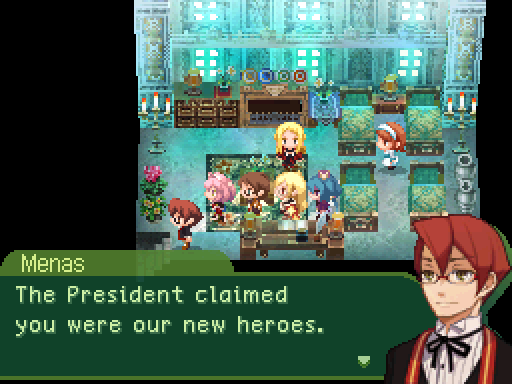
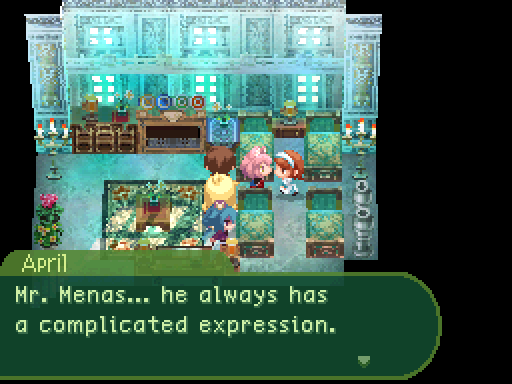
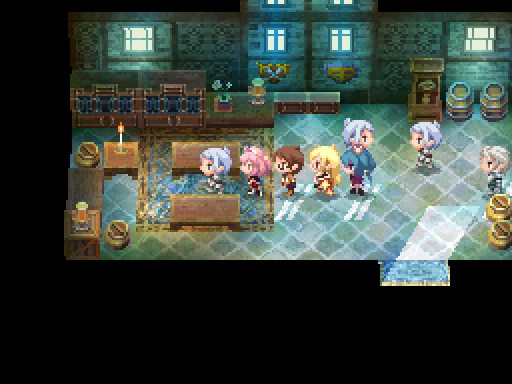
Menas leaves.
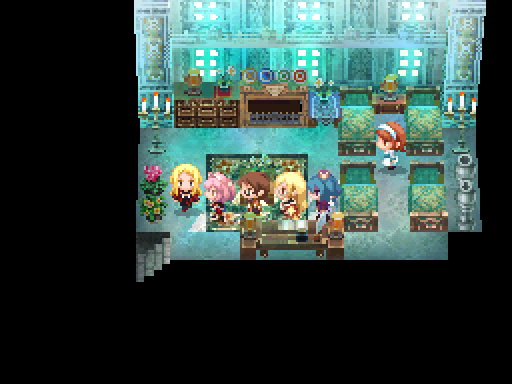
Erin leaves.
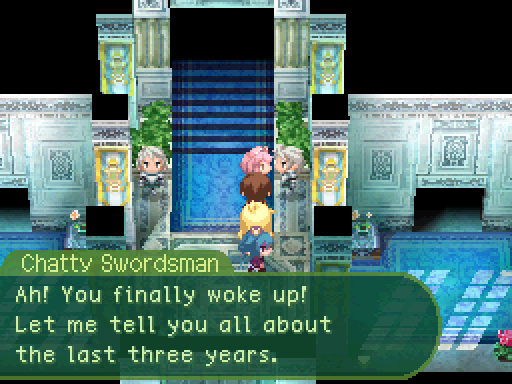
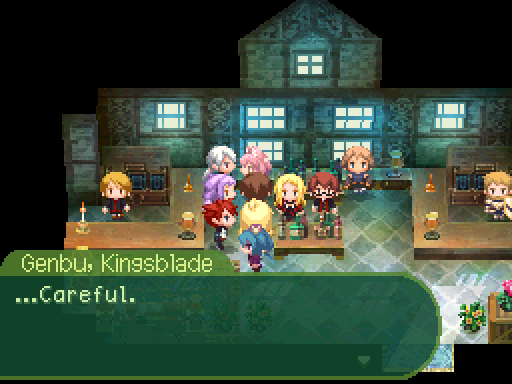
The music starts playing again once we go down the stairs. Now I would show off all the NPC dialogue here, but I think you got enough of a feel for the world in the past few updates. So from now on, unless someone says something really relevant to the situation at hand (or really amusing), I won't be showing it off in the main updates. Instead they'll be put into side updates so they won't bog down the pacing of the main ones.
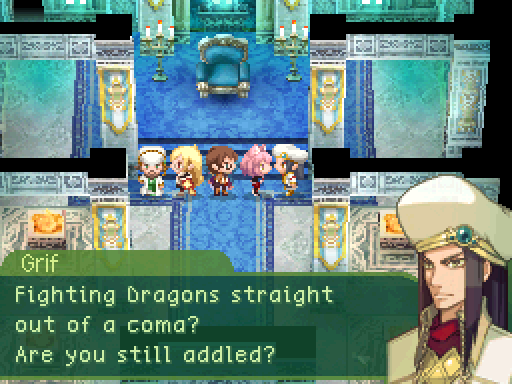
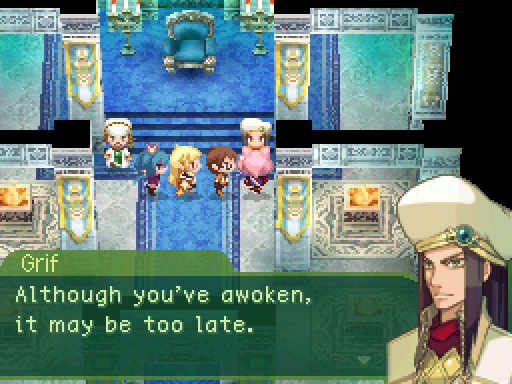
You should make sure to talk to Grif sometime after this point. Because...

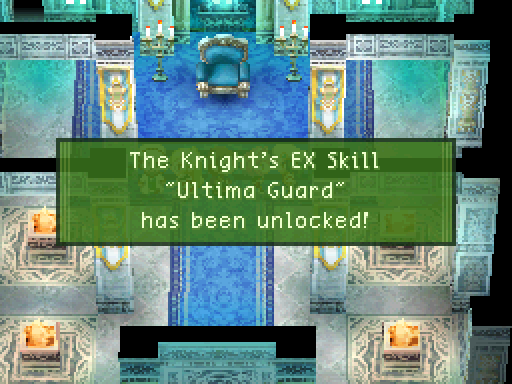

We just got something called an EX skill. Remember those locked skills in the classes' skill trees? That's what those are. They can be found throughout the game, and they're fairly powerful. In order to use an EX skill, you'll need to use up one of the segments of your EX gauge. EX skills do not cost anything to cast other than EX. You'll still have to spend skill points to learn them, and they aren't cheap. As for whether they're worth it or not... Well, a lot of the offensive EX skills tend to not be worth it. The reason for this is because they tend to have lower damage modifiers than the other skills the classes have. That's not to say that they're all lackluster, as some EX skills are really strong.
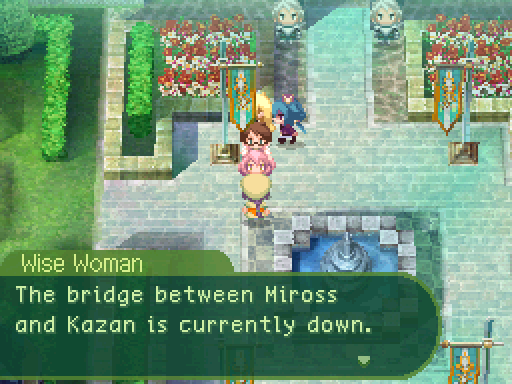
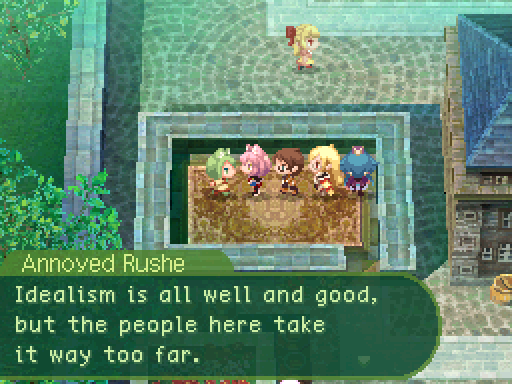
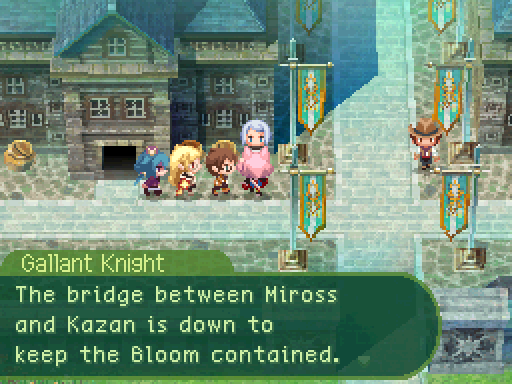
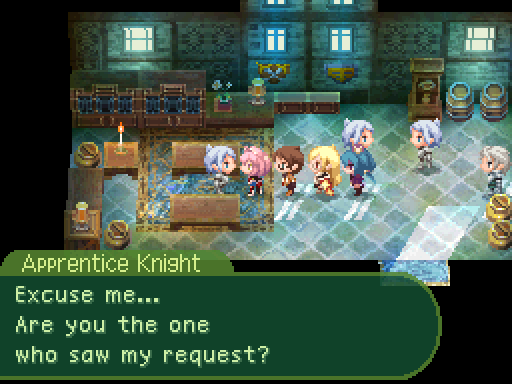
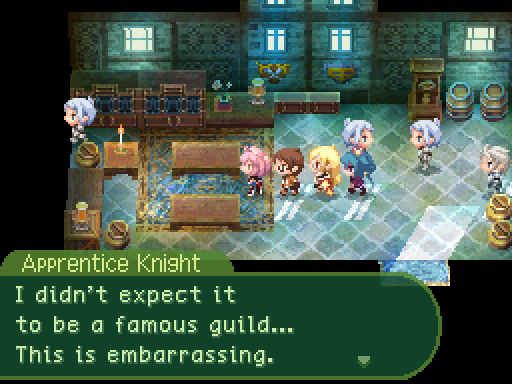
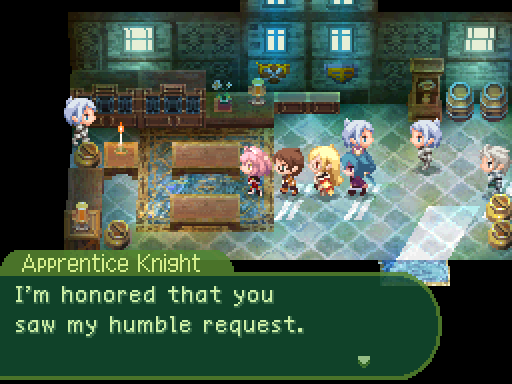
So there is only one quest in Miross that we can take right now, and this NPC gives it out. And uhh... Oh, I'll explain a bit later.
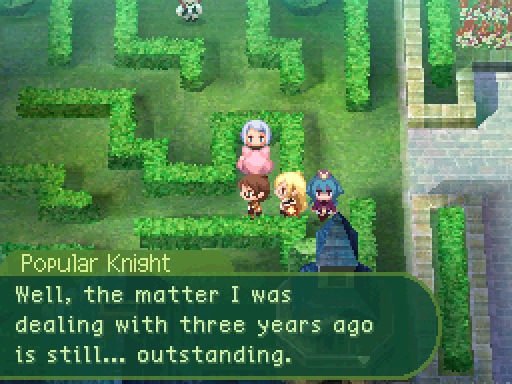
The knight paces back and forth.
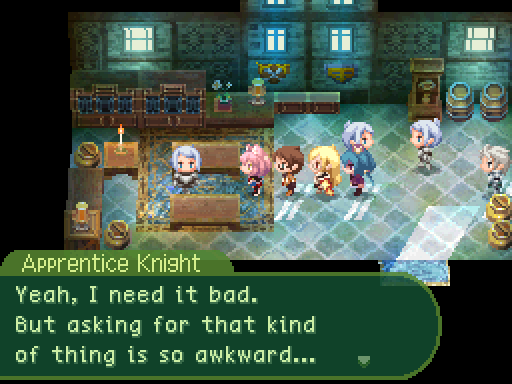
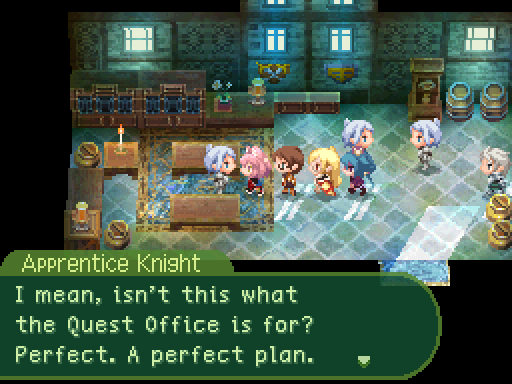
All you need to know right now is that this quest is one of the main things wrong with the quest system in 7th Dragon.
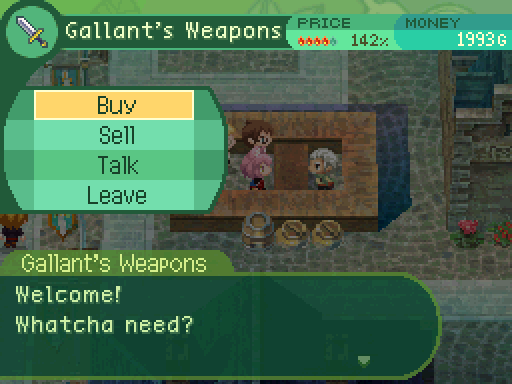
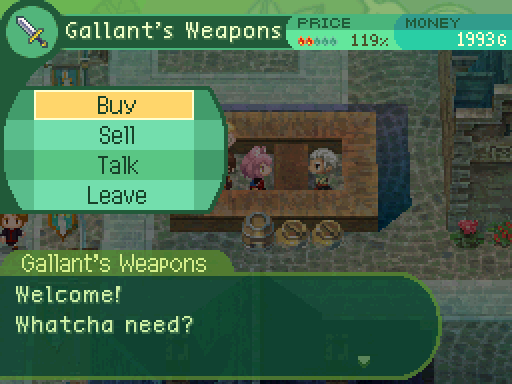
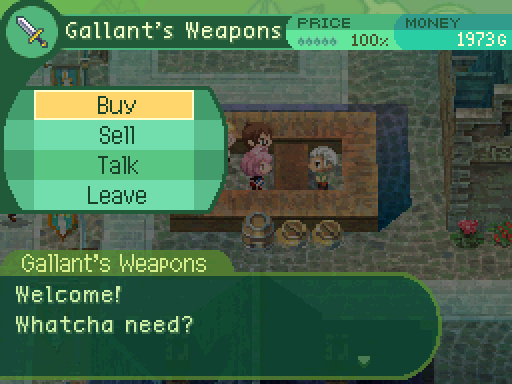
But let's not worry about that. Instead, let's do some shopping!
But let's not worry about that. Instead, let's do some shopping!
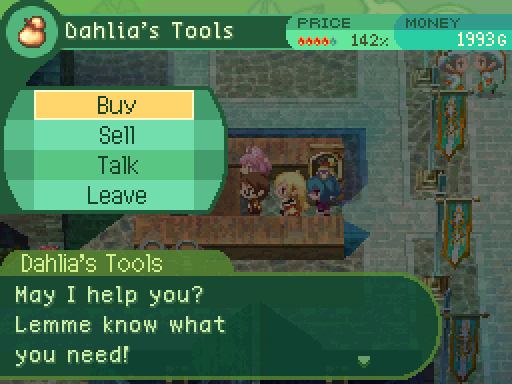
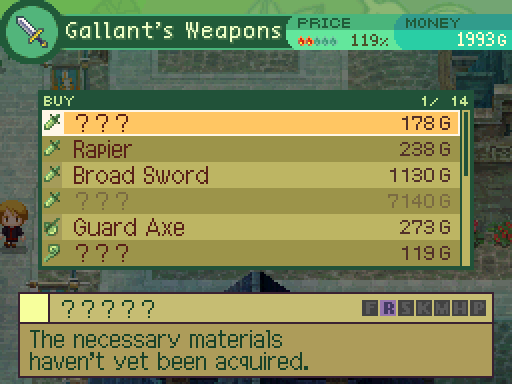
Huh, curious. That 100% turned into 142%.
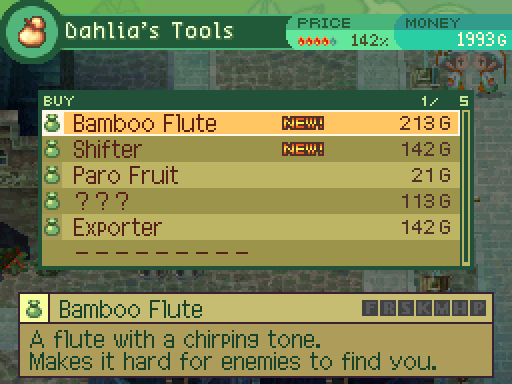
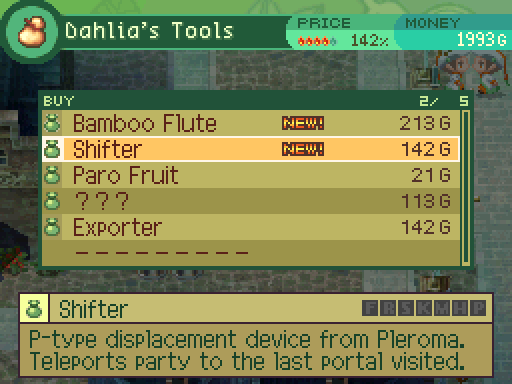
Both of these are fairly useful items, but...
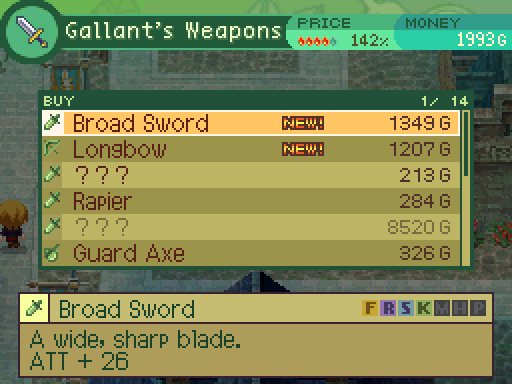
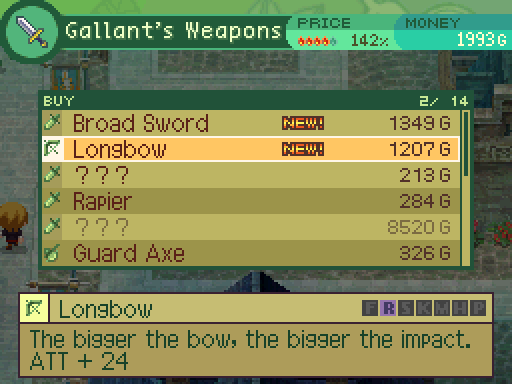
New equipment is available at the stop, but it's a little pricy at the moment. You can blame that on the current state of the world. More on that later. In fact, I highly suggest resisting the urge to buy anything at the moment. Fortunately, inn and clinic prices are still the same.
This item can come in handy if you're playing without the USA patch.
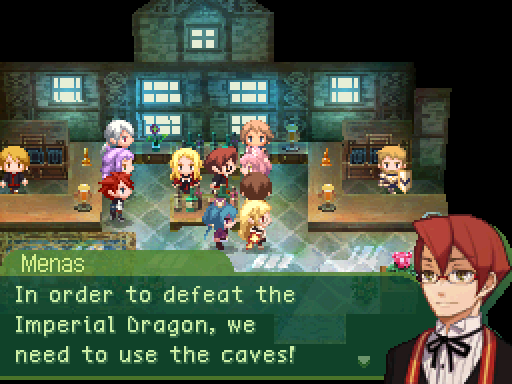
Okay, let's head to the quest office.
Imperial Dragons (localized as High Dragons in the 4th game) are basically the top dogs amongst dragons. They aren't to be taken lightly.
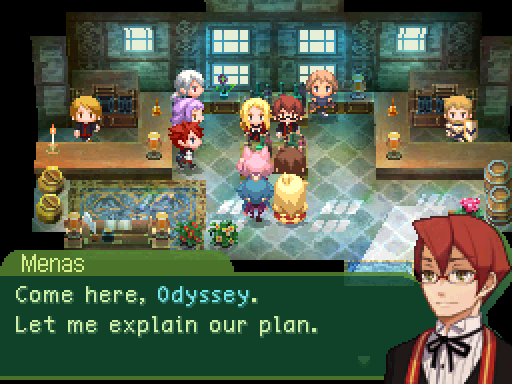
This mission is automatically assigned to us as well, though that's also because we can't accept missions in this place.
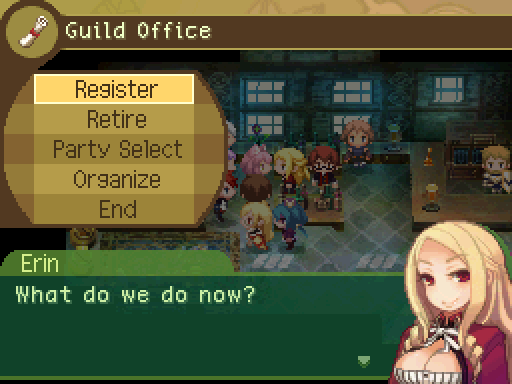
Since Kazan is occupied by dragons, you can make guild members here if needed. I won't be doing that just yet, though.


Alright, so I'm gonna take this quest right now just to show off the problems with 7th Dragon's quest system.
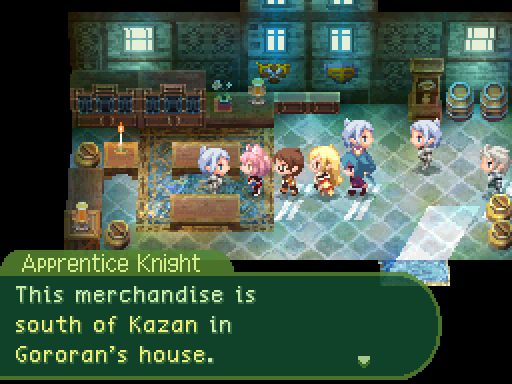
Okay, so about this quest. The location he pointed out? We can't reach it until like several dungeons later. Oh, but that's not all.
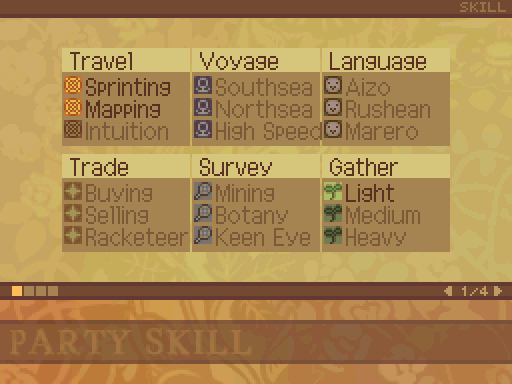
The �special negotiations" we need is the Racketeer skill to be able to complete this quest. When do we get this skill?
Near the end of the game.
Essentially, this quest is completely impossible to complete right now. But wait, that's not all. 7th Dragon loves to throw impossible quests at you. And you have absolutely no idea which quests can be completed or not at the moment. And the kicker is, you can only accept 3 quests at a time, so this is just really annoying.
Welcome to 7th Dragon.
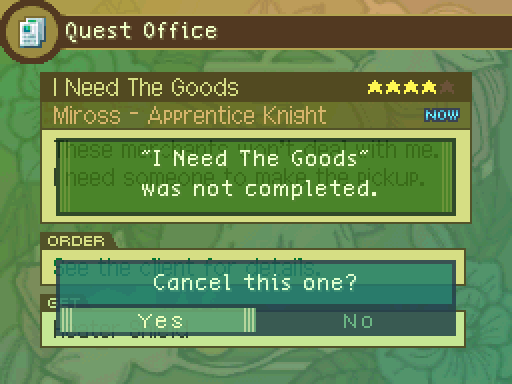
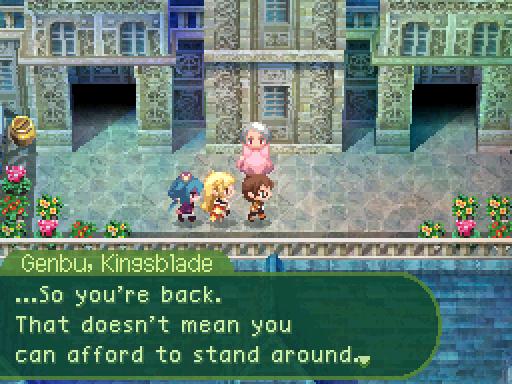
I'm canceling this quest because right now, it's just taking up space for quests I can actually complete. Anyways, let's leave town and see just what happened to the world after 3 years.

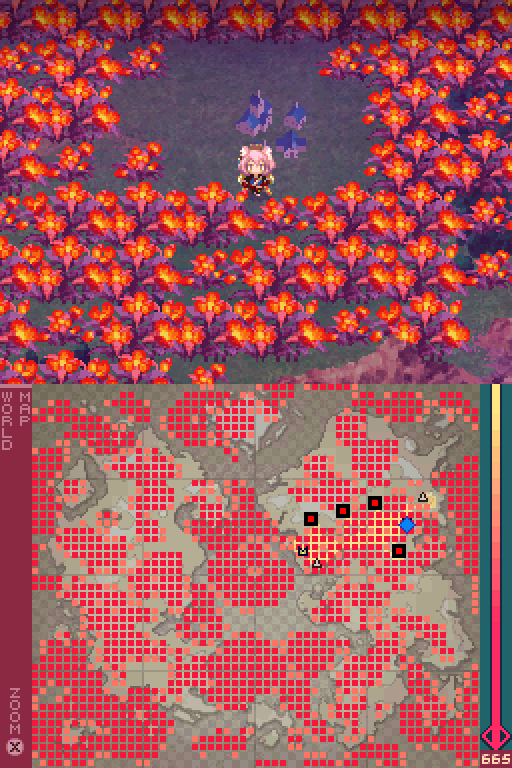
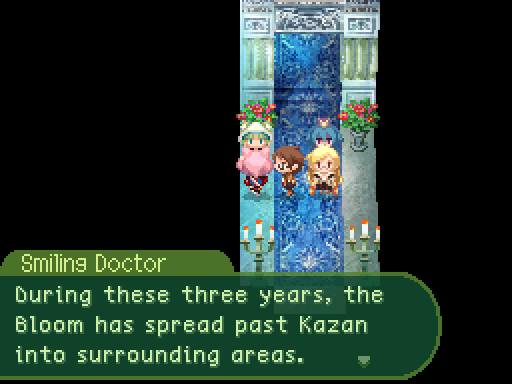
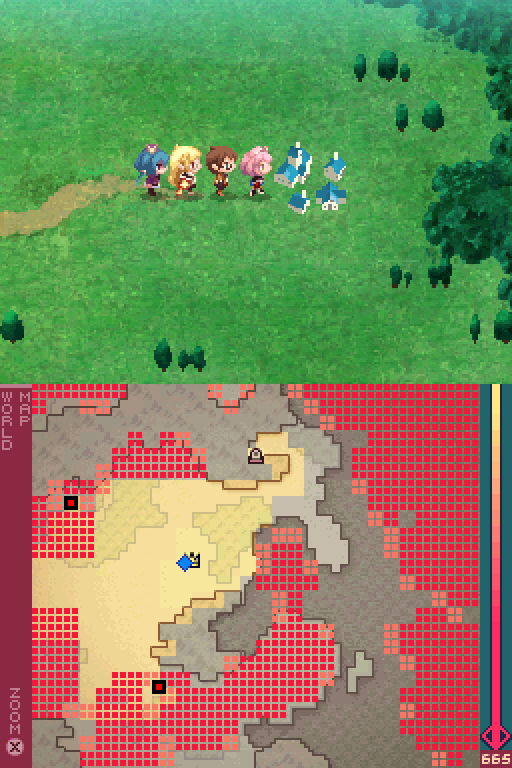
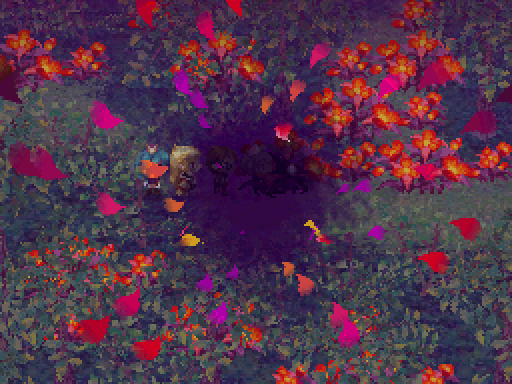
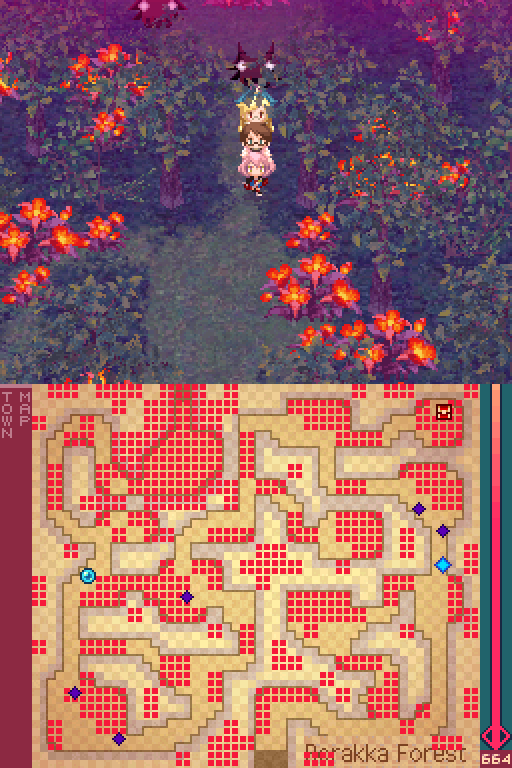
The world is pretty much utterly screwed right now. And the song Land of Dragons and Flowers really does a good job of hammering that in. I really love this track. It starts off melancholy, but takes on a more hopeful tone as it goes on. It's a fitting piece for our journey to make things right. I highly recommend listening to it. The 8-bit version also makes for a good listen.
The Bloom functions the same way as it did before. Oh, and there was something I didn't bother to cover earlier. Sometimes the Bloom doesn't go away after 2 steps, and you'll hear a crinkling sound instead. When that happens, keep walking over it. Depending on how many steps you took, you'll gain a little bonus.
- 8 steps: Everyone gains 1% of the total experience points needed to reach the next level.
- 12 steps: Everyone gains 2% of the total experience points needed to reach the next level.
- 20 steps: ???
For the record, none of the encounters changed, so don't worry about that.
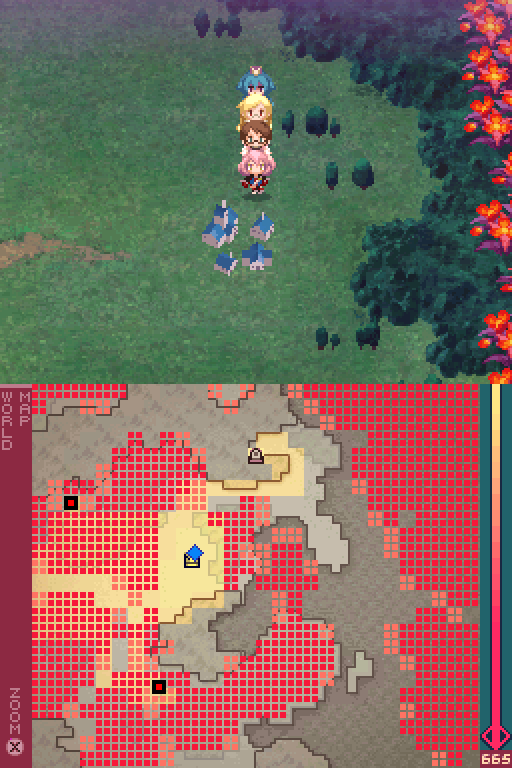
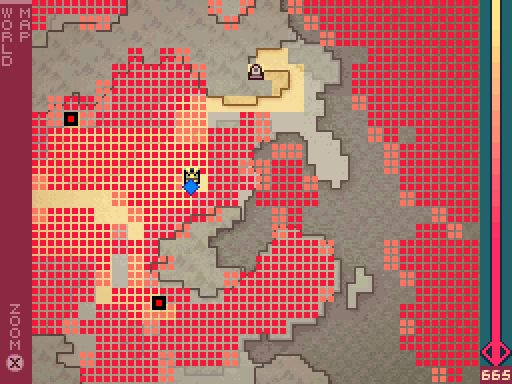
Now the Bloom will regenerate in dungeons, but on the world map, any bits of Bloom you get rid of won't regrow*. You do want to get rid of the Bloom. Because...
*May or may not be cases where this doesn't apply.
*May or may not be cases where this doesn't apply.
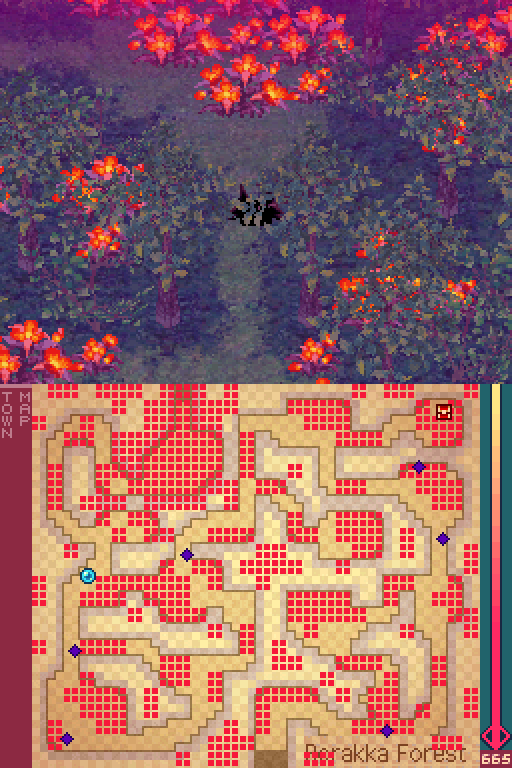
What I meant by the current state of the world is that the Bloom itself affects shop prices. The more Bloom that is around the town, the higher the prices will be. That price indicator at the top shows you if there are still some Bloom tiles you need to get rid of. Generally, the first thing you should do is to clear out as much of the Bloom as you can around a town, just so you aren't paying a premium for their goods.
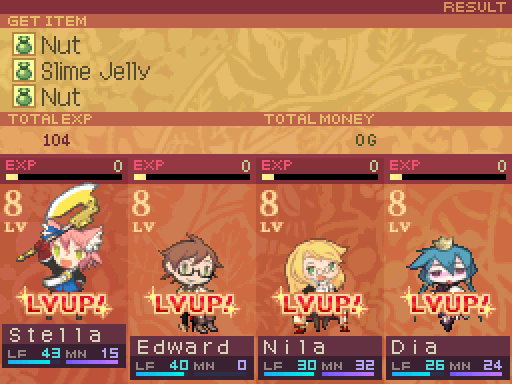
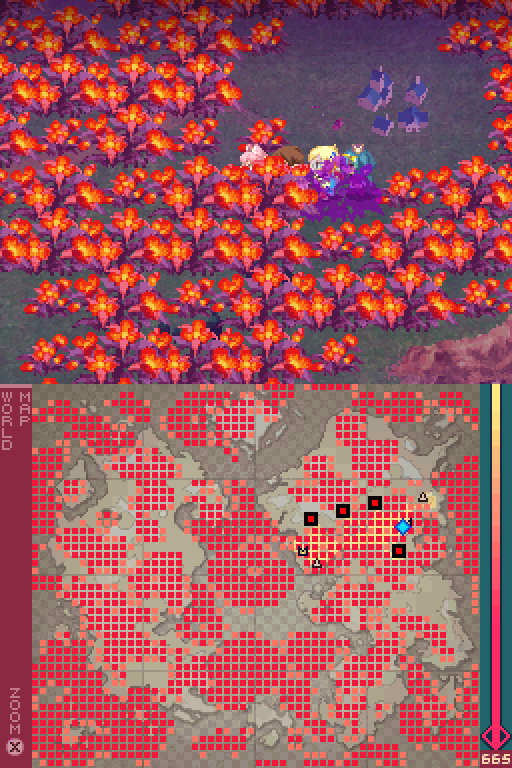
Anyways, while I was clearing out the Bloom, the party got a level up.
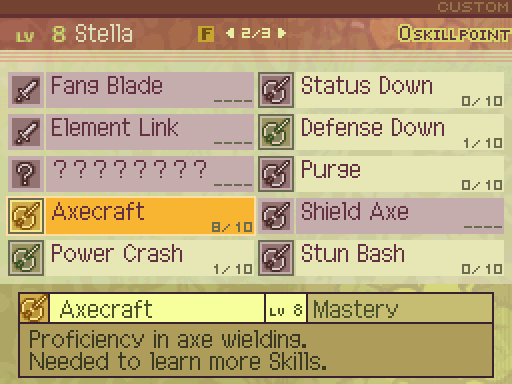
Stella finally got Axecraft to 8, which multiplies Axe weapon powers by 124%, but more importantly, it unlocked Purge. Which is one of her best skills. I'll talk more about it later once she learns it.
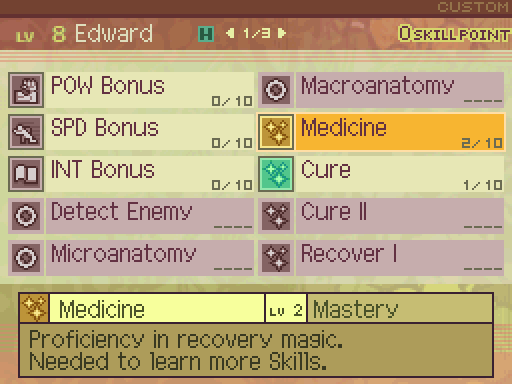
At this point, I want to start working on Edward's healing skills. So I leveled up Medicine to 2. It now provides a healing bonus of 120% (multiplying healing skills by 1.24) and applies a 102% multiplier to healing speed modifiers.
However, I had to hold off on using Nila and Dia's skills points since the skills I want to level up now require 2 skill points.
Anyways, several minutes later...
However, I had to hold off on using Nila and Dia's skills points since the skills I want to level up now require 2 skill points.
Anyways, several minutes later...
That's how much of the Bloom I had to clear out to lower the prices to 100%.
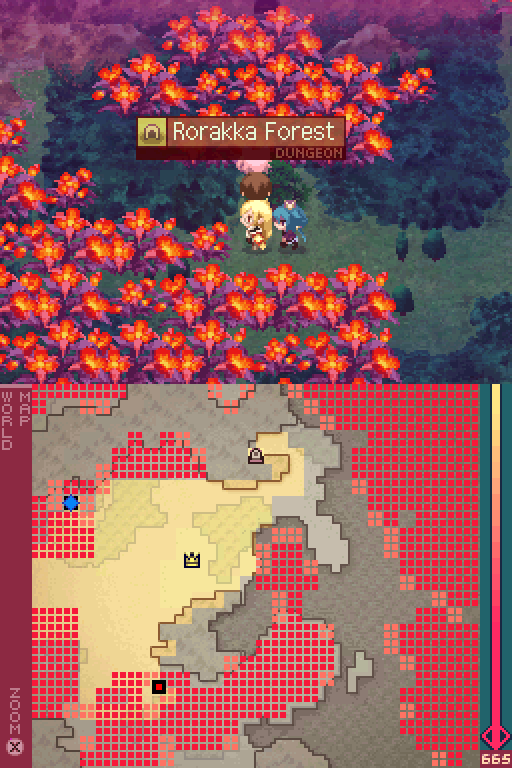
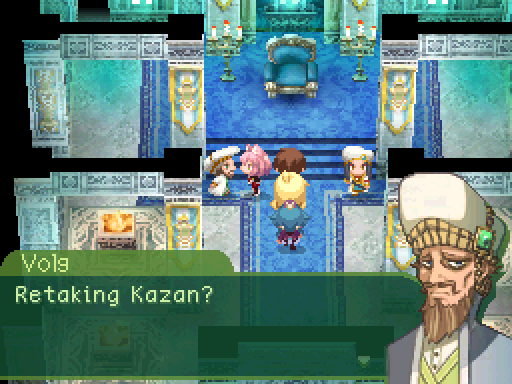
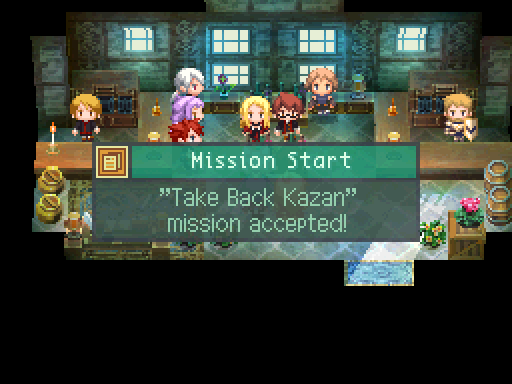
Now that I've got all that done, let's start the mission to take back Kazan. I should note that the patch of Bloom above the forest is impassable.
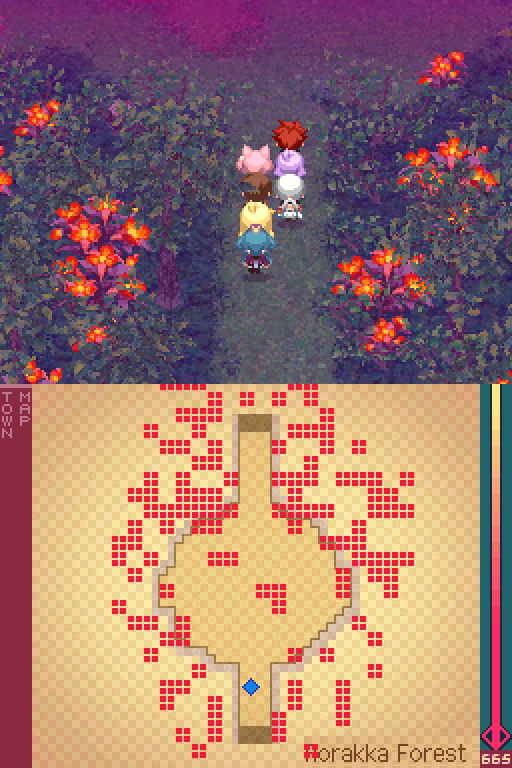
I've linked to this track before, but I didn't really highlight it since we were in the area for only a brief while. This track is by far my favorite dungeon theme. It's just so serene and calming.
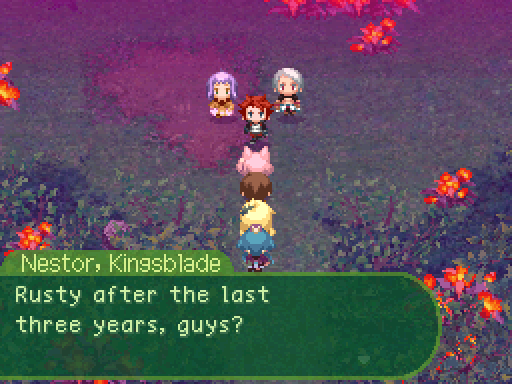
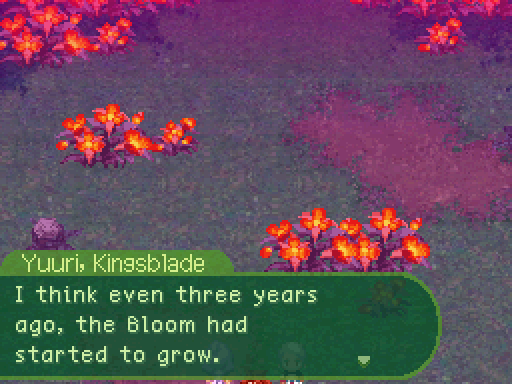
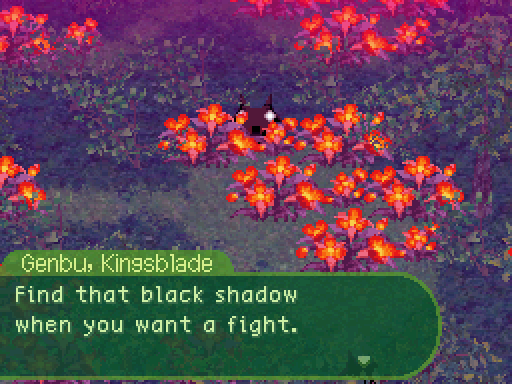
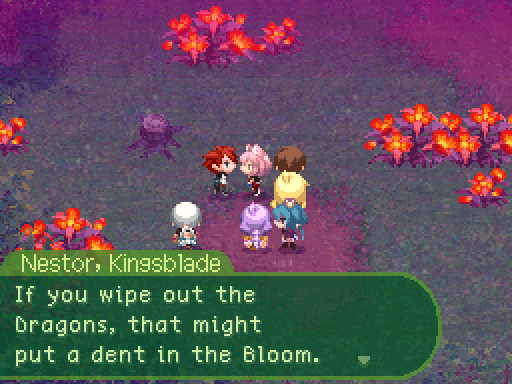
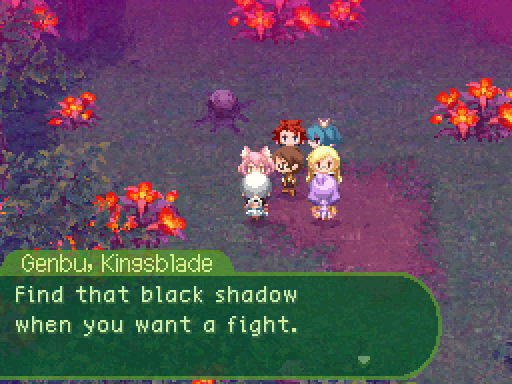
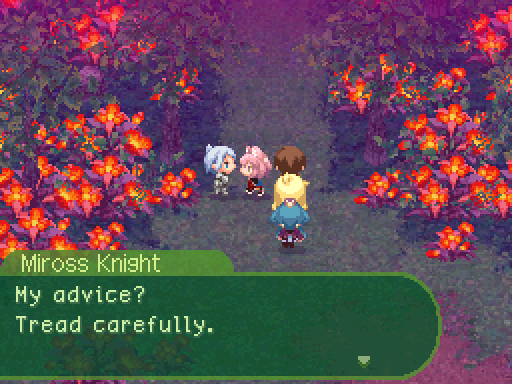
We can talk to the members of Kingsblade here, though Yuuri just repeats the information she told us about the Bloom.

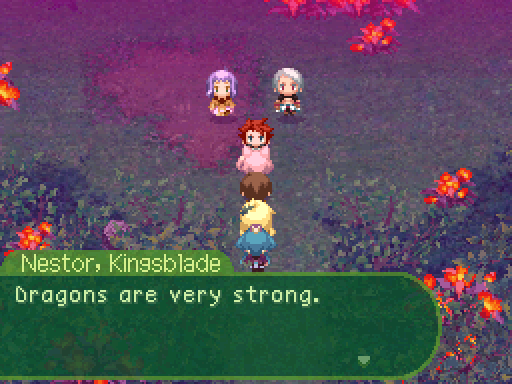
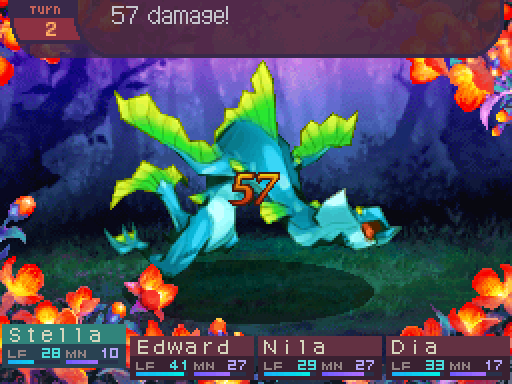
Alright, so here's one of the central mechanics of the game, the dragons.
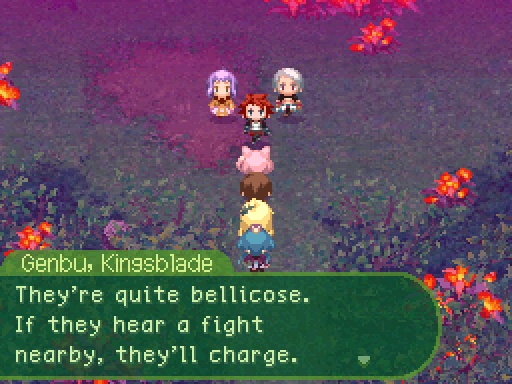
They're actually moving around the dungeon in real time. They're preexisting encounters, so when you run into one, you'll get into a fight. If you manage to run into their back, you'll get a preemptive attack. However, if they run into your last party member, they'll get the jump on you. When you get into a battle (this includes battles with other dragons, for the record), depending on how close you are, a countdown is displayed on any nearby dragons (the distance is capped at 9 tiles), when the countdown reaches 0, they'll join in on the fight. If there happens to be no room on the screen, they won't join in. But in some cases, they don't care and will straight up delete one of the sprites on the screen to make room for themselves. They won't do this to fellow dragons though.
In fact, if you're familiar with the Etrian Odyssey series, they pretty much lifted the FOE system wholesale for this game (aside from the fact that their movement is turn based.) However, in the Etrian Odyssey series, the FOEs are meant to be obstacles to be avoided to add tension to your explorations.
In fact, if you're familiar with the Etrian Odyssey series, they pretty much lifted the FOE system wholesale for this game (aside from the fact that their movement is turn based.) However, in the Etrian Odyssey series, the FOEs are meant to be obstacles to be avoided to add tension to your explorations.
In 7th Dragon, you're meant to take on the dragons as soon as you see them.
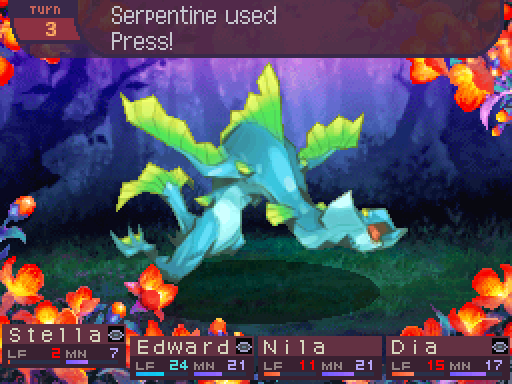
Incidentally, I do have to say I like this track as well. It's very fast paced and frantic.
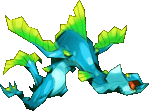
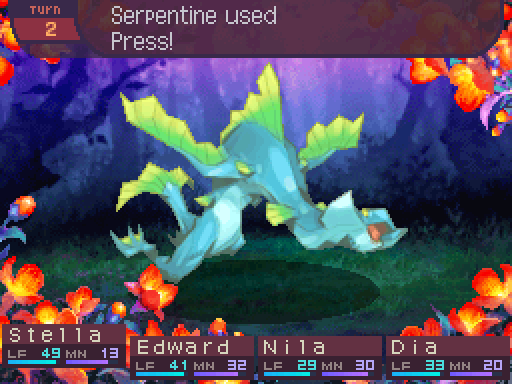
Serpentine
Level: 9
LIFE: 280
ATK: 56
DEF: 23
INT: 25
SPD: 20
Attack Type: Blunt
Size: N/A
Exp: 187
Gold: 18
Item Drops:
-Normal: Sleek Tailfin - 100% Drop Rate. 2 needed to unlock the Hunting Charm (Accessory, Life 5, Mana + 5, SPD + 3.)
--Tailfin of a Serpentine.
-Rare: Silk Whip - 15% Drop Rate.
--Knotted cord of strong silk. ATT + 16 MANA + 5 SPD + 5
Damage Multipliers:
Slash: 100% Blunt: 100% Thrust: 100%
Fire: 50% Ice: 50% Lightning: 125%
Ailment Susceptibility:
Death: 20% Masked Pain: 100% Skill Seal: 25%
Fear: 25% Curse: 50% Bleed: 25%
Poison: 50% Sleep: 25% Confuse: 25%
Paralysis: 50% Blind: 25% Stun: 100%
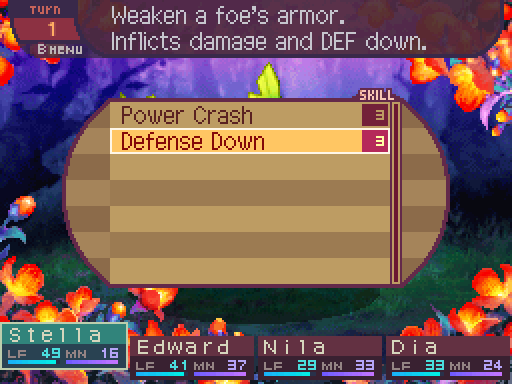
Skills:
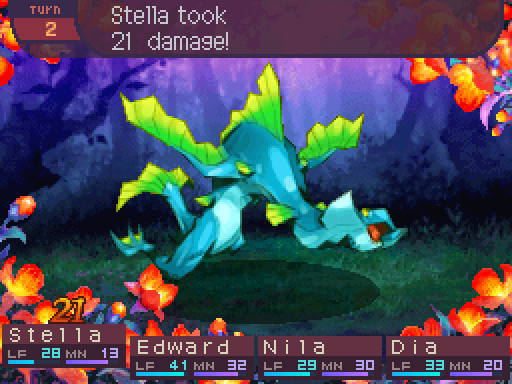
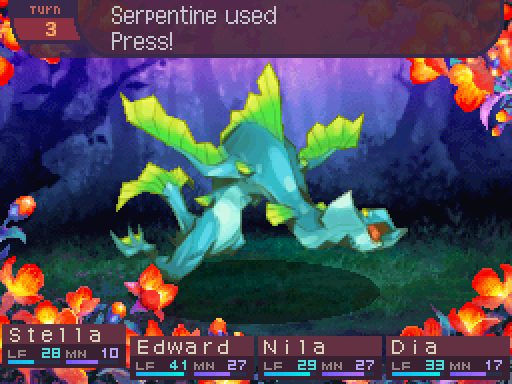
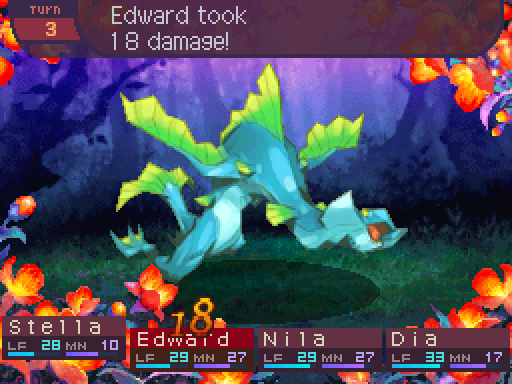
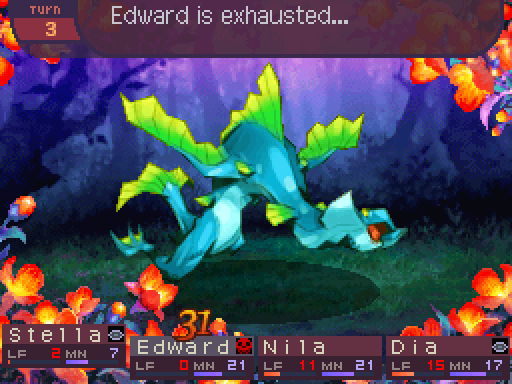
Press: Deals 120% melee ATK-Based Blunt damage to one party member and has a 50% chance to inflict Stun. Has a speed modifier of 90%
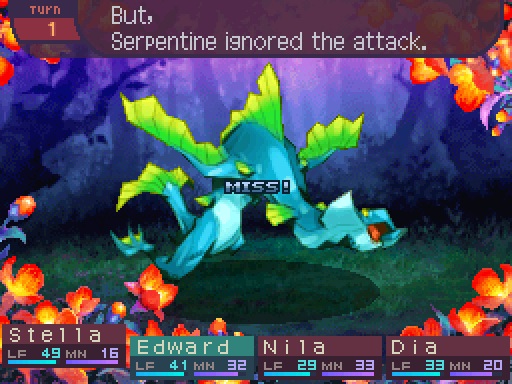
Heavy Fog: Deals 100% ranged INT-Based Ice damage to all party members and has a 60% chance to inflict Blind. Has a speed modifier of 80%.
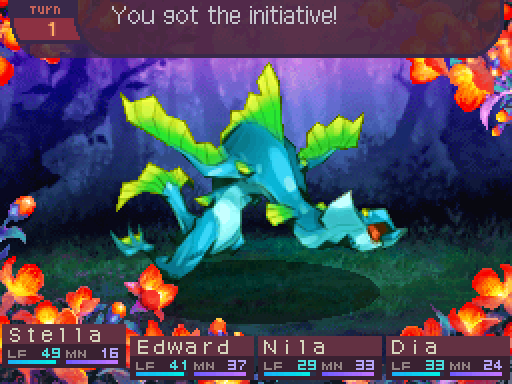
Serpentines are the first of the regular dragons that we can fight. Gameplay-wise, the dragon fights are probably the most interesting part of the game. Serpintines aren't too difficult, since they don't really have all that much health. But you really don't want to give them any sort of edge, since they can easily turn the battle in their favor. Heavy Fog can pretty much stop your party from doing much to it, and Press just deals a lot of damage.
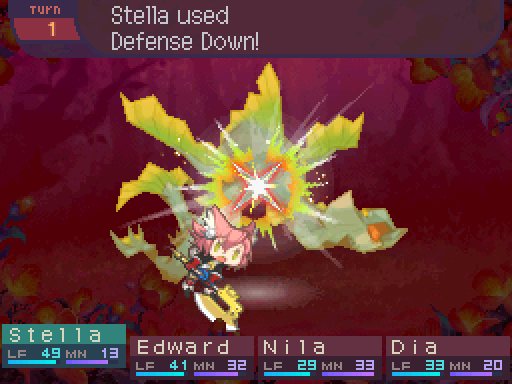
Stella will open with Defense Down, like always.
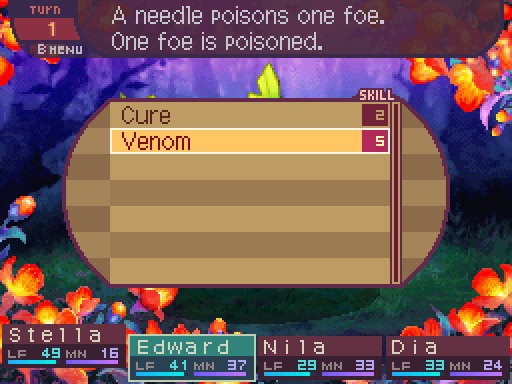
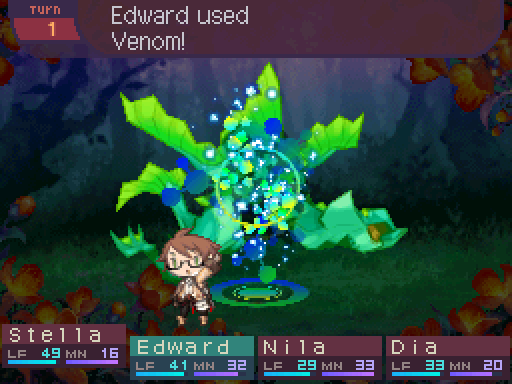
Serpentines are fairly easy to Poison, so that's what Edward will be doing.
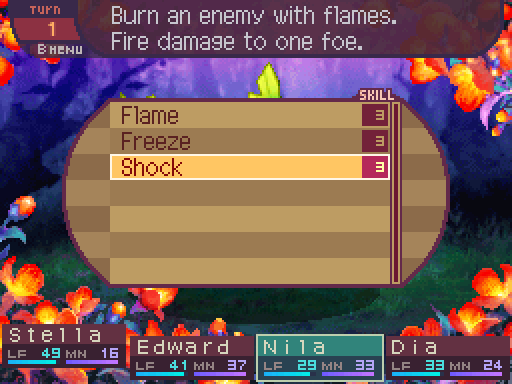
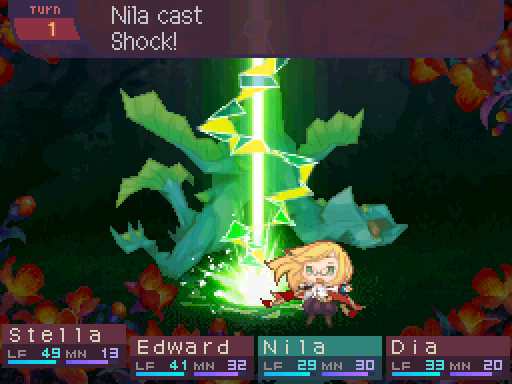
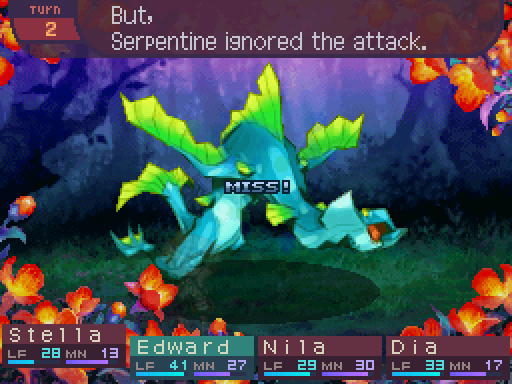
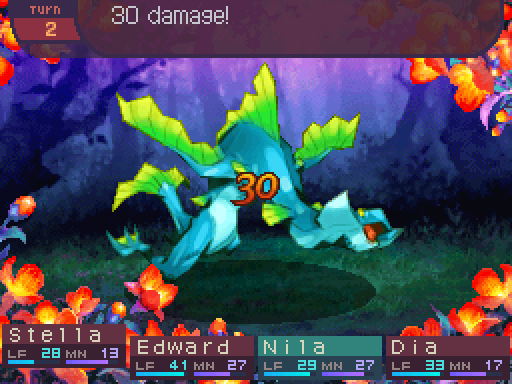
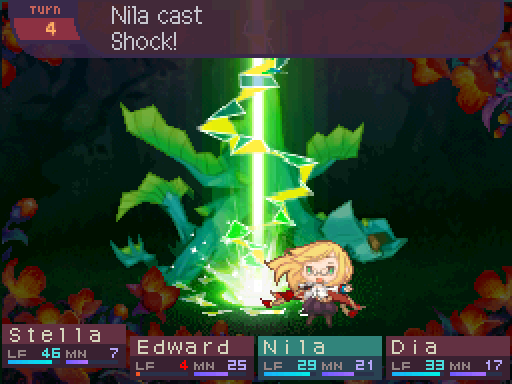
Lightning is the only element they really take damage from, so Nila will be spamming Shock throughout the battle.
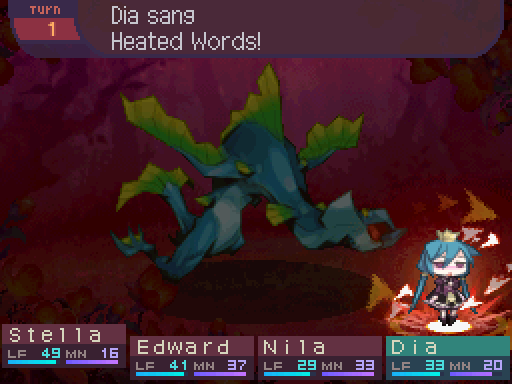
Dia will help Stella murder the dragon faster.
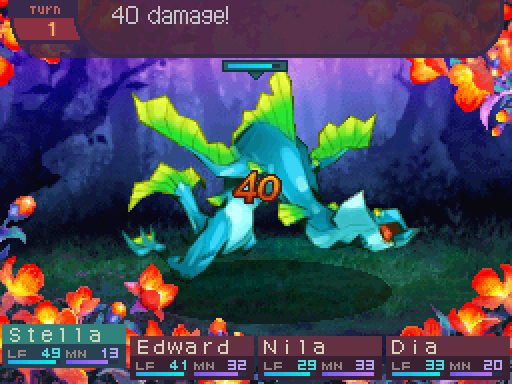
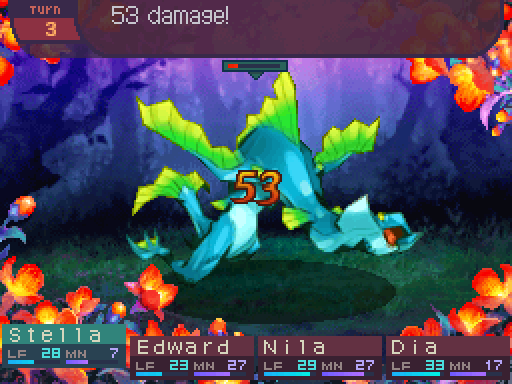
Stella is dealing a respectable amount of damage. That's over 1/8th of the dragon's life gone already.

Make that 1/4th.

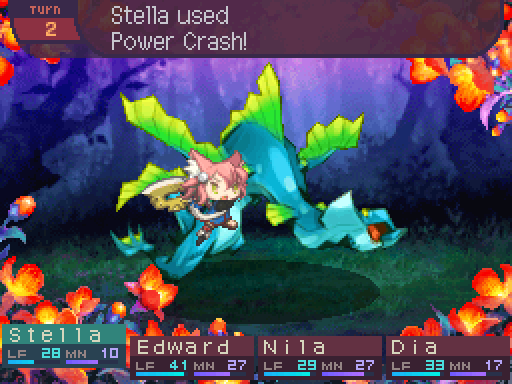
Power Crash is probably gonna be doing a lot now.
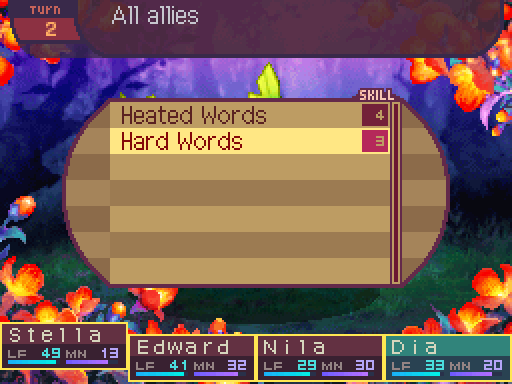
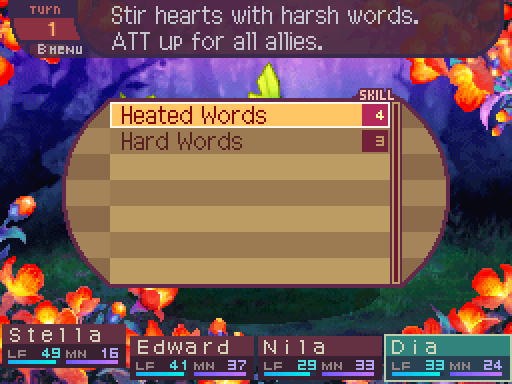
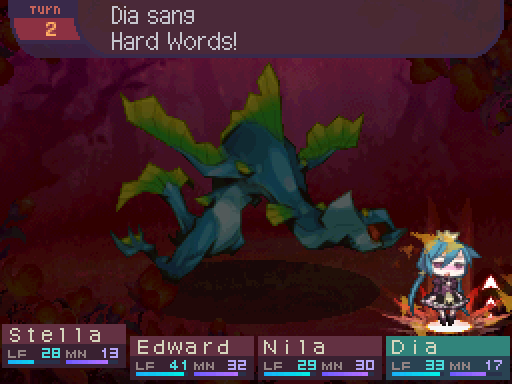
Now Dia will set up Hard Words. Get used to seeing that. Until she gets more skills, that's all she can do for the moment.
Something that I want to point out is that in later titles, dragons and bosses can move 2 times per turn. This is not the case in this game. No enemy can take more than 1 action per turn.
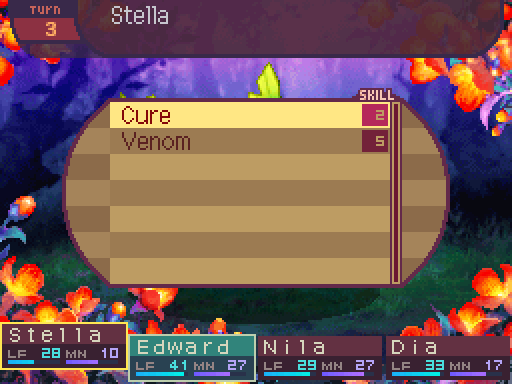
Since the Serpentine is almost dead, trying to inflict Poison on it is a waste of time. So I'm just going to have Edward heal Stella.
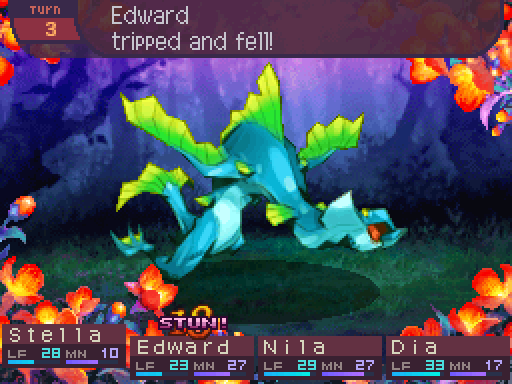
What you saw right there was Stun in action. Unlike in Etrian Odyssey where it flat out forces the target to skip a turn, it just causes the victim to move last in the current turn. It's a really awful and ineffective ailment. Mainly because it accomplishes so little. If you manage to Stun something, it's not gonna matter unless your party happens to be really slow. If an enemy inflicts it... they've already moved first, what's the point? All it does in that case is shuffle around the order your teammates act. I mean it might matter if there's more than 1 enemy, but that only really happens in random encounters. Dragons and bosses tend to fight alone. Not much in the game actually resists it, but honestly, who even wants to do that?


This fight is pretty much over.
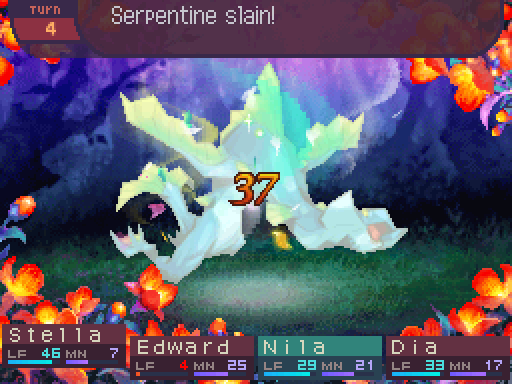

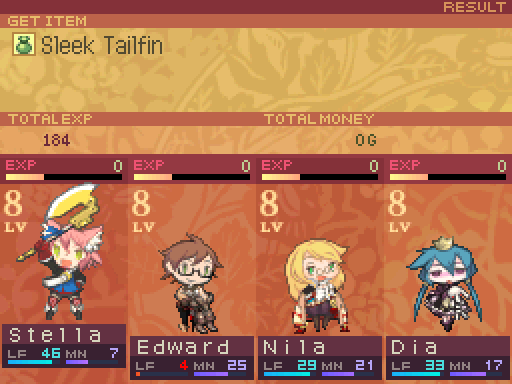
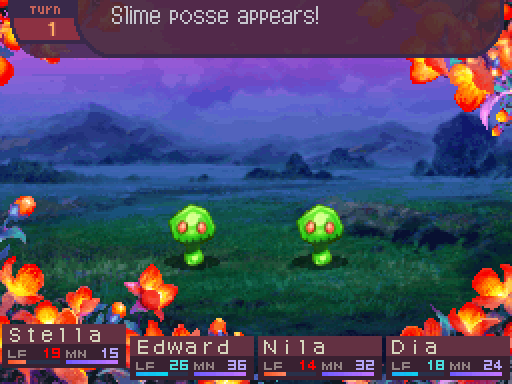
While random encounters are generally mindless, dragon fights do make up for that at least. Though keep in mind you're expected to do these fights several times. All those dragons in this area? They're all Serpentines. If you noticed, I never bothered using up my EX. That's mainly so some later fights will be able to go more smoothly.
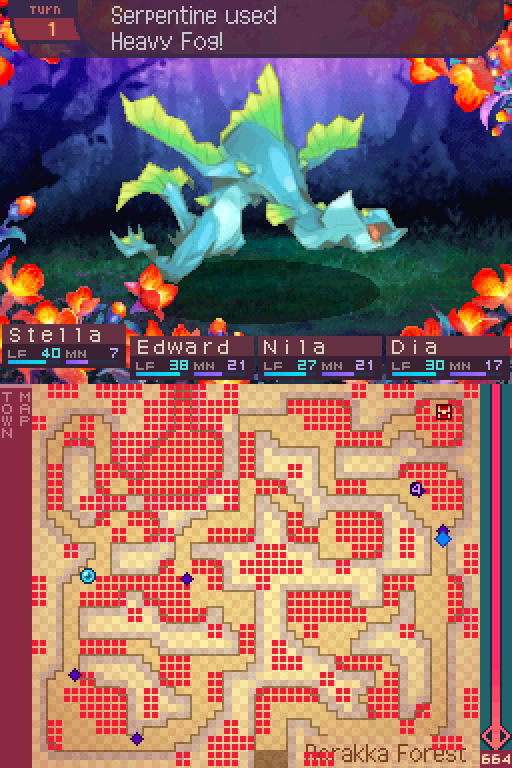
Of course the next fight did not start out smoothly at all. (Also you can see the counter that was mentioned before on the nearby dragon.)
Your escape success rate is dependent on your level. If your party member's levels are lower than the enemy's, you're really gonna have a hard time running away.

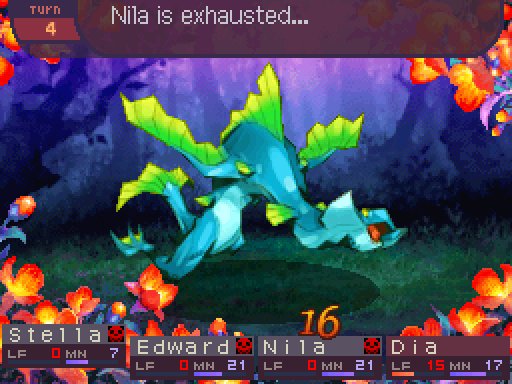
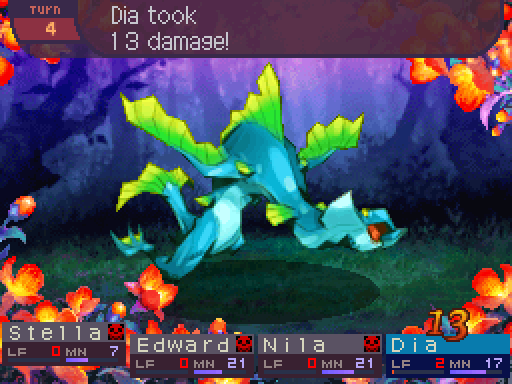
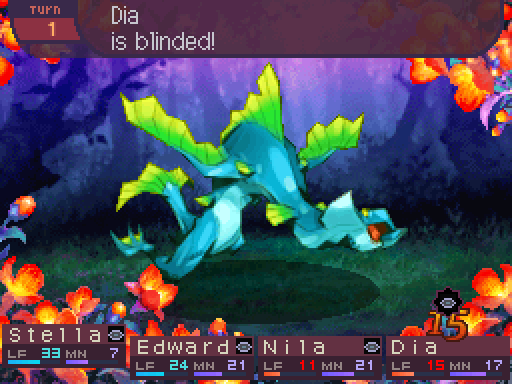
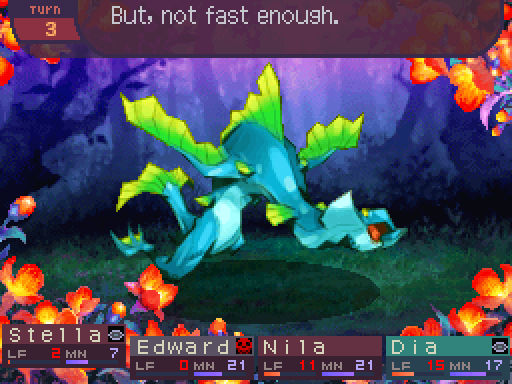
I'm surprised that Dia actually managed to live through that Heavy Fog. But I'm really in a pickle. If this escape attempt doesn't work, I'm done for.
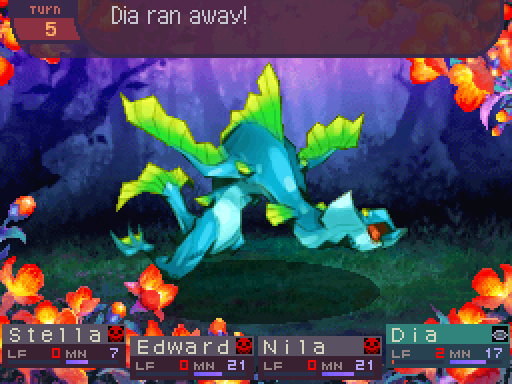
I'm gonna be honest, I was fully expecting to party wipe there. But Dia was just way too tanky. A situation like that is honestly kind of miraculous.
Oh yes, when you run away from a dragon, they'll stay still on the overworld for a few seconds. However, you can't rebattle it again until it starts moving, or move through them, so you can end up inconveniencing yourself and block off a path for a few seconds.

Incidentally, we're not gonna get access to revival methods for a long while.
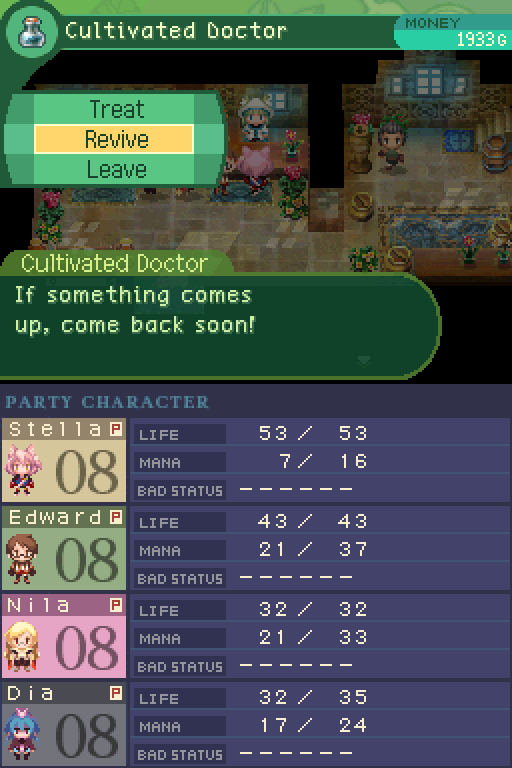
Fortunately, I was able to make it back to the inn without any further incidents.
I think that's a good place to end things off. We'll be trying to take back Kazan next time.