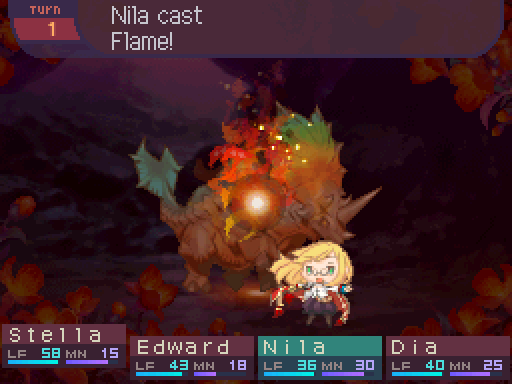
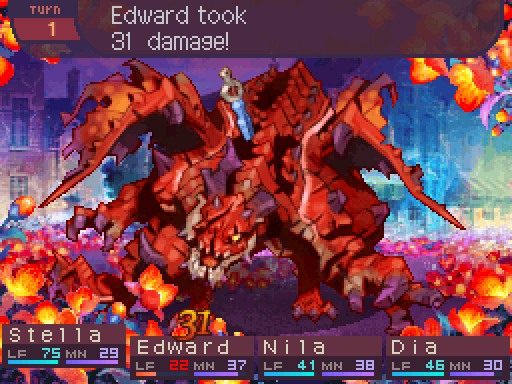
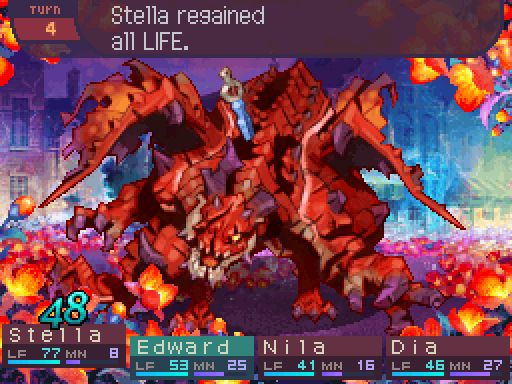
Just slaying a few dragons, don't mind me. All the dragons in this area are all Serpentines. In fact, the game tends to put one of the same dragon type throughout a dungeon, which unfortunately makes the fights kind of repetitive. I won't be showing off the same dragon fights unless something interesting happens.
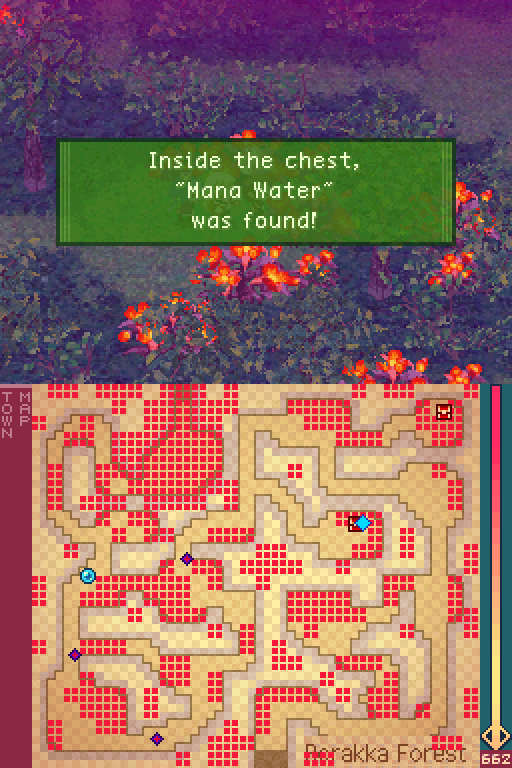
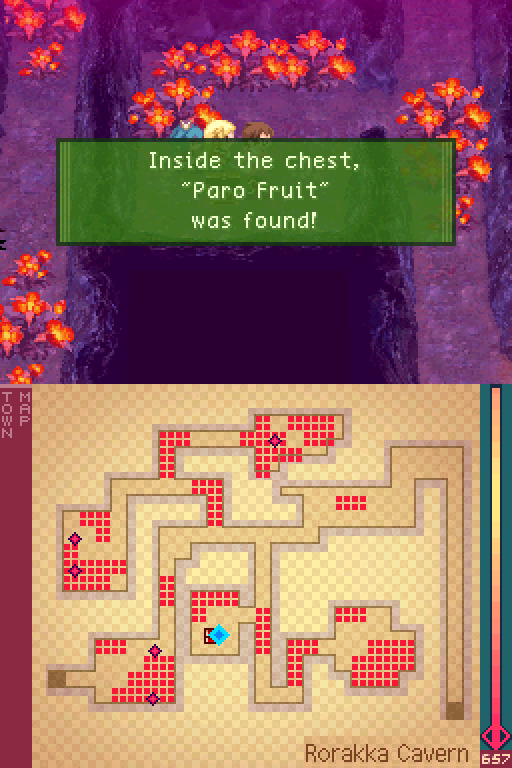
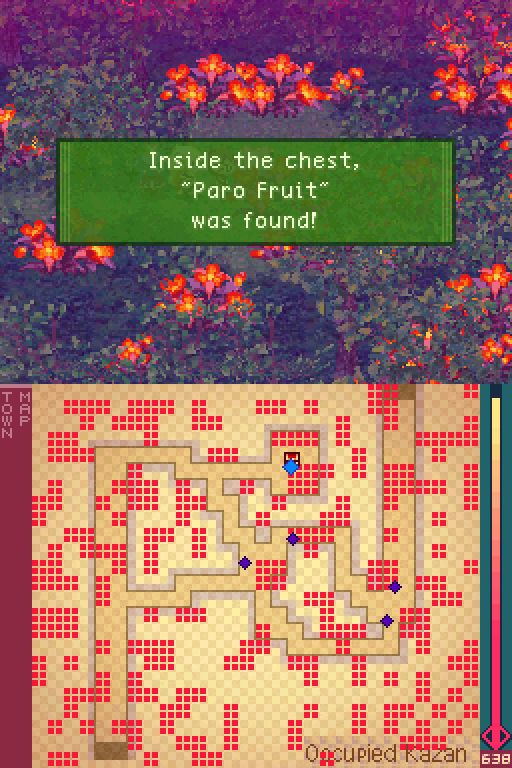
I actually missed this chest on the first trip here. Contains a handy consumable, but don't use it up in this dungeon. I mean there's a healing spring right there.
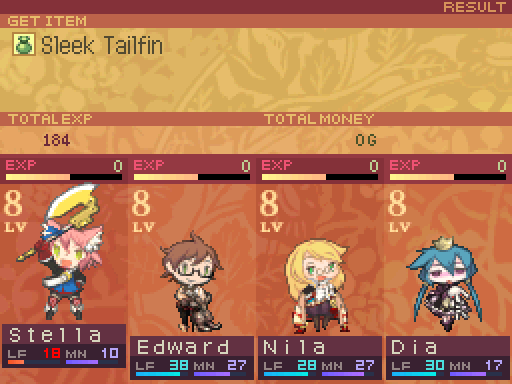
And I got lucky and got the Serpentine's rare drop in one battle.
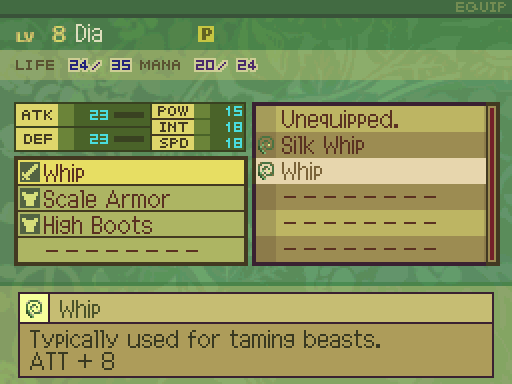
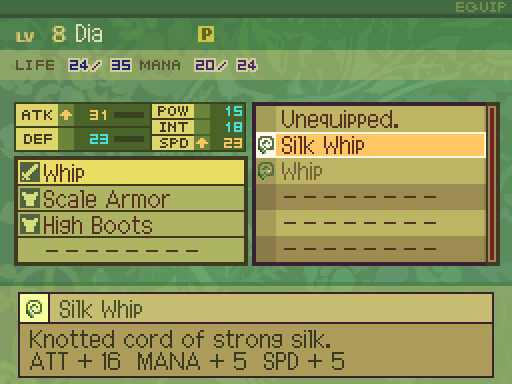
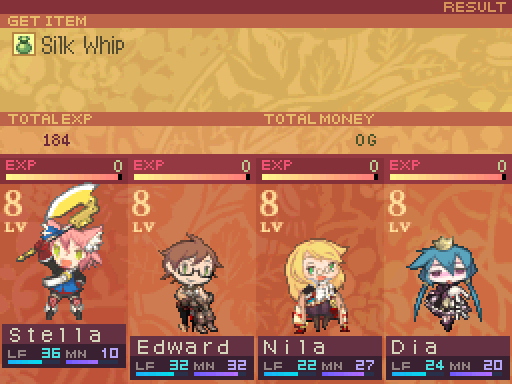
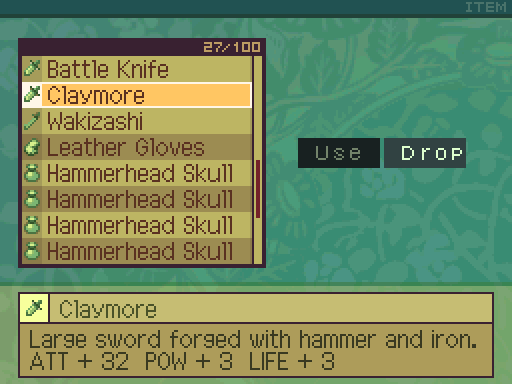
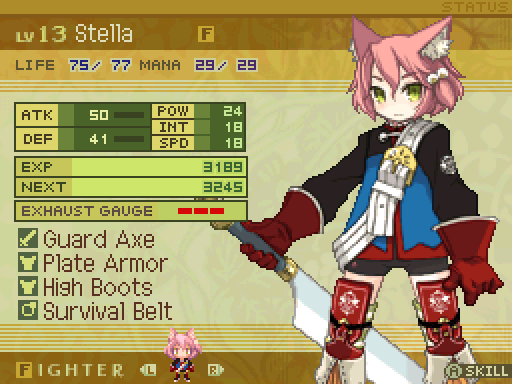
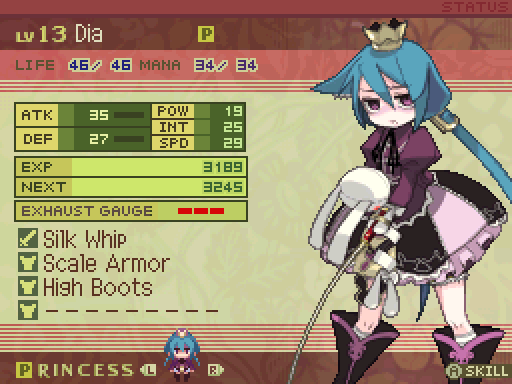
The Silk Whip has more attack, which is nice. But more importantly, it provides a mana and SPD boost, so Dia can get off her songs a lot faster now. In fact, she's pretty much our fastest party member now.
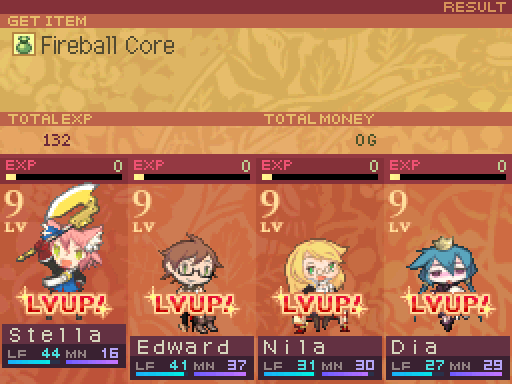
Another level up. Killing dragons can pretty much skyrocket your levels if you're really behind the curve. If you're having trouble with a boss or something, just kill some dragons.

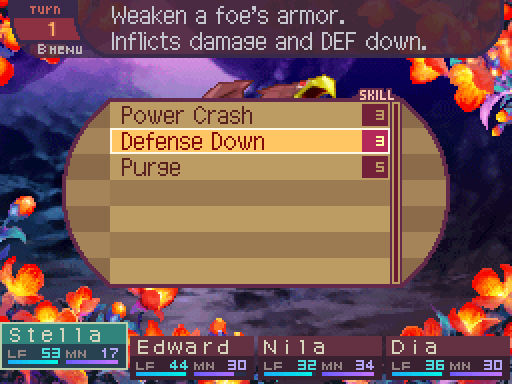
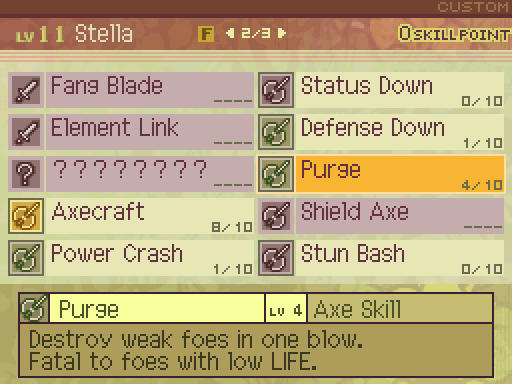
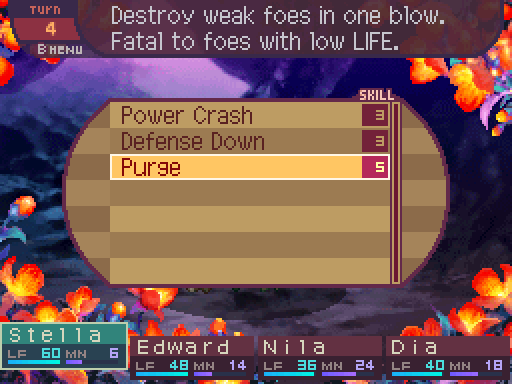
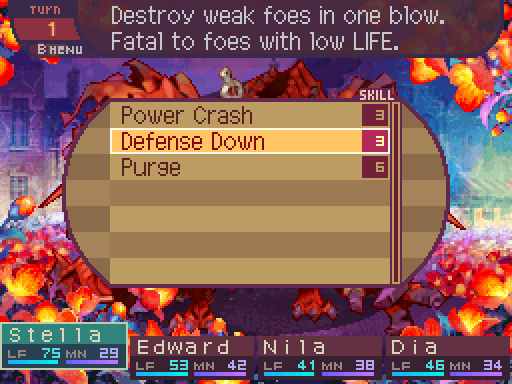
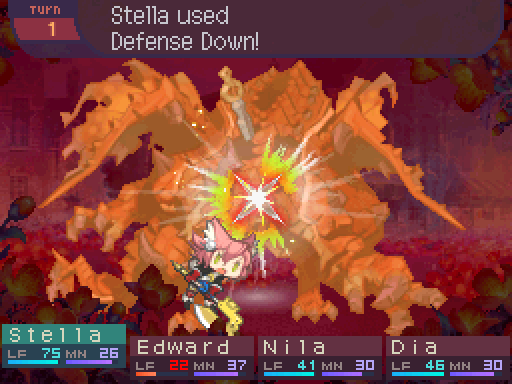
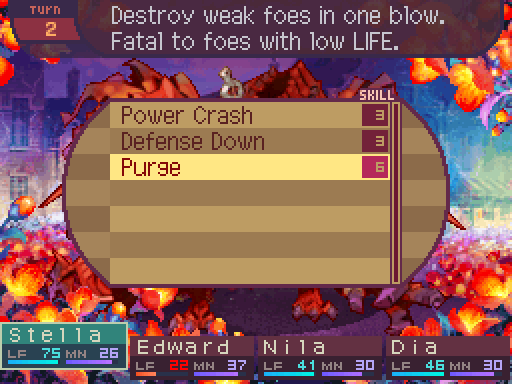
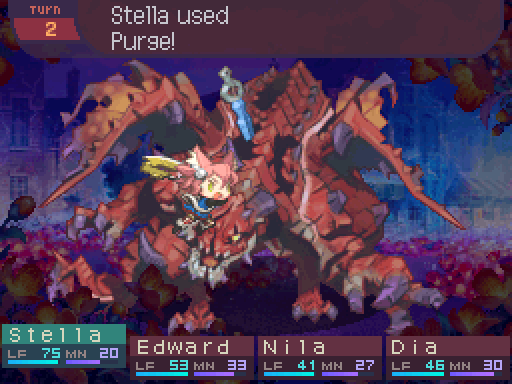
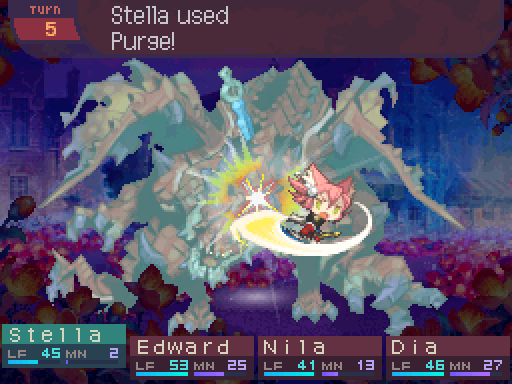
Stella learned Purge, which is pretty much her best Axe skill. It's a single target skill which changes effects depending on the condition of the target. If the target is below a certain HP threshold, they will be instantly killed. If not, a large amount of Blunt damage is dealt instead. At level 1, it deals 130% damage, but will instantly kill the target if they're under 15% of their maximum HP.

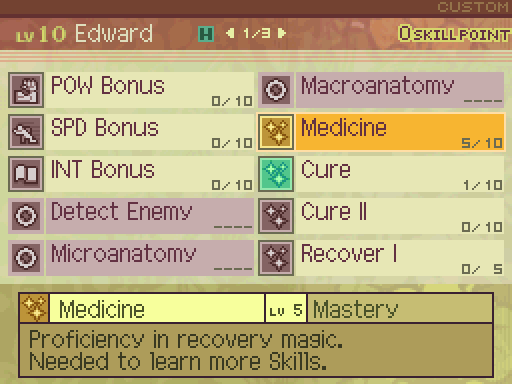
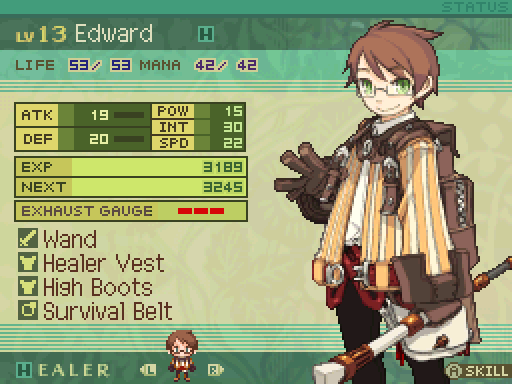
Medicine now provides a 140% healing boost (multiplies healing skills by 1.28) and applies an 104% multiplier to healing skill speed modifiers.
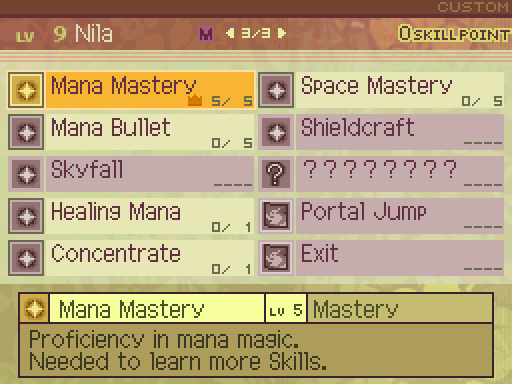
Mana Mastery is now maxed out, and adds on 22.5 damage to mana spells. It also applies a 125% multiplier to mana spell speed modifiers.
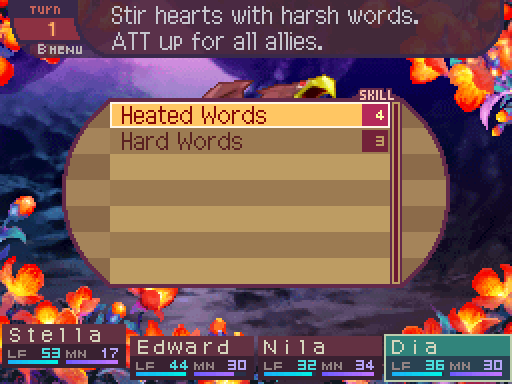
But more importantly, maxing it out unlocked this skill. Which is very expensive SP wise, but it is so so worth it.
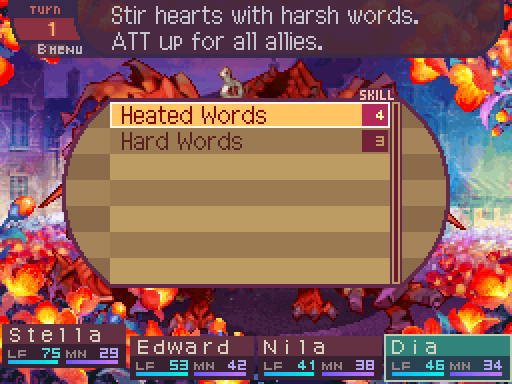
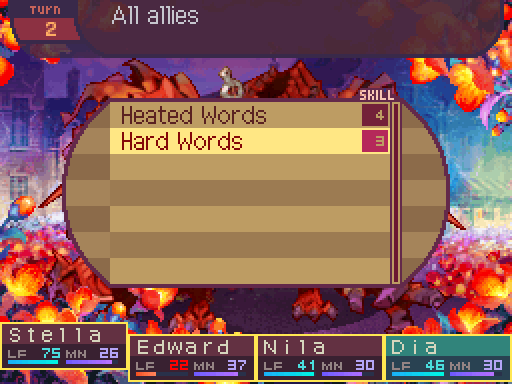
Heated Words now applies a 123% multiplier to the party's ATK.
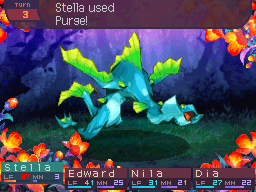
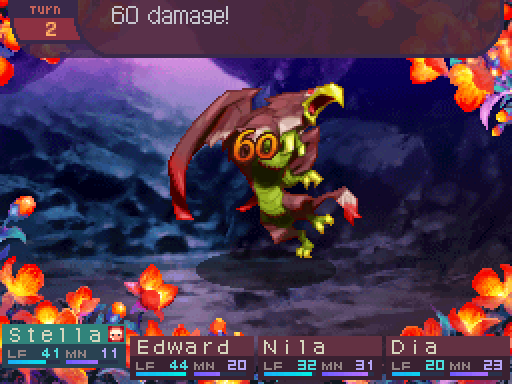
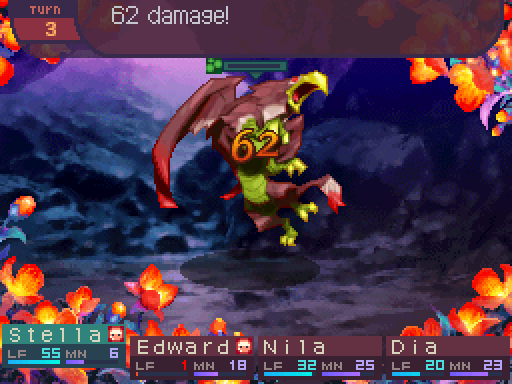
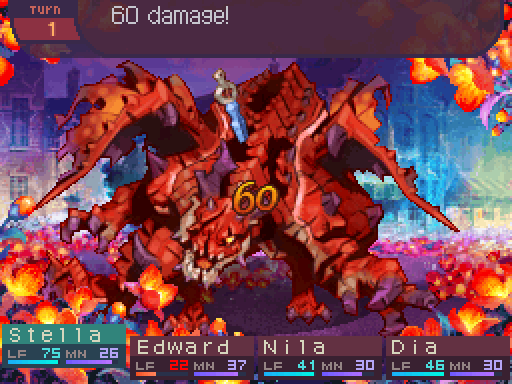
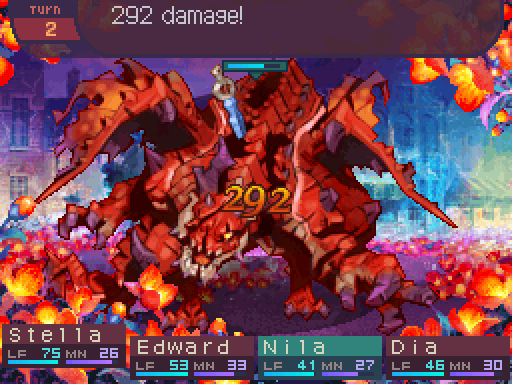
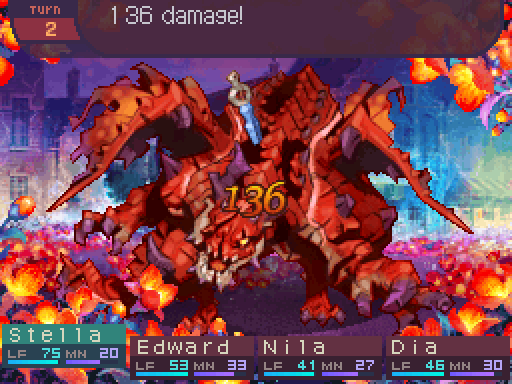
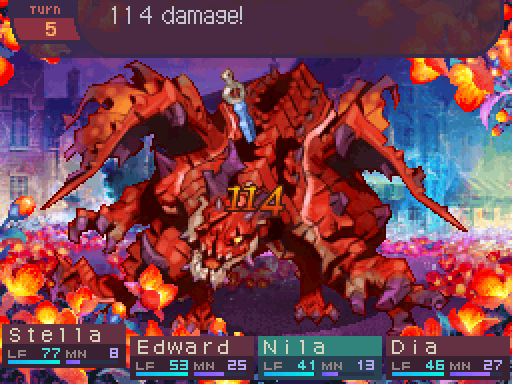
There's Purge in action. That wasn't the instant death going off, you wouldn't have seen a damage number if it was the case. Even if it doesn't activate, it's still Stella's strongest Axe skill. The damage alone makes it worth using.
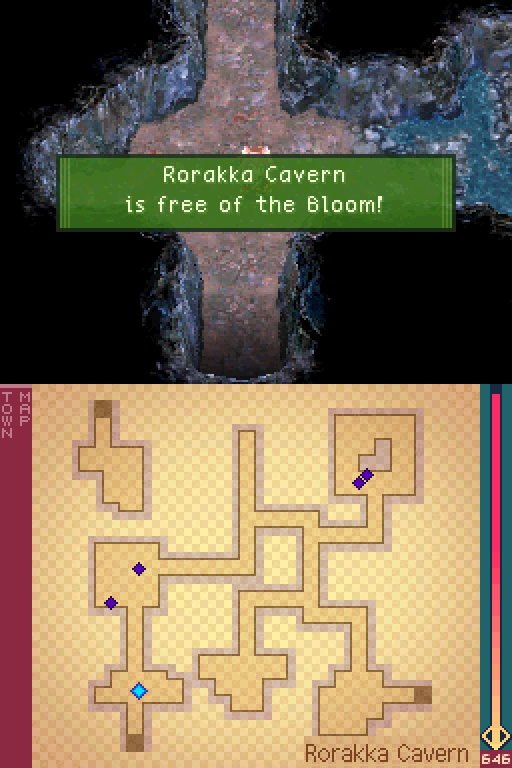
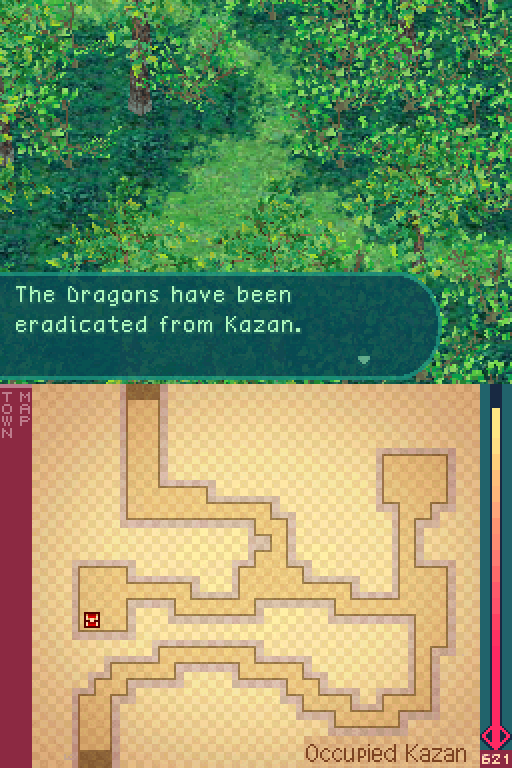
I end up killing all the dragons in this forest. Which means...
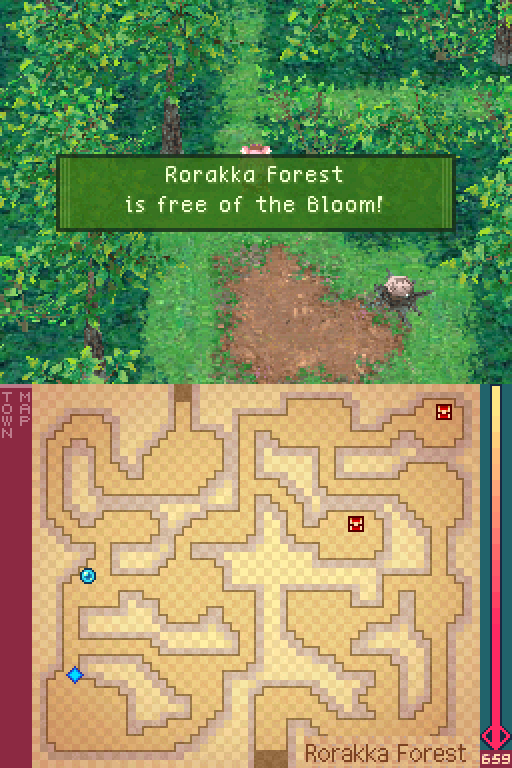
Most of the time, killing all the dragons in a dungeon will annihilate the Bloom, making it easier to go through on repeat trips. But more importantly, now it will permanently keep the area dragon free.
As for what I mean by that, if you rest at an inn too often while dungeons still have the Bloom active, any dragons you've killed will respawn in them, undoing your progress and forcing you to kill them again. With that said, it takes 14 inn stays for that to happen, so you don't have to clear out the dragons in one go or anything like that.
As for what I mean by that, if you rest at an inn too often while dungeons still have the Bloom active, any dragons you've killed will respawn in them, undoing your progress and forcing you to kill them again. With that said, it takes 14 inn stays for that to happen, so you don't have to clear out the dragons in one go or anything like that.
Deaths are really annoying to deal with early on, because you have to go back to an inn to revive whoever died.
Not even a healing spring can revive people. But I don't want to go back to town just yet.
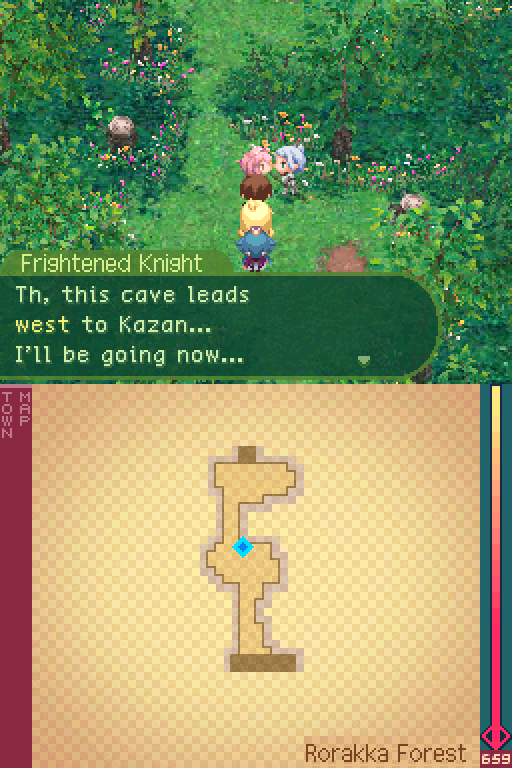
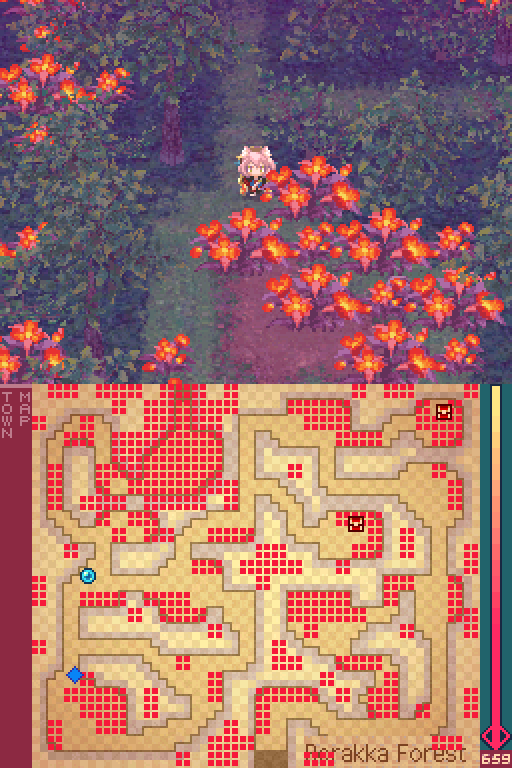
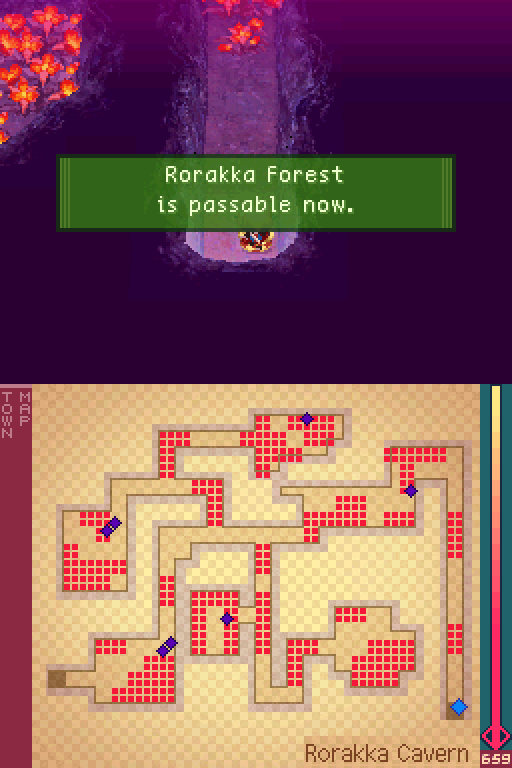
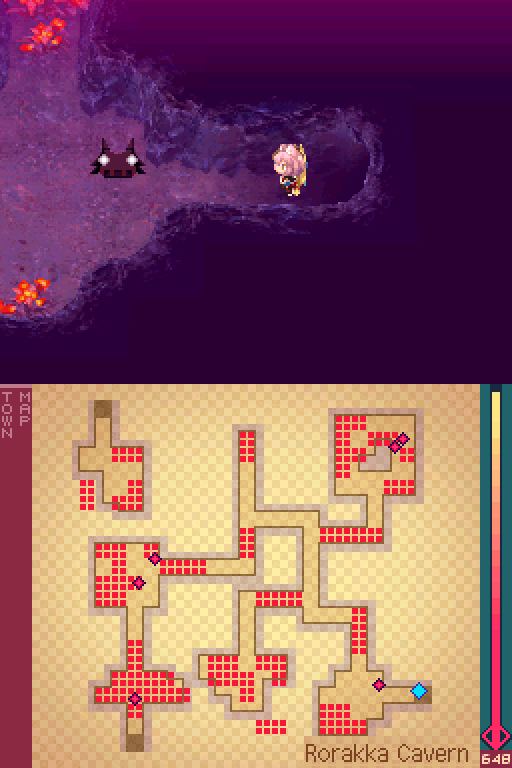
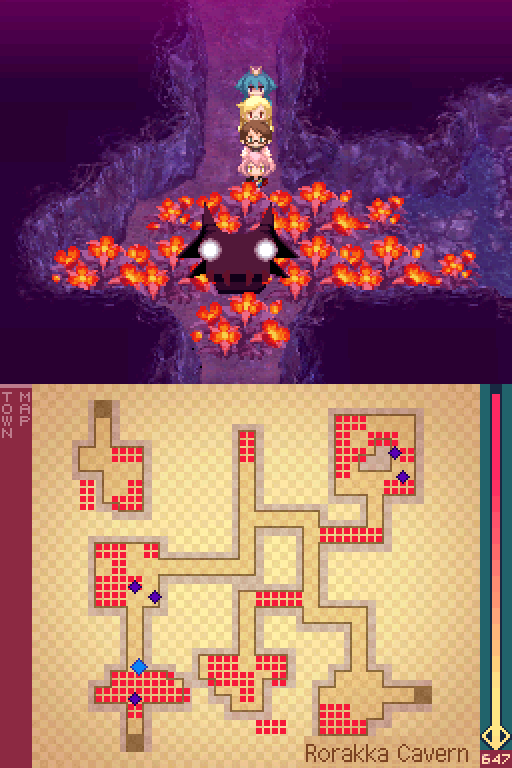
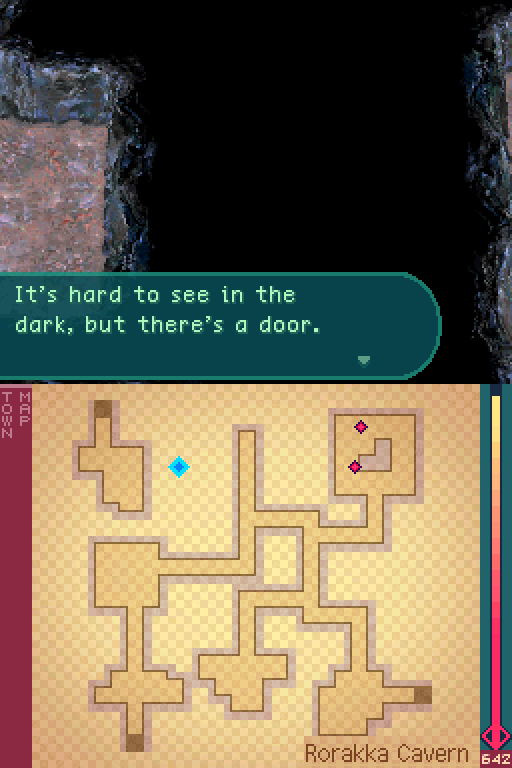
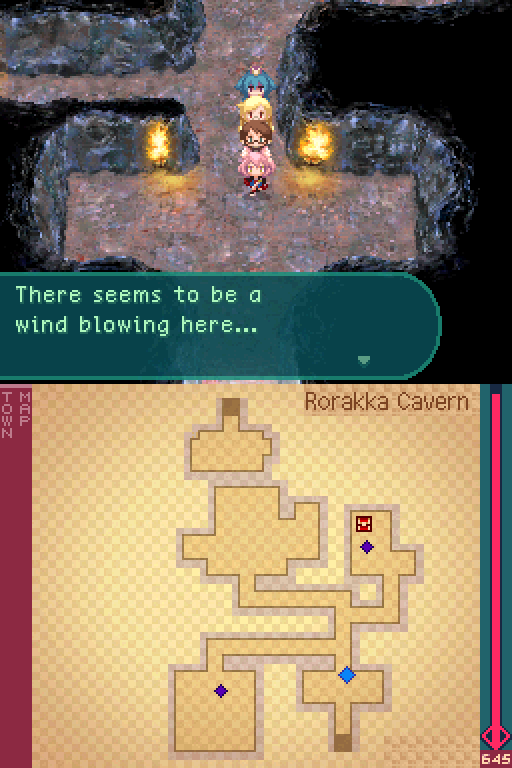
Now we're at the end of the forest, and I want to head into this cave, first.
When you complete a dungeon, if there was an invisible wall near it preventing you from progressing, it will disappear so you don't have to go through it again.
Also, eliminating the Bloom in a dungeon will also clear out any surrounding Bloom on the overworld, which is a nice touch. Anyways, after reviving Nila, I go back to the cave.

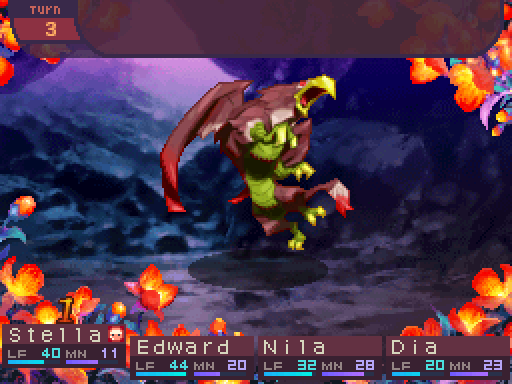
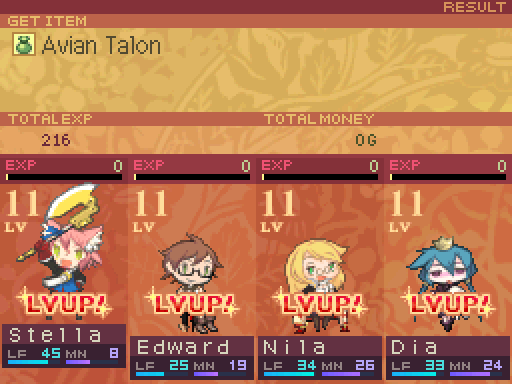
There's the dragon movement patterns for this area. Let's try to engage one of them.

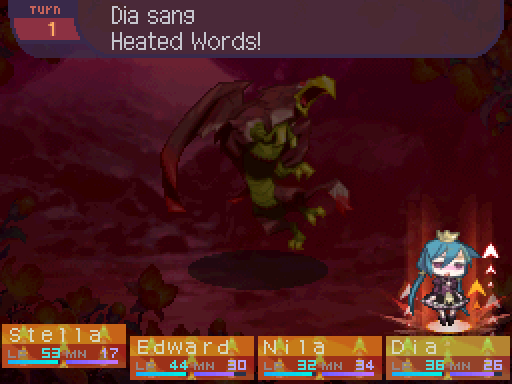
Gryphonus
Level: 9
LIFE: 320
ATK: 53
DEF: 26
INT: 23
SPD: 26
Attack Type: Thrust
Enemy Type: Dragon
Exp: 216
Gold: 28
Item Drops:
-Normal: Avian Talon - 100% Drop Rate.
--Claw of a Gryphonus.
-Rare: Battle Knife 15% Drop Rate.
--A sharp dagger made for combat. ATT + 20 POW + 2 LIFE + 5
Damage Multipliers:
Slash: 100% Blunt: 100% Thrust: 125%
Fire: 100% Ice: 100% Lightning: 100%
Ailment Susceptibility:
Death: 20% Masked Pain: 100% Skill Seal: 25%
Fear: 25% Curse: 50% Bleed: 25%
Poison: 50% Sleep: 25% Confuse: 25%
Paralysis: 50% Blind: 25% Stun: 100%
Skills:
Featherstorm: Deals 50% ranged ATK-based Slash damage to all party members. Has a speed modifier of 80%.
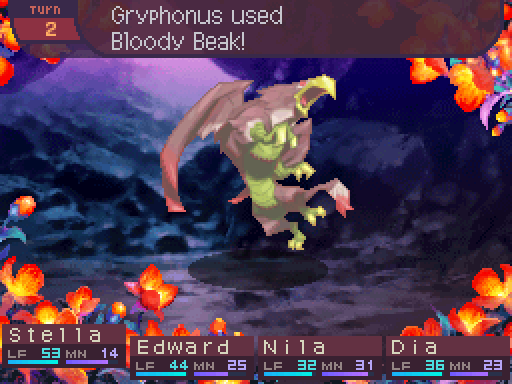
Bloody Beak: Randomly attacks the party with Slash damage 2 times, dealing 120% melee ATK-based damage per hit. Has a 30% chance to inflict Bleed. Has a speed modifier of 90%.
Gryphonuses aren't too bad to deal with. Featherstorm barely does any damage to your party. But Bloody Beak is the one to watch out for, since it can kill a party member if both hits go after someone. It doesn't have an elemental weakness, but Bow Rogues will have an easy time dealing with them.
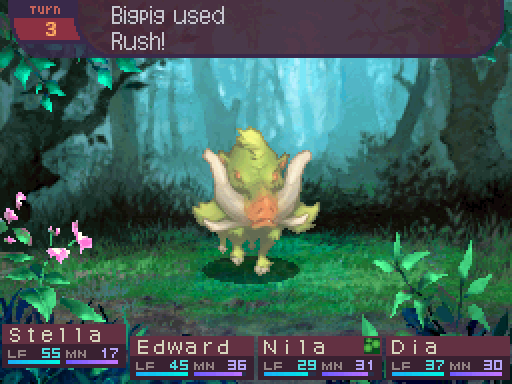
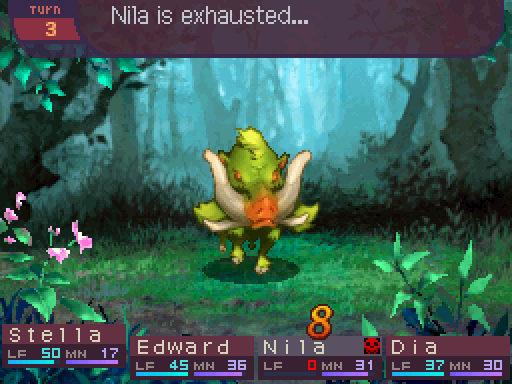
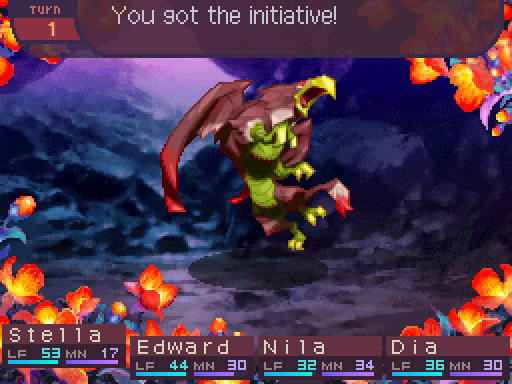
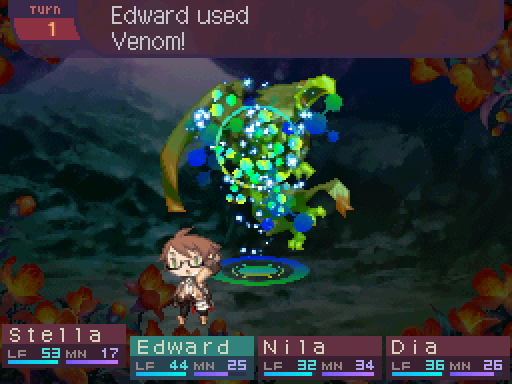
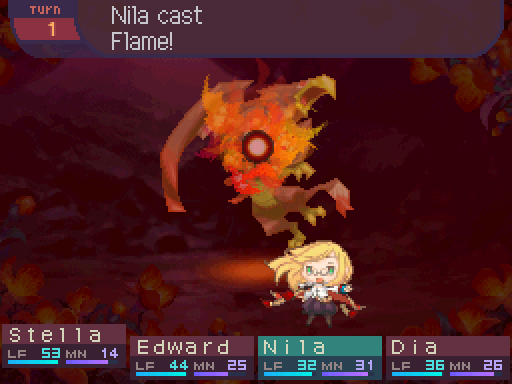
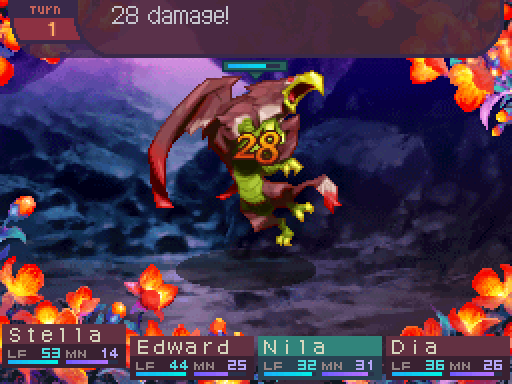
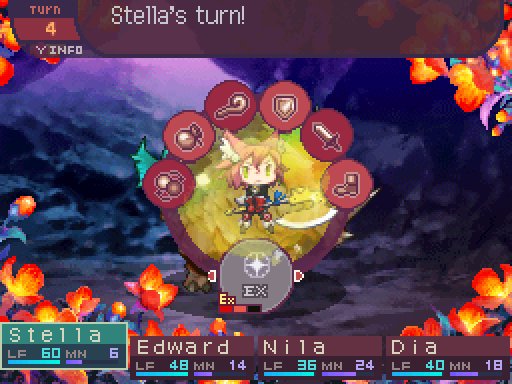
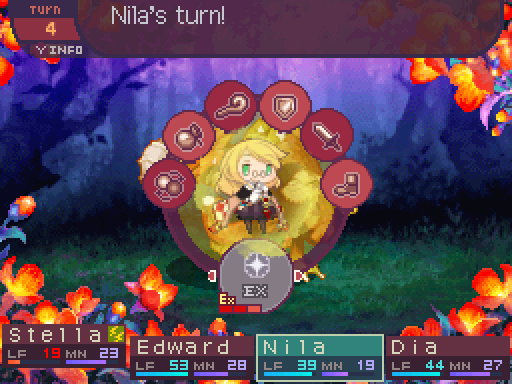
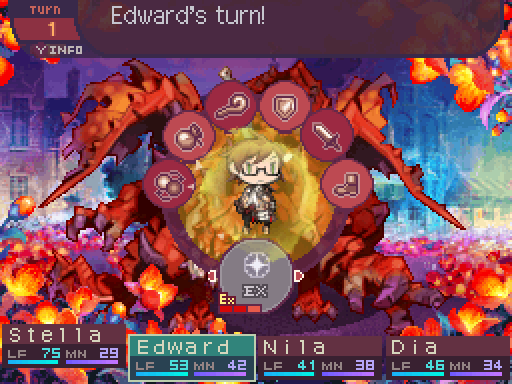
Standard opening routine. In fact, this is how I'm gonna start out most important battles with this party. Though with random encounters, I'll probably have everyone except Nila throw out a regular attack.
And honestly, the actions I take don't vary too much. Unfortunately, even the dragon battles can get kind of repetitive because once you find a strategy that works in this game, it tends to work for the entire game.
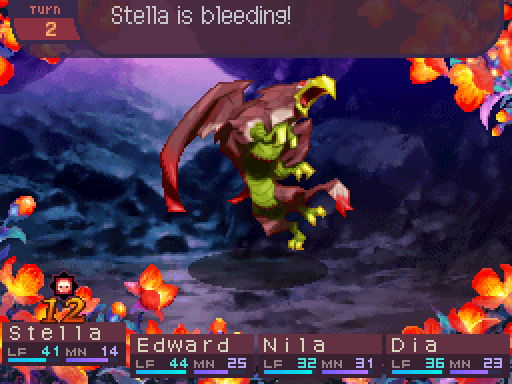
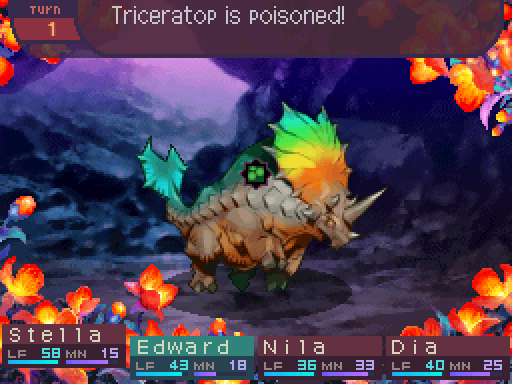
Bleed is... certainly an ailment alright. It's a damage over time ailment like Poison, except it has a permanent duration. Bleeding units will take 3% of their max life as damage at the end of each turn. Which is to say that it barely does anything to players since their life pools never get that high. I mean it's slightly more powerful in the hands of the player since enemies will be losing more life in those cases. But even then, Poison is still better if you want to make use of damage over time.
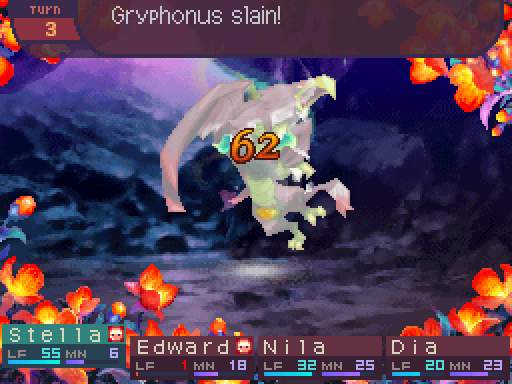
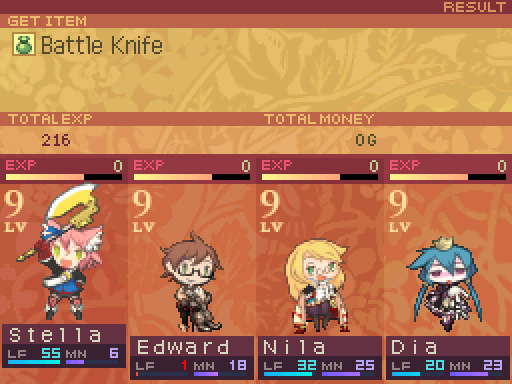
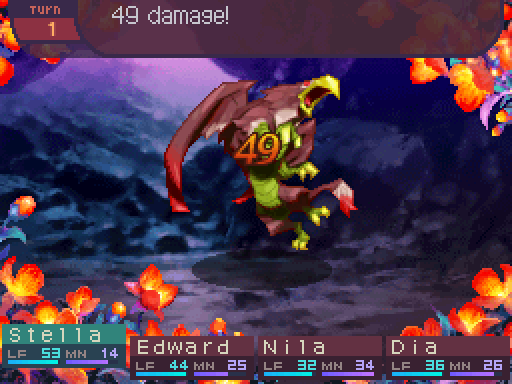
Ooh, I managed to get the rare drop. Gryphonuses are slightly more threatening than Serpentines, due to the fact that Bloody Beak is more likely to snag a kill than the Serpentine's skills.
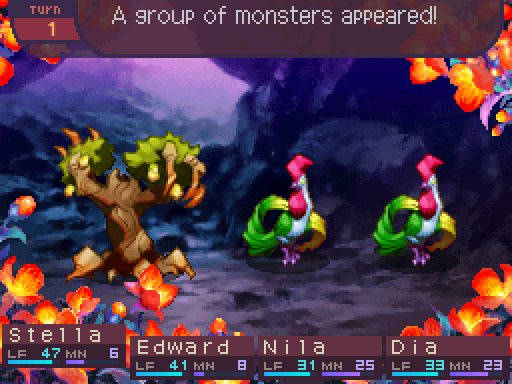
Oh hey, new enemies.

Kukunochi
Level: 10
LIFE: 46
ATK: 45
DEF: 21
INT: 16
SPD: 16
Attack Type: Blunt
Enemy Type: Large Animal
Exp: 33
Gold: 10
Item Drops:
-Normal: Curved Branch - 30% Drop Rate. 3 needed to unlock the Mage's Wand (Wand, +10 ATK, +4 Mana.)
--Supple but strong limb.
-Rare: N/A Damage Multipliers:
Slash: 100% Blunt: 100% Thrust: 100%
Fire: 200% Ice: 100% Lightning: 100%
Skills:
Leaf Dance: 30% chance of inflicting Blind on the entire party. Has a speed modifier of 85%.
Do Nothing: Wastes a turn.
A minor annoyance, AOE Blind can cause battles to last longer. If you have a Mage, just incinerate them.

Rockerel
Level: 11
LIFE: 43
ATK: 43
DEF: 20
INT: 16
SPD: 21
Attack Type: Thrust
Enemy Type: Small Animal
Exp: 32
Gold: 11
Item Drops:
-Normal: Sharp Beak - 30% Drop Rate.
--Beak of a Rockerel.
-Rare: Bird Meat - Don't kill with Fire damage. 10% Drop Rate.
--A bird's meat. For carnivores. Increases SPD & Max MANA for the day.
Damage Multipliers:
Slash: 100% Blunt: 100% Thrust: 100%
Fire: 100% Ice: 100% Lightning: 100%
Skills:
Cockrow: 30% chance of inflicting Confusion on one party member. Has a speed modifier of 85%.
Running: 90% chance to escape from battle. Has a speed modifier of 300%.
You'll probably want to take out these things first if you see them in battle. While the encounters themselves may not be a threat, Confusion landing on one of your physical attackers does not make for a fun time.
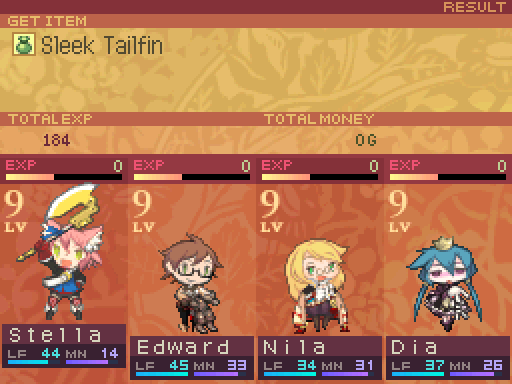
Not exactly a fantastic treasure, but I certainly won't say no to more of these at this point. Anyways, taking down a few Gryphonuses ended up roughing up my party, so I head back to Miross to rest up.

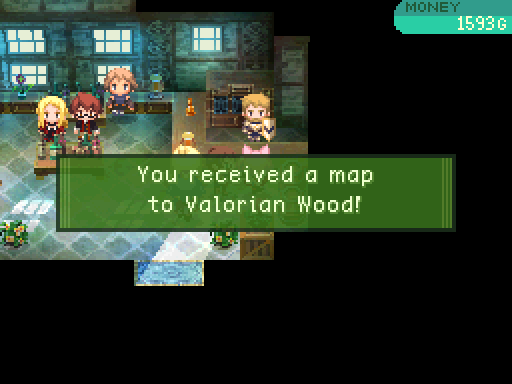
I also buy a map to the Valorian Wood. It's an optional dungeon to the south of Miross. Let's go check it out.
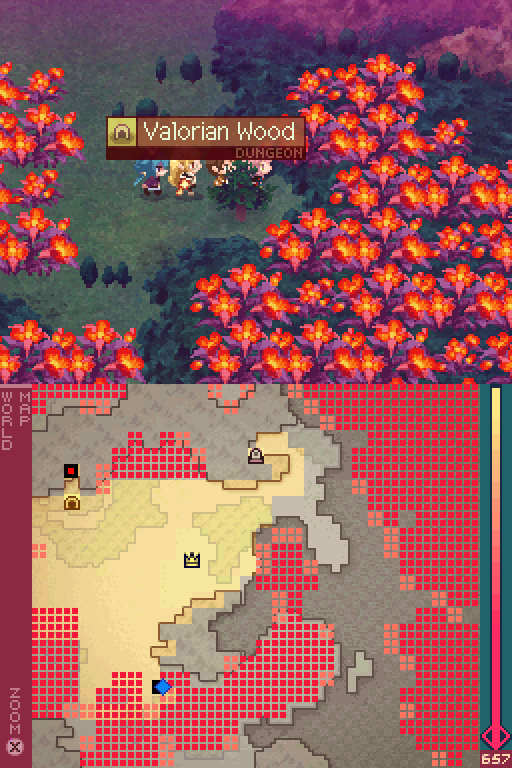
You can actually visit this area before the time skip, but it's not a good idea to do so. Mainly because nothing is really there at that point, and the random encounters contain enemies from Rorakka Forest. So if you go there too early, your party will get wrecked.
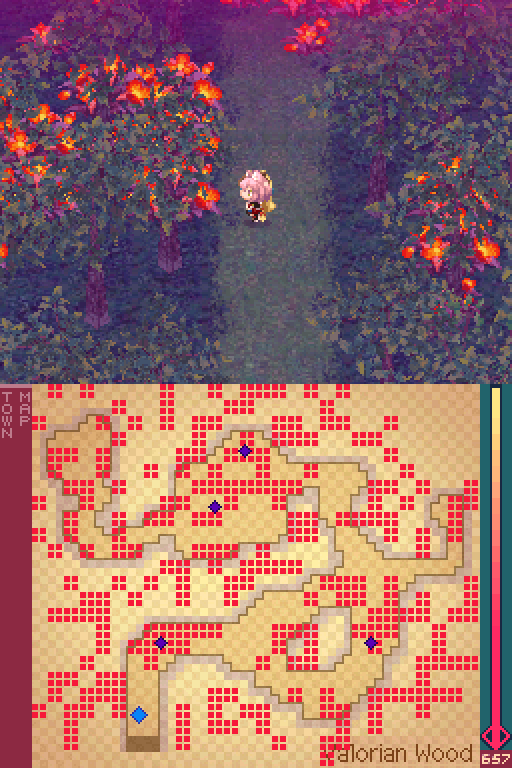
The Valorian Wood is just an optional dungon. 7th Dragon has a lot of those you can go through. If you feel like you're behind the curve, you can just go to one and slay the dragons there to catch up. Otherwise, feel free to ignore it.
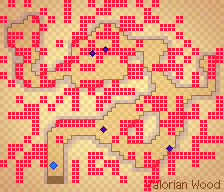
Here's the dragons' movement patterns. All of those are just Serpentines.
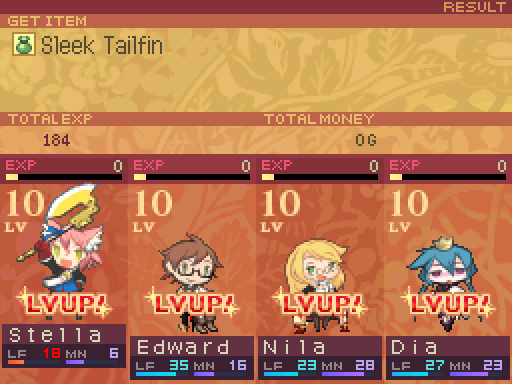
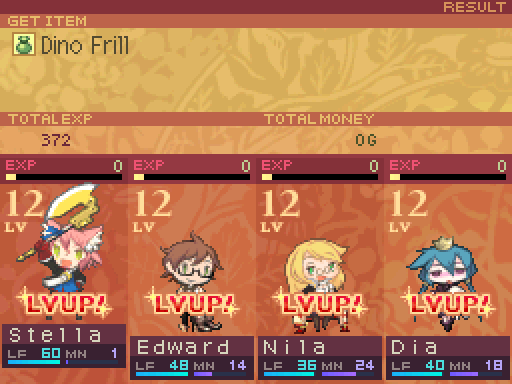
The party got a level up after killing the first one.

Purge now deals 138% damage, and increased the HP threshold to 21%.
Medicine now provides a 200% healing bonus (Healing skills get 1.4 multiplier applied to their healing) and applies a 108% multiplier to healing speed modifiers.

Heated Words now applies a 124% multiplier to the party's ATK.
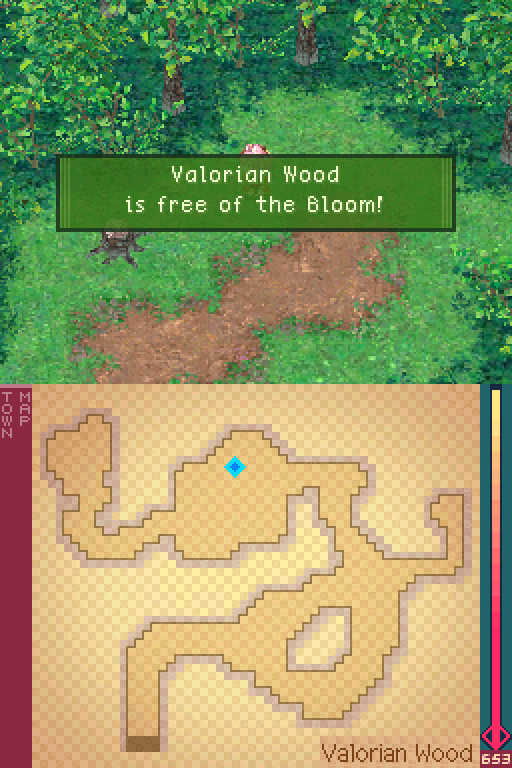
And that's it for this dungeon. There's really nothing of note here yet. You do unlock something for clearing out all the dragons, so if you're after that, it's best to do so whenever you can.
More dead dragons, more levels.
Purge now deals 142% damage, and the killing threshold got increased to 24%.
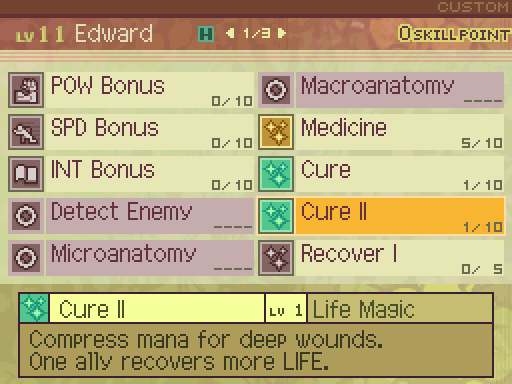
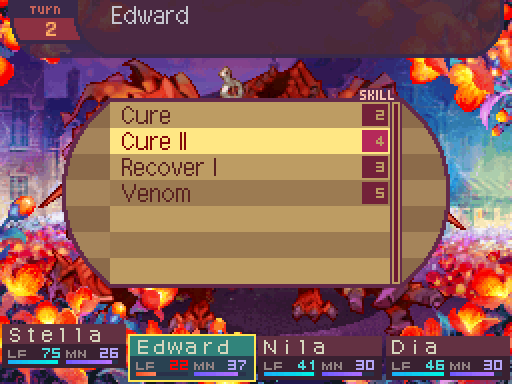
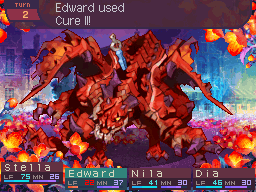
Cure II is basically a stronger version of Cure. It has a base heal of 30 at level 1. The only disadvantage that Cure II has is that it's slightly slower than Cure (Cure II has a 70% speed modifier compared to Cure's 80%), but that's such a miniscule difference in the grand scheme of things. It also costs more mana, but that eventually stops being an issue. There really isn't much reason to make use of Cure once you have access to Cure II.
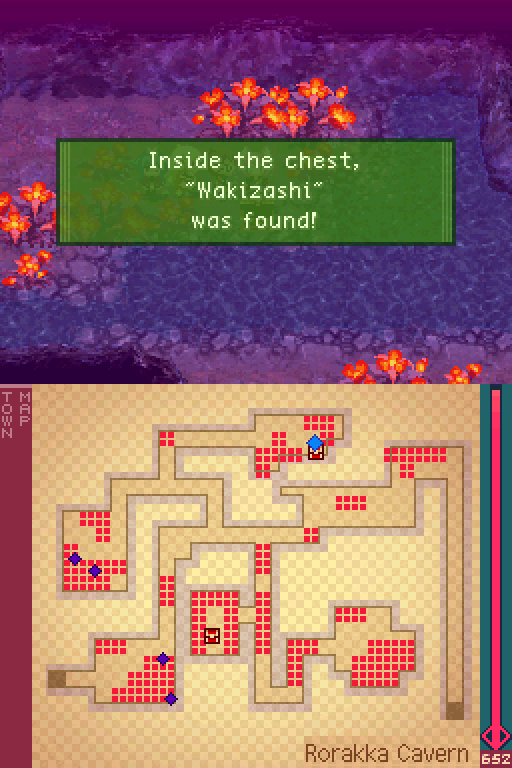
If you have a Samurai, make sure to grab what's in this chest.
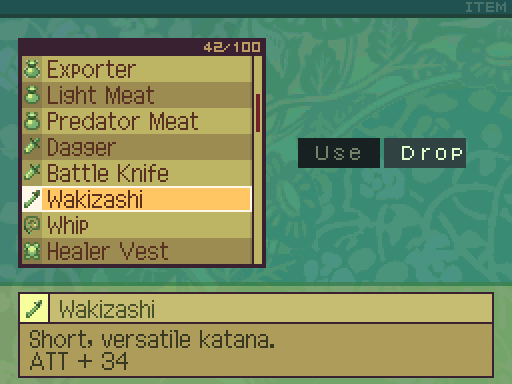
Because this is the earliest you can get a Katana for them. This one starts off with a pretty good attack stat, so it's definitely a boon to them. After killing more dragons, I head back to Miross for a bit.


When you unlock an item in the shop, the game will let you know through these notices.
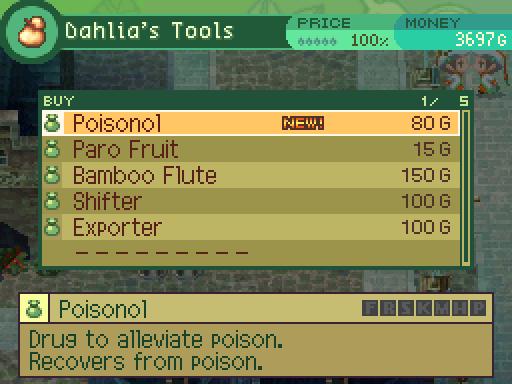
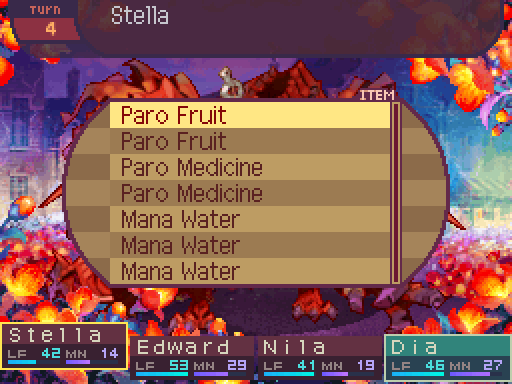
Okay, here's something important to know about the way 7th Dragon handles curing ailments, especially if you're coming from Etrian Odyssey. Items that can dispel ailments can only cure one kind. So Poisonols can dispel Poison, but they can't dispel anything else. There is an item that can be used on any ailment, but said item is extremely rare and can't be bought in shops.
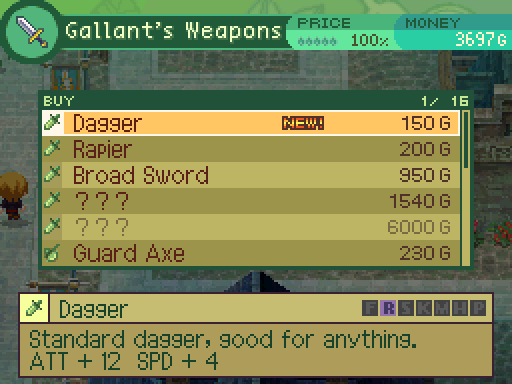
Also, I unlocked the Dagger in the shop, which is completely outclassed by that Battle Knife I got earlier. Anyways, back to the cavern.
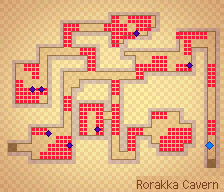
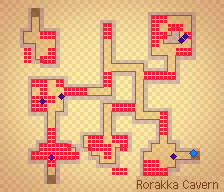
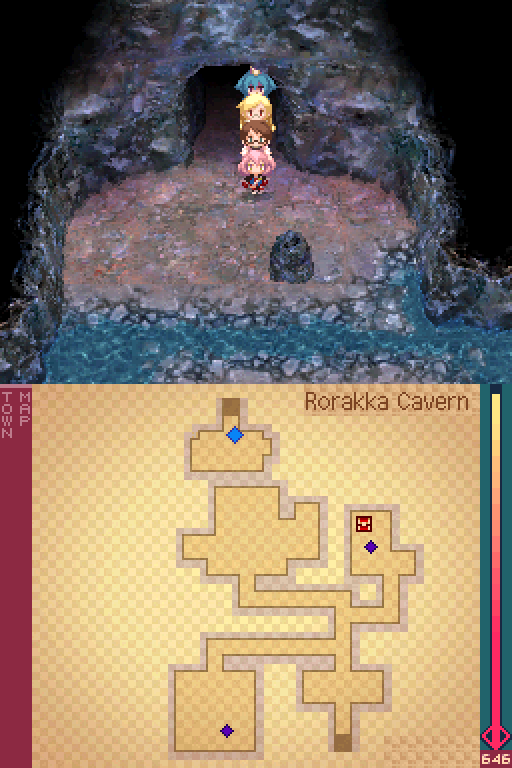
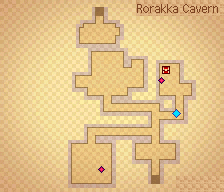
Here's the 2nd screen in the cave.
And the dragons' patrol paths. One of them happens to be staying still for some reason. All the moving ones are just more Gryphonuses.
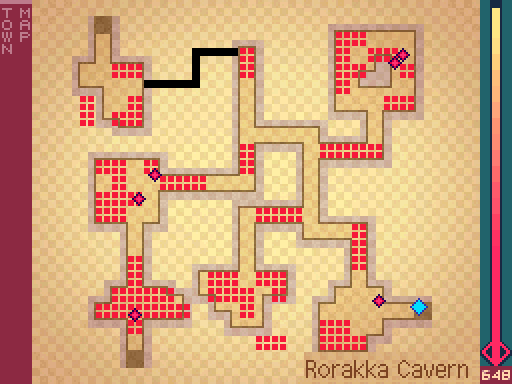
There's also a secret passage in the top-left that I'll check out later.
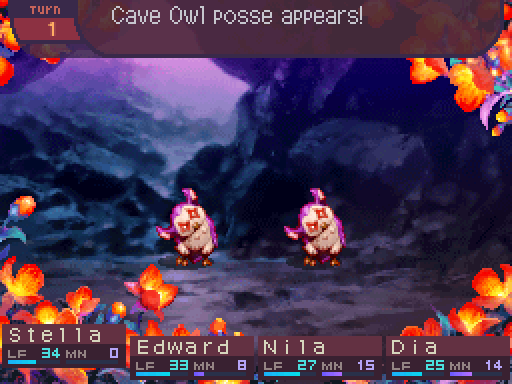

Cave Owl
Level: 12
LIFE: 36
ATK: 44
DEF: 21
INT: 26
SPD: 18
Attack Type: Thrust
Enemy Type: Small Animal
Exp: 35
Gold: 30
Item Drops:
-Normal: Bird Feathers - 30% Drop Rate. 3 needed to unlock the Light Helm (+2 DEF, +2 SPD.)
--Soft down.
-Rare: Hawk Meat - Don't kill with physical damage. 10% Drop Rate.
--Hawk meat. For carnivores. Increases INT for the day.
Damage Multipliers:
Slash: 100% Blunt: 100% Thrust: 100%
Fire: 50% Ice: 50% Lightning: 50%
Skills: N/A
And if you look over there, you can observe the trash mob doing absolutely nothing of note in its local habitat.

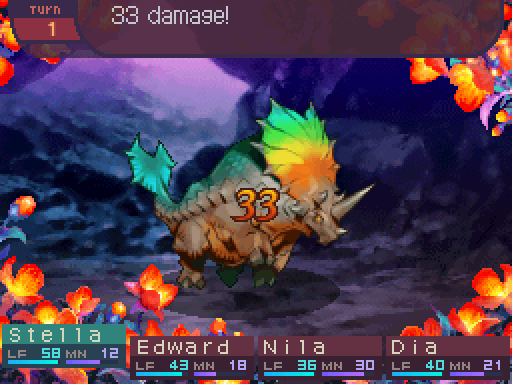
This dragon won't turn around, it'll always face south. So the devs really want you to start off the battle with a pre-emptive attack. If you don't think your team is all that strong, you better take that opportunity. This dragon can be quite the handful for weaker teams.
 Video: Triceratop
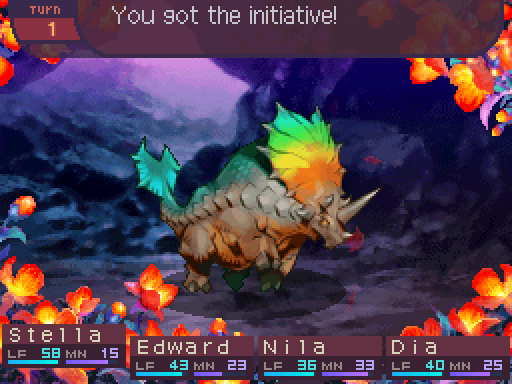

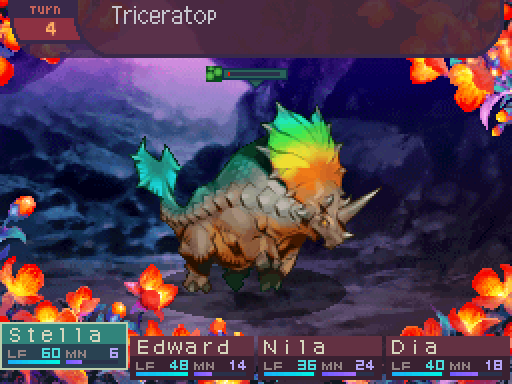
Triceratop
Level: 12
LIFE: 580
ATK: 70
DEF: 36
INT: 16
SPD: 22
Attack Type: Blunt
Enemy Type: Dragon
Exp: 375
Gold: 36
Item Drops:
-Normal: Dino Frill - 100% Drop Rate. 2 needed to unlock the Heavy Axe (Axe, +48 ATK, -2 SPD.)
--Frill of a Triceratop.
-Rare: Dragon Steak - 15% Drop Rate.
--Large dragon meat. For carnivores. Increases might for the day.
Damage Multipliers:
Slash: 100% Blunt: 100% Thrust: 100%
Fire: 100% Ice: 100% Lightning: 100%
Ailment Susceptibility:
Death: 20% Masked Pain: 100% Skill Seal: 25%
Fear: 25% Curse: 50% Bleed: 25%
Poison: 50% Sleep: 25% Confuse: 25%
Paralysis: 50% Blind: 25% Stun: 100%
Skills:
Uppercut: Deals 120% melee ATK-based Thrust damage to one party member. Has a 50% chance to inflict Stun. Has a speed modifier of 90%.
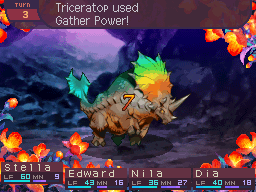
Gather Power: Multiplies the user's ATK by 200% for 2 turns. Has a speed modifier of 100%.
Assault: Deals 100% melee ATK-based Thrust damage to all party members. Has a speed modifier of 80%.
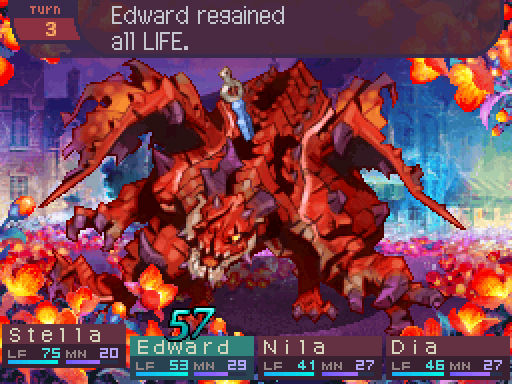
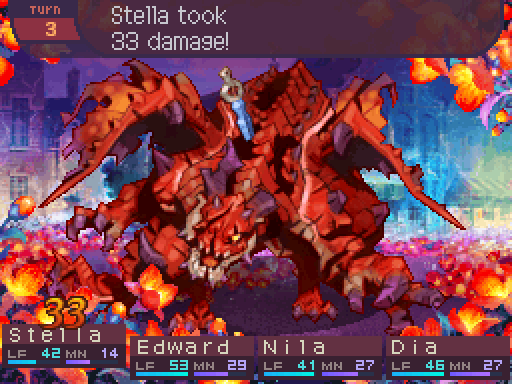
The Triceratop is the boss of this cave. For the record, it's not an Imperial Dragon, the game just likes to place stronger than usual dragons at the end of some dungeons to serve as a boss. Anyways, this thing hits like a truck with its regular attacks. Uppercut also stings, though the Triceratop is so slow that the Stun is unlikely to go off (not that the Stun can really do much anyway.) Gather Power is essentially a charge skill, and it really likes to use Assault on the next turn after using it. If you can't kill the Triceratop within that time period, just defend and hope for the best.
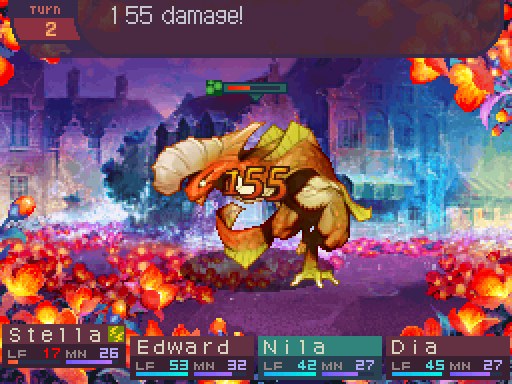
Well this fight just got a whole lot easier.
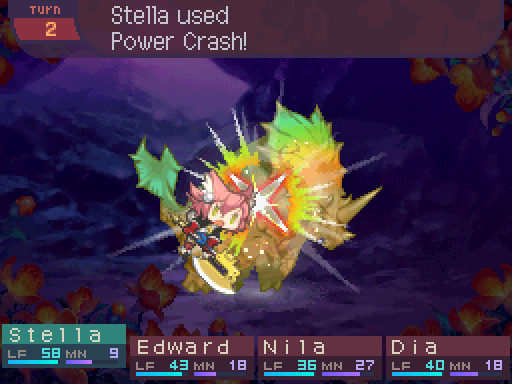
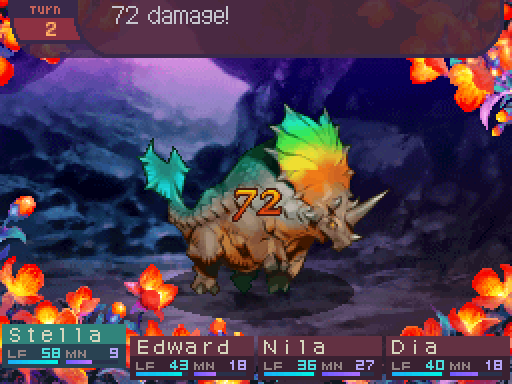
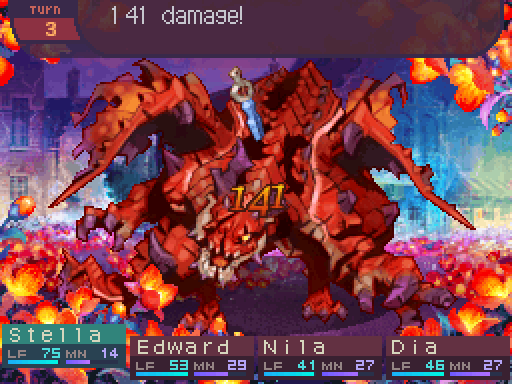
Stella and Nila are dealing some pretty good damage to the thing.

Wow, the damage randomization was really not in the Triceratop's favor there.
Fortunately, this battle is pretty much over.
Oh yeah, one thing I forgot to mention about Purge.

It doesn't give a damn about how resistant to instant death the target is. As long as they're below the threshold, they will die. As you can see, this means that it works on the dragons. Unfortunately, it's much less useful than it seems. On Dragons, Purge only works if their current HP is below 10%, no matter what level the skill is at. It also doesn't work on stuff that's straight up immune to it, which most bosseses fall under, so don't try it on them.
And the party is rewarded with a level up for that fight. Triceratop is a slight defense check. As long as you can live through its attacks, you'll be fine.
Sometimes you don't have to kill all the dragons to annihilate the Bloom. Usually if there's a boss dragon in the area, killing it will clear it out instead. It can make dragon slaying easier since you don't have to worry about the Bloom anymore.

Purge now deals 150% damage, and the kill threshold has been raised to 27%.
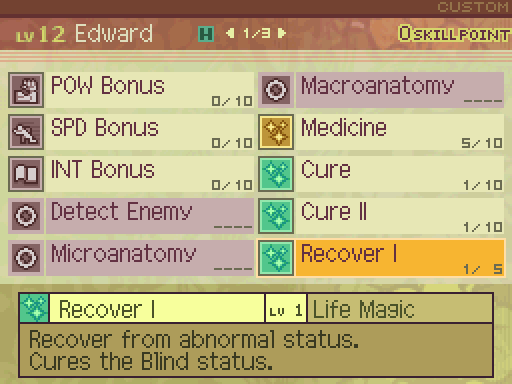
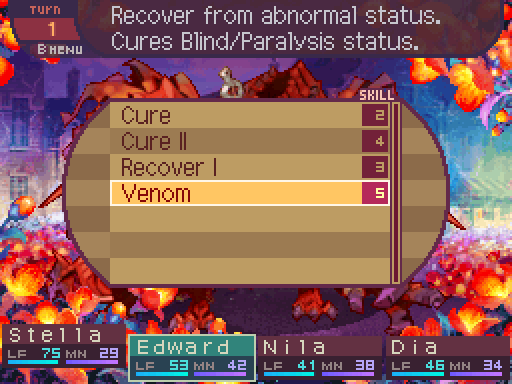
The Healer has 2 skills that can dispel ailments, Recover I and Recover II. Leveling up those skills increases the amount of ailments they can cover. As for Recover I, it has a speed modifier of 90%, and at level 1, it can cure Blind. You'll want both of those skills maxed out eventually.
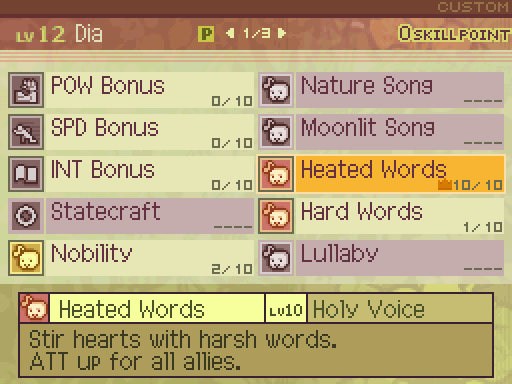
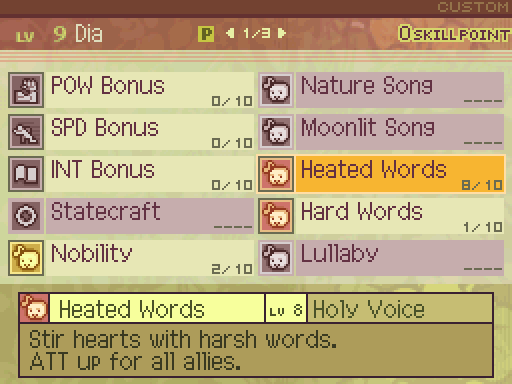
Heated Words is now maxed out, so it provides a whopping 135% multiplier to the party's ATK. Yeah, quite a big jump from level 9 to 10. All physical attackers are pretty much gonna be powerhouses with this buff up.
Oh yeah, there was a secret passage in this area. Let's go check it out.
Oh yeah, there was a secret passage in this area. Let's go check it out.
There seems to be a slot at the side.
Fade to black.
The party moves to leave.
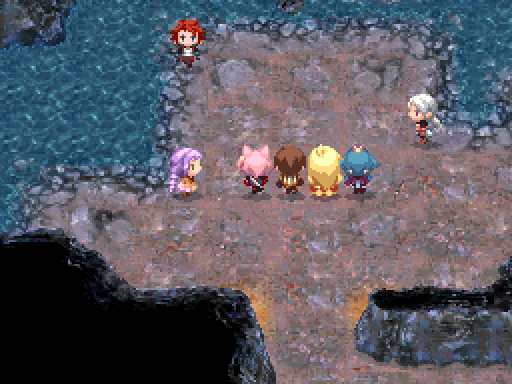
Now Kingsblade will serve as our pit stop crew for a while.
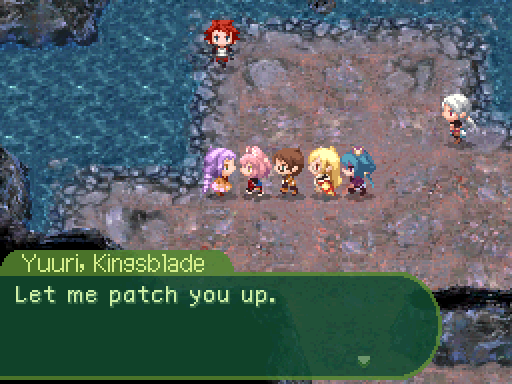
Yuuri pretty much acts like a healing spring for the party. Only she can actually revive party members (She won't refill EX, though.) Very handy if someone manages to go down at this point.

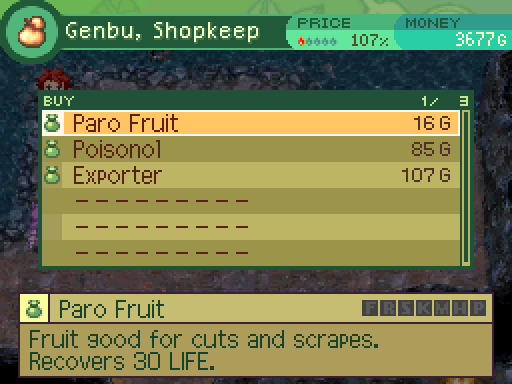
Genbu will sell us some basic consumables. He still price gouges thanks to the Bloom. Just clear out any Bloom tiles near this cave entrance to lower the prices
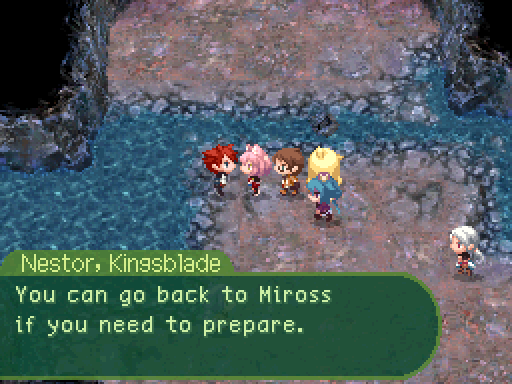
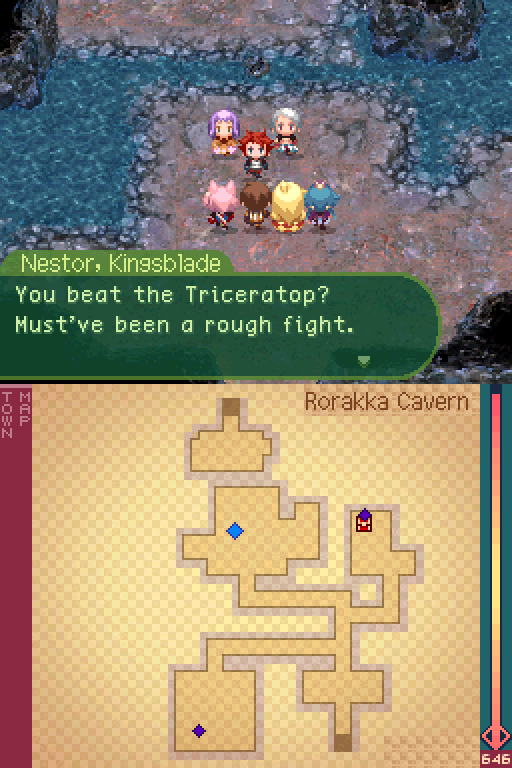
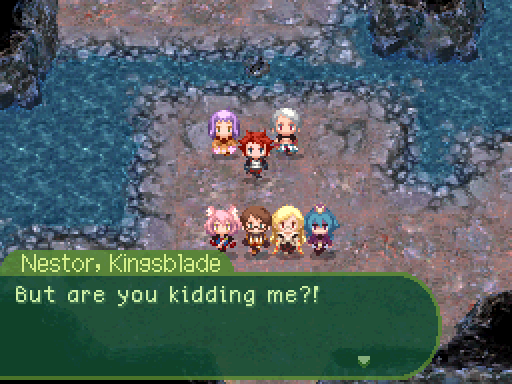
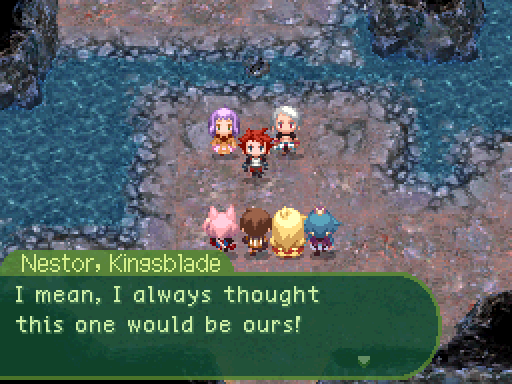
Nestor just gives us advice, but it's very important advice nonetheless.
Anyways, this area is the same place where we recruited that one person for the guild, so this is the end of the dungeon.
Anyways, this area is the same place where we recruited that one person for the guild, so this is the end of the dungeon.
There are only 2 Gryphonuses in the area. Oh, but just a warning. That Triceratop we just fought? It's actually a possible random encounter in this area. Yes, it can be encountered before the time skip. Killing it doesn't decrease the dragon counter, so don't bother hunting it down for that. I don't think it was a deliberate screw you to the player, considering that nothing like that happens in the rest of the game. Most likely, a mistake was made in the encounter tables. But still, that's something to watch out for.
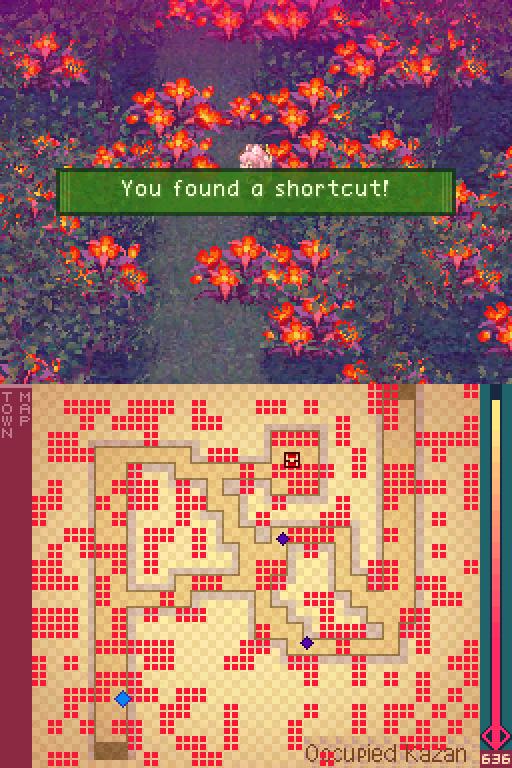
When you see that message pop up in a dungeon, start searching the nearby walls.
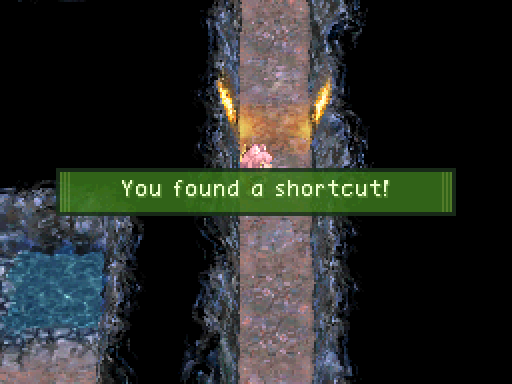
It'll open up a shortcut, and you can check the same part of the wall to go back to where you came from.
I go ahead and kill all the dragons in the cave. Here's the last chest in the area. It contains another Survival Belt, which I put on Stella since she can use more bulk and mana.
And that's the end of that dungeon.
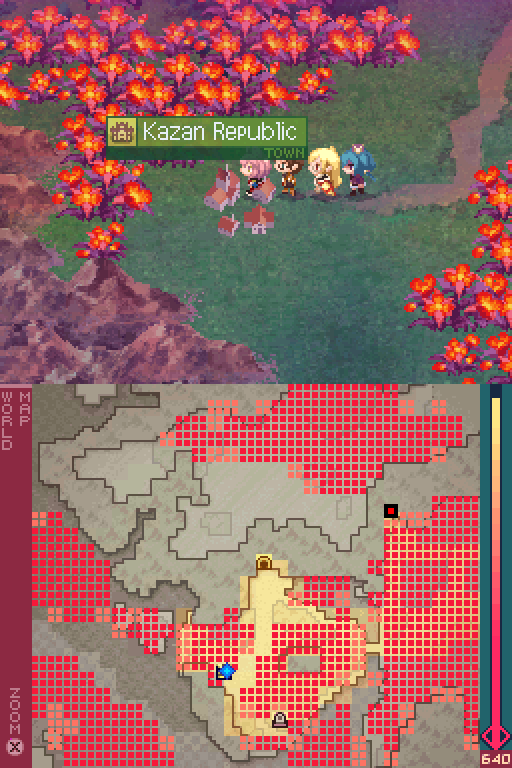
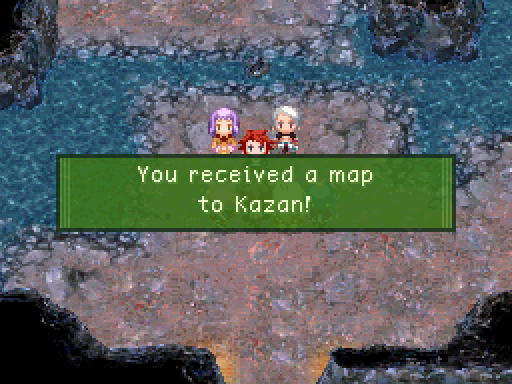
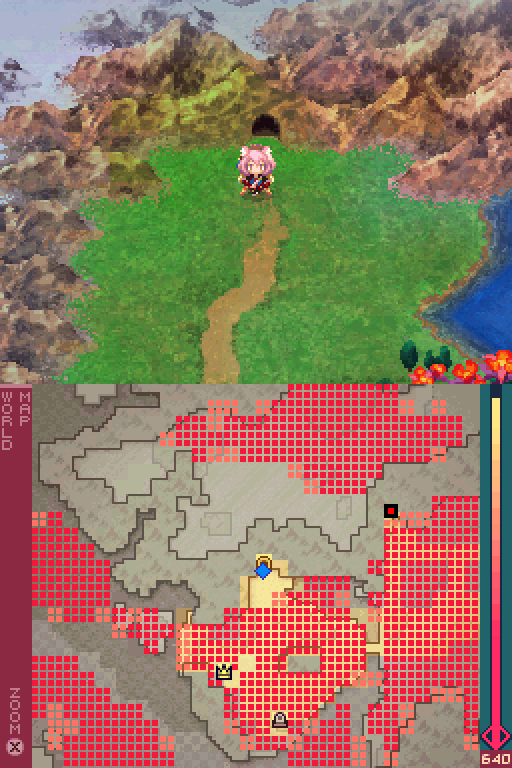
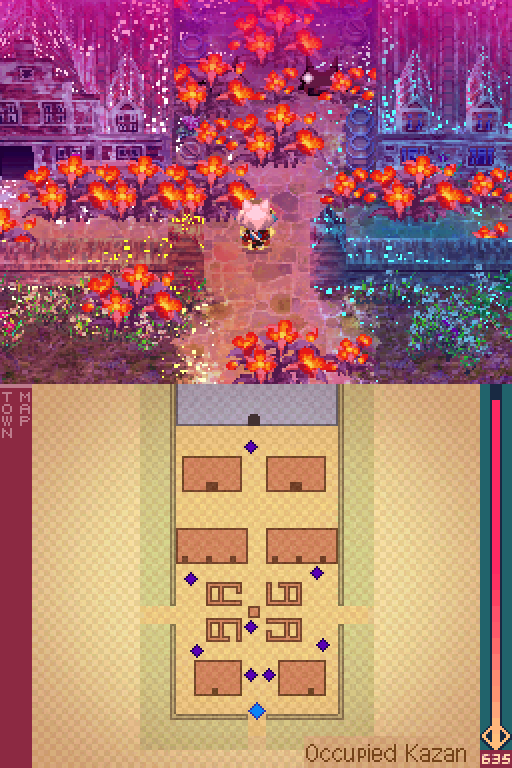
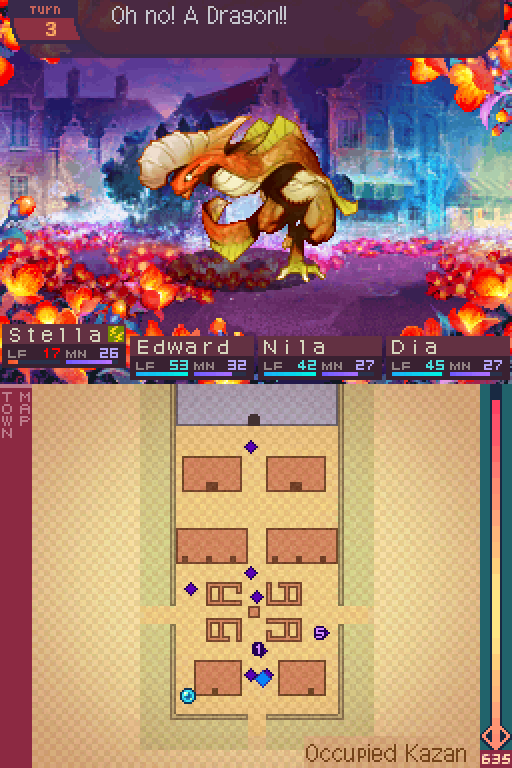
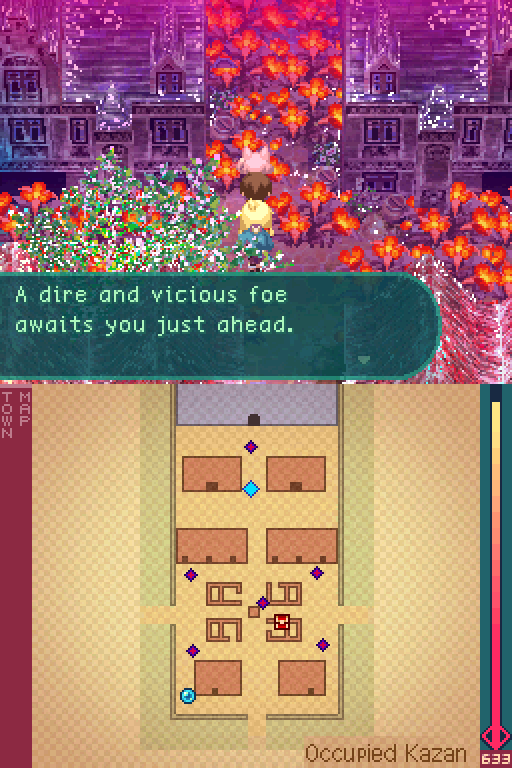
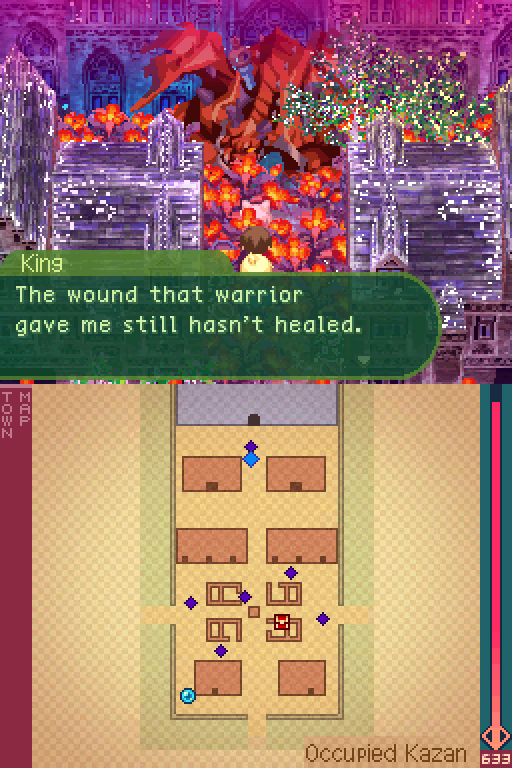
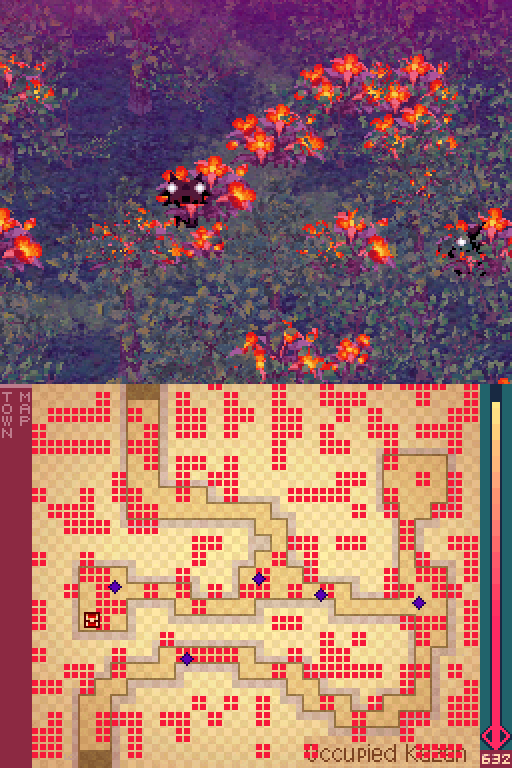
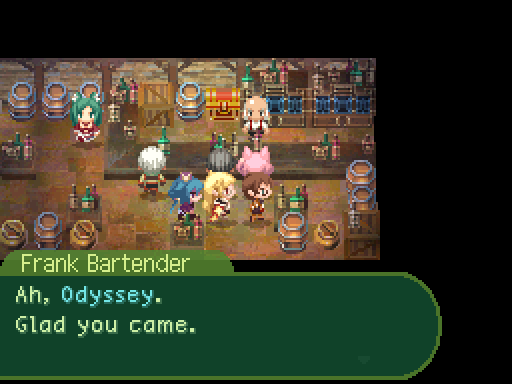
Next stop is Kazan.

Kazan has been converted into a dungeon. This place is a one time area, so make sure to nab every treasure chest here before you get to the end.
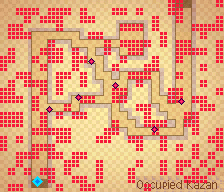
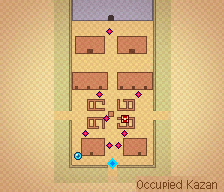
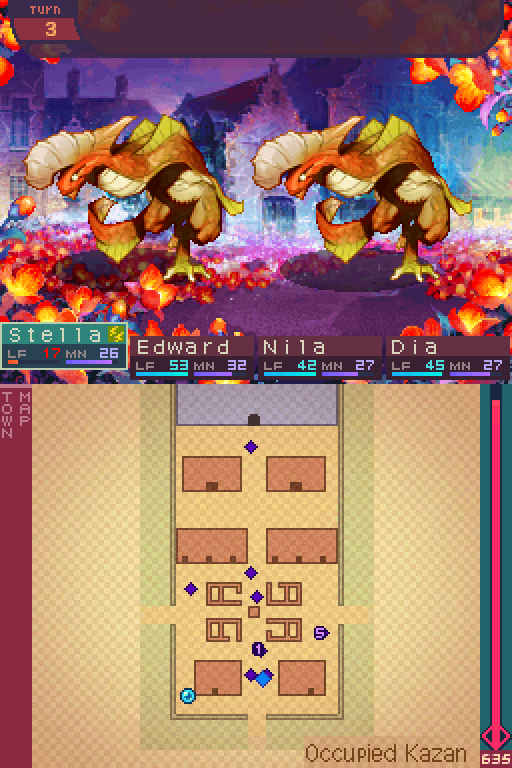
Here are the dragons' patrol paths for this area. If you're trying to kill every single dragon, don't worry about that here. You can safely skip fighting them in this dungeon and not miss out on anything. So I'm only going to fight the ones that are pretty much in the way.
If you look at the map, you'll see that a few dragons are staying still.
If you look at the map, you'll see that a few dragons are staying still.
The dragons that are staying still will just look in different directions. If they see your party, they'll turn red and chase you down. If you manage to get out of range, they'll stop doing that.
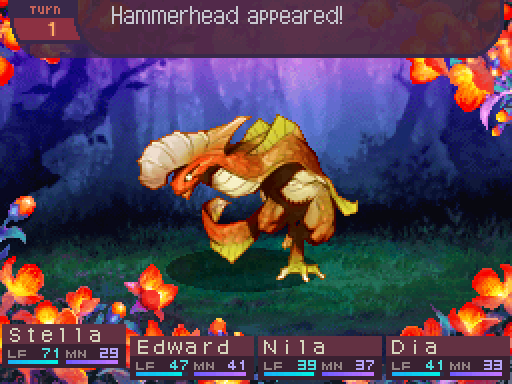

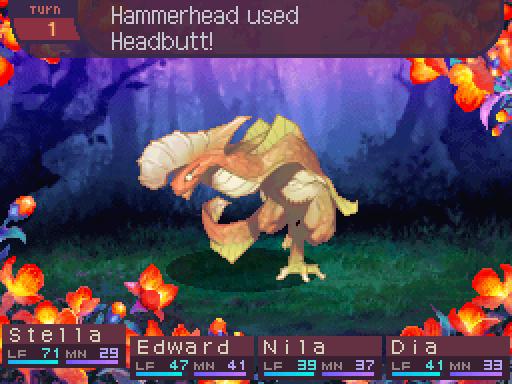
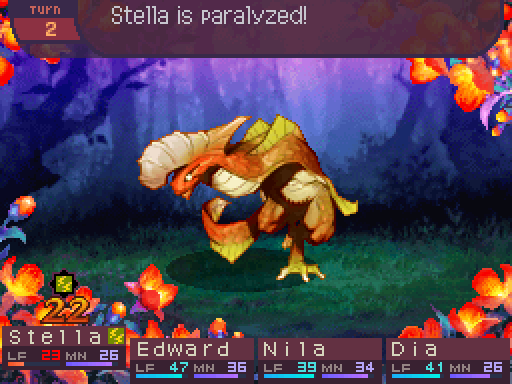
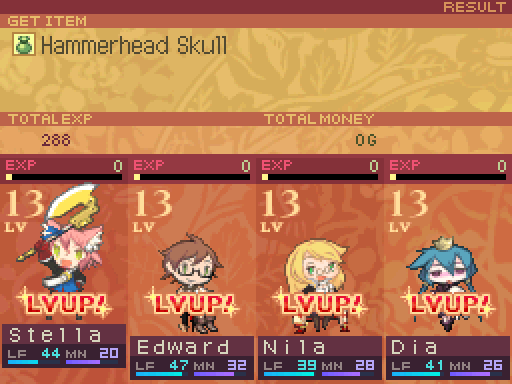
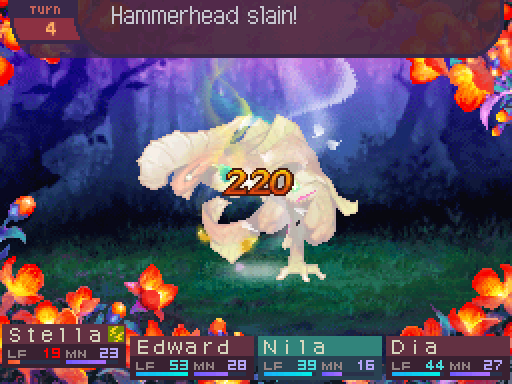
Hammerhead
Level: 11
LIFE: 400
ATK: 64
DEF: 30
INT: 21
SPD: 24
Attack Type: Blunt
Enemy Type: Dragon
Exp: 288
Gold: 34
Item Drops:
-Normal: Hammerhead Skull - 100% Drop Rate. 3 needed to unlock the Morning Star (Staff, +44 ATK.)
--Skull of a Hammerhead.
-Rare: Dragon Filet - 10% Drop Rate.
--Medium dragon meat. For carnivores. Increases intelligence for the day.
Damage Multipliers:
Slash: 100% Blunt: 100% Thrust: 100%
Fire: 100% Ice: 100% Lightning: 100%
Ailment Susceptibility:
Death: 20% Masked Pain: 100% Skill Seal: 25%
Fear: 25% Curse: 50% Bleed: 25%
Poison: 50% Sleep: 25% Confuse: 25%
Paralysis: 50% Blind: 25% Stun: 100%
Skills:
Downstroke: Deals 120% melee ATK-based Thrust damage to one party member. Has a 50% chance to inflict Stun. Has a speed modifier of 90%.
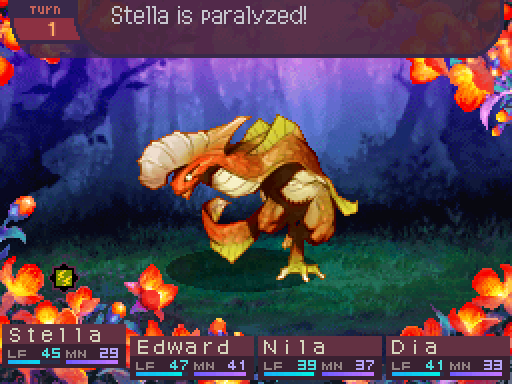
Headbutt: Deals 130% melee ATK-based Blunt damage to one party member. Has a 50% chance to inflict Paralysis. Has a speed modifier of 90%.
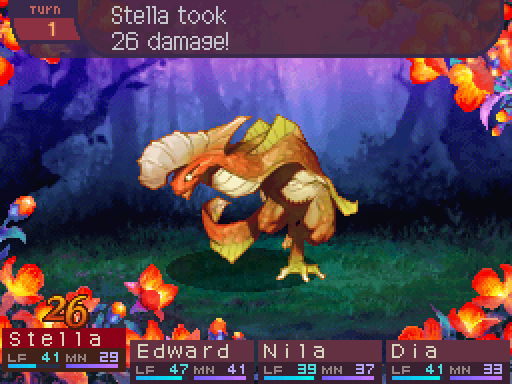
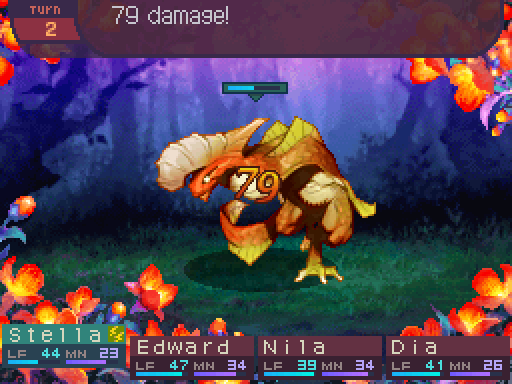
Hammerheads are really annoying to deal with. They hit very hard, and one of their skills inflicts Paralysis, which can take one party member out of commission if you're unlucky. However, they can only go after one target at a time, so there's something to take advantage of if you can.
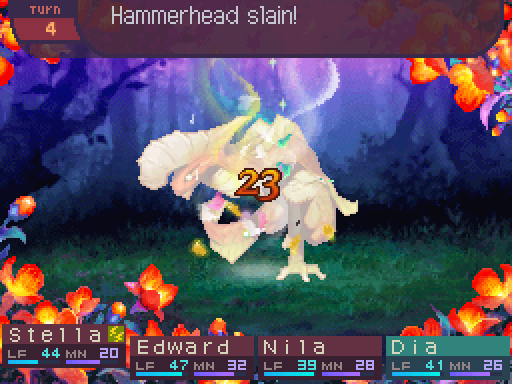
Off to a great start.
Oh yeah, ailments can be reapplied while the target is still affected by them. Doing so just extends the duration.
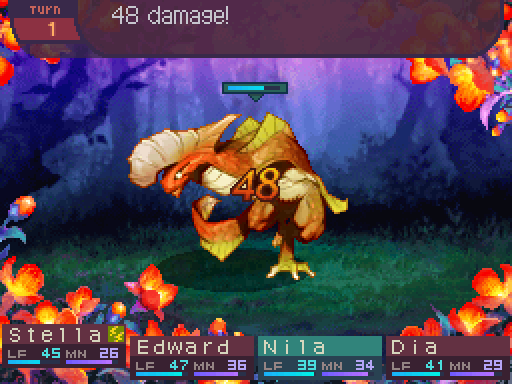
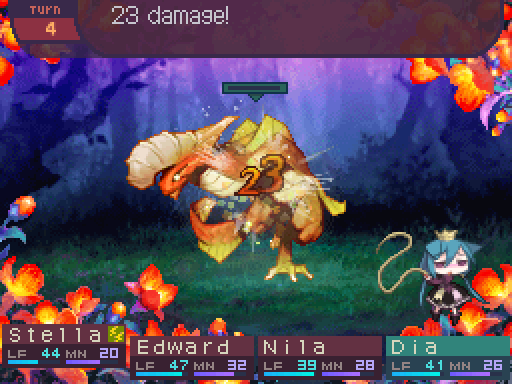
Though I whittle it down faster than it can whittle us down.
As long as they aren't straight up one-shotting you, you can pretty much handle them. Every dragon in this area is a Hammerhead, so you really don't want them to be too much trouble.

Purge now deals 155% damage and the HP threshold is raised to 30%.
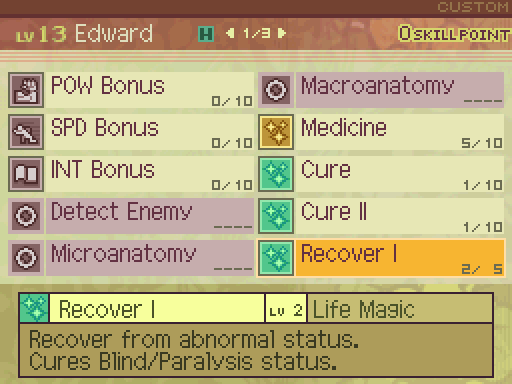
Recover I now cures Paralysis in addition to Blind.
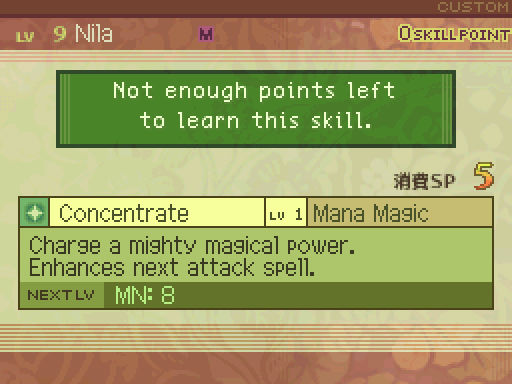
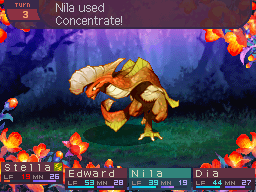
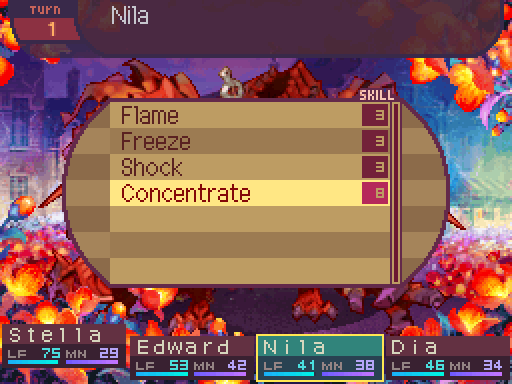
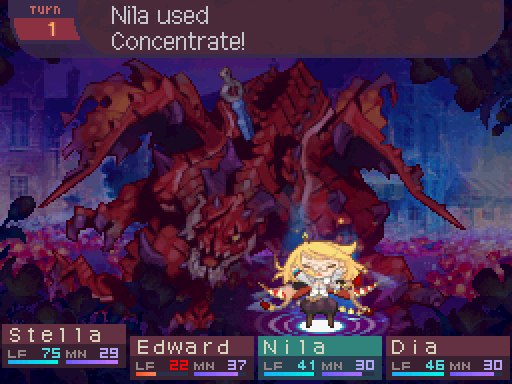
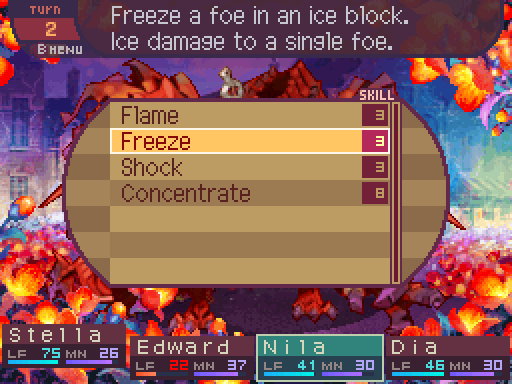
Concentrate is basically mandatory for any Mage to have. It launches them from being powerful to straight up broken. It costs a whopping 5 skill points to unlock, but it is so, so worth it. It has a speed modifier of 75%, but what it does is multiply the damage of Nila's next spell by 250%. The main downside that it's fairly expensive since it costs 8 mana to cast, but that stops being an issue in some party compositions.
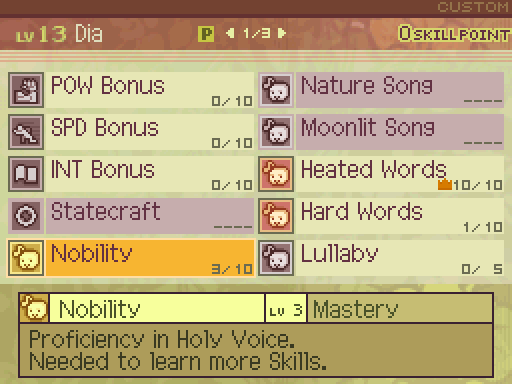
Heated Words is the main skill I wanted maxed out for Dia, so for now, I'll focus on leveling up Nobility. It now multiplies holy song speed modifiers by 104%.
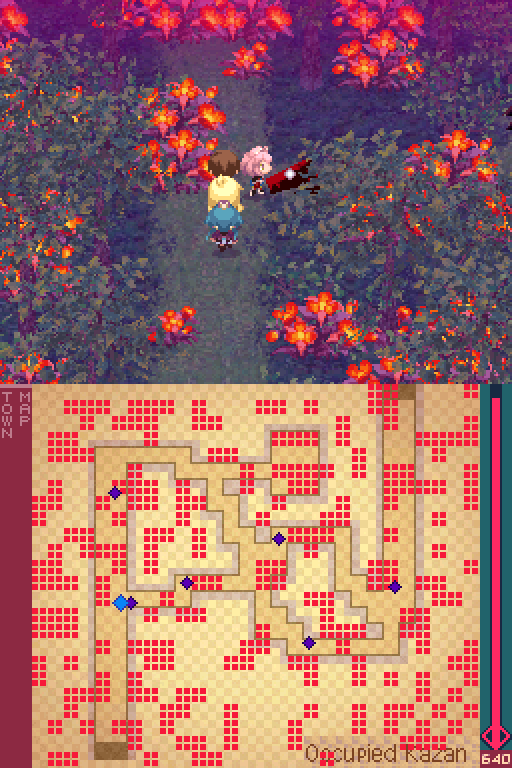
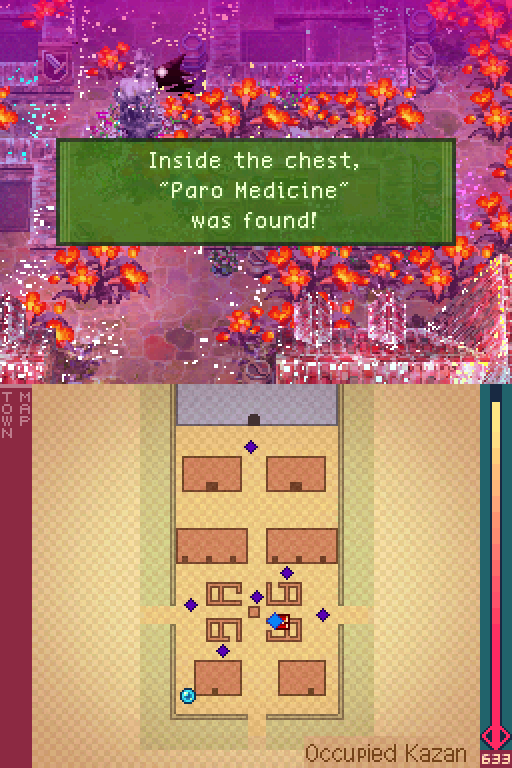
Only chest in this area. There are random encounters in this dungeon, but they're mostly made up of enemies from Rorakka Cavern and Rorakka Forest. There's one new enemy in this dungeon, but I never encountered it in this playthrough. We'll see it later, though.

Here's the next area of this dungeon, and all the patrol paths of the dragons. They're all Hammerheads as well.

A shortcut to the beginning of Kazan is here. This signifies that we're near the end of the dungeon.
Allow me to show you exactly how broken Concentrate is.
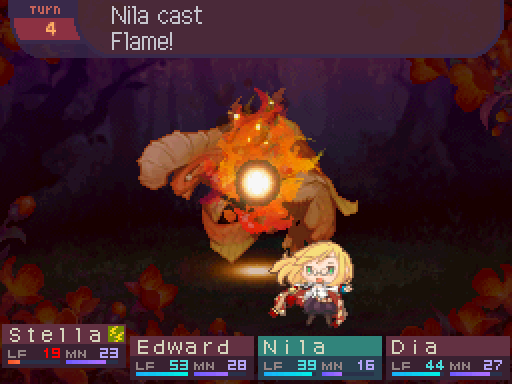
Look at that damage, just look at it! While Concentrate by itself only increases the Mage's overall damage by 25%, it can be stacked with EX to increase that to 87.5%. Nila is officially the Odyssey guild's weapon of mass destruction now. It's going to be a very long time before other classes can even catch up to her.

If you're making use of a Sword Fighter, this is a nice upgrade for them.
Here's the final area of the dungeon. Most of the dragons in this area are Hammerheads, except for the one at the very back. That's our main target. The 2 in front are aggressive and will chase after us. So I try to get rid of those ones.
When a dragon's timer reaches 0, you'll get that message and they'll join in on the fight. You really want to be careful fighting dragons in areas where there are a lot of them, because they can gang up on you real easily and make things hairy. Of course if you feel like taking out multiple dragons at once, you can choose to deliberately let that happen.
Here's this dungeon's healing spring. You'll definitely want to make use of it before you reach the end.
Final treasure in this dungeon, definitely won't say no to this. Oh and for the record, you can't enter the buildings.

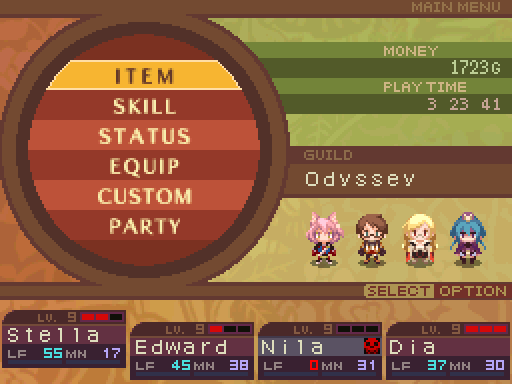
We're at the end of the dungeon and are about to take on a major boss, so here's a little status update on the party. You'll want to be around level 14 before you take it on.

 Video: King
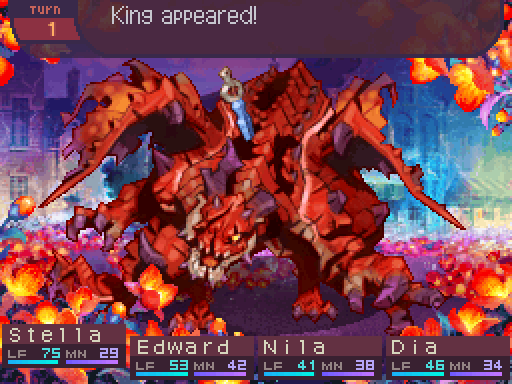
I rather like this track. It's fairly imposing, which fits the Imperial Dragons.
The official artbook has an illustration on what King used to look like before Doris fought with him.
The official artbook has an illustration on what King used to look like before Doris fought with him.
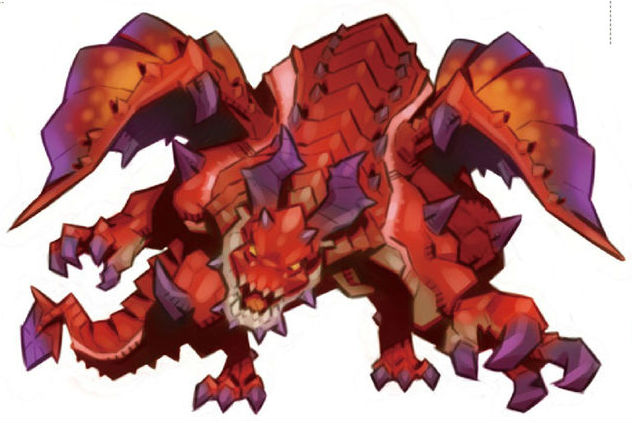
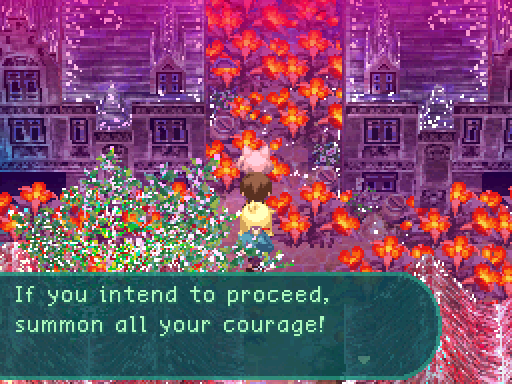
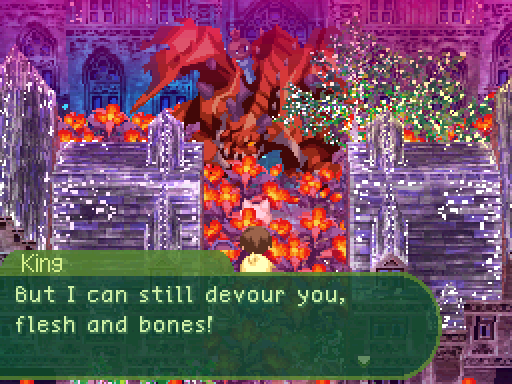
"The wound." Yeah, more like, how are you still alive after all that!?
Anyways, here's the breakdown of this boss.
Anyways, here's the breakdown of this boss.
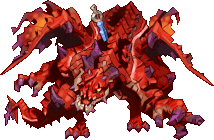
King
Level: 14
LIFE: 1300
ATK: 66
DEF: 30
INT: 25
SPD: 24
Attack Type: Blunt
Enemy Type: Imperial Dragon
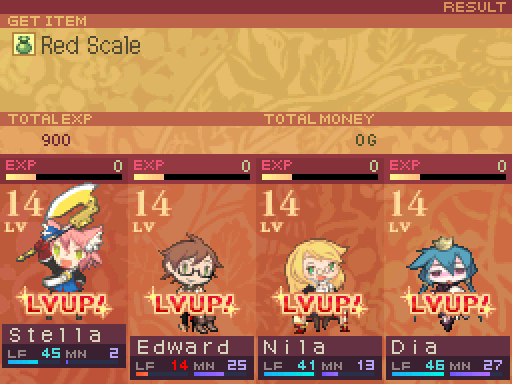
Exp: 900
Gold: 105
Item Drops:
-Normal: Red Scale - 100% Drop Rate.
--Scale of King.
-Rare: N/A
Damage Multipliers:
Slash: 100% Blunt: 100% Thrust: 100%
Fire: 50% Ice: 150% Lightning: 100%
Ailment Susceptibility:
Death: 0% Masked Pain: 100% Skill Seal: 5%
Fear: 10% Curse: 50% Bleed: 25%
Poison: 25% Sleep: 25% Confuse: 5%
Paralysis: 50% Blind: 25% Stun: 100%
Skills:
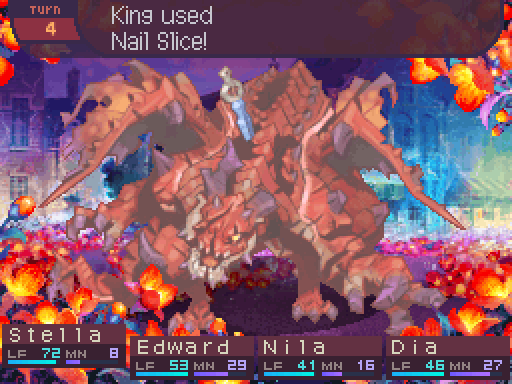
Nail Slice: Deals 100% melee ATK-based Slash damage to party members in the front row. Has a speed modifier of 80%.
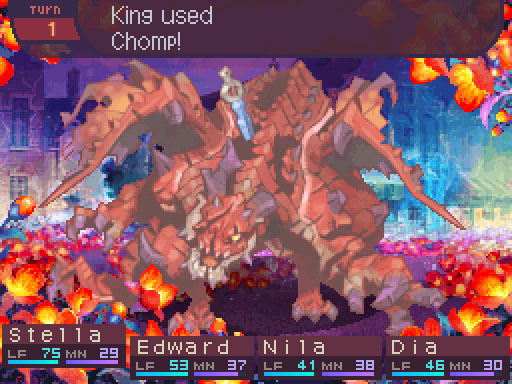
Chomp: Deals 150% melee ATK-based Blunt damage to one party member. Has a speed modifier of 90%.
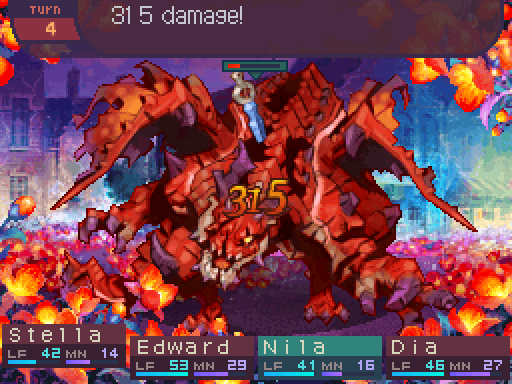
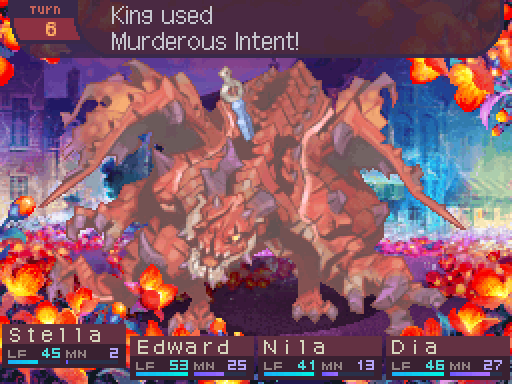
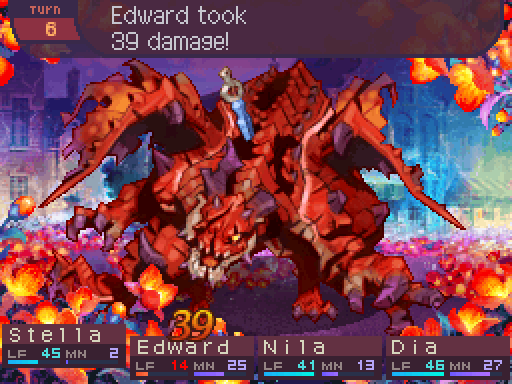
Murderous Intent: Deals 130% melee ATK-based Blunt damage to one party member. Damage increases as the battle goes on. A multiplier of 1 + 0.05 * Turn Count is applied to both the base damage and the randomization factor. Turn count caps out at a value of 99, so the maximum multiplier is 5.95. Has a speed modifier of 80%.
I do have to say that the spritework in this game is pretty top notch. I mean just look at him! His sprite really gets across the point that he's been in a fierce battle. But I dirgress.
King has a lot more life than the Triceratop, so this battle is gonna take a lot longer. Murderous Intent is King's signature move, and he'll use it every 3 turns. Though he can use the skill outside of that case. Its damage will scale with the turn count, so it'll get stronger as the battle goes on. You definitely want to finish this fight fast before it reaches one-shot territory. But it'll take a while for that to happen. Until then, Nail Slice is his most dangerous move since it can hit multiple party members at once.
King has a lot more life than the Triceratop, so this battle is gonna take a lot longer. Murderous Intent is King's signature move, and he'll use it every 3 turns. Though he can use the skill outside of that case. Its damage will scale with the turn count, so it'll get stronger as the battle goes on. You definitely want to finish this fight fast before it reaches one-shot territory. But it'll take a while for that to happen. Until then, Nail Slice is his most dangerous move since it can hit multiple party members at once.
Lowering King's defense is definitely a must here, since we're essentially on a soft time limit.
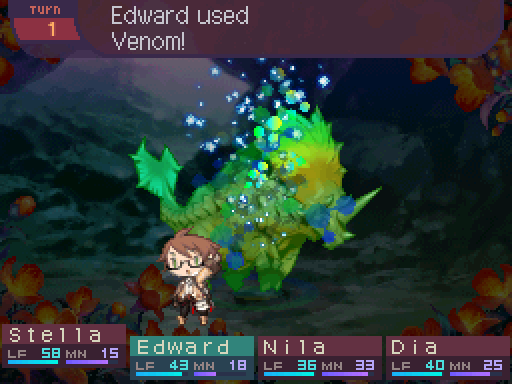
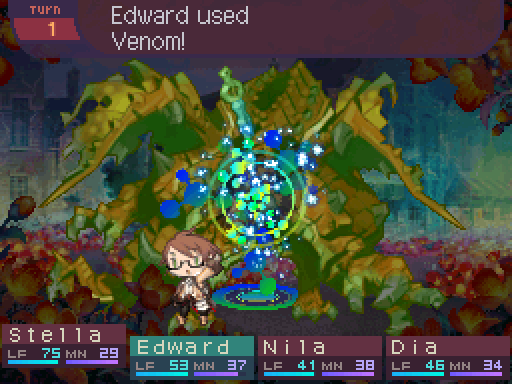
This is the only time I'm gonna try for an EX boosted Venom. Edward is not gonna have another opportunity to use this later since he'll be switching to healing duty after this turn (unless one of King's attacks misses.)
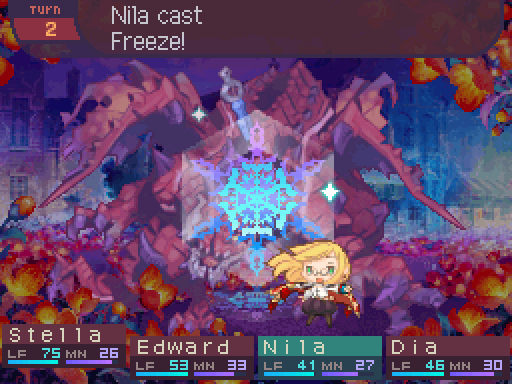
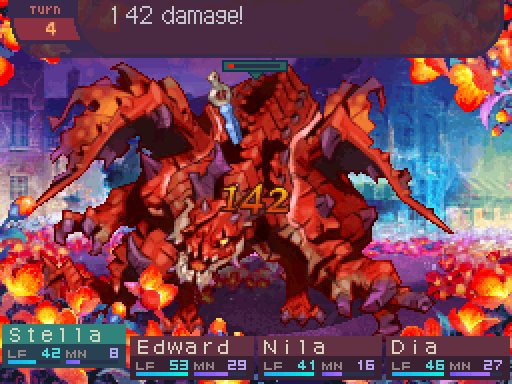
Ice is King's main weakness, so Nila's gonna be throwing out Concentrated EX boosted Freezes throughout the battle.
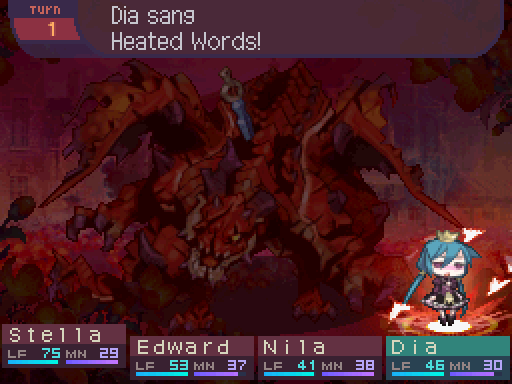
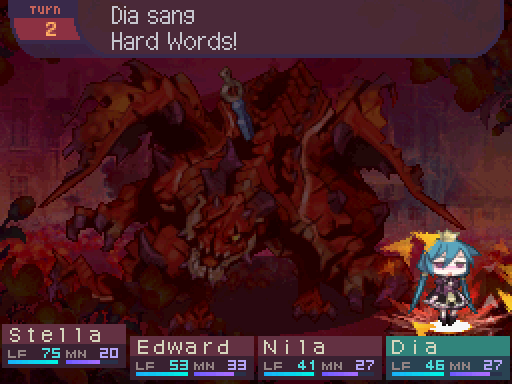
Heated Words should definitely help here.
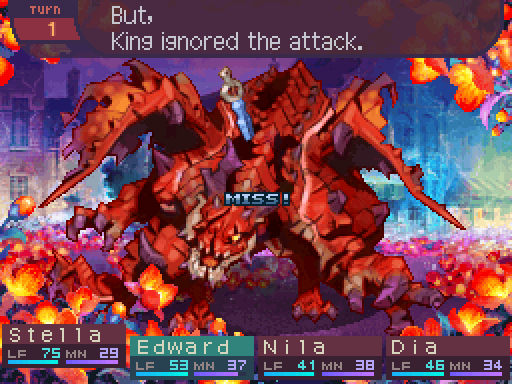
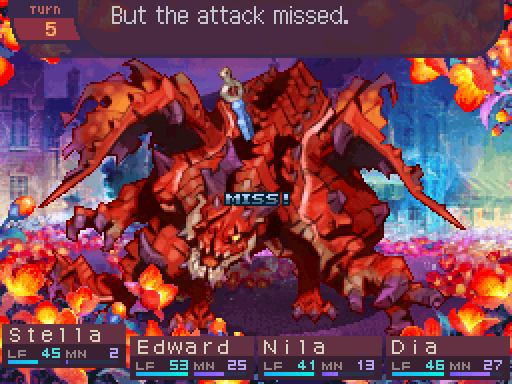
A shame it didn't land, but the chances of that happening were pretty low.
If you don't have enough defense on your party members, King's attacks are gonna do quite a bit of damage.
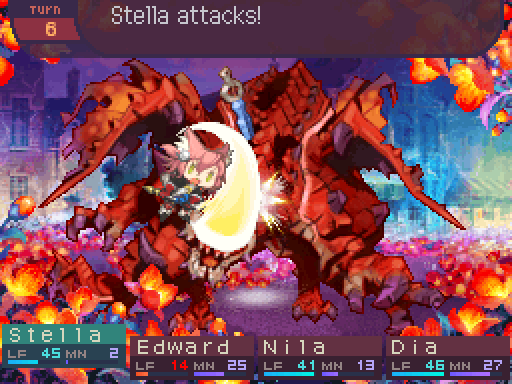
Stella is gonna throw out EX boosted Purges.
Edward is just gonna be throwing out EX heals to anyone who needs them.
Let the nuking begin.
This should lessen the sting of King's attacks.
EX boosting a healing skill will increase the amount healed by 20%. The boost is applied after the INT bonus is applied.
Both Stella and Nila are dealing respectable damage, so that amount of life isn't as scary as it seems.


Murderous Intent is fairly harmless at the beginning of the battle.
I'm gonna have both Edward and Dia heal Stella, since I predict she's gonna be taking most of the attacks in this fight.
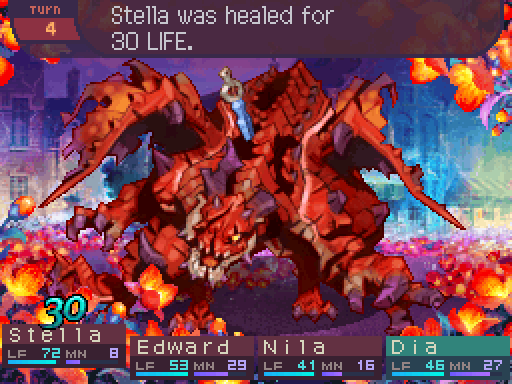
Oh hey, I made the right prediction.

Nail Slice hits everyone in the front row, so depending on your party composition, it can outpace your defenses. The thing is, Nail Slice can only hit the front row. Since Stella is my only front liner, King is pretty much just using a regular attack every time he uses it.

The party is pretty much out of EX, but King is gonna be down for the count soon.
Nila still has 1 bar of EX left. I don't even bother with Concentrate since I can go for the kill this turn.


That miss only bought King one more turn. He's a pretty much a dead dragon walking.
That's not going to save him.
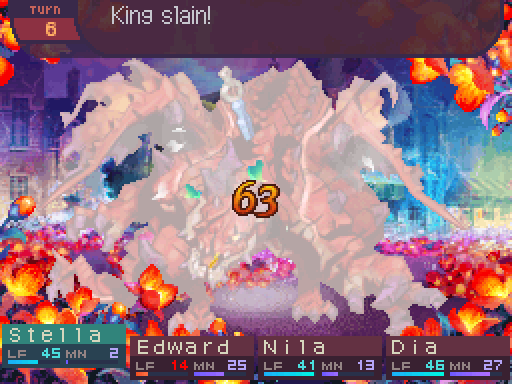
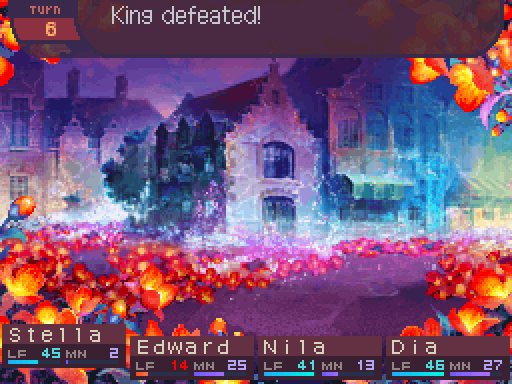
And with that, King goes down. He's not too bad as long as you can take him down fast and have good enough defenses.

In some cases, taking out the boss dragon will also kill all the dragons in the dungeon. This is why I said not to worry about the Hammerheads, because the game will kill them for you once you take down King.

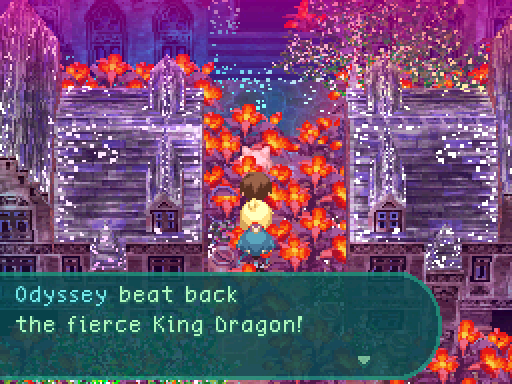
So many were lost forever, but its people shed their sorrow and frustration. In order to begin again, they worked night and day to rebuild their city. And they remembered one man, one figure. Doris Agouto... The hero-king of the Kazan Republic, gone.
This counts as an inn stay.
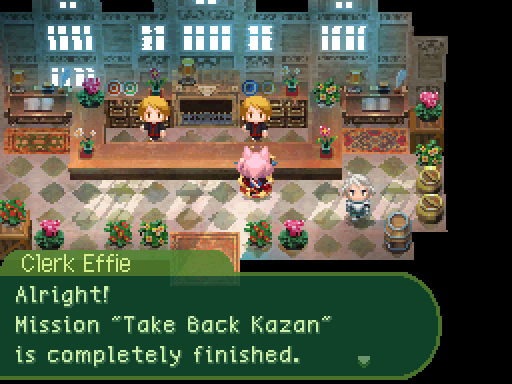
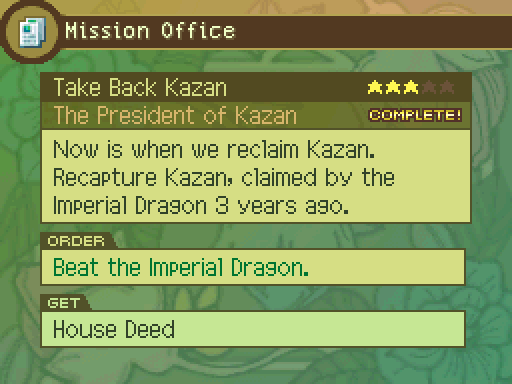
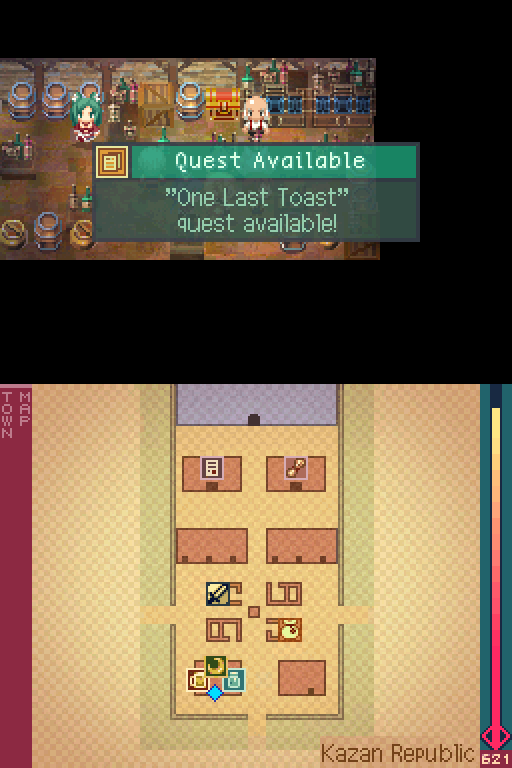
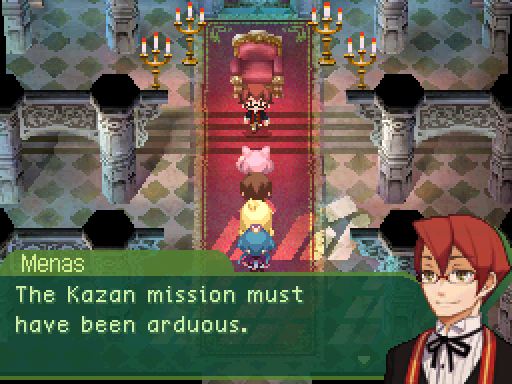
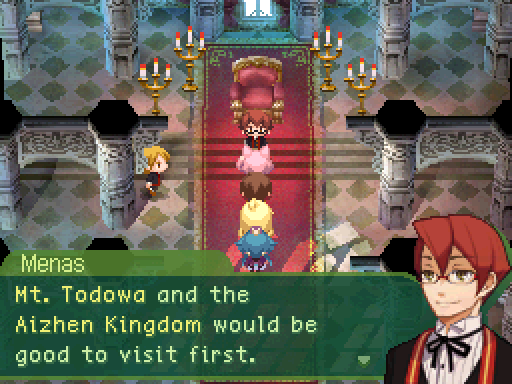
This was the mission that we took.
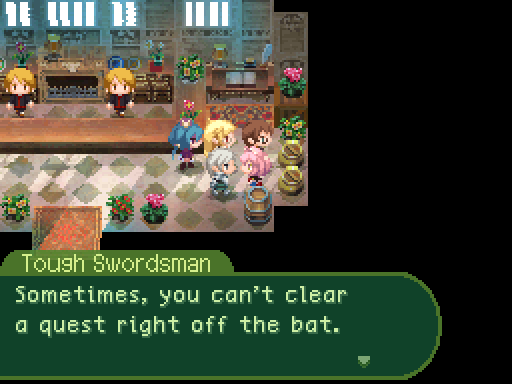
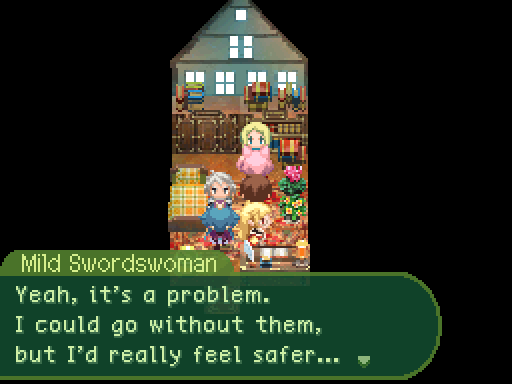
Yeah, too bad we can't find out which ones those are right away, because that's the biggest problem with them!
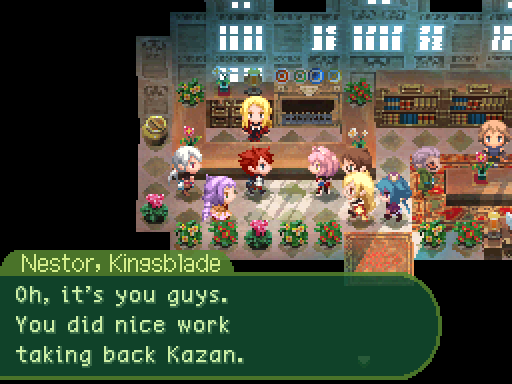
Nestor leaves.
The rest of Kingsblade leaves.


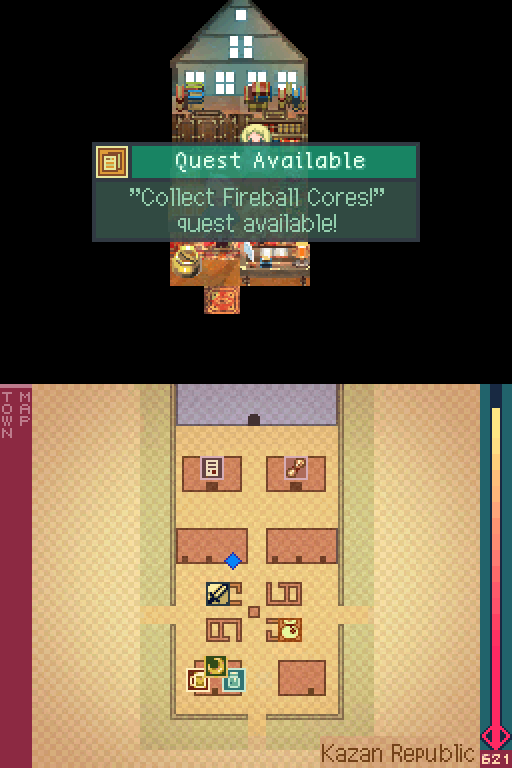
This quest can actually be completed now.
This one can't. In fact, it can't be done until much later. You'd think a quest like this would be able to be completed right away or at least really soon...
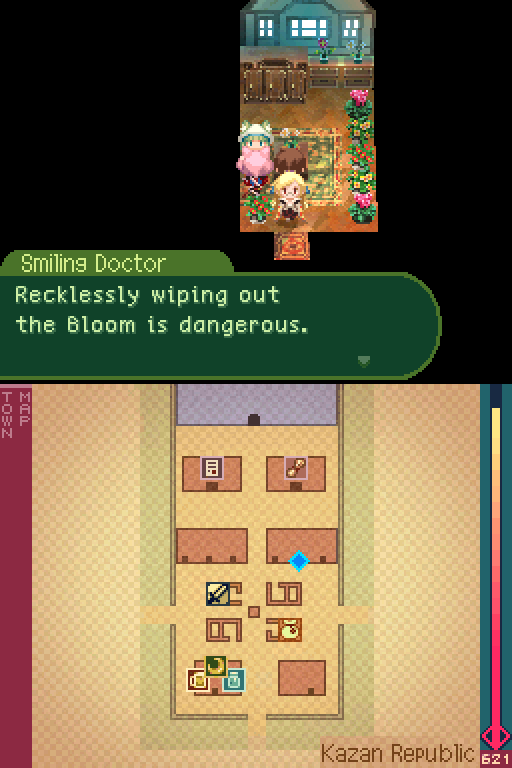
Make sure to talk to this NPC as soon as you can.

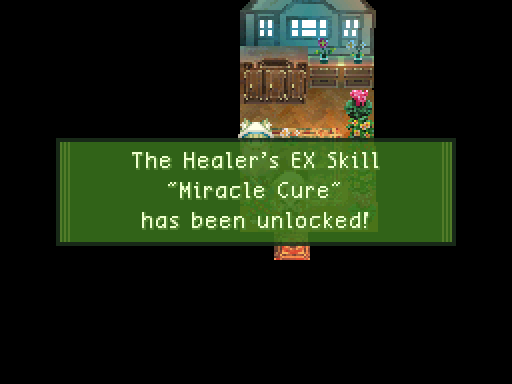
You get one of the Medic's EX skills out of it.
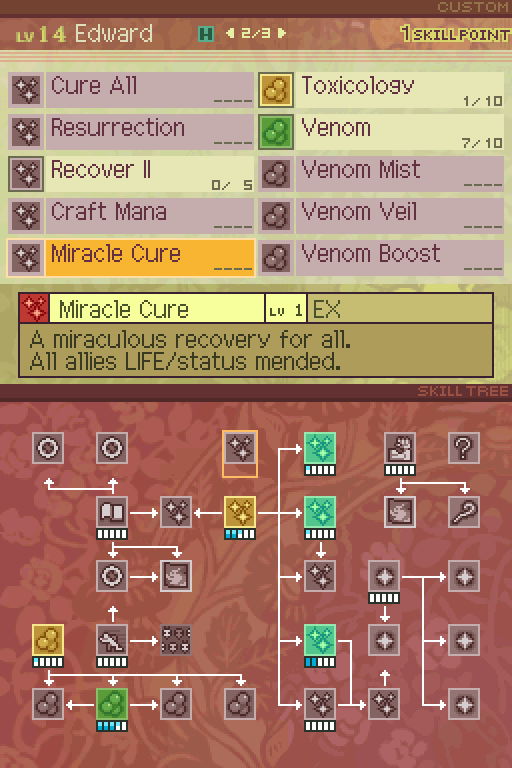
The skill is now unlocked in the skill tree, but...
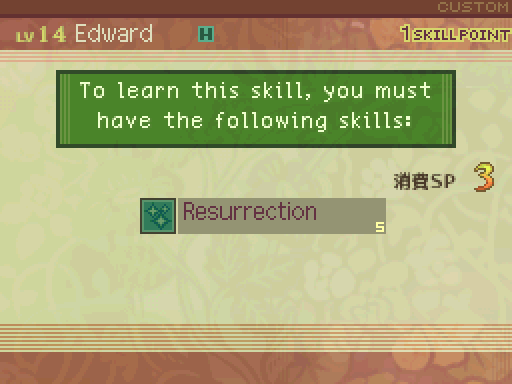
It has a steep prerequisite that needs to be met first.
At this point, I remembered to level up my skills.
At this point, I remembered to level up my skills.
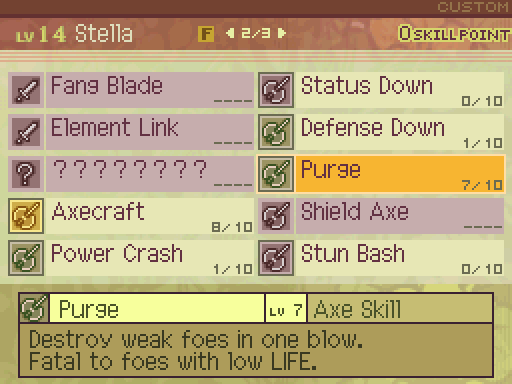
Purge now deals 160% damage, and the instant death threshold got increased to 33%.
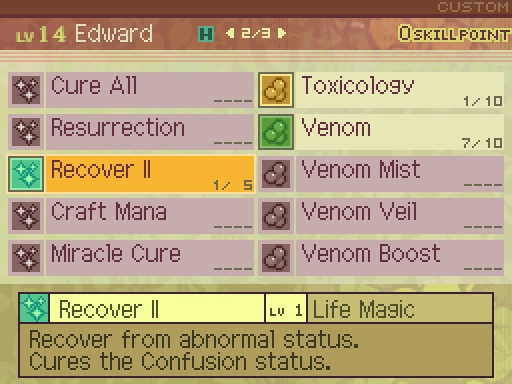
Recover II is the other status dispelling skill that Edward can learn. Like Recover I, it has a speed modifier of 90%, and at level 1, it can cure Confusion.
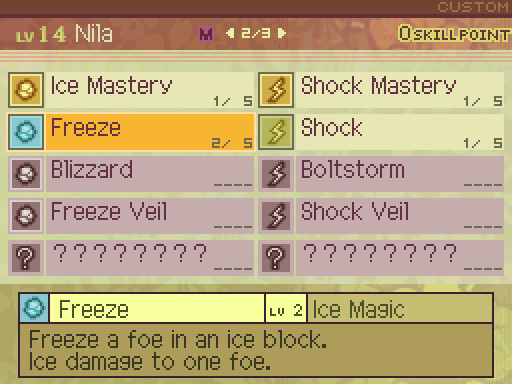
Now that Nila knows Concentrate, I decide to start focusing on her spells. Freeze now has a spell power of 325%, and a damage multiplier of 160%. If you thought Nila was dealing a lot of damage before, just you wait.

Nobility now applies a 106% multiplier to holy song speed modifiers.

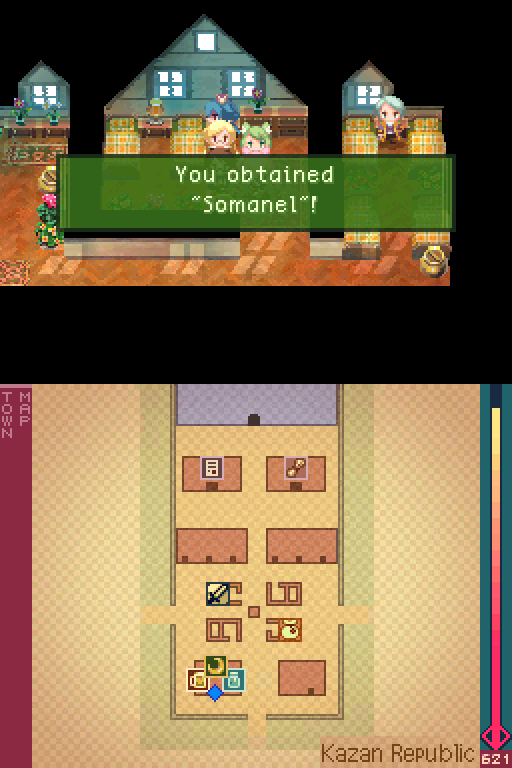
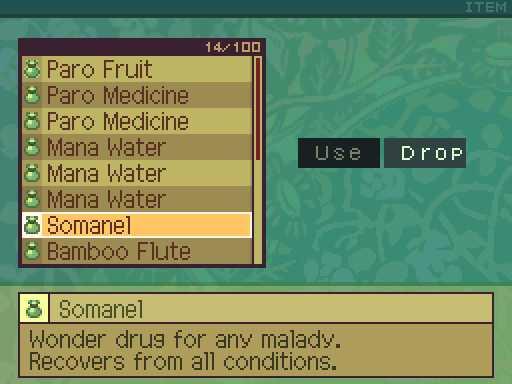
Somanels can dispel any status ailment on one party member. They're really rare consumables, so make sure to pick this one up.


Music stops.


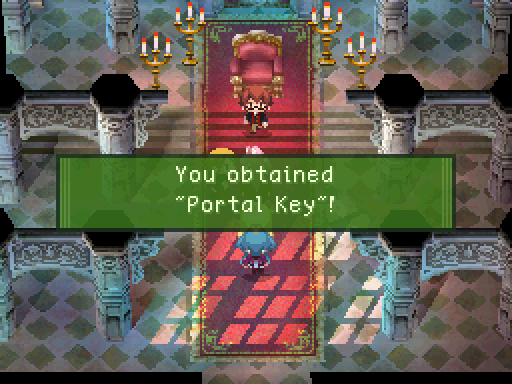
Description: Used to restart the world's portals. They can then be used to travel.

Portals lets us get around the world map way faster.
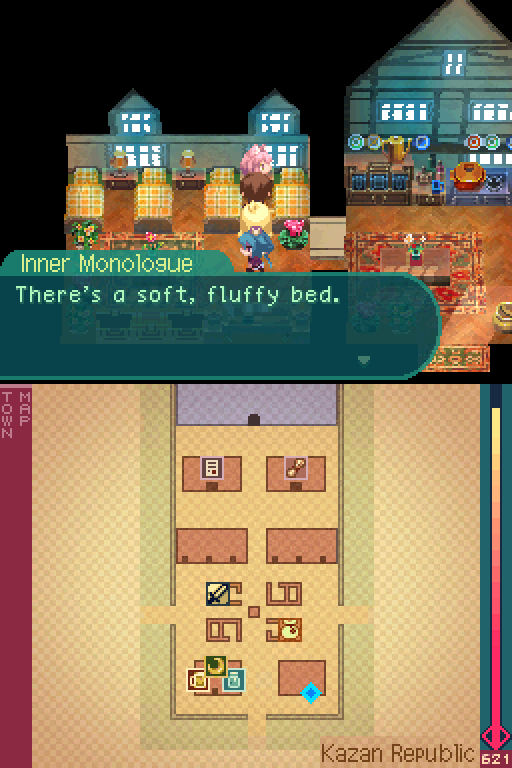


Our house pretty much functions as a free inn. There's no reason to stay at Kazan's inn anymore.
Alright, I think it's time to change up the cast a bit. So I'll let you all vote on the next party. Vote for 3 party members (votes must be in bold or they won't be accepted) and the top 4 will be my next party. Oh, and don't worry about the party's levels. If the new party members make it in, I'll just grind them up so they can catch up with everyone else.