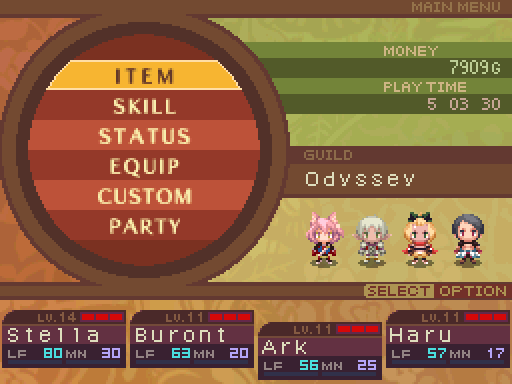
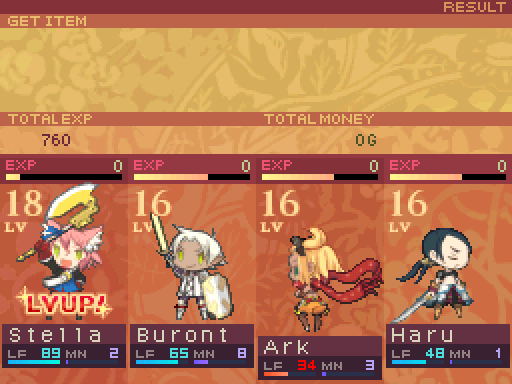
This was the party that was voted for.
Let's start off by going over our new recruits' skill builds.
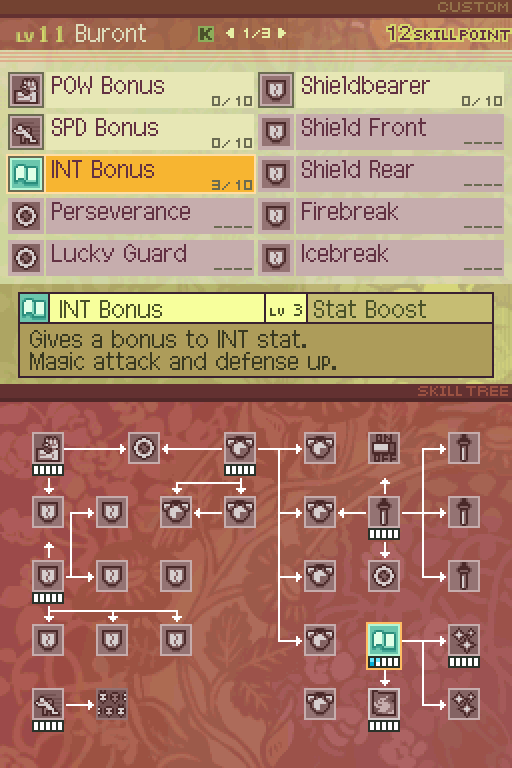
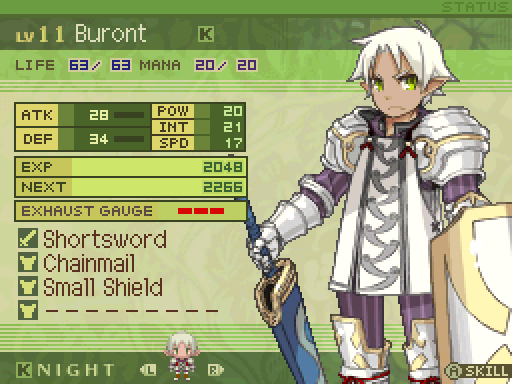
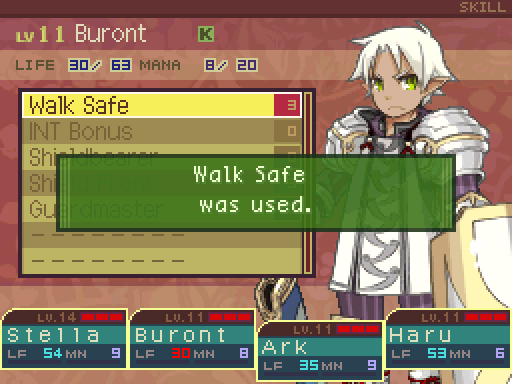
Well Buront now has 3 more INT. Yeah, Buront himself can't really do much with this skill, but I'm mainly getting it because...
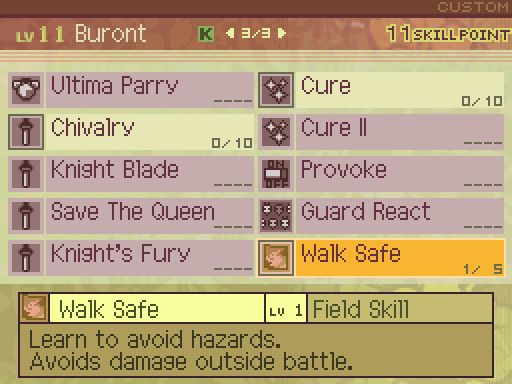
It's a prerequisite for this skill. What Walk Safe does is reduce all field damage for a certain number of steps. So it reduces Poison damage but more importantly,
it reduces Bloom damage. Normally a skill like this in the Etrian Odyssey series would be considered a complete waste of skill points. However, the Bloom is everywhere in 7th Dragon, and as such, this is one of the most valuable skills you can invest in.
But there's something important to know about this skill. The fan translation ended up introducing a major bug here, though thankfully, it's in the player's favor. What this skill does in the Japanese version is that it reduces field damage is by 1 point, but the damage is completely nullified for party members that fall under 50 life. This lasts for 60 steps. Now once you reach level 5, all field damage is nullfied no matter what. The fan translation accidentally made it so that the damage nullification applies at all levels. This applies no matter which version of the patch you're playing. So the only thing that ends up scaling is the duration.
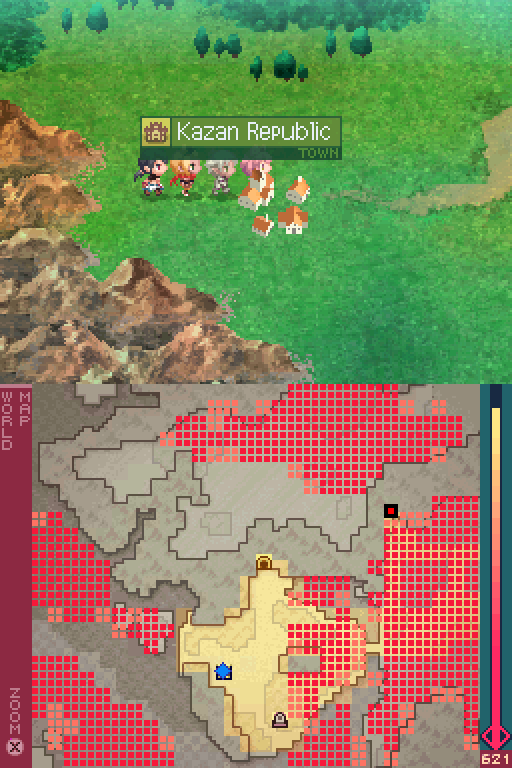
I still want to max this out because 60 steps is way too short (for reference, the world map starts off with 16172 Bloom tiles) to work with, and Knights don't really have a big mana pool to keep spamming this.
it reduces Bloom damage. Normally a skill like this in the Etrian Odyssey series would be considered a complete waste of skill points. However, the Bloom is everywhere in 7th Dragon, and as such, this is one of the most valuable skills you can invest in.
But there's something important to know about this skill. The fan translation ended up introducing a major bug here, though thankfully, it's in the player's favor. What this skill does in the Japanese version is that it reduces field damage is by 1 point, but the damage is completely nullified for party members that fall under 50 life. This lasts for 60 steps. Now once you reach level 5, all field damage is nullfied no matter what. The fan translation accidentally made it so that the damage nullification applies at all levels. This applies no matter which version of the patch you're playing. So the only thing that ends up scaling is the duration.
I still want to max this out because 60 steps is way too short (for reference, the world map starts off with 16172 Bloom tiles) to work with, and Knights don't really have a big mana pool to keep spamming this.
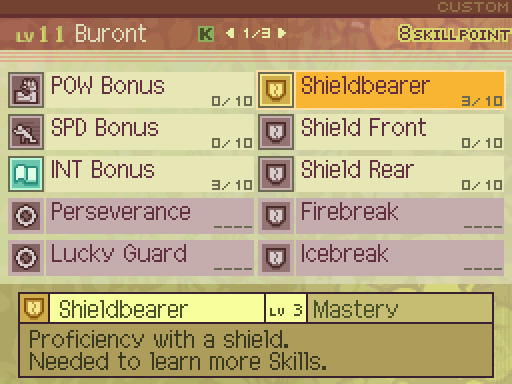
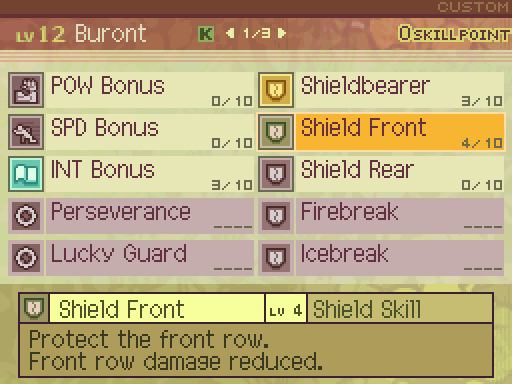
Out of all the Mastery skills in the game, Shield Mastery is the worst one in my opinion. It increases the DEF of Shields and Shields only. As such, it doesn't have much of an effect, because Shields don't provide that much defense. Just get it to unlock any skills you want, then ignore it entirely. At level 3, Shieldbearer applies an 114% multiplier to a Shield's DEF stat.
Also unlike most mastery skills, you have to invest 3 skill points into this to even unlock their first Shield skills. So if you have a Knight at the start of the game, they can't do anything meaningful for a while!
Also unlike most mastery skills, you have to invest 3 skill points into this to even unlock their first Shield skills. So if you have a Knight at the start of the game, they can't do anything meaningful for a while!

Shield Front reduces any physical damage the front row takes for the current turn. While it has a speed modifier of 100%, it actually has priority, so it'll always go first, even if someone else uses EX. Anyways at level 3, it reduces damage by 26%.
Shield Back does the same thing, but for the back row. Which skill you take is up to your team composition. If you have a lot of frontliners like I do, take Shield Front. If everyone except the Knight is in the back row, take Shield Back. The Knight is usually durable enough to survive heavy hits. In some cases, even the damage reduction the back row provides won't be enough to save any party members in there. And ranged attacks ignore the row penalty, but not Shield Back.
Shield Back does the same thing, but for the back row. Which skill you take is up to your team composition. If you have a lot of frontliners like I do, take Shield Front. If everyone except the Knight is in the back row, take Shield Back. The Knight is usually durable enough to survive heavy hits. In some cases, even the damage reduction the back row provides won't be enough to save any party members in there. And ranged attacks ignore the row penalty, but not Shield Back.
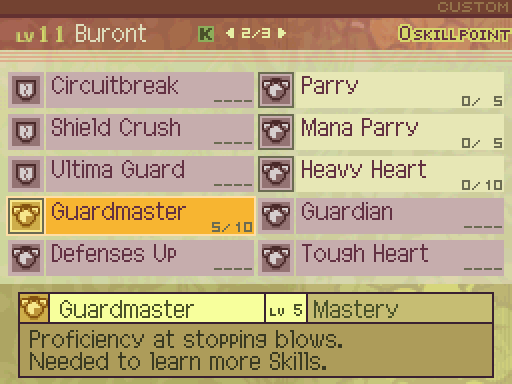
Guard Master is another mastery skill the Knights have. It also sucks. It passively reduces the damage they take by a certain amount, but said damage reduction is miniscule. At level 5, it applies a 97% multiplier to the Knight's damage multipliers. I'm mainly taking this because it's a prerequisite for a skill I want later.

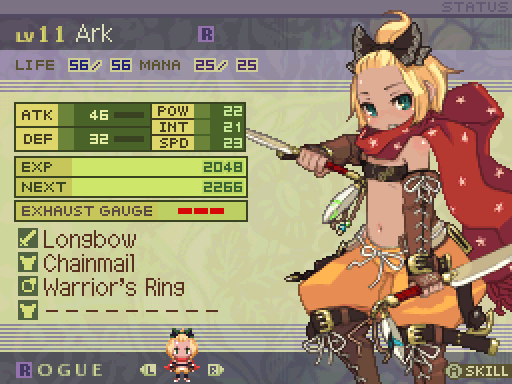
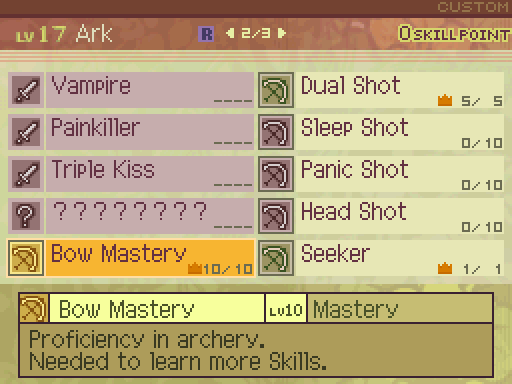
On the other hand, Bow Mastery is a really good mastery skill. The ATK increase it applies to weapons are far bigger than any other mastery skill. At level 8, it provides a 142% multiplier to a Bow's ATK. Yeah, that's pretty huge. Doesn't do too much now, but it'll make it so that Ark really gets some mileage out of any new bows she gets.
Rogues can either make use of Daggers or Bows. I prefer Bows because Daggers aren't really that good. At least, not at this point in the game. They get much better later on, but that's not gonna be for a good while.
Rogues can either make use of Daggers or Bows. I prefer Bows because Daggers aren't really that good. At least, not at this point in the game. They get much better later on, but that's not gonna be for a good while.
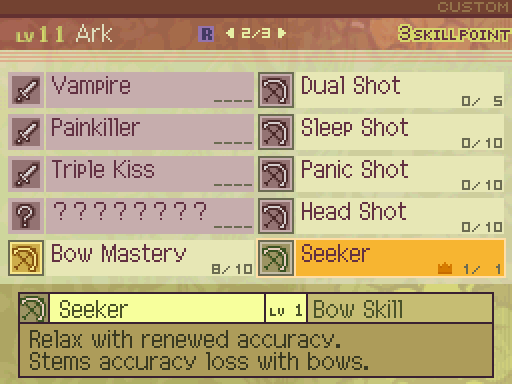
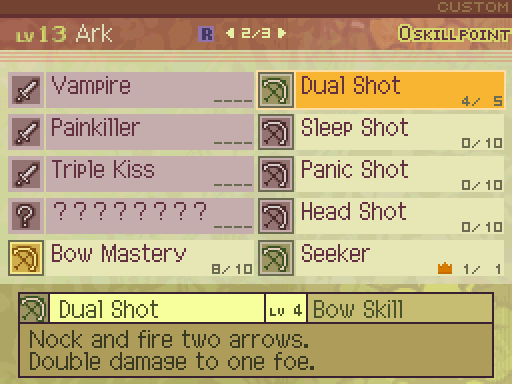
Seeker is one of Ark's most important skills. Now as Ark shoots arrows out of her Bow, her accuracy will decrease by 5% for every shot she makes. Seeker will negate the accuracy loss, which is really handy in long fights. It has a speed modifier of 100%.

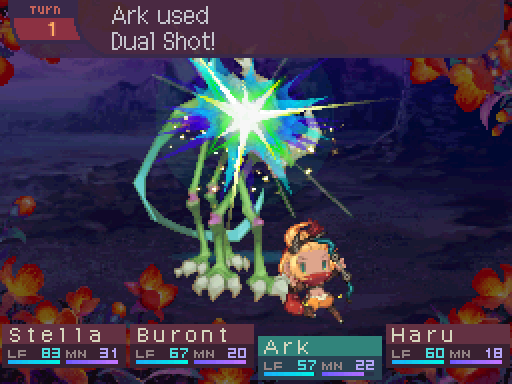
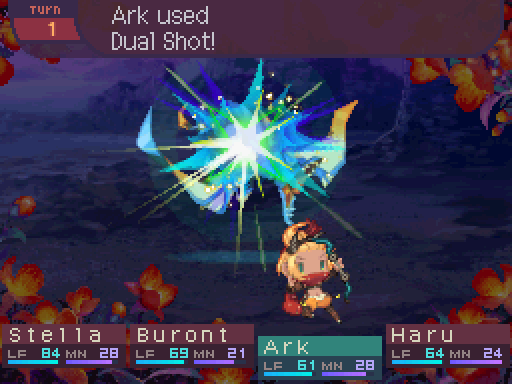
Getting Bow Mastery up to 8 unlocked this skill. Dual Shot is pretty much the best skill in the Bow skill branch. Basically, 2 arrows are fired at one target, each dealing ranged Thrust damage. Though the arrows deal less damage than a regular attack. It has a speed modifier of 80%, and at level 2, each arrow deals 77% damage, for a total of 154% damage. Unfortunately, Ark's accuracy does decrease for each arrow, so her accuracy drops twice as fast when you're spamming this skill. Definitely something to be aware of.
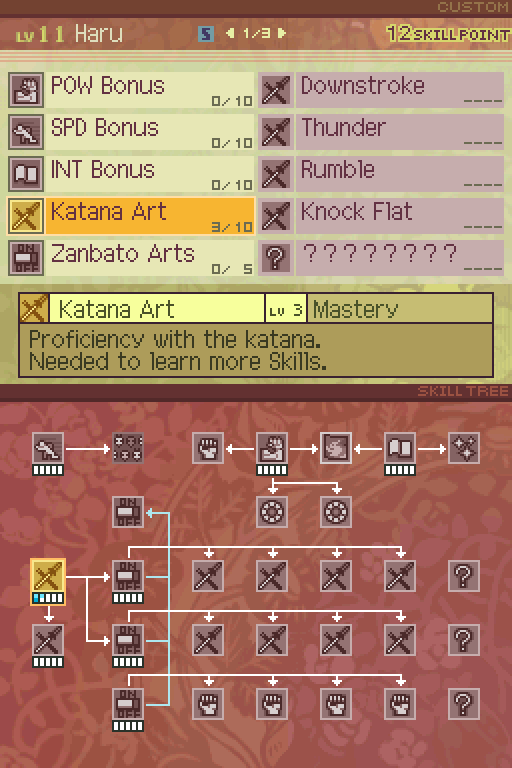
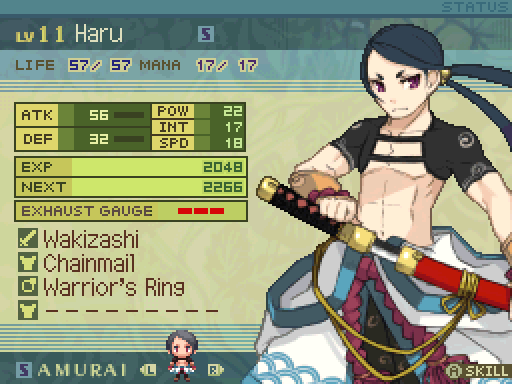
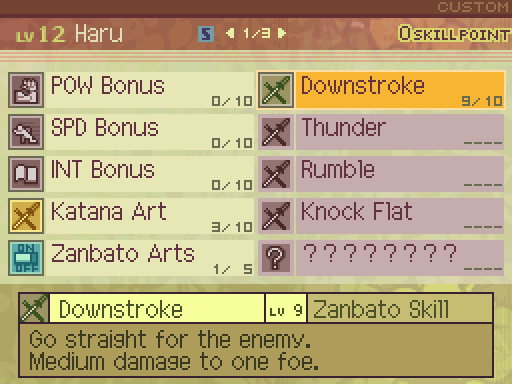
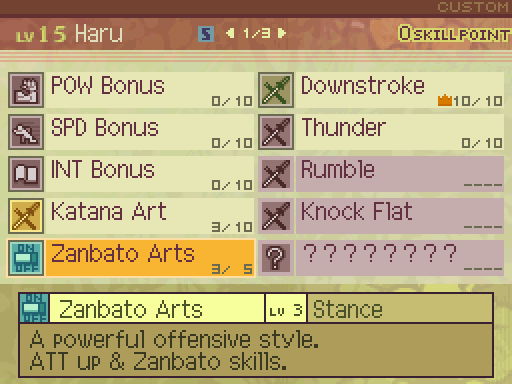
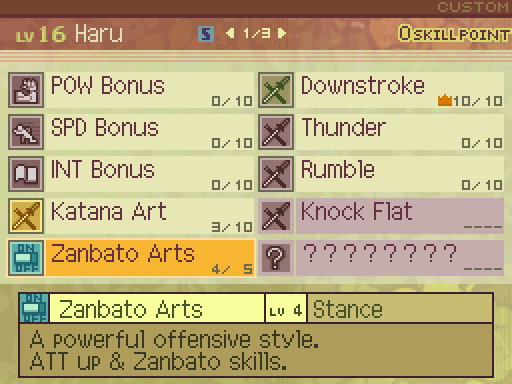
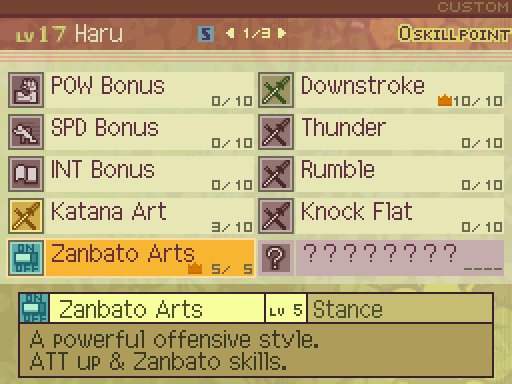
Katana Art is Haru's weapon mastery. It provides a boost to a Katana's ATK. Unfortunately, if you start off with a Samurai in your party, it's not a passive they can benefit from until they get their first Katana. Which isn't until a bit after the prologue as you've seen. At level 3, it multiplies a Katana's ATK by 114%. Now I put 3 points into this just so I could unlock another skill.
Alright, are you familiar with how the Ronin in Etrian Odyssey works? If so, you can skip ahead a bit, because the Samurai is essentially a reskinned Ronin.
For those of you not familiar with what I just said, let me explain. The Samurai is a class that revolves around setting up a stance before they can attack. In order to use some of their offensive skills, they need to be in a specific stance first. They have to spend a turn to switch to a specific stance, so they can't really start swinging right out of the gate when a battle starts. Though the stance provides some benefits, so doing so isn't a complete waste of a turn.
Though there's one big difference between the Samurai and the Ronin. Where the Ronin's stances only last 3 turns, the Samurai's have a permanent duration once cast, so there's no need to worry about having to recast those skills. Though something that carried over from the first EO game is that the stance is considered a special buff, which means that it can't be dispelled by any debuffs. Only thing that can dispel a stance is the death of the Samurai.
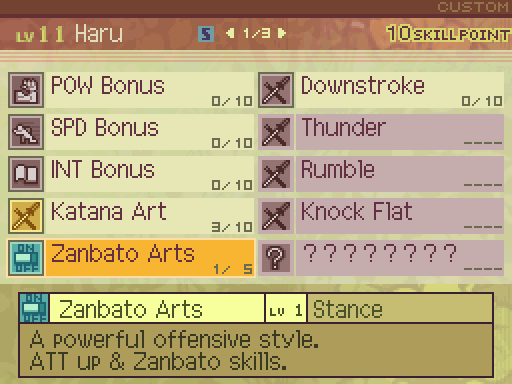
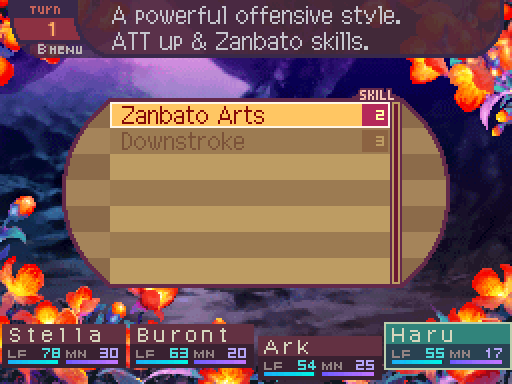
As for the skill itself, Zanbato Stance has a speed modifier of 80%, and enables Haru to use skills in the Zanbato skill branch. At level 1, it increases the Samurai's ATK by 110% while it's in effect. This is what I mean by benefits. Stances give some sort of buff to the Samurai while they're in effect. I'll want this maxed out eventually so Haru can get the most out of that setup turn. But for now...
For those of you not familiar with what I just said, let me explain. The Samurai is a class that revolves around setting up a stance before they can attack. In order to use some of their offensive skills, they need to be in a specific stance first. They have to spend a turn to switch to a specific stance, so they can't really start swinging right out of the gate when a battle starts. Though the stance provides some benefits, so doing so isn't a complete waste of a turn.
Though there's one big difference between the Samurai and the Ronin. Where the Ronin's stances only last 3 turns, the Samurai's have a permanent duration once cast, so there's no need to worry about having to recast those skills. Though something that carried over from the first EO game is that the stance is considered a special buff, which means that it can't be dispelled by any debuffs. Only thing that can dispel a stance is the death of the Samurai.
As for the skill itself, Zanbato Stance has a speed modifier of 80%, and enables Haru to use skills in the Zanbato skill branch. At level 1, it increases the Samurai's ATK by 110% while it's in effect. This is what I mean by benefits. Stances give some sort of buff to the Samurai while they're in effect. I'll want this maxed out eventually so Haru can get the most out of that setup turn. But for now...

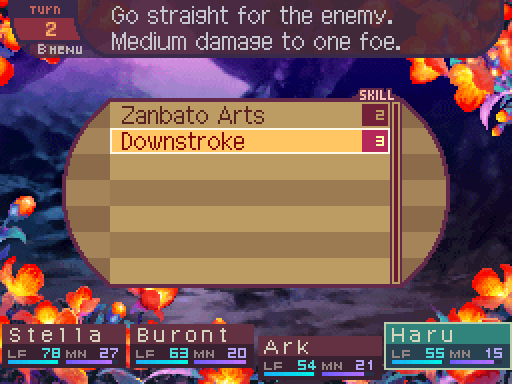
I dump every last skill point I can into Downstroke. It's what I consider to be the Samurai's best damage skill. It deals a large amount of Slash damage to one enemy, and has a speed modifier of 85%. At level 8, it deals 165% damage.

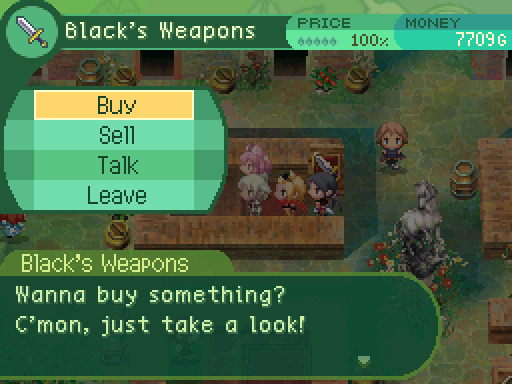
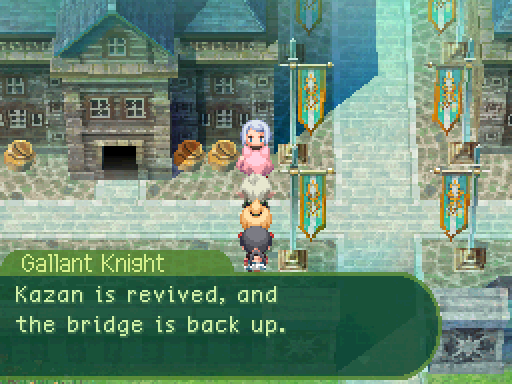
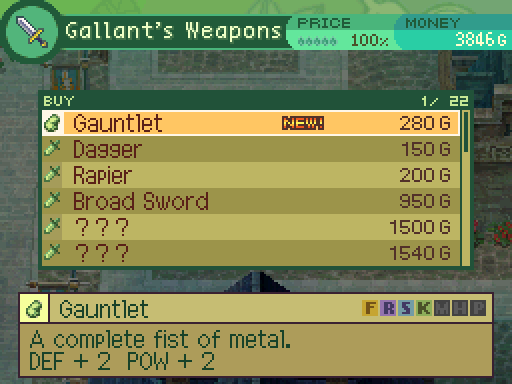
Since we've liberated Kazan, they have some new items in stock. Let's see what they have.
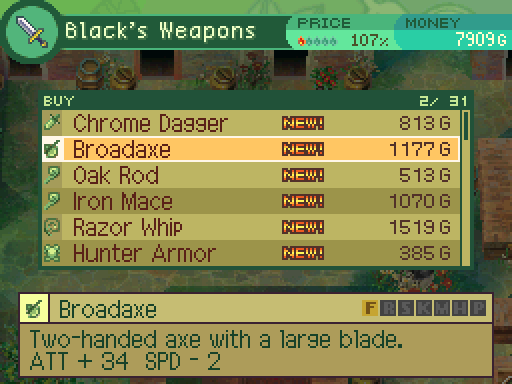


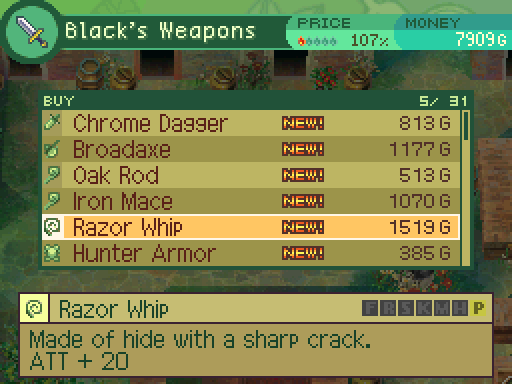
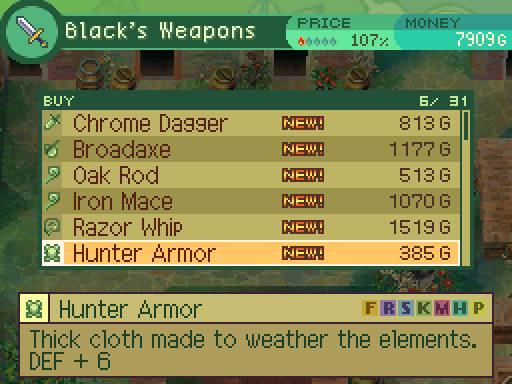
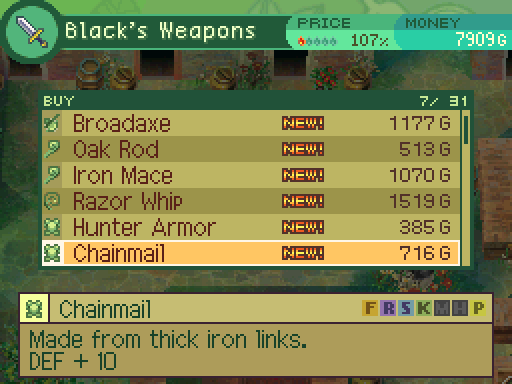
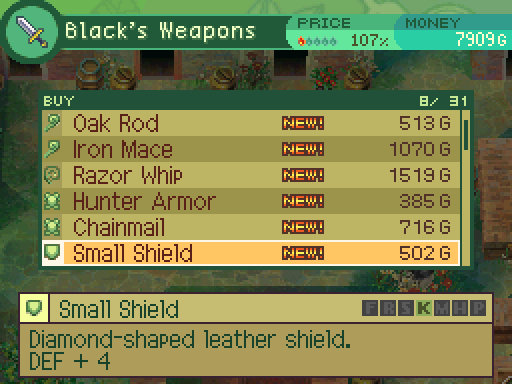
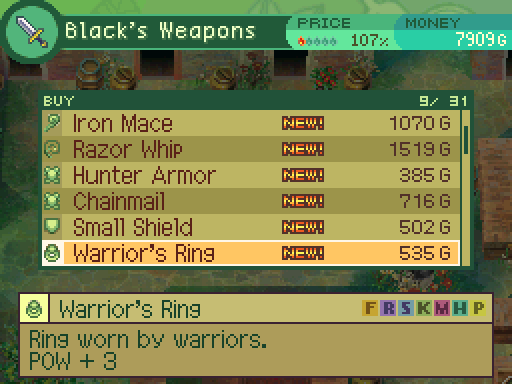
Nothing super special, there are just equipment upgrades here. I outfit my party as needed. The other shops don't have anything new.
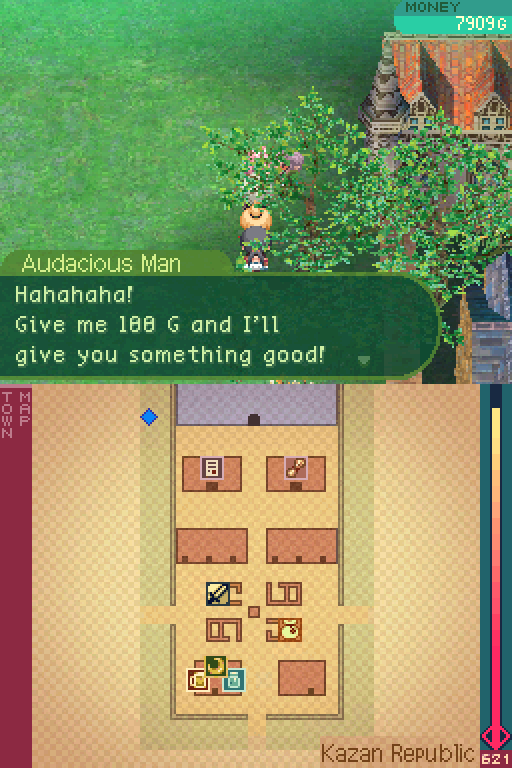
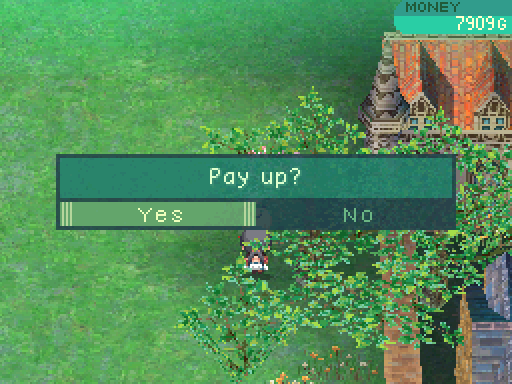
You can give some money to this NPC to get a random consumable out of it. Sometimes, this can be worth it.
Other times, it's not.
His prices increase as you progress through the game, but so does his potential selection of goods.
His prices increase as you progress through the game, but so does his potential selection of goods.
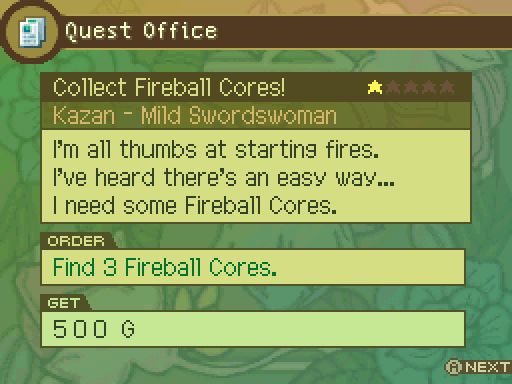
There's only one quest that we can complete right now, so let's go about doing that.
Easy enough to pull off. Wisps can be commonly found in the Nameless Cave. But first...
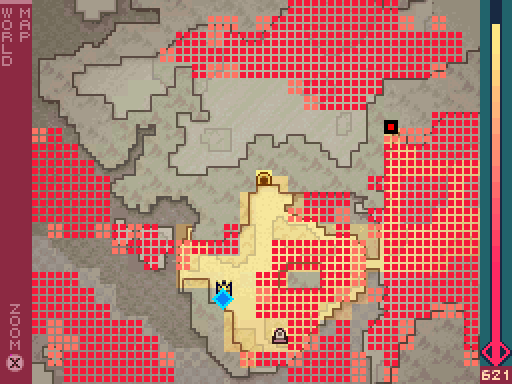
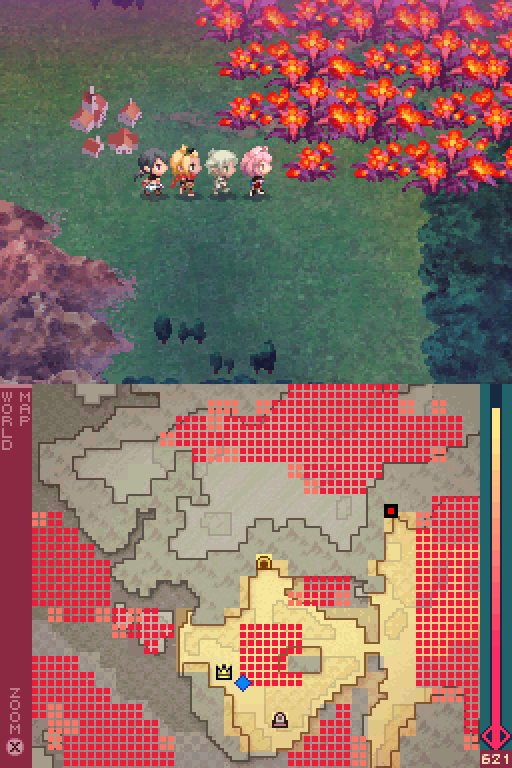
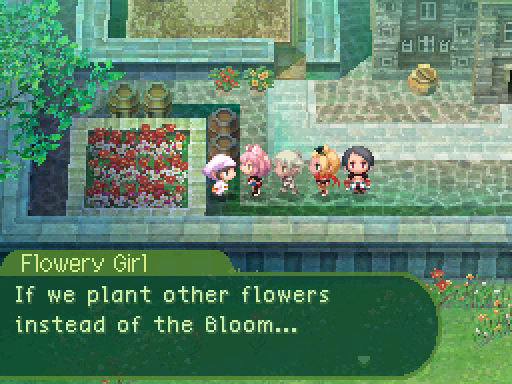
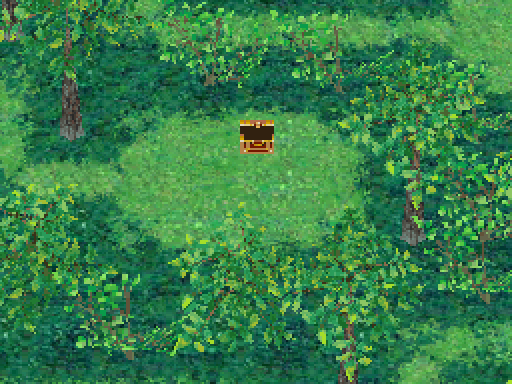
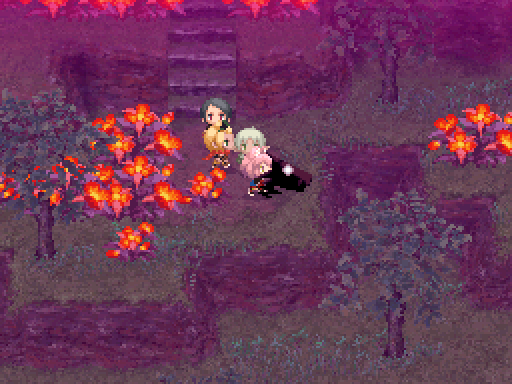
It's time to start mowing the lawn. For the record, you want to lower the amount of Bloom on the world map as much as possible. If you don't, a terrible fate awaits you later on.
That was how much of the Bloom I had to eradicate to get the prices back to normal.
The money troubles we had at the beginning of the game? Yeah, they're pretty much gone now. Dragon slaying is very lucrative, and I can pretty much buy whatever I think the team needs very easily.
I upgrade my party's equipment.
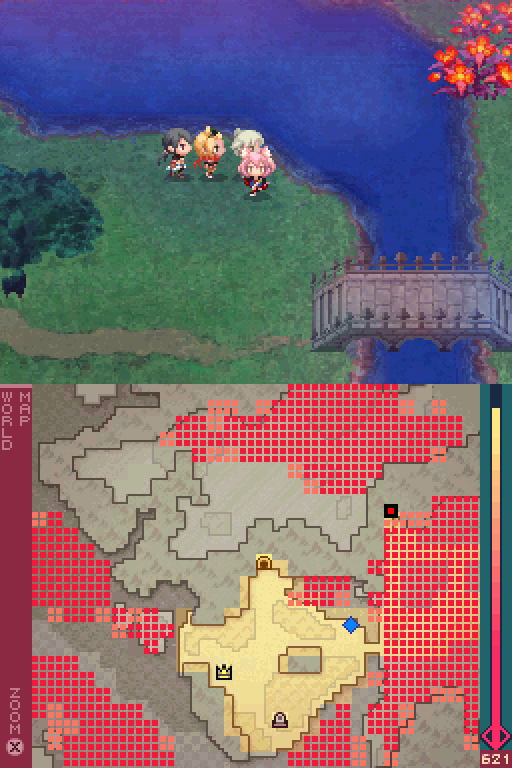
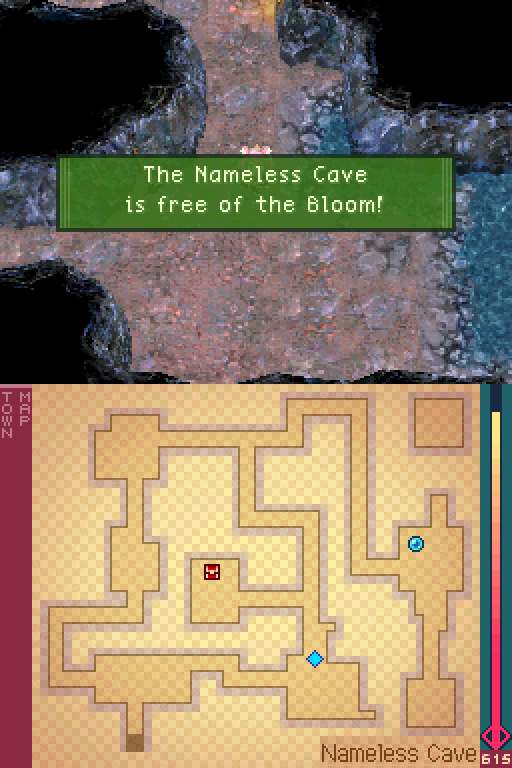
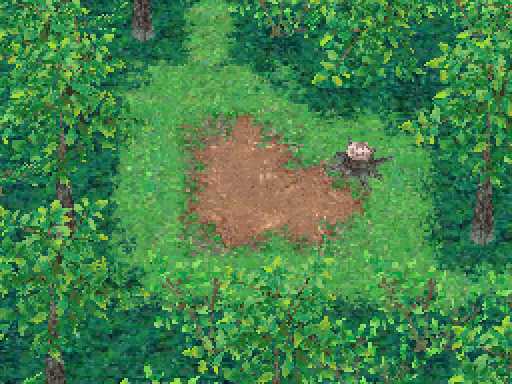
Ahh, look at that clean mass of land, (mostly) free from the Bloom.

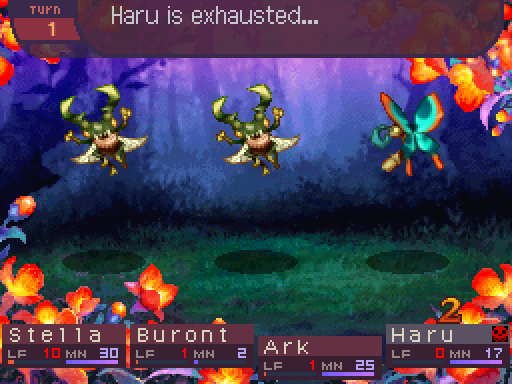
Unfortunately, lawn mowing the continent did a real number on the party.
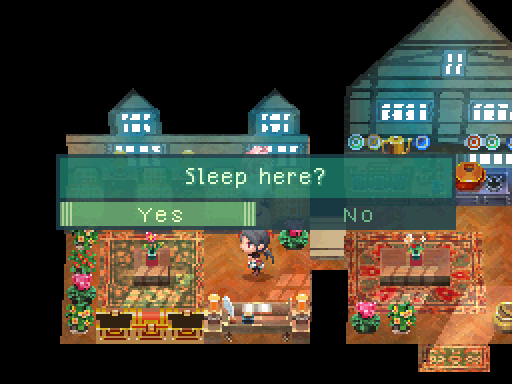
So I have everyone rest up at the house so that they'll be refreshed and ready to go for more lawn mowing and-
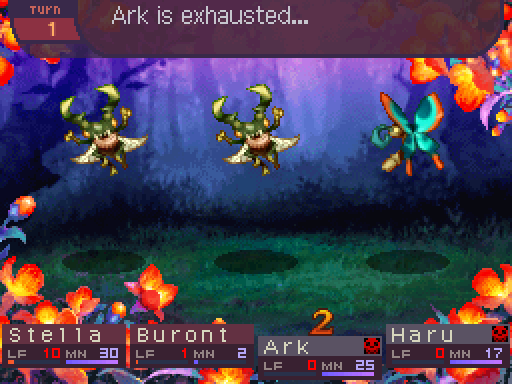
Wait, what the heck?
By the way, I said that there was a penalty to using inns. Yeah, this is it. Every time you rest at one, an 8 by 8 patch of Bloom has a chance of reappearing on the world map. For the record, this doesn't really affect anything. Dungeons can't get reinfected or anything like that through this method. All this really accomplishes is annoying the player even further for daring to heal their party.
Welcome to 7th Dragon.
Welcome to 7th Dragon.
Oops. Well, that'll let me show off something I want to talk about at least.

So the cost to revive someone scales with your levels. The cost is equal to 2 * the highest leveled party member in the first 4 slots of your guild. Not your party, your guild. Basically this means that you can stick a bunch of level 1 party in those slots at the guild, and pay the minimum treatment cost every time you go to a clinic as a result. Oops.
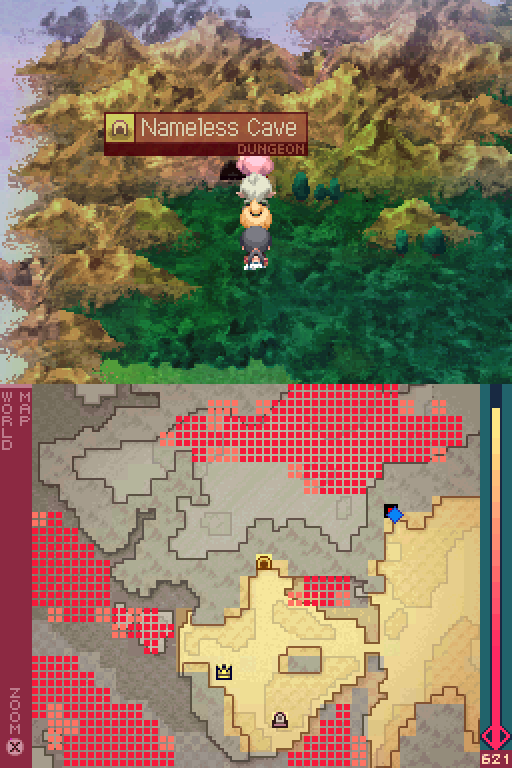
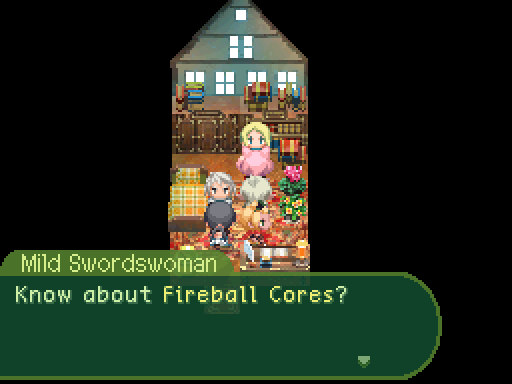
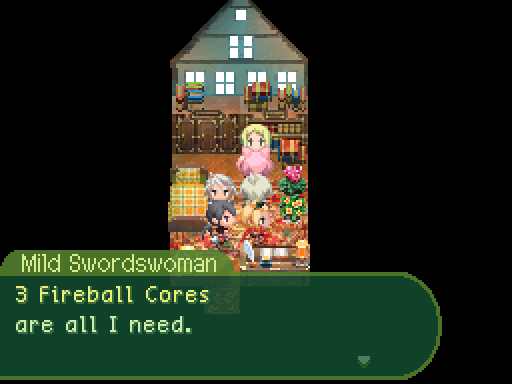
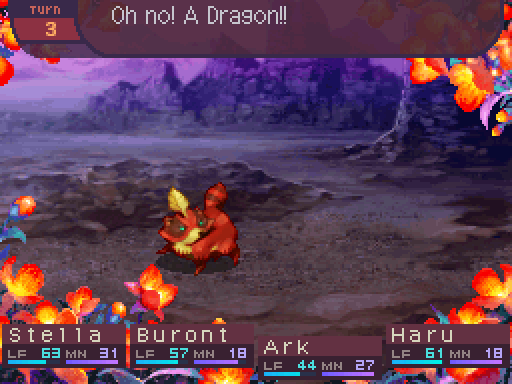
Moving on, we need to go get some Fireball Cores. Oh, and clear out the dragons in this cave as well.

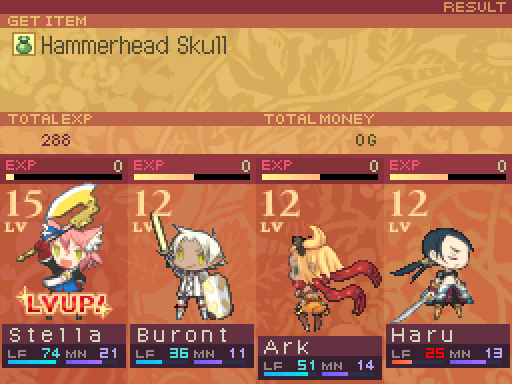
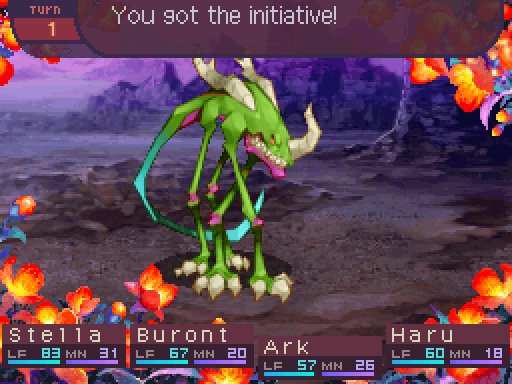
There are only 6 dragons in here, and all of them are Hammerheads. So if you missed grabbing their drops in Kazan, you have another chance here.
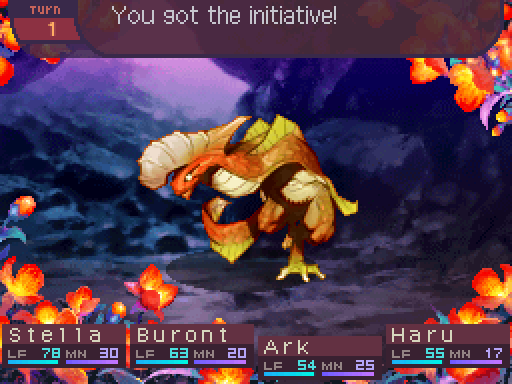
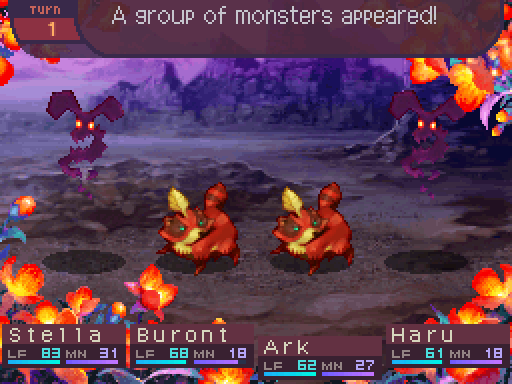
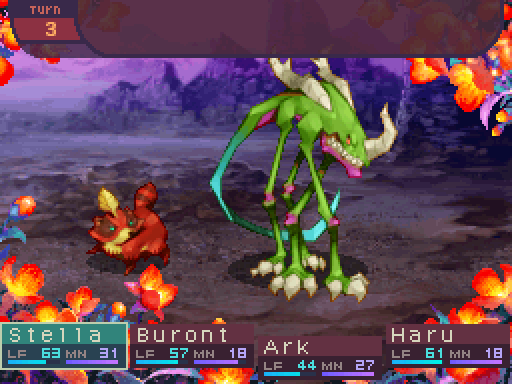
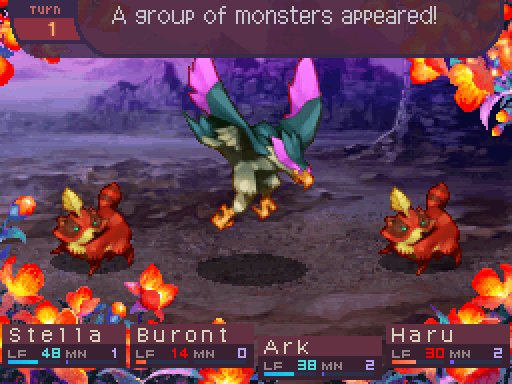
While this dragon is nothing new, why don't I take this time to show off how our new team members can operate in battle?

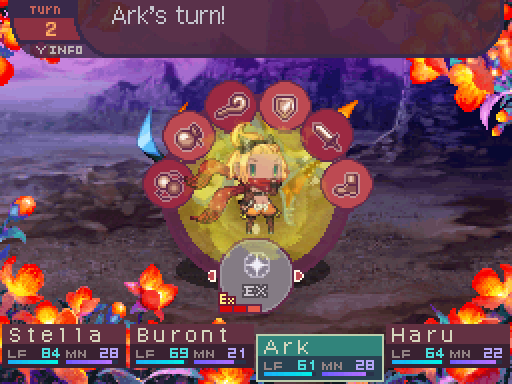
Ark is gonna be making use of Dual Shot whenever she can. She's also our fastest party member, so if she needs to, she can throw out an item to help out someone in a pinch very easily.
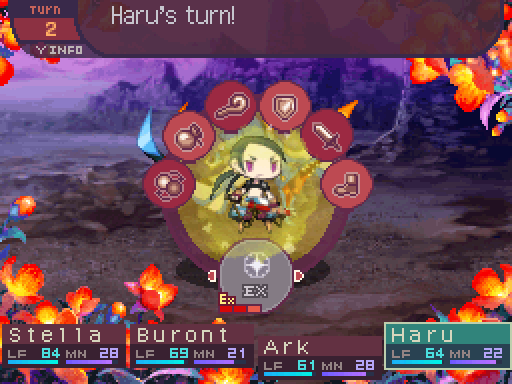
Haru is pretty much forced to start out every important fight the same way. Set up Zanbato Stance, and go to town with Downstrokes.
Unfortunately at this point in the game, her accuracy kind of sucks, so Dual Shot will be causing her to whiff more often. Once she gains more speed, she'll be able to fire off more shots before needing to recast Seeker.

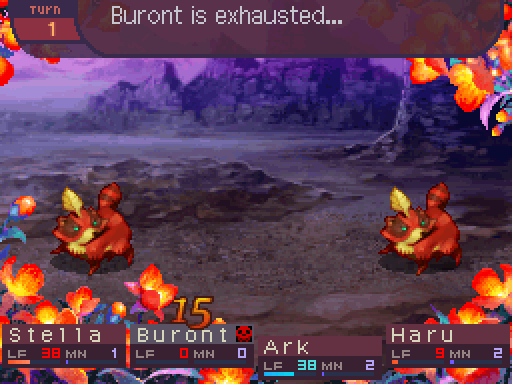
In random encounters or just short battles in general, I can get away with using his normal attacks.

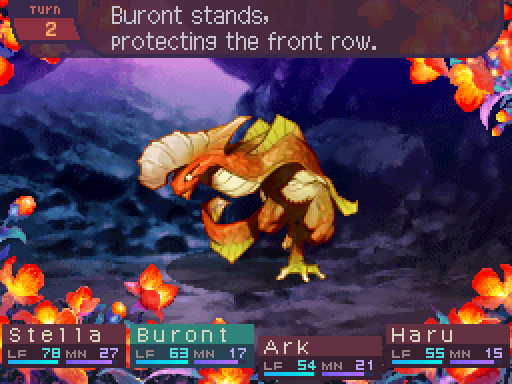
Buront is pretty much just gonna spam the appropriate guard skill throughout any important fight. Hey, it's not like he can spend his mana on anything else.
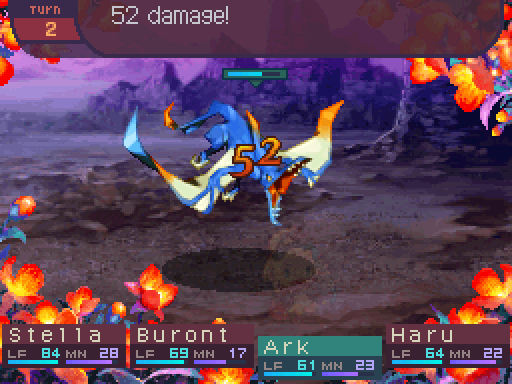
Once Zanbato Stance is up, Haru can just spam Downstrokes all day.

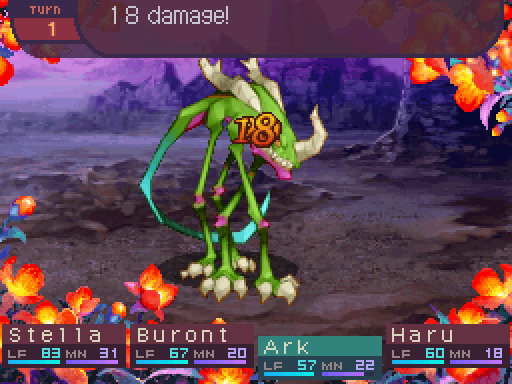
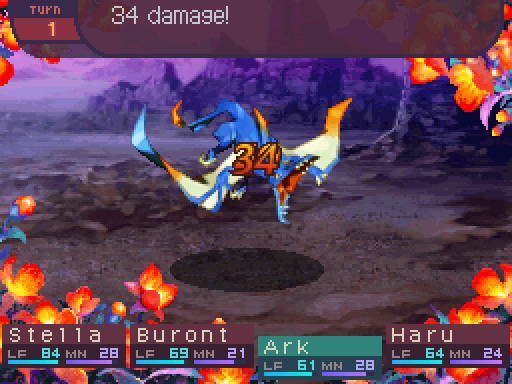
Ooh, definitely a respectable amount of damage.
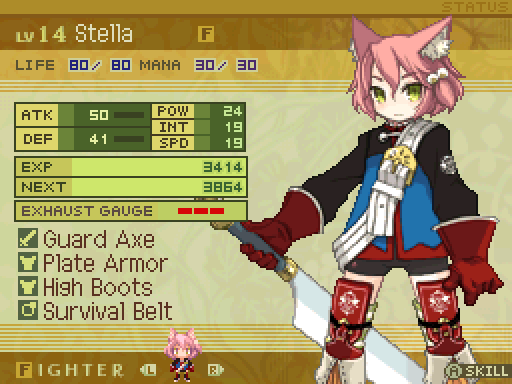
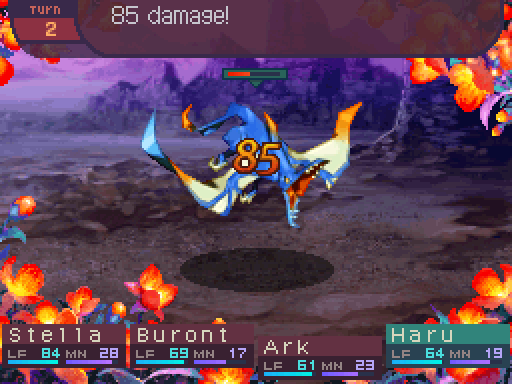
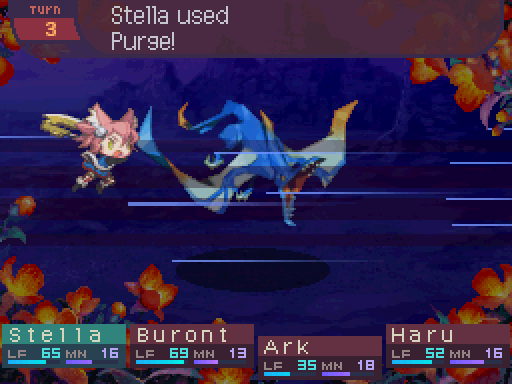
It's even more than Stella can dish out with Purge.
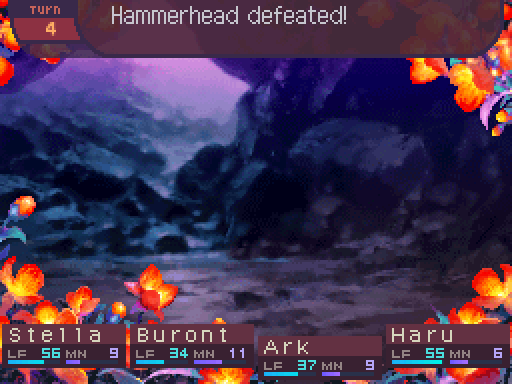
4 turns to take down a Hammerhead with this team. Not bad.
Assume that I turn on Walk Safe whenever I have the opportunity. Because seriously, the Bloom is just a huge pain to deal with.
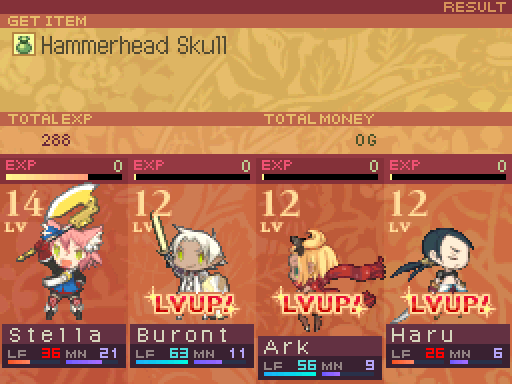
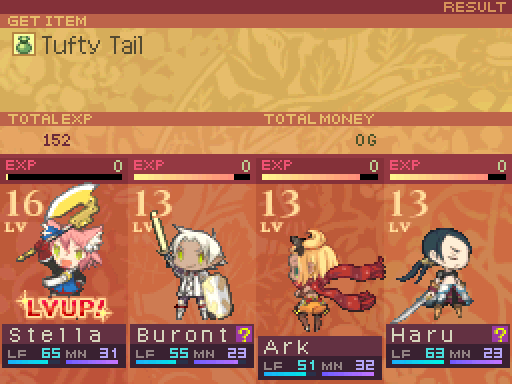
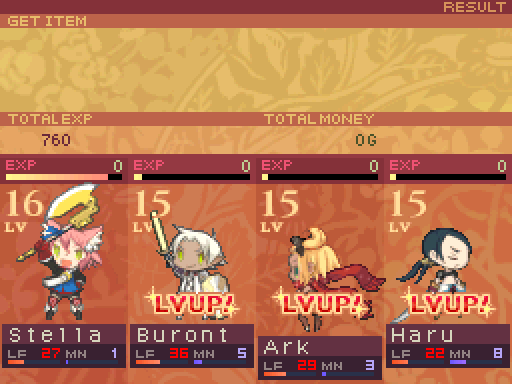
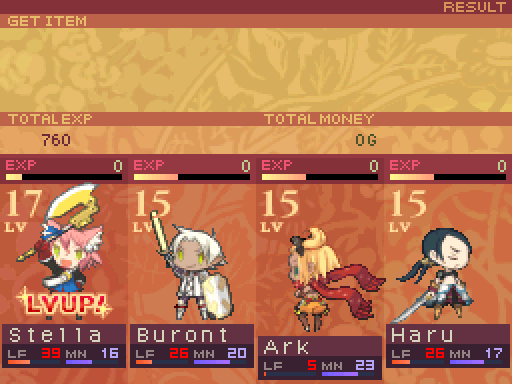
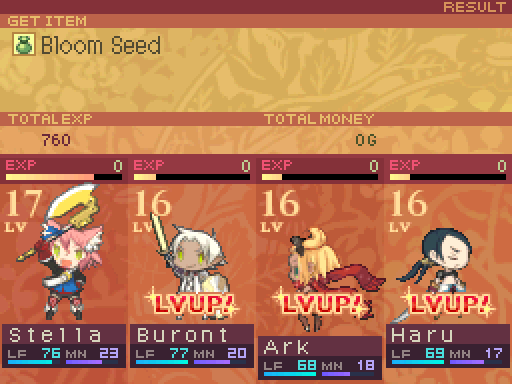
After slaying some more Hammerheads, the new members got a level up.
Shield Front now provides a 29% damage reduction.

Dual Shot deals 84% damage per shot, dealing a total damage of 168%.
And Downstroke now deals 170% damage.
Stella also joins in on the fun.
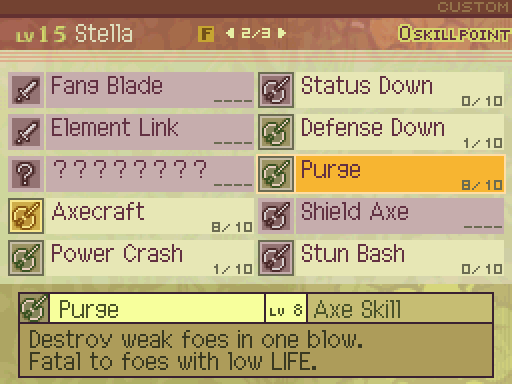
Purge deals 165% damage, and the kill threshold has been increased to 36%. After a few more battles, I finally kill all the dragons in the cave.

Also finished up that quest while I was in here.
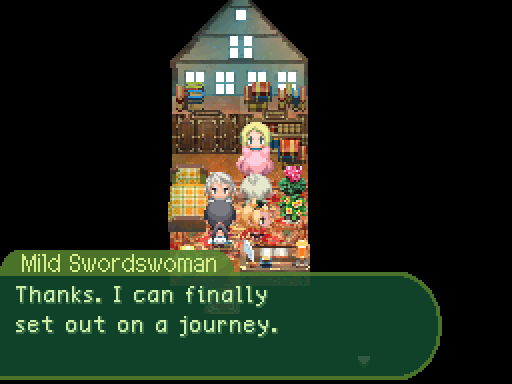

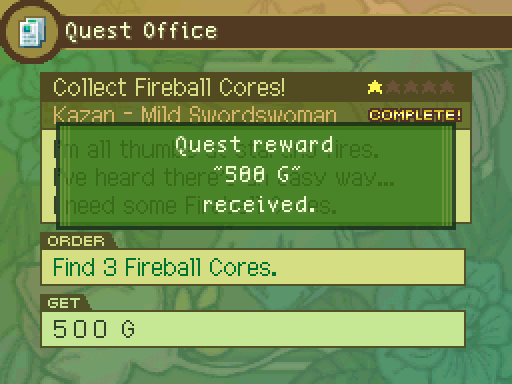
A fairly simple quest. If the RNG is in your favor that is. Oh and if we talk to that NPC again.
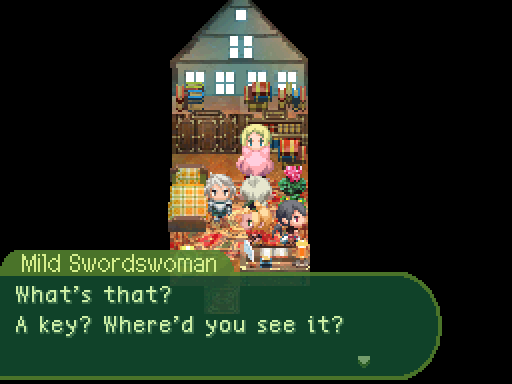
I don't get it.
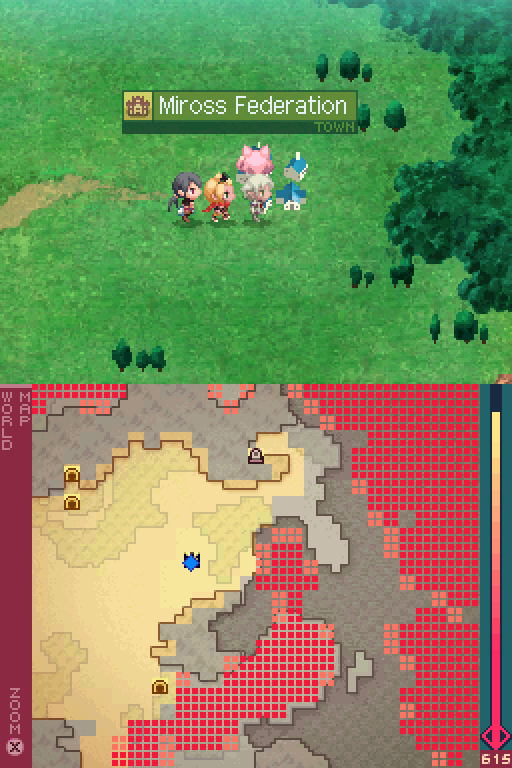
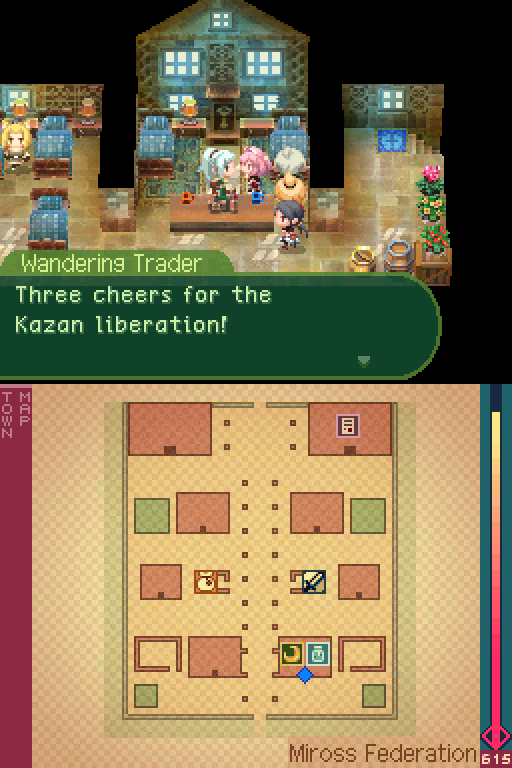
Before we move on, I'm gonna take a quick trip to Miross pretty quick, since there are new quests available.
Guess how many of them we can actually complete at this time.
Guess how many of them we can actually complete at this time.
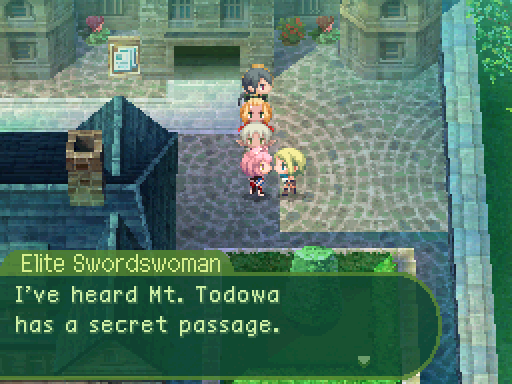
If we tried to head through Mt. Todowa earlier, we would have been blocked off.

Can't be completed until later.
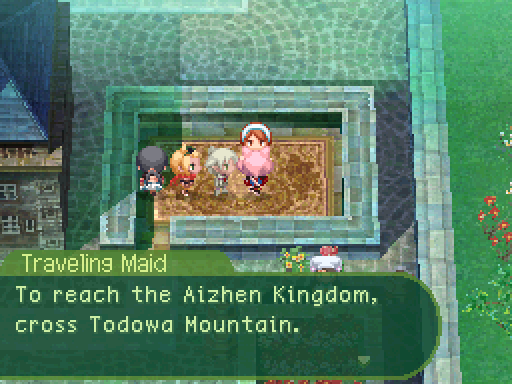
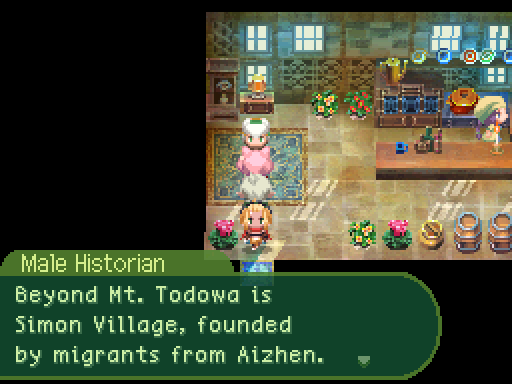
Simon Village essentially serves as a pit stop on the way to Aizhen. However, if you need to stock up on supplies and equipment, do it now, in Miross and Kazan.
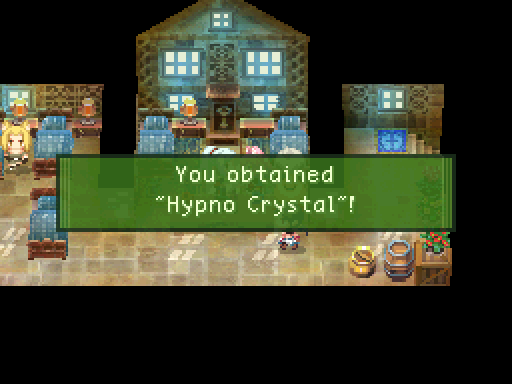


Hypno Crystals are extremely rare items! They're one of the few items that can straight up revive someone from the dead. Definitely make sure to talk to that NPC, so you can get your hands on one.

 Why can't I do anything on my own? Somebody! HELP ME!

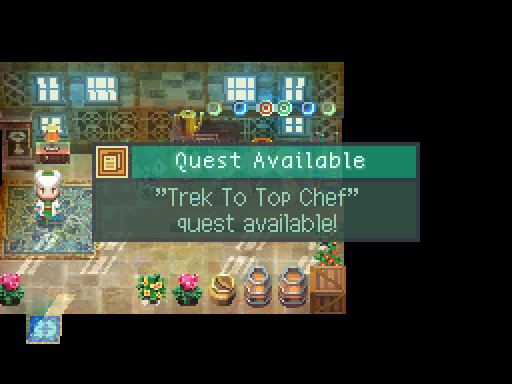
Oh hey, a quest that can actually be done right away! I'll pick it up in a bit.

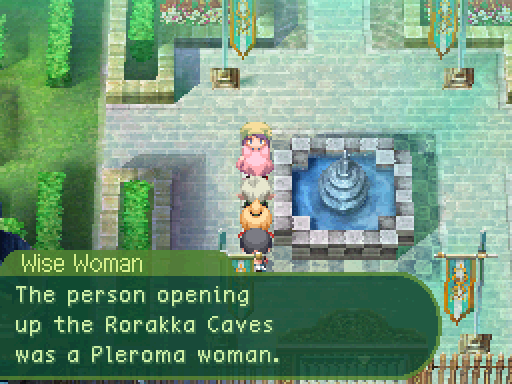
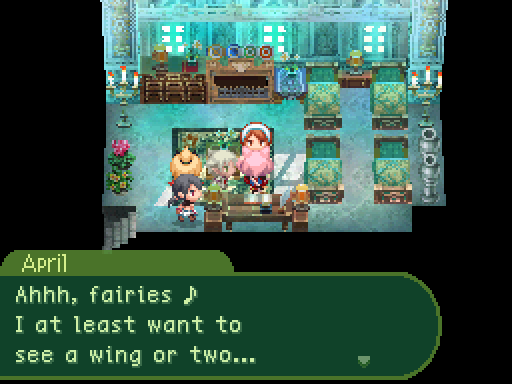
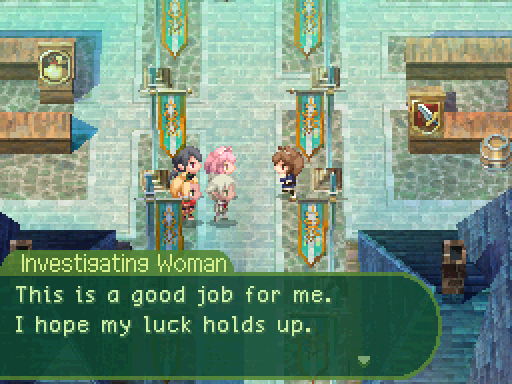
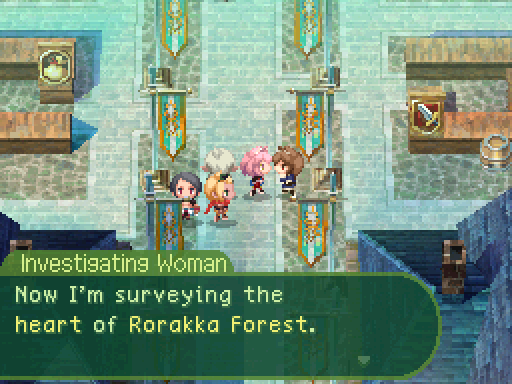
There's one other fortune she can give at this point.
You'll want to keep these statements in mind for later.
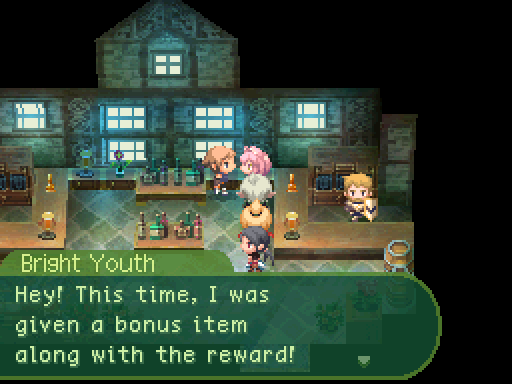
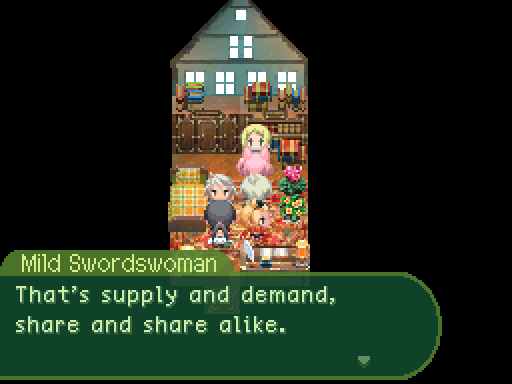
Okay, if you're coming from the Etrian Odyssey series, you might be thinking that doing a better job on some quests can give you a bigger reward. That's actually not a thing in this game. Most of the time, there's only one way to complete a quest, and the rewards aren't variable at all. There's only one quest in the game that I can think of where this is actually true, but that's the exception rather than the rule. More likely, this NPC was just referring to the fact that sometimes you get an extra unlisted reward in some quests.

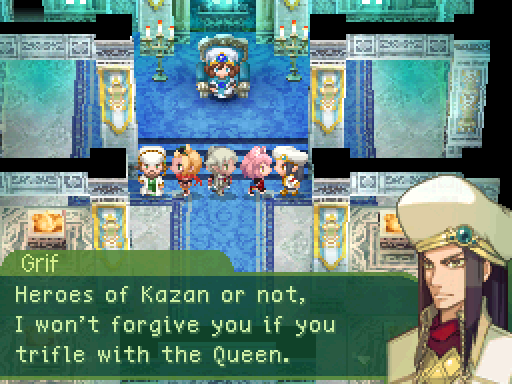
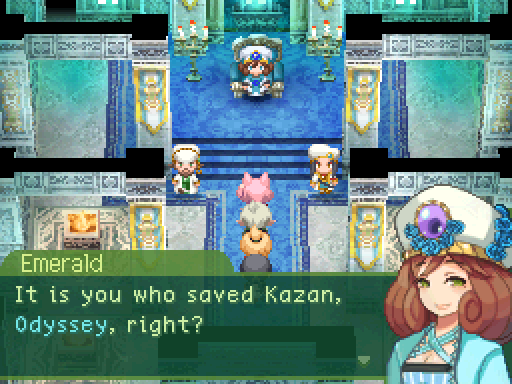
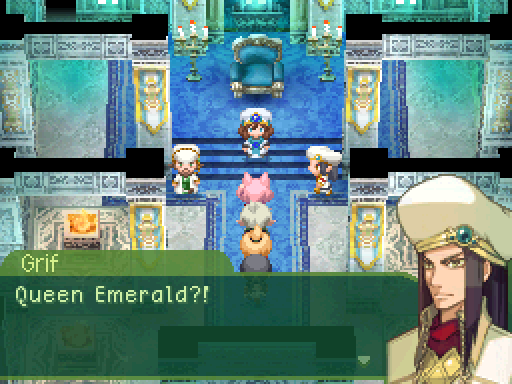
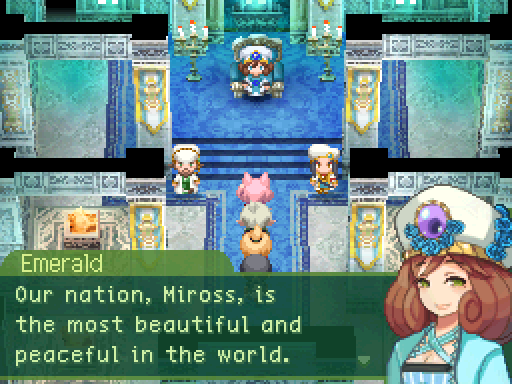
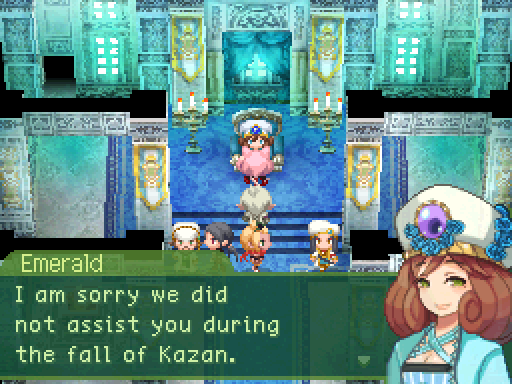
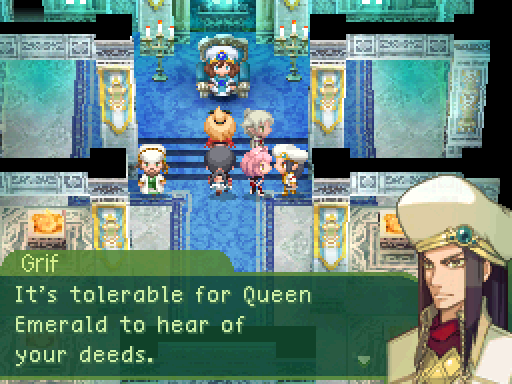
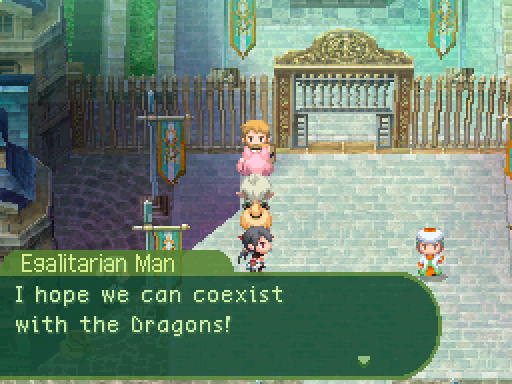
We can actually enter Queen Emerald's room now.
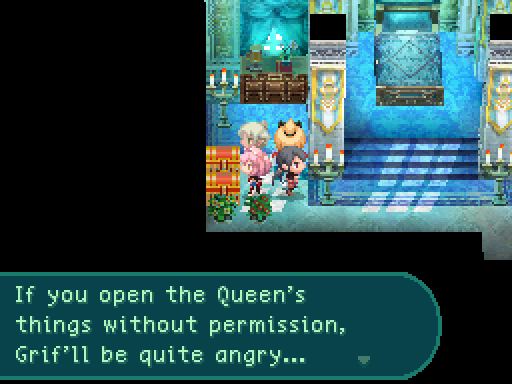
Though there's nothing of interest in here. Both of those chests are unopenable.

So, this quest? It can't be completed until the penultimate dungeon.
Thanks game.
Thanks game.
Seriously, were you meant to be able to gather earlier in the game or something, because this is extremely irrelevant right now.

This quest can't be completed right away, but how soon you can complete it depends on the choice you make.

I'm just going to take the one quest that's actually possible to complete right now.
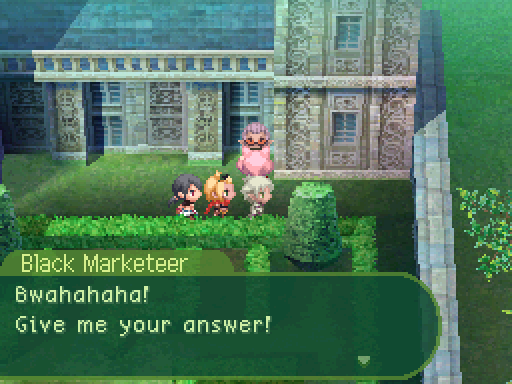
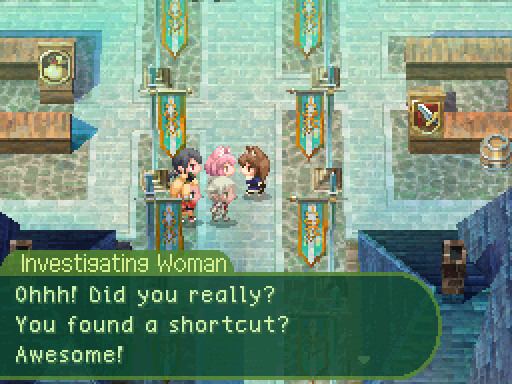
 Me, I'm with a guild called Shortcut Squad. Every dungeon's got some shortcuts... So we find 'em! The one I'm looking for is a LONG path. Goes right to the gate. But this time, my compadres got sick. I'm high and dry. I can't go out there by myself! Those guys would cream me! So, what I want is for some fabulous Hunters like you to take over.
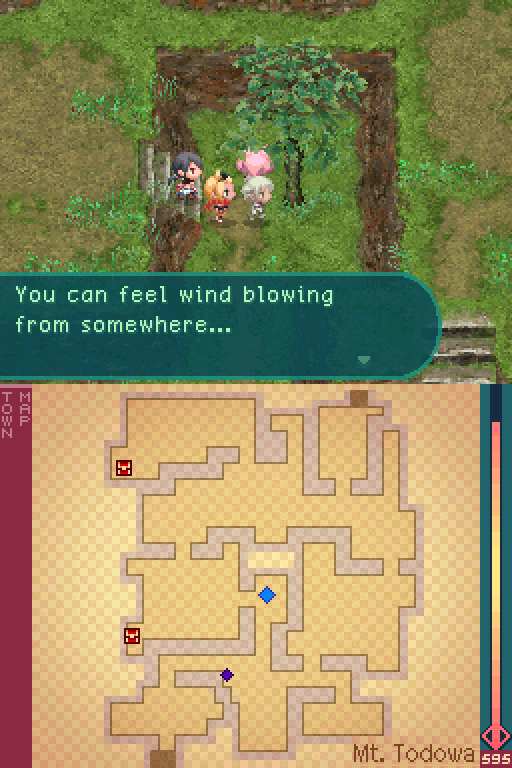
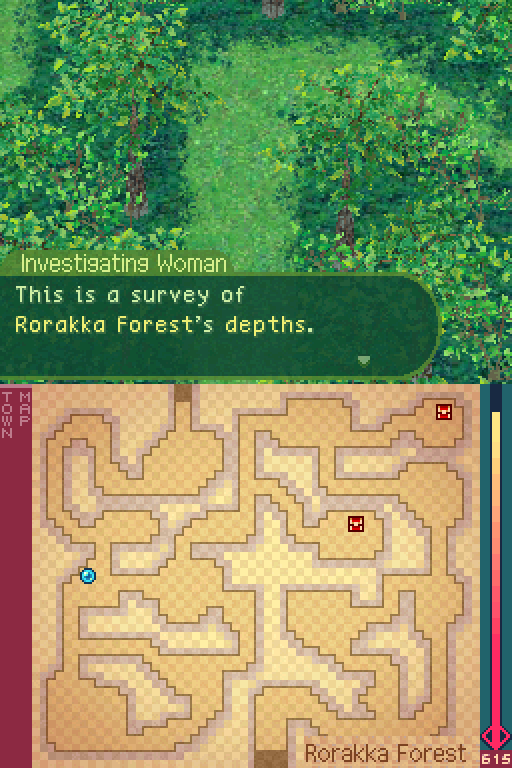 There ought to be a shortcut somewhere, if you look at it. But I wasn't able to puzzle it out in the time I had. Please look for it! You may be able to feel a draft blowing nearby.
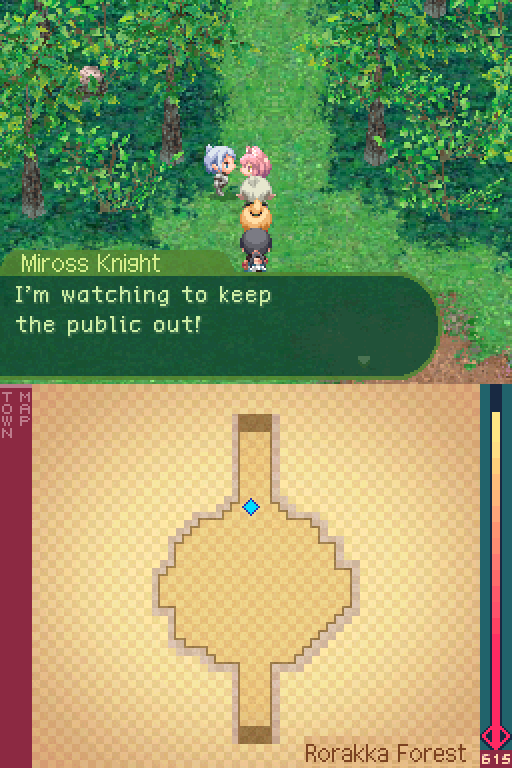
The camera pans over to a few spots.

The fan translation has a few cases of text going out of the text box. Thankfully, it's not too common.
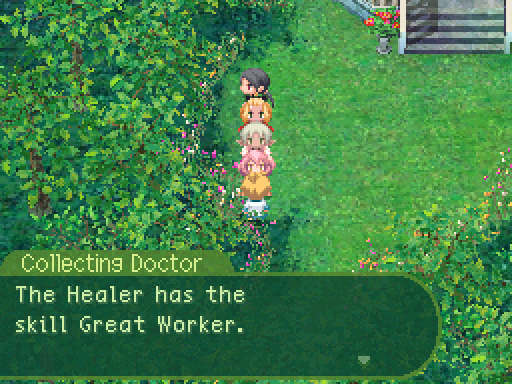
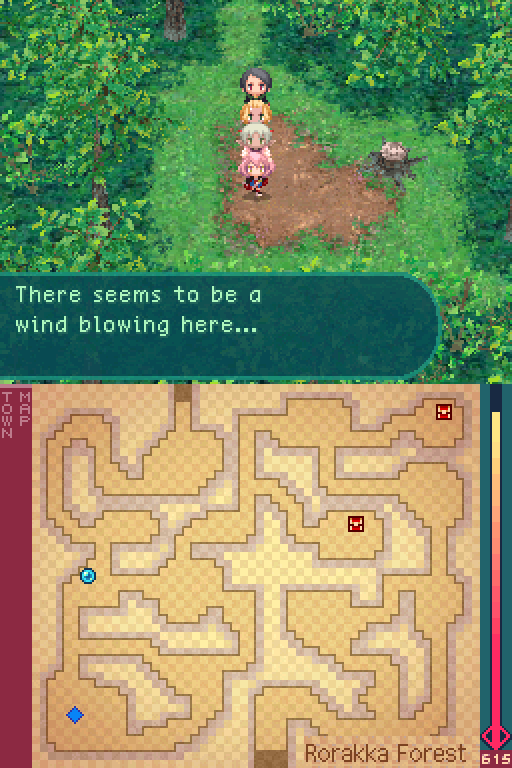
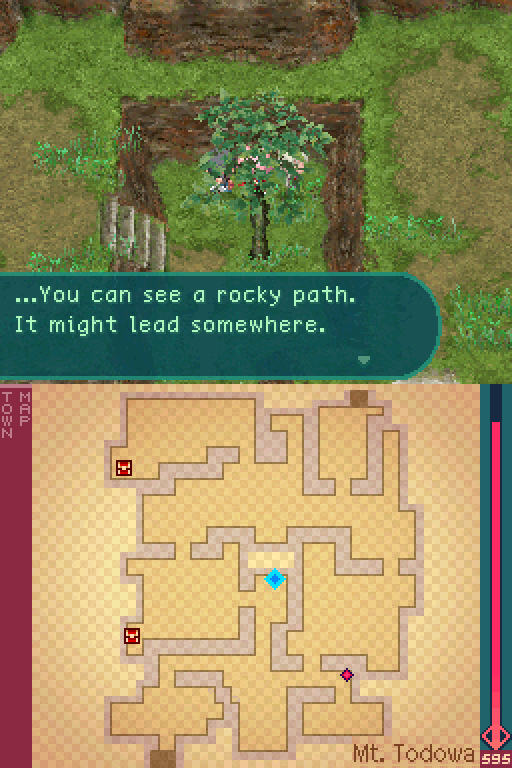
I dunno if you'll be able to find it, but look anyway!! My tip is to listen for the wind, it usually blows nearby. Hunting is slow work, but do your best!Let's head to the forest now.
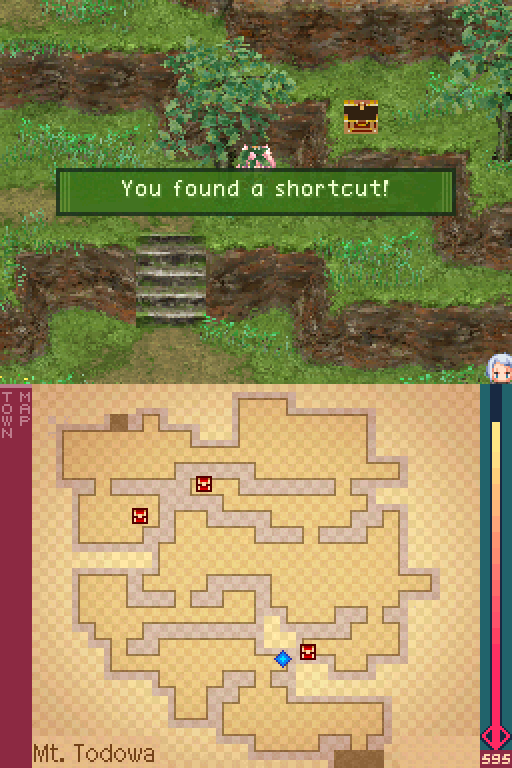
The shortcut is fairly easy to find.
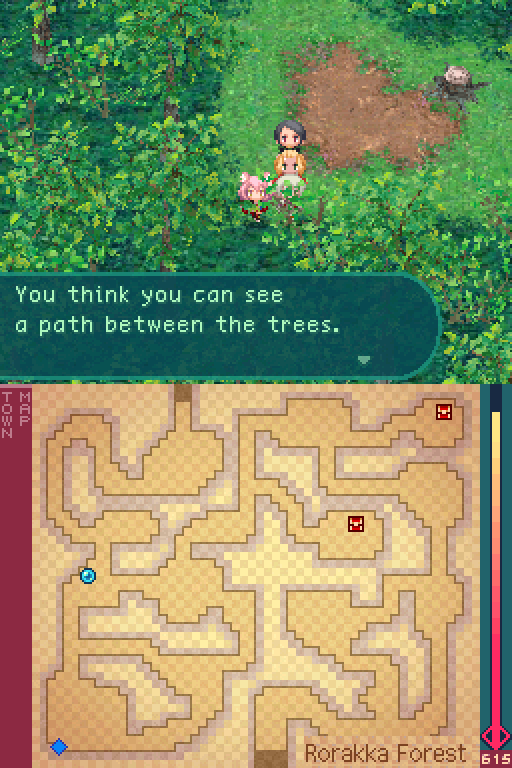
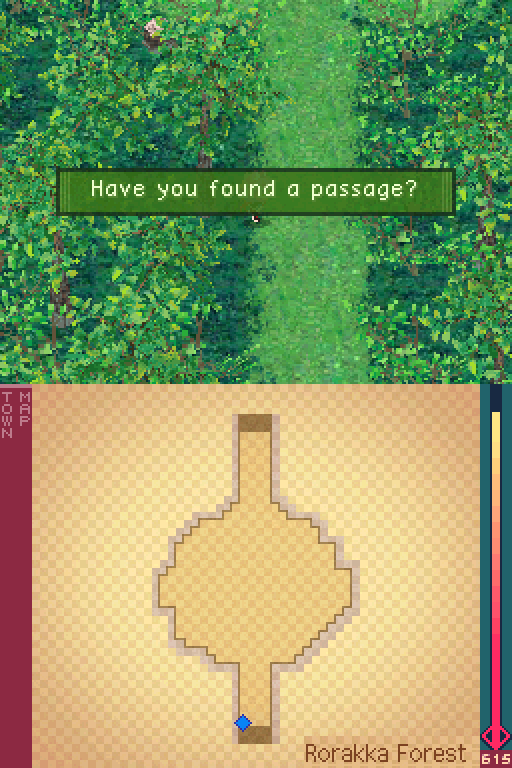
To be honest, I'm really not sure what the point of this quest is. The shortcut here is impractical, because you have no reason to use it now. Rorakka Forest has nothing for us, and won't even have anything for the rest of the game. And you can't even access it until you take this quest. If it was to teach you about shortcuts, it's way too late for that. Kingsblade already did that for us back at Rorakka Cavern, and the shortcut was placed near the exit so it would be practically impossible to miss.
But I guess I shouldn't be complaining about an easy quest. Yeah, that's really all we have to do.
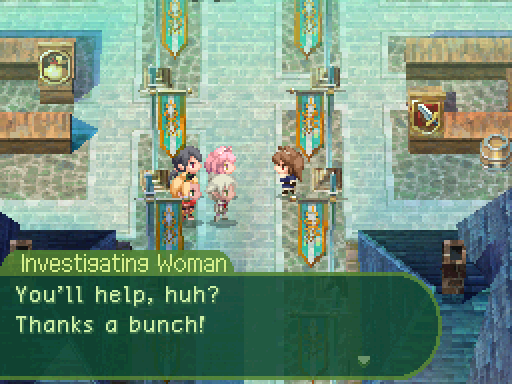
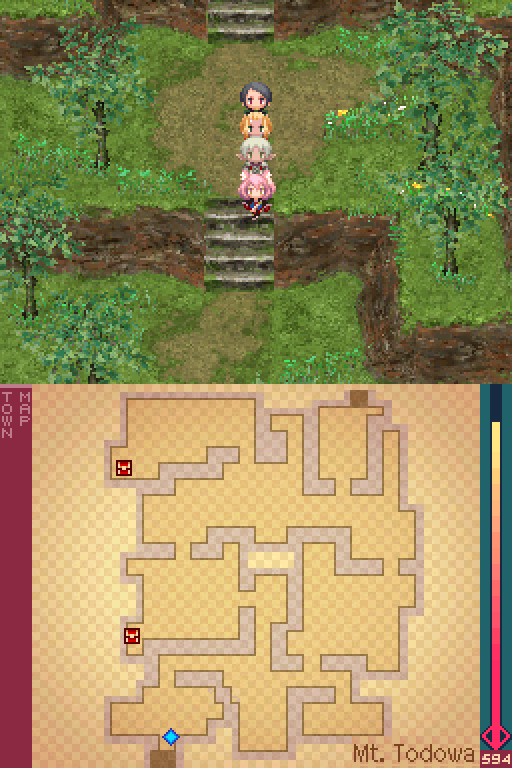
 That's the way to do it! That's so... totally radical!! ...Sorry, got carried away. But thanks to you, I'm finally through with my survey. There aren't just shortcuts in Rorakka. They're everywhere! You'll find 'em fast if you're looking. Anyway, hit the Quest Office for a reward. I'm gonna check this out!
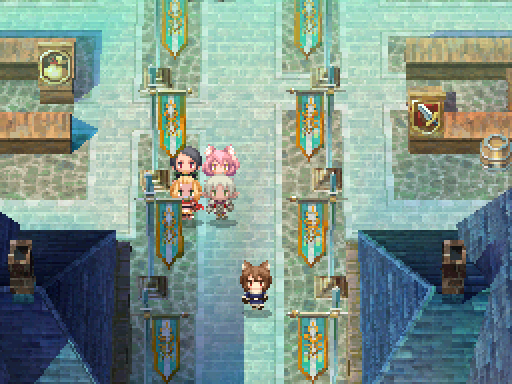
She leaves.
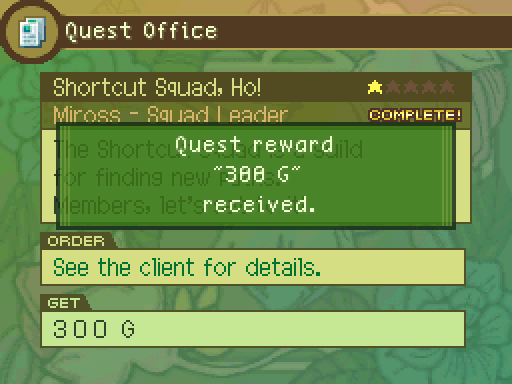
Not a fantastic reward, but the quest wasn't even that difficult in the first place.
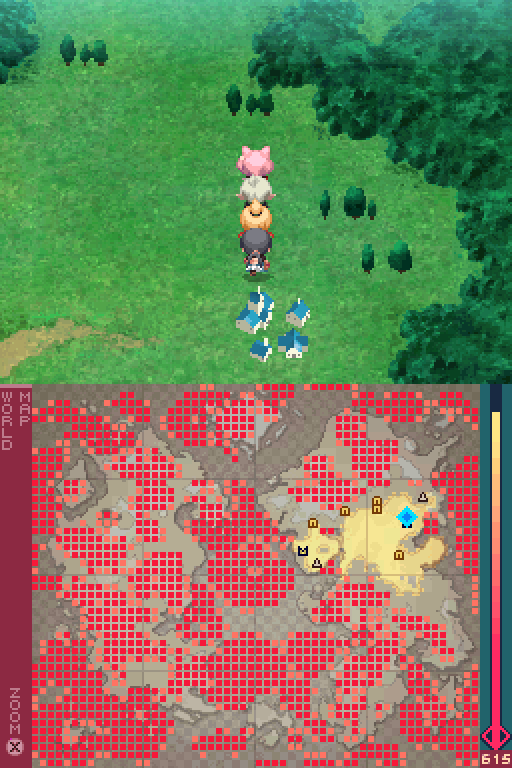
Before moving onto the next area, I cleared out any patches of Bloom I could. Slowly but surely, Odyssey is wiping away the dragons' influence. And there really isn't any way to speed any of this up. The dragons have to be killed one by one in most cases, and stomping on the Bloom is the only way to get rid of most of it.
I also realized that I didn't activate any portals yet. Let's fix that before I heavily regret it.
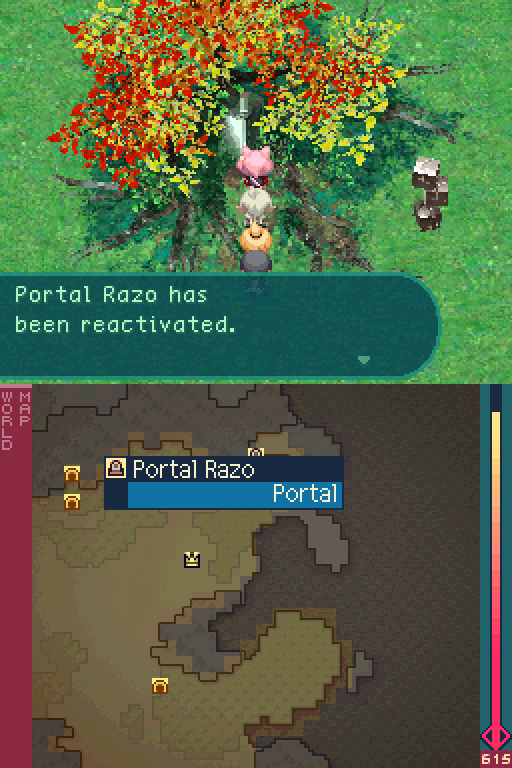
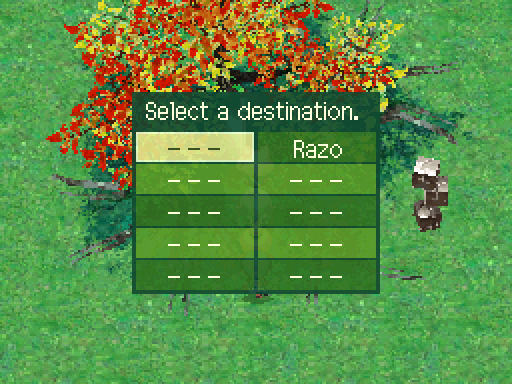
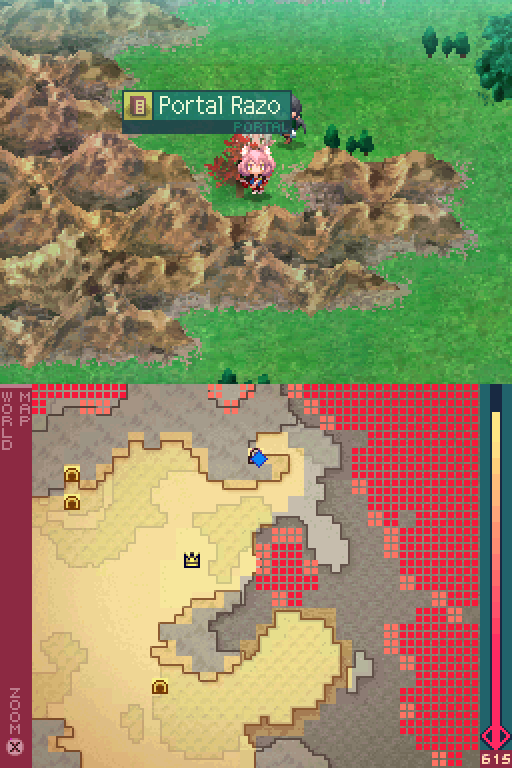
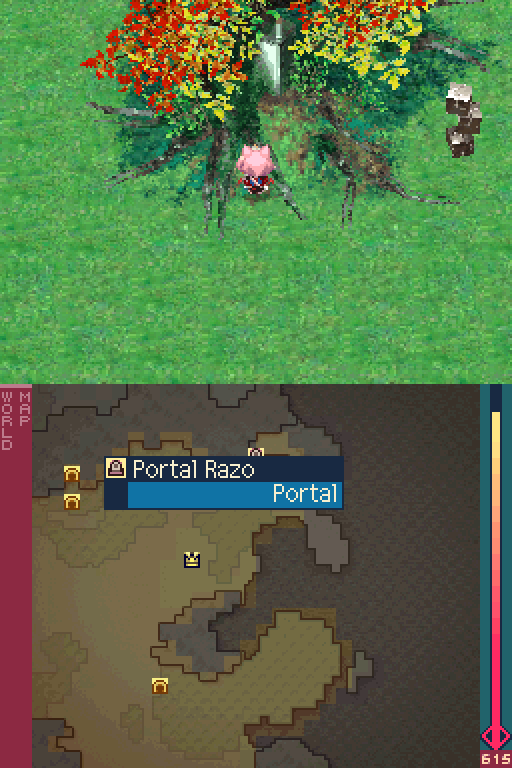
Just interact with the central structure, and voila! The portal is reactivated. There are 10 of these in all.

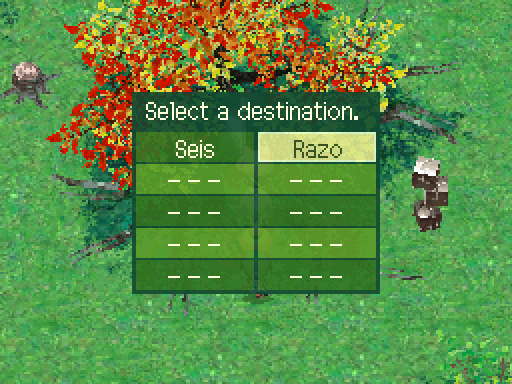
And here's the portal near Kazan.

With all that out of the way-are you kidding me!? Ugh, at least the Bloom regrew in a spot where it got cut off.
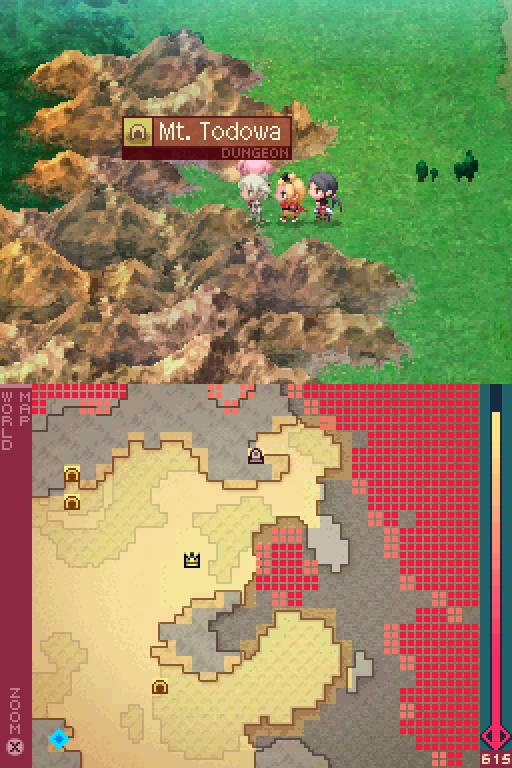
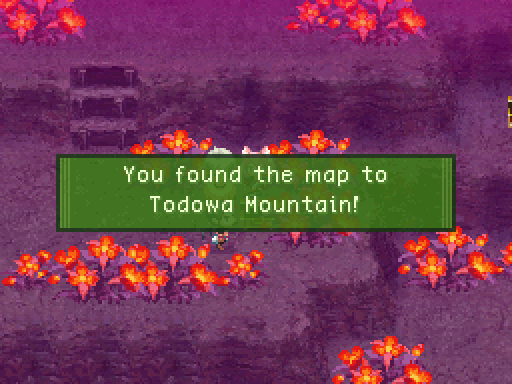
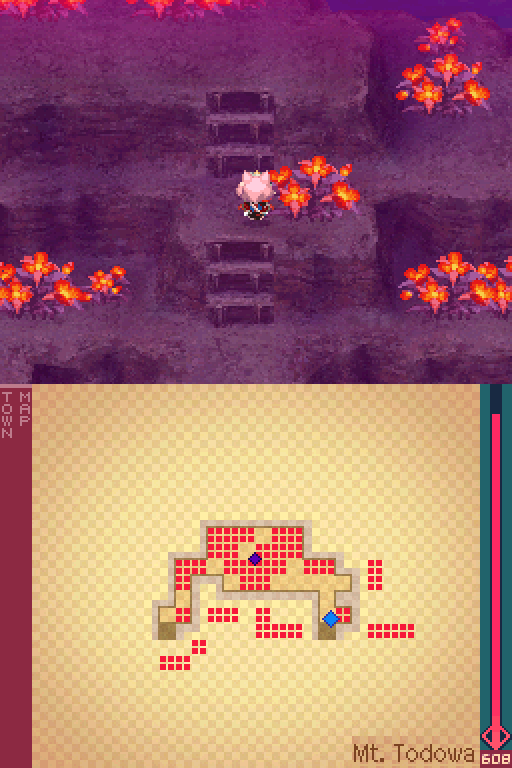
As I was saying, with noting else left to do, let's head to Mt. Todowa.
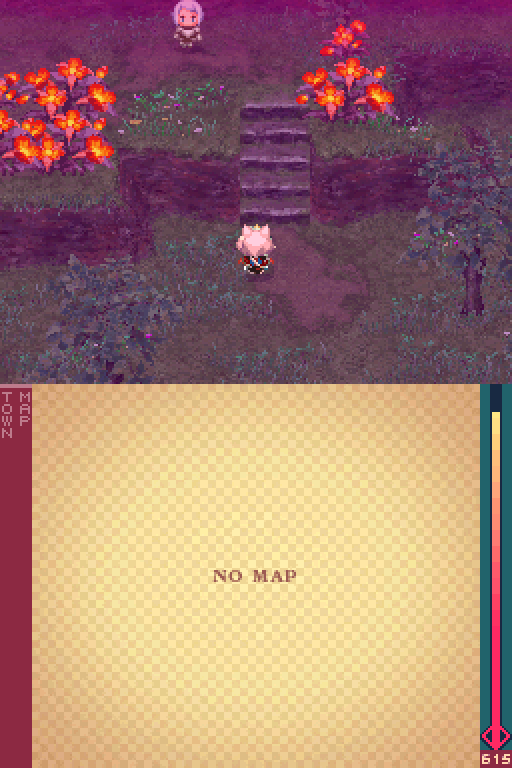
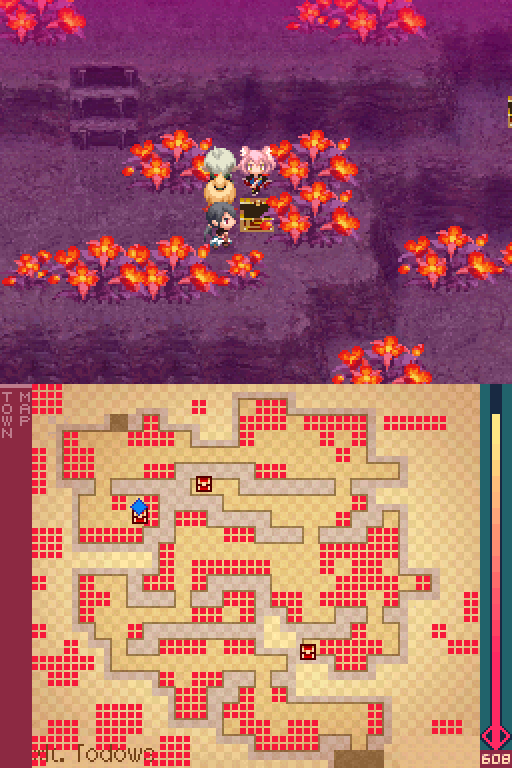
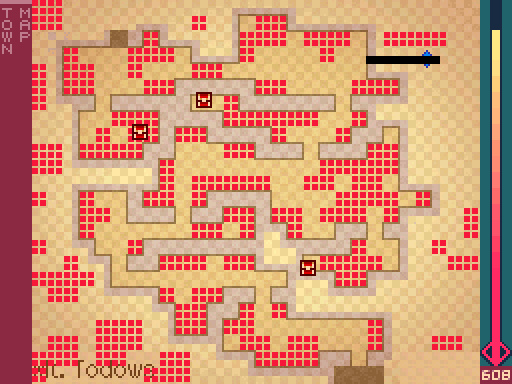
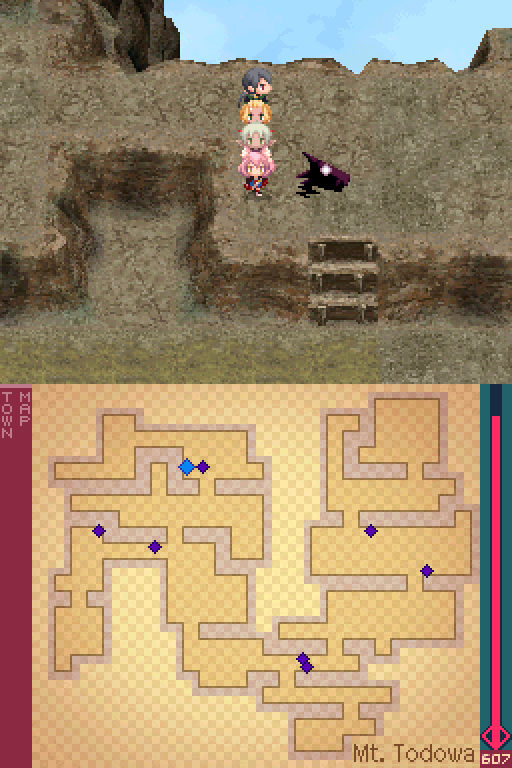
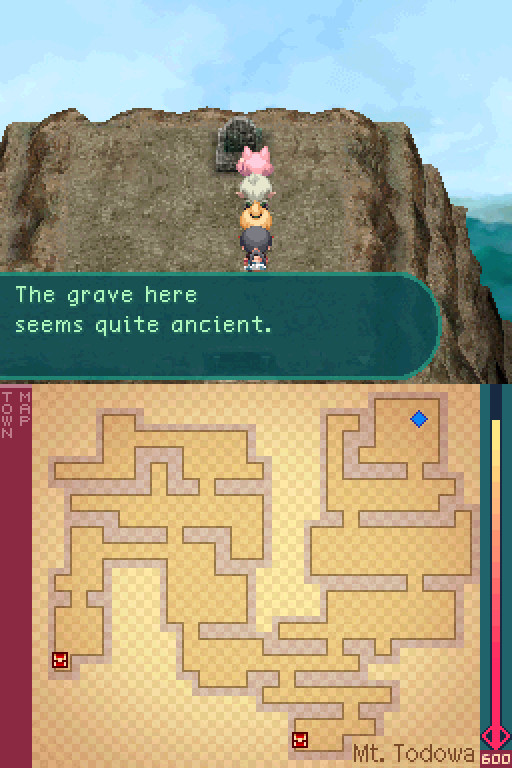
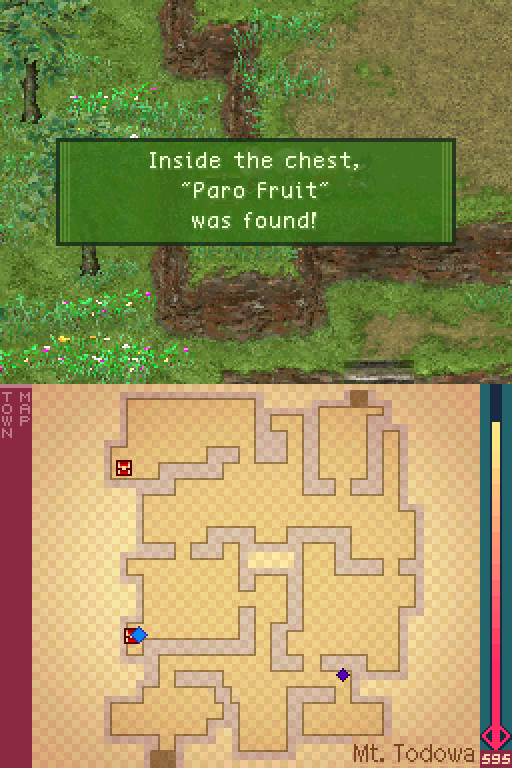
Mt. Todowa marks the first dungeon where we don't start off with a map. In fact, it's impossible to get a map of the place beforehand. I guess that's one of the few interesting things about it.
This screen has a total of 7 dragons. 4 of them are moving slowly in a rectangle, while 3 of them are dashing back and forth. Those are actually 2 different varieties of dragons.

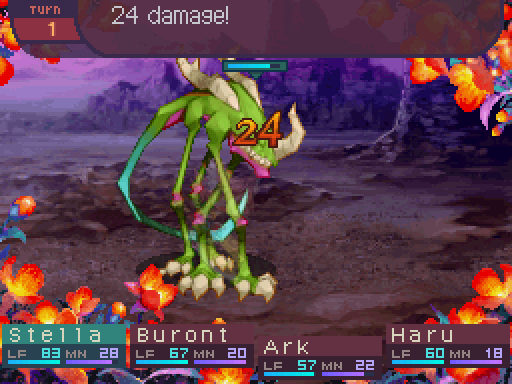
Here's one of the slower dragons. Let's take it on.

Tower Dragon
Level: 13
LIFE: 400
ATK: 65
DEF: 34
INT: 30
SPD: 24
Attack Type: Blunt
Enemy Type: Dragon
Exp: 432
Gold: 40
Item Drops:
-Normal: Long Bone - 100% Drop Rate. 2 needed to unlock the Longbow +1 (Bow, +30 ATK, +2 POW.)
--Femur of a Tower Dragon.
-Rare: Dragon Filet - 15% Drop Rate.
--Medium dragon meat. For carnivores. Increases intelligence for the day.
Damage Multipliers:
Slash: 100% Blunt: 100% Thrust: 100%
Fire: 100% Ice: 100% Lightning: 100%
Ailment Susceptibility:
Death: 20% Masked Pain: 100% Skill Seal: 25%
Fear: 25% Curse: 50% Bleed: 25%
Poison: 50% Sleep: 25% Confuse: 25%
Paralysis: 50% Blind: 25% Stun: 100%
Skills:
Body Slam: Randomly attacks the party with Blunt damage 2 times, dealing 120% melee ATK-based damage per hit. Has a speed modifier of 90%.
Poison Breath: 40% chance of inflicting Poison on all party members. Has a Poison power of 40% (Deals 11 Poison damage.) Has a speed modifier of 85%.
Tower Dragons are kind of annoying, but there isn't too much to them. They can hit multiple party members at once with Body Slam, and Poison Breath doesn't deal that much Poison damage, but it essentially increases their damage per turn. Just try not to let them join in on a random battle, because their skills get really nasty when extra damage is already being piled onto your party by trash mobs.
Oh, and if you're coming from one of the later games, Tower Dragons do not have their signature Jump ability here. (They jumped into the sky for one turn, letting them evade all attacks. Then they spat down a bunch of poison shots while they were in the air.)
Oh, and if you're coming from one of the later games, Tower Dragons do not have their signature Jump ability here. (They jumped into the sky for one turn, letting them evade all attacks. Then they spat down a bunch of poison shots while they were in the air.)
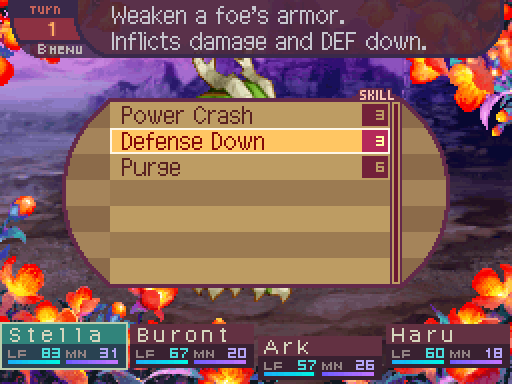
Defense Down really benefits this team a lot more, since everyone here is a physical attacker.
Until Ark gets Dual Shot maxed out (And gets her hands on a better Bow) her damage is gonna be a bit lackluster.


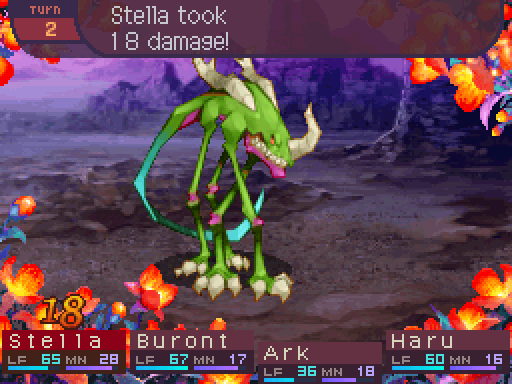
Poison Breath is the real skill to watch out for here. 11 Poison damage at this point is quite a bit when taking everything else into account.

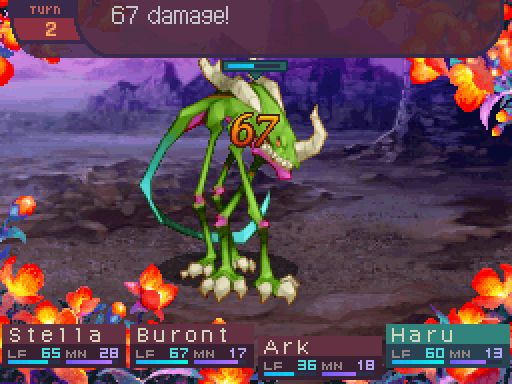
Haru is dishing out a good amount of damage at least.


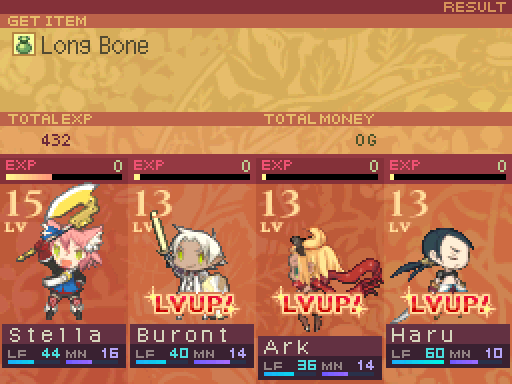
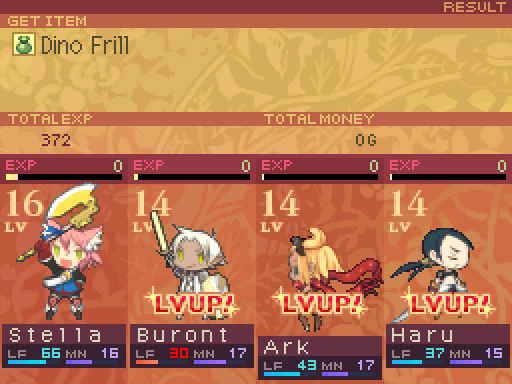
Not exactly an interesting dragon to deal with. But at least 3 party members got a level up out of it.

Shield Front now reduces damage by 32%.
Dual Shot deals 91% damage per hit, dealing 182% damage in total.
Haru needs 1 more skill point to be able to invest in Downstroke again.
Haru needs 1 more skill point to be able to invest in Downstroke again.

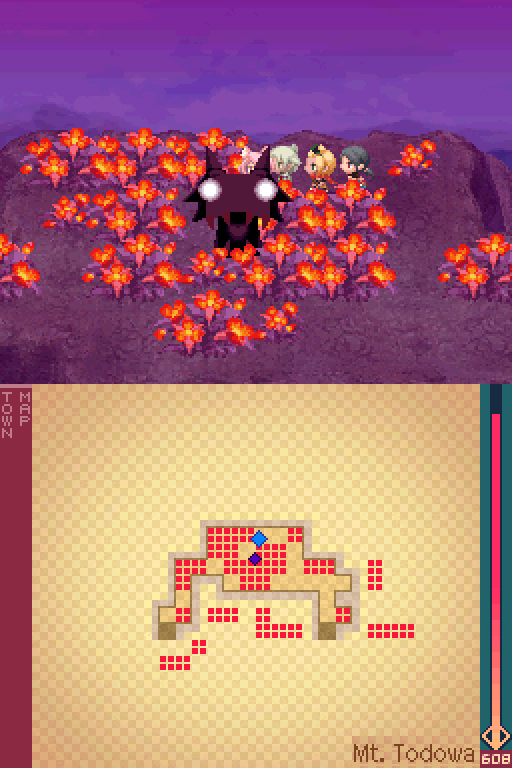
Shadowisp
Level: 14
LIFE: 46
ATK: 46
DEF: 32
INT: 25
SPD: 20
Attack Type: Blunt
Enemy Type: Small Animal
Exp: 40
Gold: 14
Item Drops:
-Normal: Darkness Drop - 30% Drop Rate.
--Substance of a Shadowisp.
-Rare: N/A
Damage Multipliers:
Slash: 100% Blunt: 100% Thrust: 100%
Fire: 100% Ice: 100% Lightning: 100%
Skills:
Black Curtain: 30% chance of inflicting Sleep on all party members. Has a speed modifier of 75%.
Shadowisps were actually able to be encountered back at Kazan, though I didn't run into one there. Sleep is kind of annoying to deal with, so you might take them out first.

Badger
Level: 16
LIFE: 48
ATK: 52
DEF: 35
INT: 31
SPD: 23
Attack Type: Blunt
Enemy Type: Small Animal
Exp: 44
Gold: 16
Item Drops:
-Normal: Tufty Tail - 30% Drop Rate. 2 needed to unlock the Longbow +1 (Bow, +30 ATK, +2 POW.) 3 needed to unlock the Gauntlet (Glove. +2 DEF, +2 POW.)
--Tail of a Badger.
-Rare: N/A
Damage Multipliers:
Slash: 100% Blunt: 100% Thrust: 100%
Fire: 100% Ice: 100% Lightning: 100%
Skills:
Enchanting Fog: 20% chance of inflicting Confusion on all party members. Has a speed modifier of 75%.
Of course one of the things worse than Sleep is Confusion. While the random encounters themselves aren't a threat, your own party members certainly are. You should take out these enemies first. Last thing you want is a dragon joining in when you have a Confused party member.
At least no one is confused. The irritating thing about not having a map is not being able to tell if you should wrap up a fight quickly, or just bail out since you can't see the dragon counters. Of course in this case, it's just a Tower Dragon, so I don't have too much to worry about here.
This is one of the dashing dragons. Let's check this one out.

Oh hey, it's a Triceratop. Yes, it's exactly the same statwise and AI-wise as the one that was residing in Rorakka Cavern. 7th Dragon likes to do this thing where they take the boss dragons and make them into plain old regular dragons in the next dungeon or one of the next ones. They don't do this for all the boss dragons, mind you.
This might help for dealing with Tower Dragons, I guess?

Nighthawk
Level: 17
LIFE: 56
ATK: 54
DEF: 30
INT: 25
SPD: 30
Attack Type: Thrust
Enemy Type: Large Animal
Exp: 66
Gold: 17
Item Drops:
-Normal: Bird Feathers - 50% Drop Rate. 3 needed to unlock the Light Helm (Hat, +2 DEF, +1 SPD.)
--Soft Down
-Rare: Sharp Claw - 30% Drop Rate. 10 needed to unlock the Morning Star. (Staff, +44 ATK, +10 Mana.) --Talon of a Nighthawk.
Damage Multipliers:
Slash: 100% Blunt: 100% Thrust: 100%
Fire: 100% Ice: 100% Lightning: 100%
Skills:
Mach Wing: Applies a 120% multiplier to the user's SPD for 5 turns. Has a speed modifier of 80%.
Nighthawks are annoying. Mach Wing increases their speed, which means that their evasion increases as well. This doesn't make them a threat, mind you. Just annoying since they take longer to kill.
Well, I was planning on heading back to Miross soon anyway.

And here's a much better bow for Ark. And it comes with a few points of defense to boot, something she'll definitely appreciate.

Ooh, 12 more points of ATK. Yeah, I'm definitely picking this up for Stella. Doesn't come with a defense boost like the last Axe did, but Stella is bulky enough already. Now back at Mt. Todowa...
Stella got another level up... that she can't really do anything with right now. Gonna need another skill point to level up Purge some more.
Oh, but these levels should prove to be more interesting.

Shield Front reduces physical damage by 35%.

Dual Shot is finally maxed out. 100% damage is dealt per arrow, so Ark is essentially dealing double damage with this skill now.
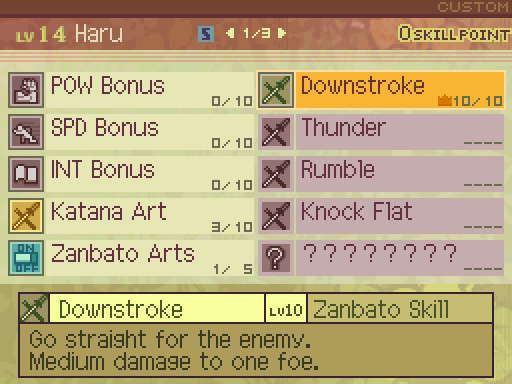
Downstroke is also maxed out. Haru will be dealing 180% damage with this skill from now on.
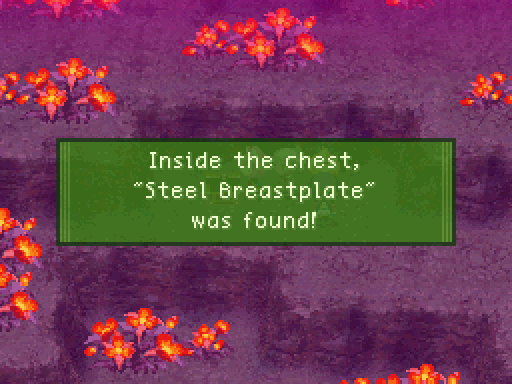
There's a chest in the middle of this area containing a nice piece of armor.
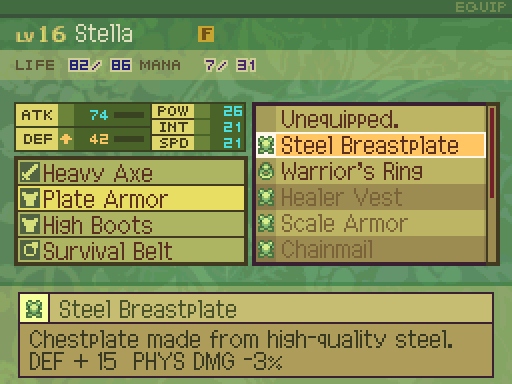
I give it to Stella. Buront is already fairly sturdy, and Stella could use this more.
About time. Trying to navigate these dungeons without a map is kind of annoying. This is not the last time that this is going to happen either.
Yeah, they stuck it at the end of the first screen. Thanks game. Now before I move on, there's something I want to show off first.
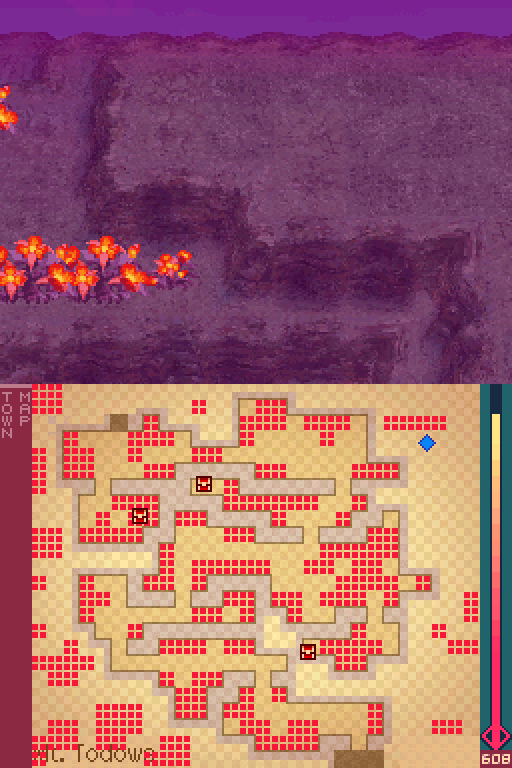
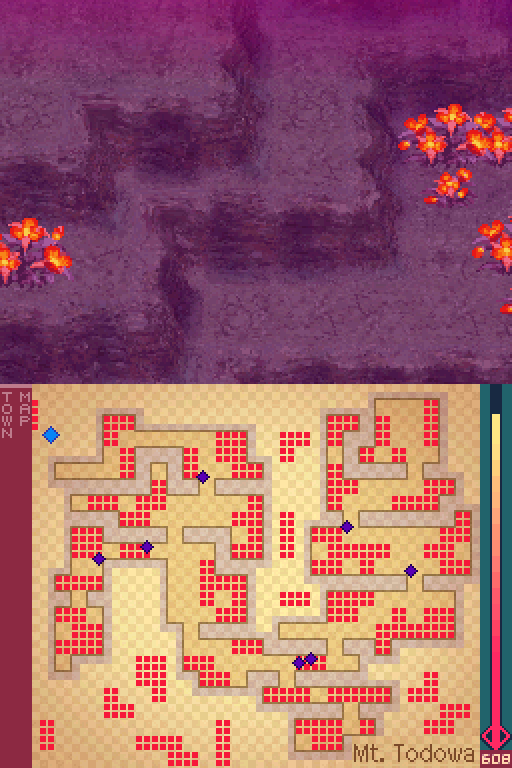
There's a secret passage on the first screen that leads to this side area.
The dragons here don't really have a movement pattern. They just kind of shuffle around randomly. You'll have to be a bit attentive if you want to get a sneak attack on them. But I won't be doing that just yet. These dragons are quite a bit stronger than the Tower Dragons and Triceratops.
Only one dragon resides at the top of Mt. Todowa.
It's the boss of this area, and you can actually skip it entirely if you wish. Though it's in your best interest to fight it, since you'll wipe out the Bloom in this area that way. So without further ado...
 Video: Pteranosaurus

Pteranosaurus
Level: 18
LIFE: 800
ATK: 70
DEF: 45
INT: 33
SPD: 37
Attack Type: Thrust
Enemy Type: Dragon
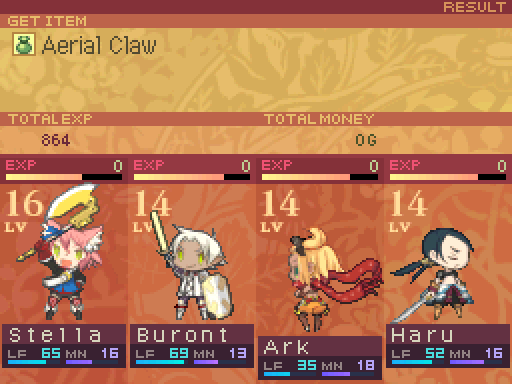
Exp: 864
Gold: 54
Item Drops:
-Normal: Aerial Claw - 100% Drop Rate. 2 needed to unlock the Crow's Nail (Dagger, +30 ATK, +5 SPD.)
--Talons of a Pteranosaur.
-Rare: Hunting Bow - 15% Drop Rate.
--Simple bow made for hunting. ATT + 38 POW + 4 LIFE + 8
Damage Multipliers:
Slash: 100% Blunt: 100% Thrust: 125%
Fire: 100% Ice: 100% Lightning: 125%
Ailment Susceptibility:
Death: 20% Masked Pain: 100% Skill Seal: 25%
Fear: 25% Curse: 50% Bleed: 25%
Poison: 50% Sleep: 25% Confuse: 25%
Paralysis: 50% Blind: 25% Stun: 100%
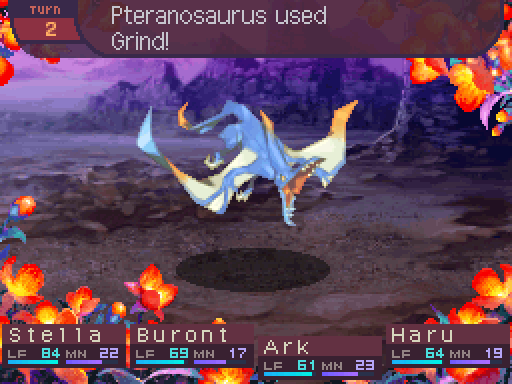
Skills:
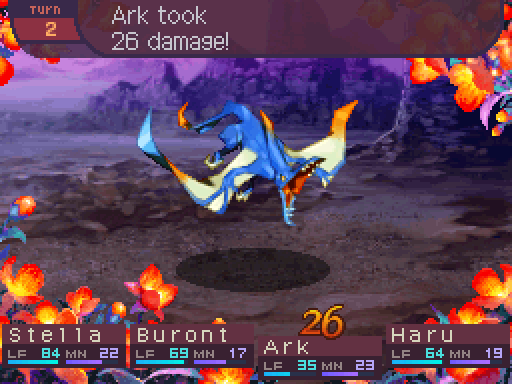
Grind: Deals melee 150% ATK-based Thrust damage to one party member. Has a speed modifier of 90%.
Scream: Places a debuff on all party members that reduces their DEF (Multiplies it by 75%) for 5 turns. Has a speed modifier of 80%.
Mow Down: Randomly attacks the party with Slash damage 3 times, dealing 90% melee ATK-based damage per hit. Has a speed modifier of 80%.
Nothing much to this dragon. It hits your party, and sometimes places a debuff on the party so it can hit them harder. A defense buff can dispel the effects of Scream if you have access to one, but this thing isn't really that scary in the first place.
Ark's damage is getting up there.
That's more like it.
Ark even outdamages Haru now.
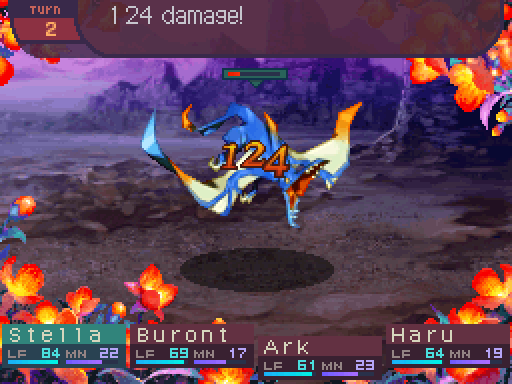
Though Stella is still the queen of damage in this party.
Yeah, this thing is really not that scary. I think part of the problem with the enemies in this game are that revival items are so rare. Enemies can't straight up kill you or deliver super big hits since you'll be stuck in a really sticky situation with no way out. And since most attacks in this game deal fairly small damage, any bit of defense such as damage reduction or healing just stacks the fight in your favor so much. It's also why Confusion and Charm are some of the most dangerous ailments in the game, since your party are the only ones that can dish out so much damage.
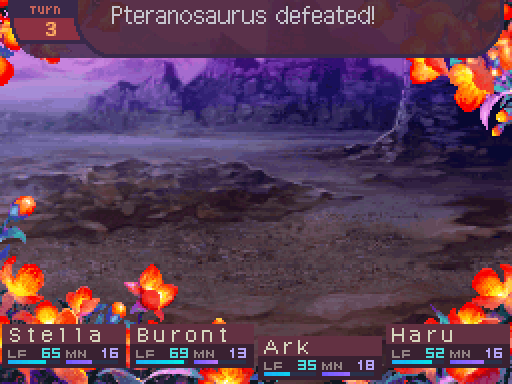
The Pteranosaurus is really just a glorified regular dragon, but considering that it's not even that fearsome at this point means that it'll pretty much be a pathetic enemy the next time we encounter it.
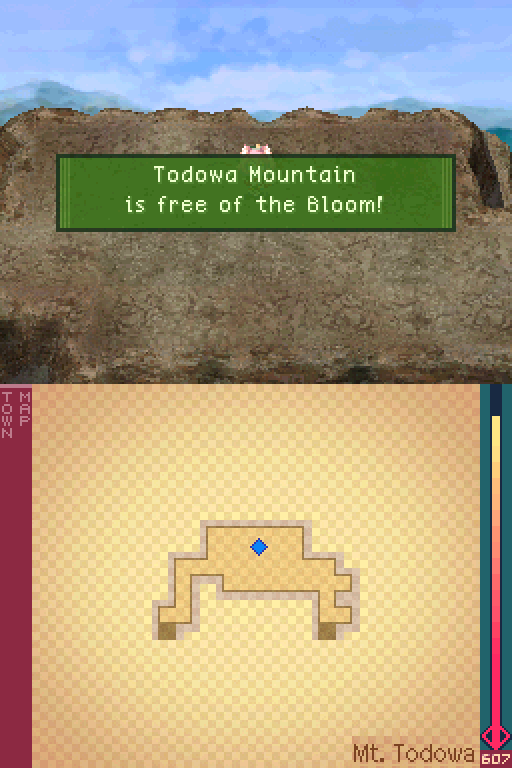
Now with all the Bloom cleared out, let's check out that side area again since we don't have to worry about Bloom damage.
As for what these dragons are...
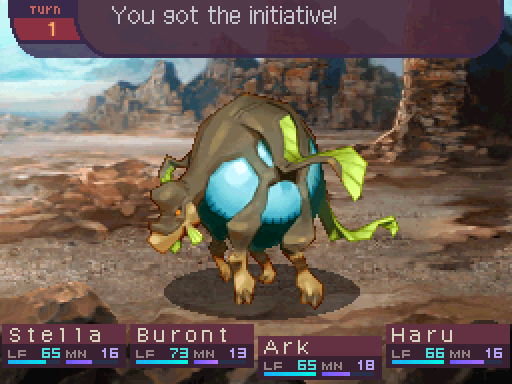
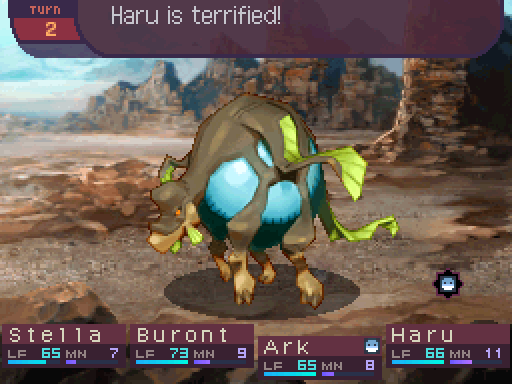
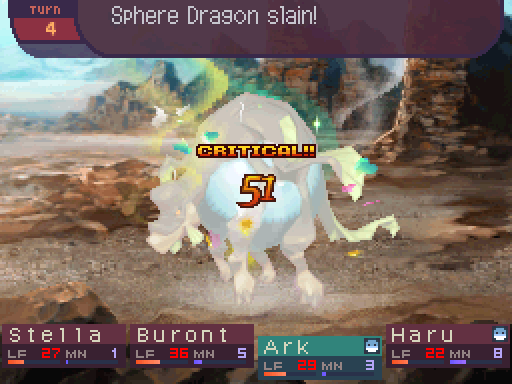
All the dragons in this area are Sphere Dragons.
Sphere Dragon
Level: 17
LIFE: 500
ATK: 65
DEF: 45
INT: 34
SPD: 21
Attack Type: Blunt
Enemy Type: Dragon
Exp: 763
Gold: 52
Item Drops:
-Normal: Comical Wing - 30% Drop Rate.
--Wing of a Sphere Dragon.
-Rare: Bloom Seed - 5% Drop Rate.
--A seed with the power of the Bloom. Restores the Bloom to an area.
Damage Multipliers:
Slash: 100% Blunt: 50% Thrust: 125%
Fire: 50% Ice: 125% Lightning: 50%
Ailment Susceptibility:
Death: 20% Masked Pain: 100% Skill Seal: 25%
Fear: 25% Curse: 50% Bleed: 25%
Poison: 50% Sleep: 25% Confuse: 25%
Paralysis: 50% Blind: 25% Stun: 100%
Skills:
Inflate: 70% chance of inflicting Fear on all party members. Has a speed modifier of 80%.
Squash: Randomly attacks the party with Blunt damage 2 times, dealing 120% melee ATK-based damage per hit. Has a 50% chance to inflict Stun. Has a speed modifier of 90%.
Flame Bomb: Deals ranged INT-Based Fire damage to all party members. Has a base damage of 50. Has a speed modifier of 80%.
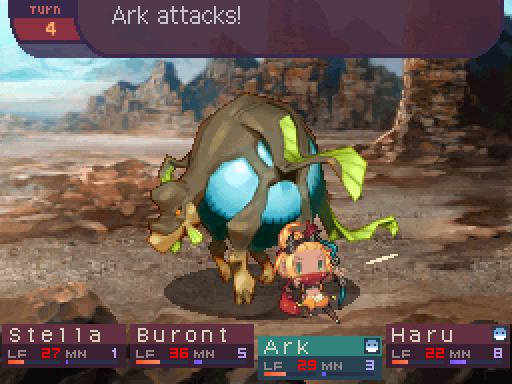
Sphere Dragons are actually a good deal tougher than most of the dragons we've seen so far. Mainly because we're not actually supposed to be in this area yet, but I won't say no to a decent challenge.
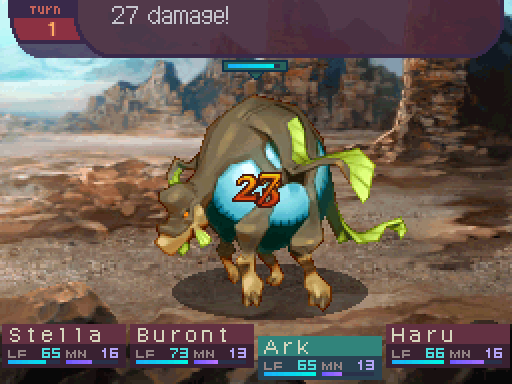
Ech. Even with the Thrust weakness, Ark isn't dealing too much damage to them.
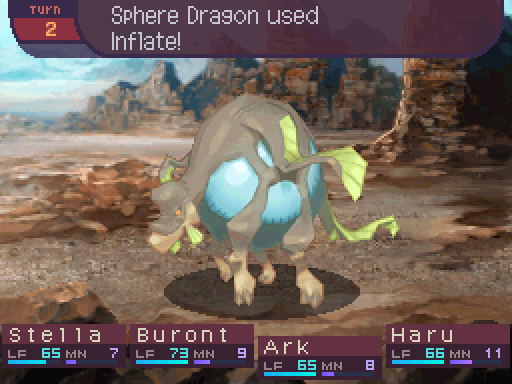

Fear is basically a reskin of Paralysis. 50% chance to not act and all. If you're wondering why there are 2 ailments that do the exact same thing, it's because it's a carry-over from Etrian Odyssey. Basically there was a class that benefited from enemies being afraid, and they could command terrorized enemies to do their bidding. In 7th Dragon's case, said class is the Princess.
However, enemies don't have a way to take advantage of afraid party members, so it's nothing but a reskin in their case.
Oh and if you see a Sphere Dragon use Inflate, you're gonna want your party members to be as healthy as possible.
However, enemies don't have a way to take advantage of afraid party members, so it's nothing but a reskin in their case.
Oh and if you see a Sphere Dragon use Inflate, you're gonna want your party members to be as healthy as possible.
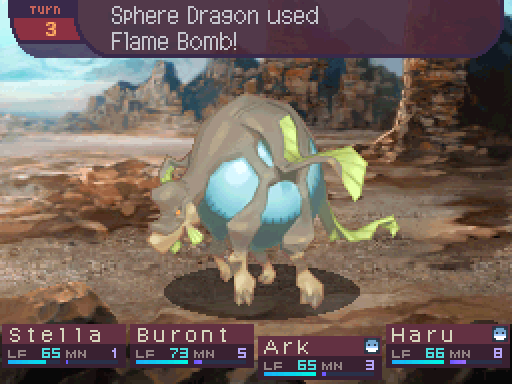
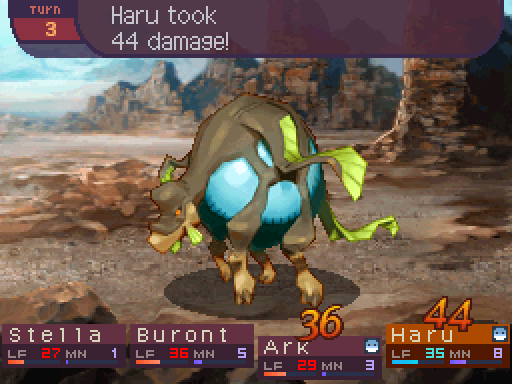
Enemy spells function very differently from Mage spells in that they sorta deal a set amount of damage. Life matters a lot more than defenses when it comes to dealing with them.
If you wait until a little later to go after them, they're a little less scary. But you really have to watch out for Flame Bomb.

Shield Front reduces damage by 38%.

Walk Safe's duration increases to 72 steps. Nothing else about the skill scales in the Japanese version.

Bow Mastery applies a 146% multiplier to a Bow's ATK.
Zanbato Arts now applies a 120% multiplier to Haru's ATK when used.
I went back to town for a bit to heal up, and unlocked a new piece of equipment. It's an okay piece of defensive equipment, I suppose.
Since I'm killing these dragons way earlier than I'm supposed to, the party is leveling up really fast.

Purge deals 170% damage, and the kill threshold increased to 39%. If only the instant death component worked on dragons...
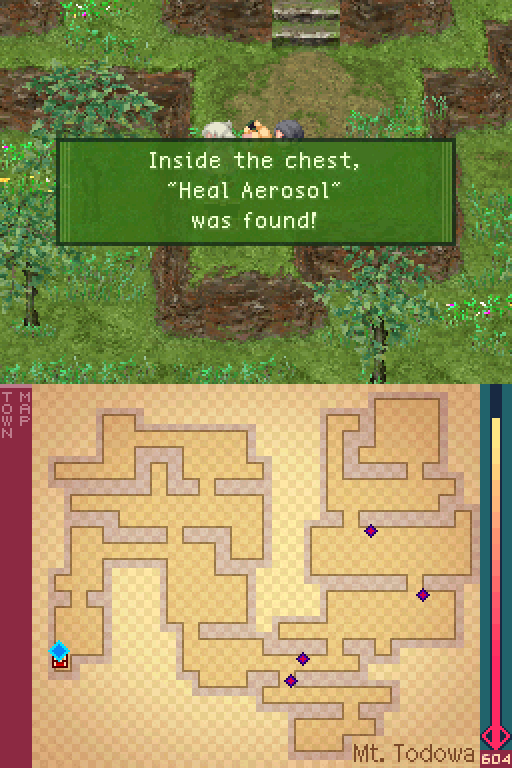

Ooh! Heal Aerosols (Mistranslated as Heal Aloes in the 4th game) provide some nice AOE healing. If you don't have a Healer, they're your only source of AOE healing.
Meh.
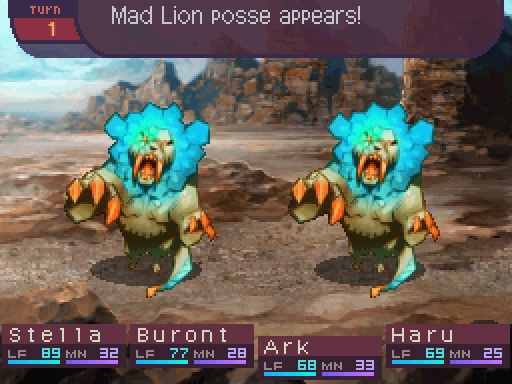

Mad Lion
Level: 15
LIFE: 55
ATK: 54
DEF: 28
INT: 20
SPD: 21
Attack Type: Blunt
Enemy Type: Large Animal
Exp: 15
Gold: 16
Item Drops:
-Normal: Lionskin - 30% Drop Rate. 4 needed to unlock the Light Helm (Hat, +2 DEF, +1 SPD.)
--Pelt of a Mad Lion.
-Rare: Predator Meat - 10% Drop Rate. --A predator's meat. For carnivores. Increases POW for the day.
Damage Multipliers:
Slash: 100% Blunt: 100% Thrust: 100%
Fire: 100% Ice: 100% Lightning: 100%
Skills:
Chomp: Deals 150% melee ATK-based Blunt damage to one party member. Has a speed modifier of 90%.
Here's the last new enemy that can be encountered in this dungeon. The Mad Lion is the heaviest hitter in this area. Not that really means much.
OH HELLO THERE! While I was killing more Sphere Dragons, this little beauty dropped from one of them.
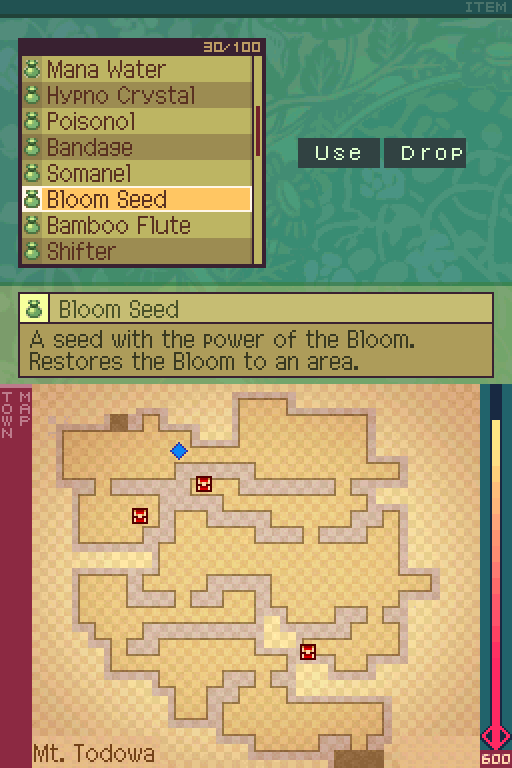
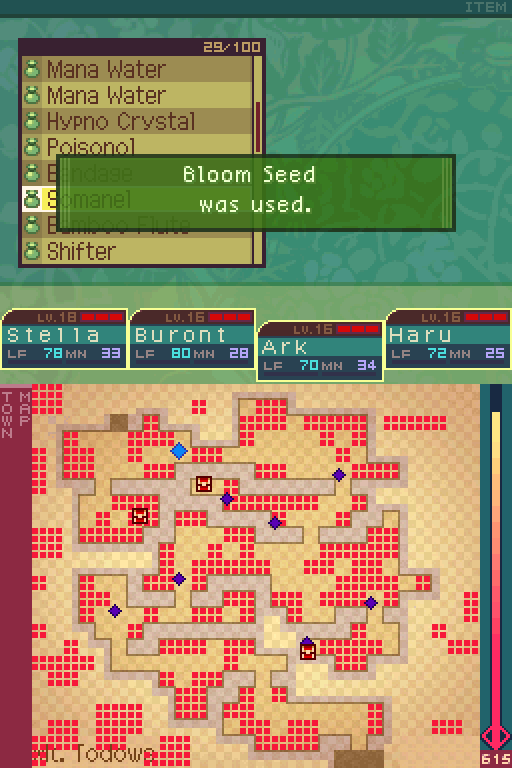
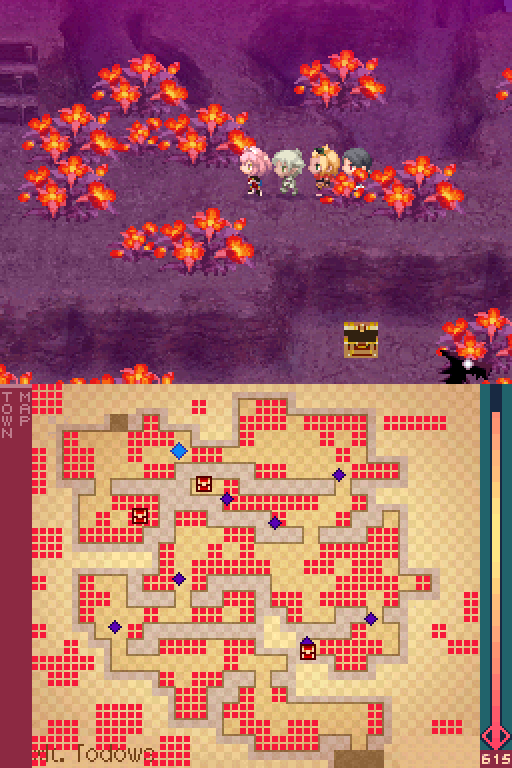
The Bloom Seed is a special consumable. It can only be used in dungeons, and the Bloom has to be cleared out already in order to use it. It'll bring back the Bloom to the area, but more importantly, revive every single dragon you killed (Aside from Imperial Dragons.) They're useful if you missed out on a specific drop and want to try for it again, or you just want to grind up your party.
Bloom Seeds also have a hidden effect that depends on how many dragons were revived. If you didn't annihilate every single dragon in the dungeon before using it, a 1.1x multiplier is applied to all dragons' damage and ailment susceptibility multipliers, making them easier to kill in the rematches. The dragons that weren't killed in the first place are also affected by this.
If you did kill every single dragon, the multiplier increases to 1.3x. So basically, Bloom Seeds are just meant for grinding if you need to.
Also just letting you know, you really want to get 3 of them as soon as possible. Oh, and if you want to get rid of the Bloom again, the condition to do so will be the same as the first time (Kill a specific dragon or annihilate all dragons.) Though if the Bloom was tied to an Imperial Dragon, the condition changes to annihilate all dragons instead. Anyways, let's pretend that I didn't waste that Bloom Seed.
Haru was the only one that could do anything with his skill point. Zanbato Arts provides a 125% multiplier to Haru's ATK when used.
With the last of the Sphere Dragons wiped out, Stella got a level up. Not that Stella can do anything with her skill point either.
This is the only thing of note in this screen.

The last area in this dungeon. All the dashing dragons are Triceratops, while the slow ones are Tower Dragons.

I slay every single dragon I can.

Shield Front reduces damage by 41%.
Bow Mastery provides a 154% multiplier to any Bow's ATK now.
With Zanbato Arts maxed out, Haru gets a 130% multiplier applied to his ATK.

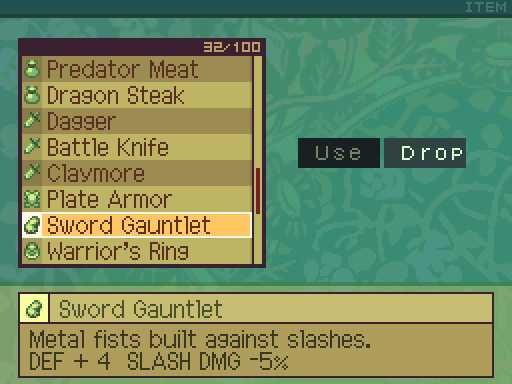
Ehhh, 5% reduction to Slash damage really isn't all that much. But I put it on Ark anyway, since she doesn't have anything better to equip.
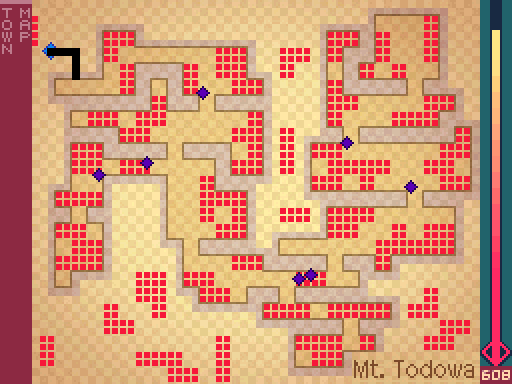
And now we can pretty much skip over the entire dungeon if we have to go back through here for whatever reason.
That's it for Mt. Todowa. I've killed every single dragon here, so it no longer has anything else for us at the moment. Next time, we'll keep on heading towards Aizhen.